一、安装
先确认自己的 Vue 版本:
npm list vue
看到 vue@2.x.x 继续。
一、安装 element-ui
在项目根目录下打开终端,执行:
(淘宝镜像快)
npm install element-ui --save --registry=https://registry.npmmirror.com
二、完整引入
打开 src/main.js,加上这几行:
javascript
import Vue from 'vue'
import App from './App.vue'
// 1. 引入 ElementUI 组件库
import ElementUI from 'element-ui'
// 2. 引入 ElementUI 样式(必须!不引就是裸组件,巨丑)
import 'element-ui/lib/theme-chalk/index.css'

// 3. 全局注册
Vue.use(ElementUI)

new Vue({
  render: h => h(App),
}).$mount('#app')
三步记忆:
引库 → 引样式 → Vue.use() 全局注册。
完整引入的优点是省事、不用管组件清单;缺点是即使你只用一个按钮,整个 ElementUI 也会被打包进去,体积偏大。
三、按需引入
1. 安装 babel 插件
bash
npm install babel-plugin-component -D2. 修改 babel 配置
找到根目录的 babel.config.js
javascript
module.exports = {
  presets: [
    '@vue/cli-plugin-babel/preset'
  ],
  plugins: [
    [
      'component',
      {
        libraryName: 'element-ui',
        styleLibraryName: 'theme-chalk'
      }
    ]
  ]
}
3. 按需引入写法
在 main.js 里只引入你用到的组件:
javascript
import Vue from 'vue'
import App from './App.vue'
import { Button, Select } from 'element-ui'

Vue.use(Button)
Vue.use(Select)

new Vue({
  render: h => h(App),
}).$mount('#app')
这样打包时只会把 Button 和 Select 相关代码打进去。
四、验证是否安装成功
html
<template>
  <div id="app">
    <el-button type="primary">这是个 ElementUI 按钮</el-button>
  </div>
</template>
然后 npm run serve 启动项目。如果页面出现一个蓝色的按钮**,**ElementUI 已经成功接入
二、组件(一) Basic
一、Container 布局容器
ElementUI 提供了一套「容器」组件,专门用来搭后台常见的 上-下 / 左-右 布局
五个子组件:
| 组件 | 说明 |
|---|---|
<el-container> |
外层容器,内部可嵌套上面四个 |
<el-header> |
顶栏 |
<el-aside> |
侧边栏 |
<el-main> |
主内容区 |
<el-footer> |
底栏 |
规则:el-container 的子元素只能是这四种;el-container 里如果是 header / footer 在上,会自动纵向排列;如果子元素是 aside,会自动横向排列(也可以通过 direction="vertical|horizontal" 强制方向)。
html
<template>
  <el-container style="height: 100vh;">
    <!-- 侧边栏 -->
    <el-aside width="200px" style="background:#545c64;">
      <div style="color:#fff;text-align:center;line-height:60px;">我的后台</div>
    </el-aside>

    <!-- 右侧整体再套一个纵向容器 -->
    <el-container>
      <el-header style="background:#409EFF;color:#fff;line-height:60px;">顶部导航栏</el-header>
      <el-main style="background:#f5f7fa;">
        这里是主内容区,放表格、表单都行
      </el-main>
      <el-footer style="text-align:center;">我的项目</el-footer>
    </el-container>
  </el-container>
</template>
后面所有内容都塞进 <el-main> 里
二、Icon 图标 + Button 按钮
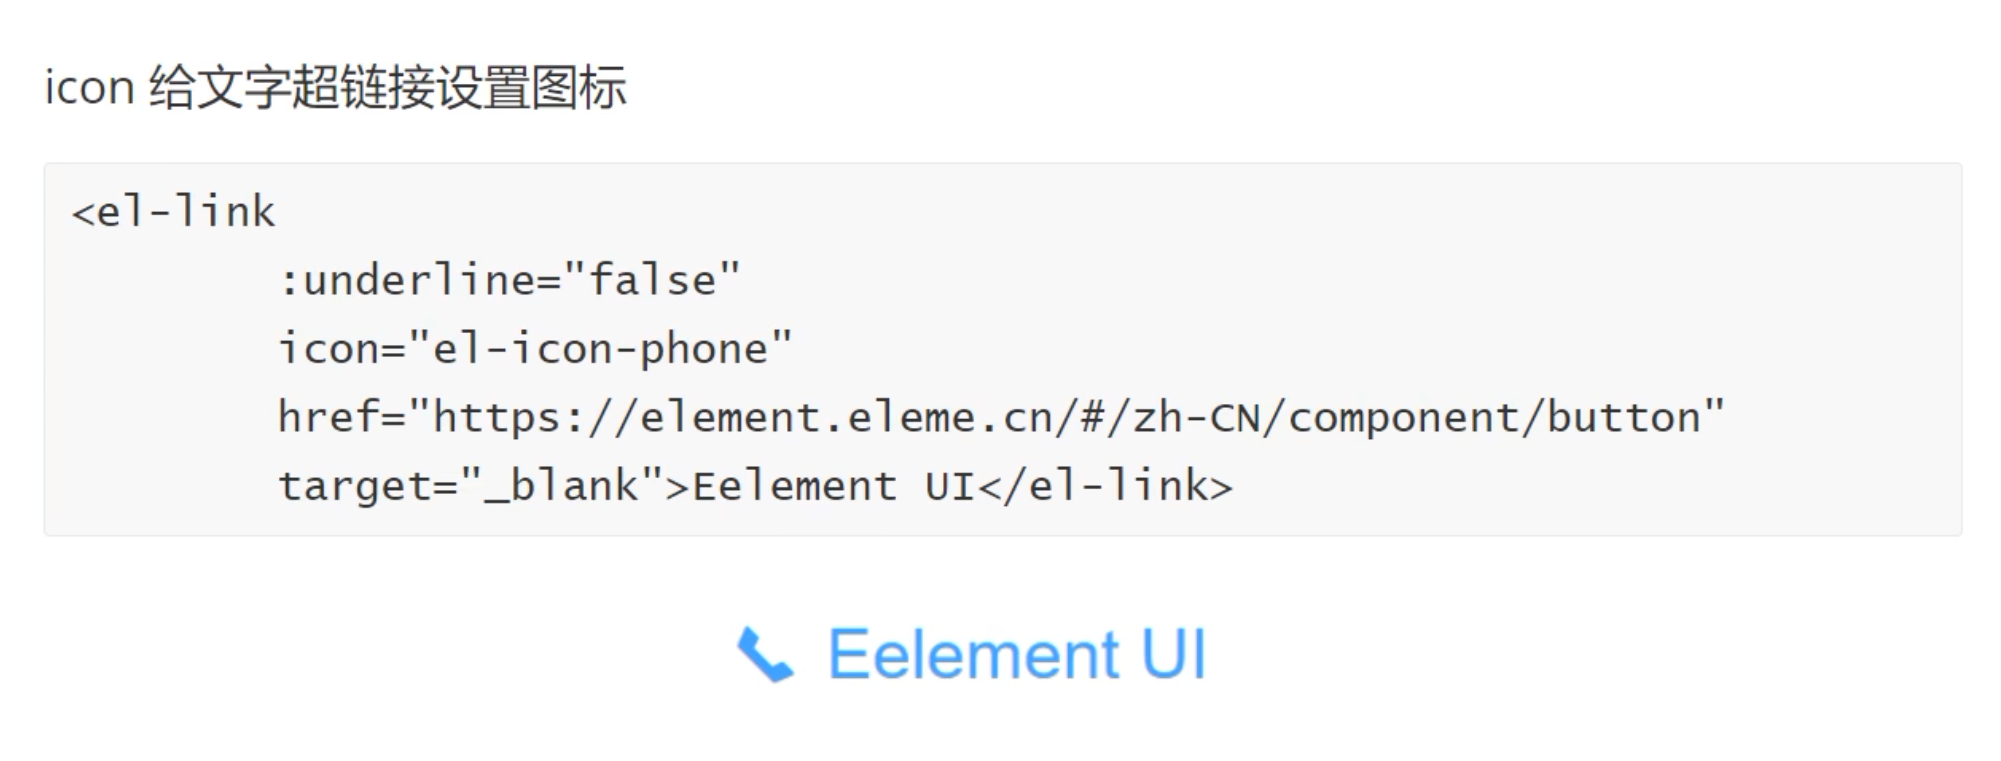
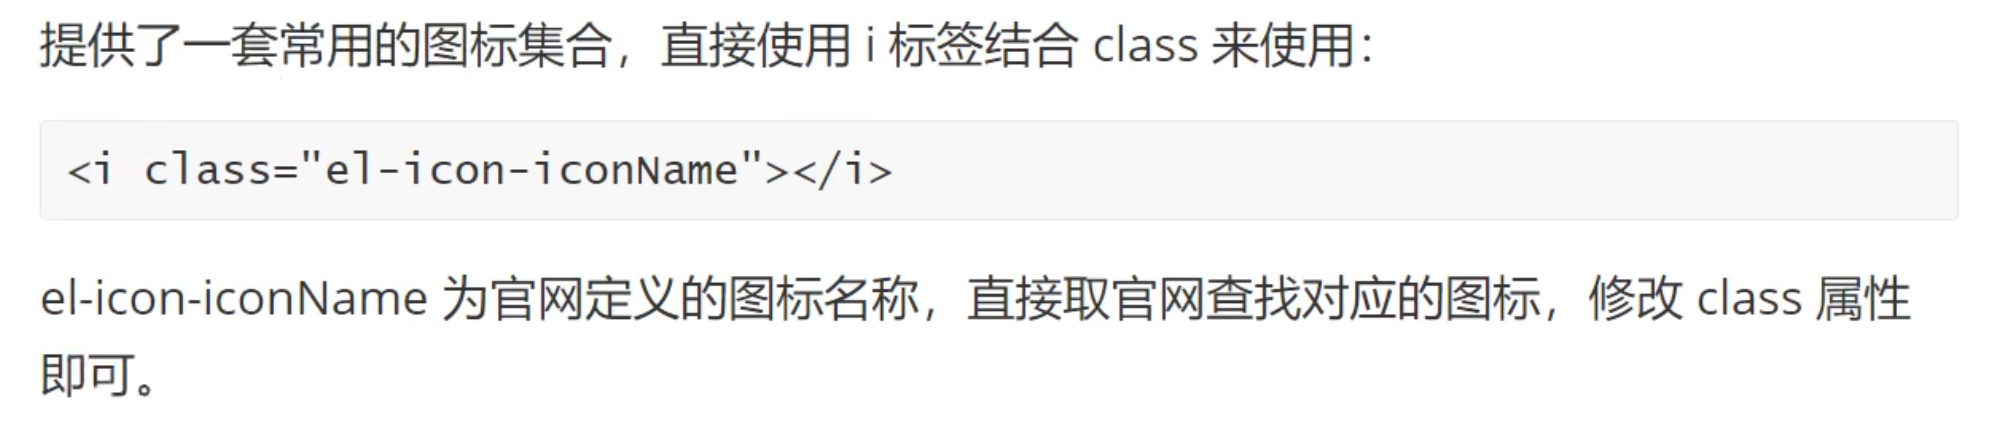
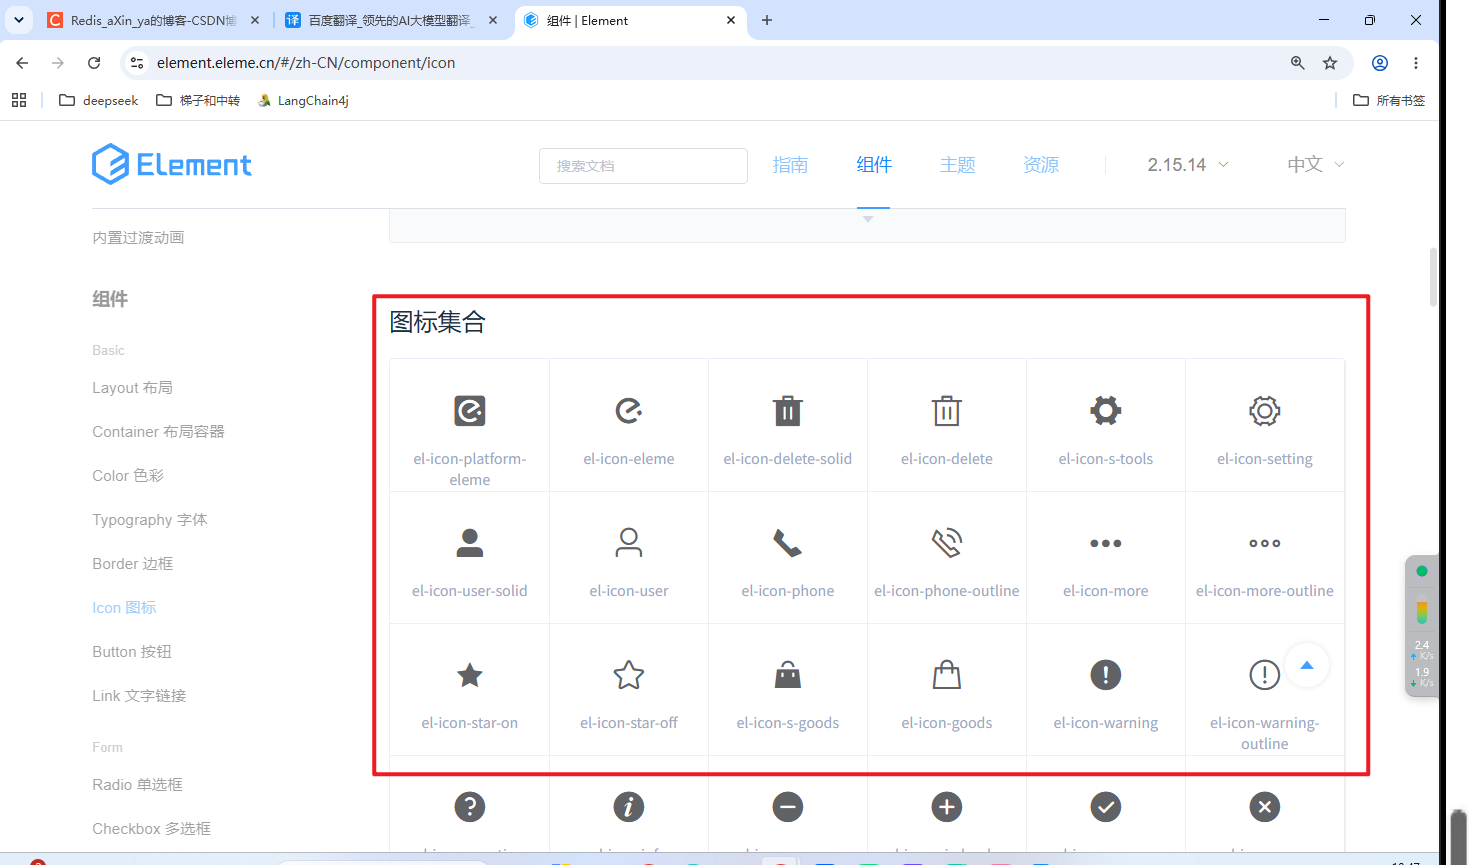
Icon 图标
Button 按钮
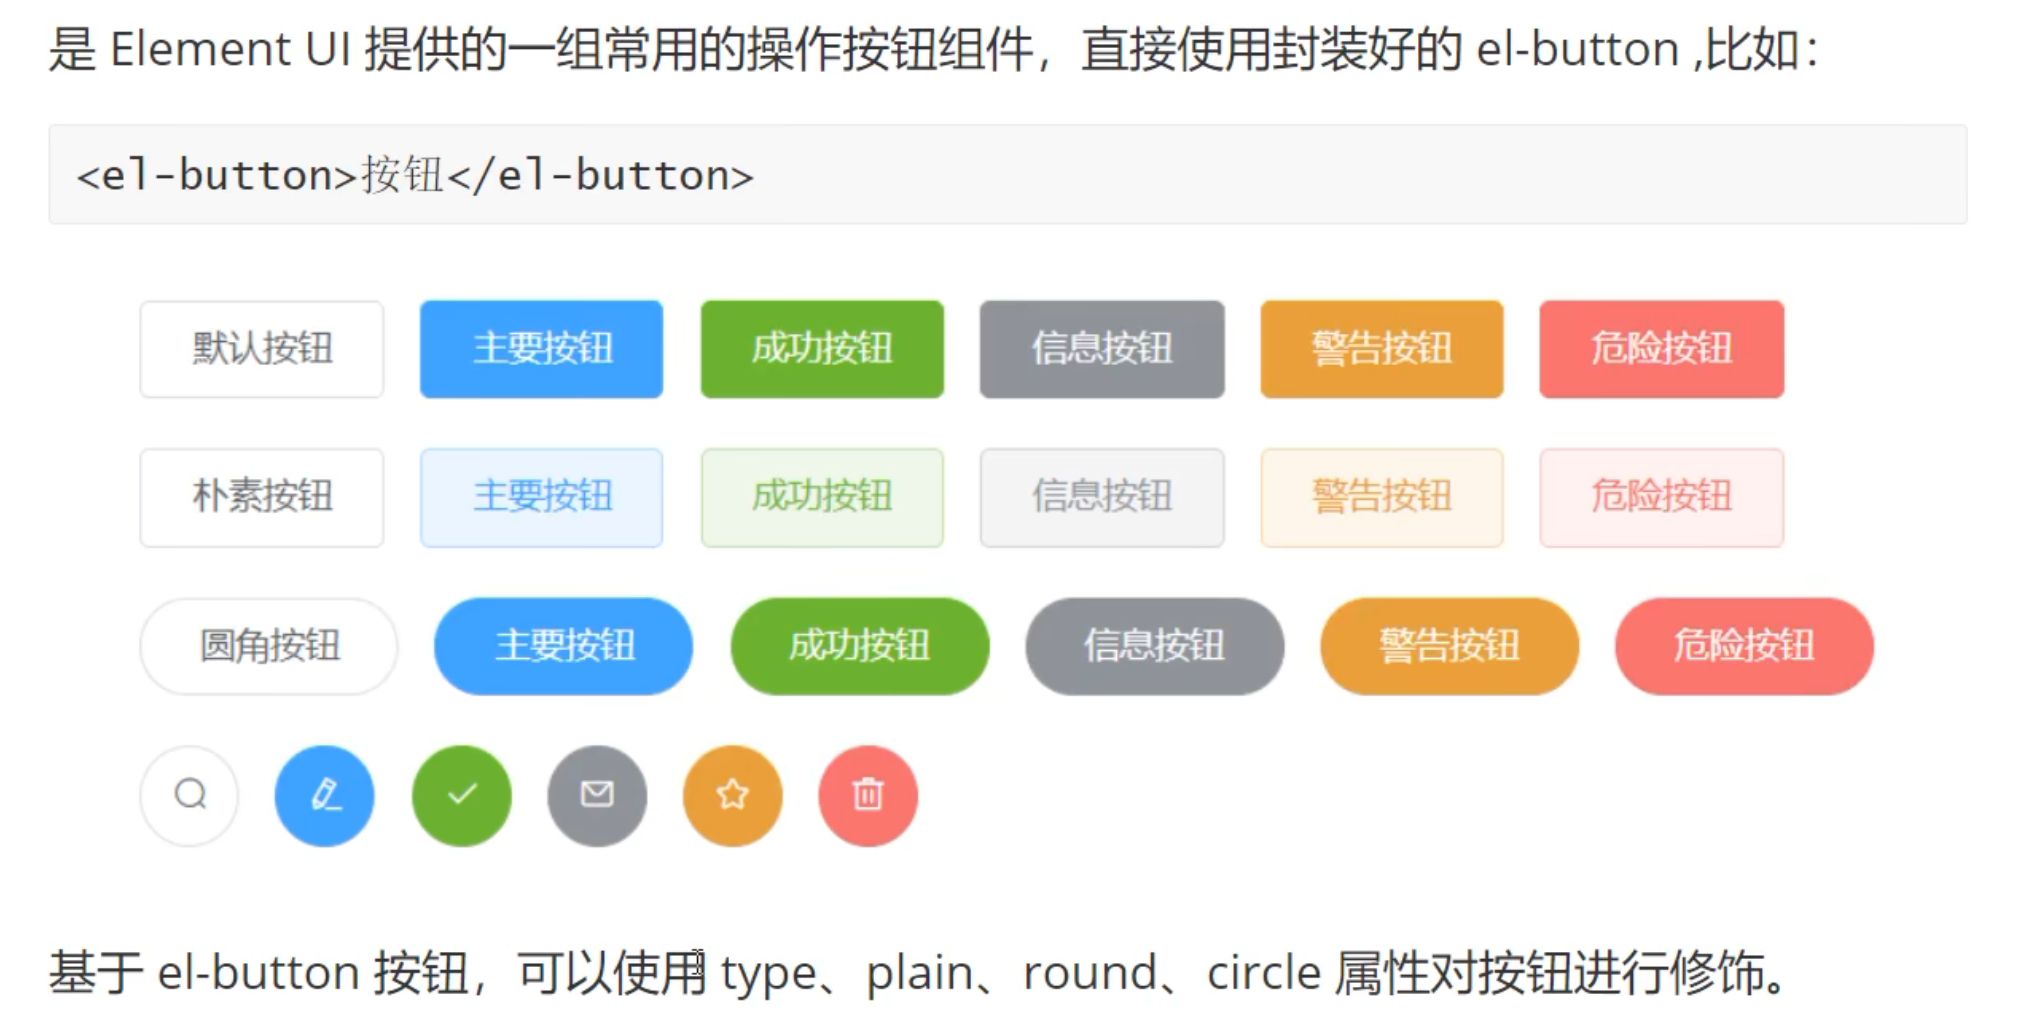
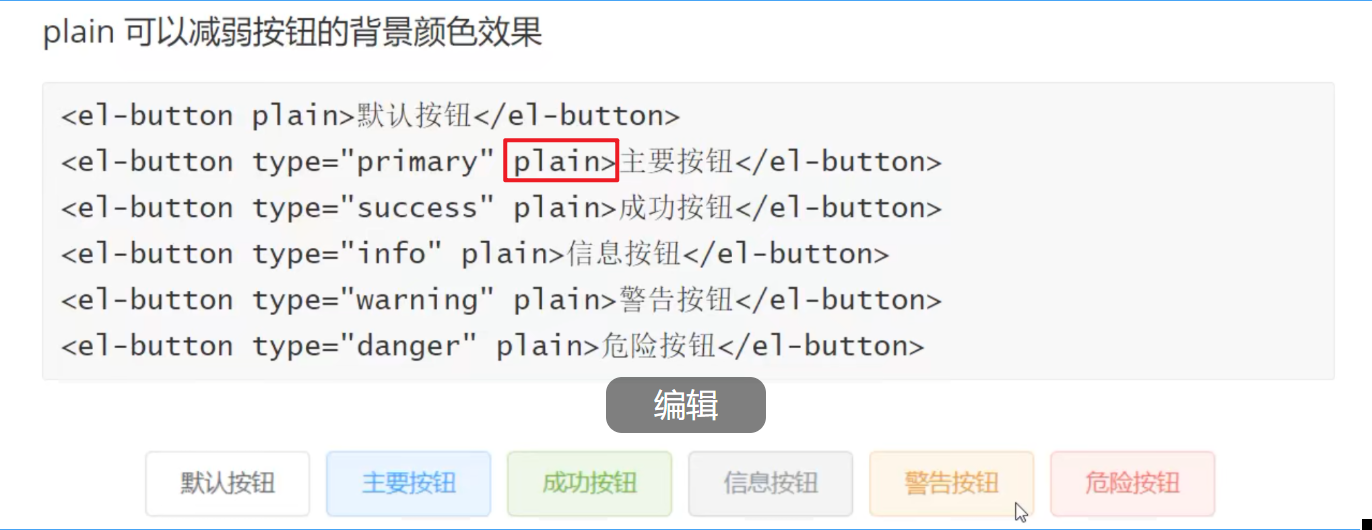
通过点击事件绑定动态加载
<!-- 禁用 / 加载中 -->
<el-button type="primary" :disabled="true">禁用</el-button>
<el-button type="primary" :loading="true">加载中</el-button>
size 属性绑定尺寸大小"medium", "small", "mini"
Button 属性(总结)
html
<template>
  <!-- 类型 -->
  <el-button>默认</el-button>
  <el-button type="primary">主要</el-button>
  <el-button type="success">成功</el-button>
  <el-button type="warning">警告</el-button>
  <el-button type="danger">危险</el-button>
  <el-button type="info">信息</el-button>

  <!-- 朴素 / 圆角 / 圆形 -->
  <el-button type="primary" plain>朴素</el-button>
  <el-button type="primary" round>圆角</el-button>
  <el-button type="primary" circle icon="el-icon-search"></el-button>

  <!-- 禁用 / 加载中 -->
  <el-button type="primary" :disabled="true">禁用</el-button>
  <el-button type="primary" :loading="true">加载中</el-button>

  <!-- 尺寸 -->
  <el-button size="medium">中</el-button>
  <el-button size="small">小</el-button>
  <el-button size="mini">迷你</el-button>
</template>类型记忆:primary(蓝)/success(绿)/warning(黄)/danger(红)/info(灰),对应你后面的业务语义(新增用 success、删除用 danger)
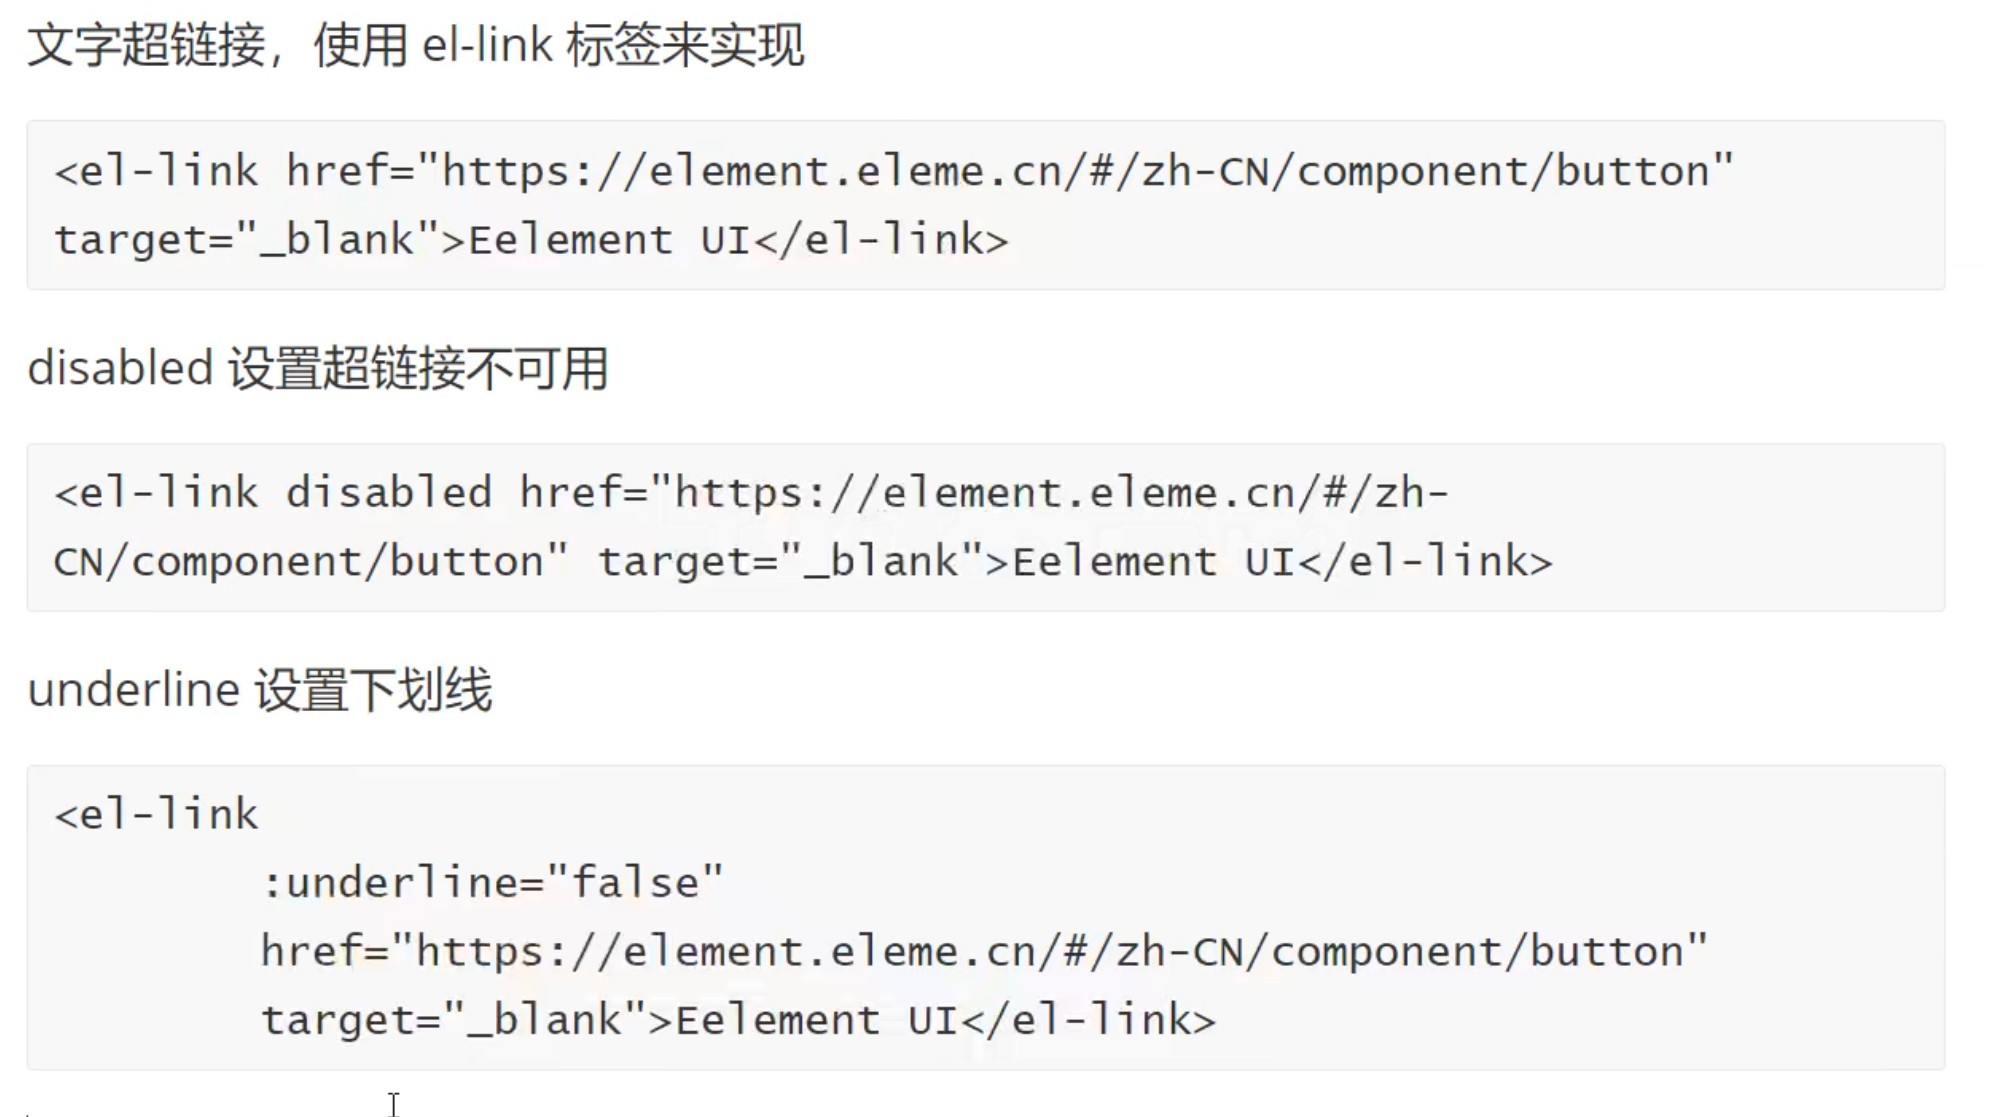
Link 文字链接
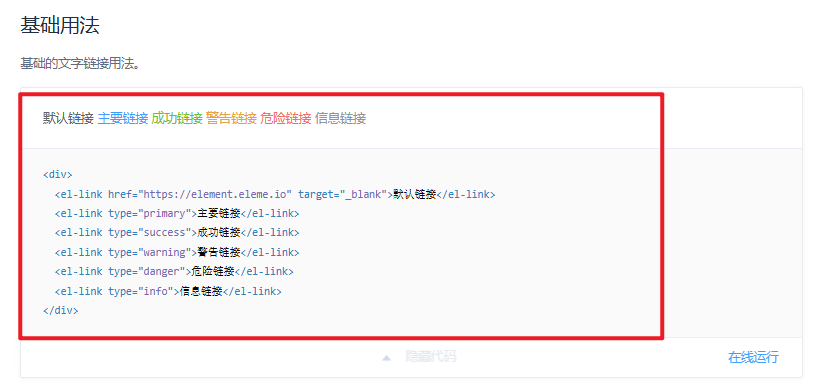
看elementui官网比看这种图片更方便快