上一章是介绍了Rectangle元素,这一章介绍Rectangle的父元素------Item元素
1、Item常用属性:
-
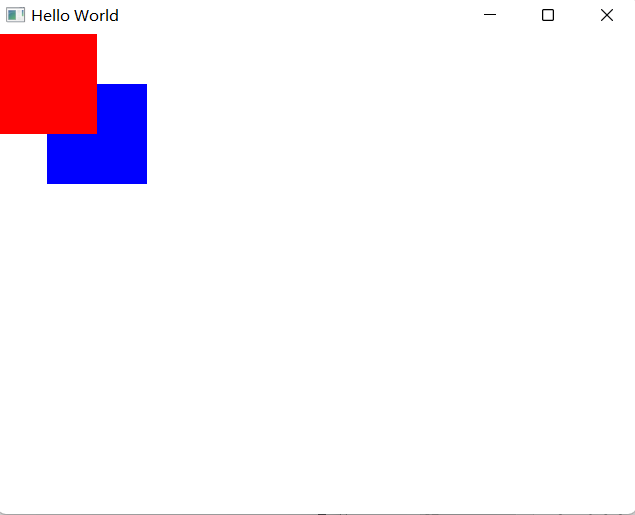
z属性:设置每个子项目的堆叠显示顺序,默认值为0,z越大,显示在最上方
Item
{
Rectangle{
color: "red"
width: 100
height: 100
z: 1
}
Rectangle{
color: "blue"
width: 100
height: 100
x: 50; y: 50
}
}
运行结果:
-
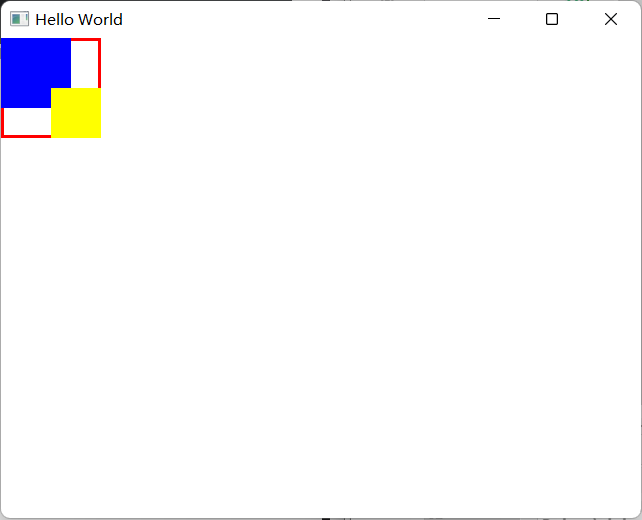
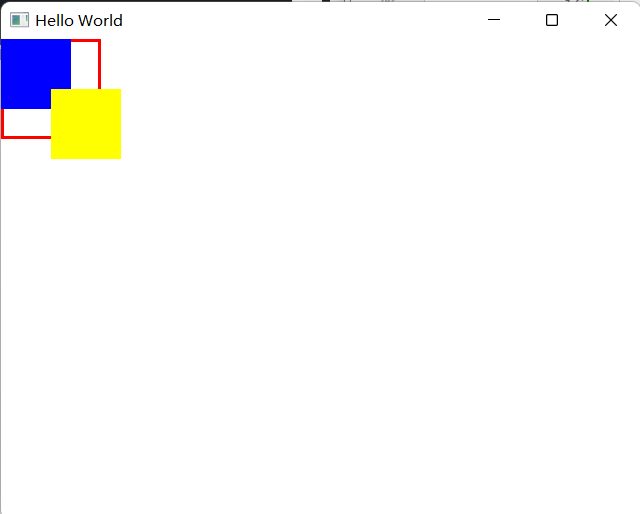
clip属性:用来控制是否把子元素超出自身边界的部分裁剪掉。默认是false(子元素可以画到父元素边界外)
Rectangle{
width: 100
height: 100
border.width: 3
border.color: "red"
clip: true
Rectangle{
width: 70
height: 70
color: "blue"
}
Rectangle{
width: 70
height: 70
x: 50
y: 50
color: "yellow"
}
}
运行结果:
当clip为false时,运行结果为:
2、打印children子元素成员
Rectangle{
        id: group
        width: 100
        height: 100
        border.width: 3
        border.color: "#000000"
        clip: true
        Rectangle{
            id: rect1
            width: 70
            height: 70
            color: "red"
        }
        Rectangle{
            id: rect2
            width: 70
            height: 70
            x: 50
            y: 50
            color: "yellow"
            visible: false //不显示
        }
        Component.onCompleted: {
            for(var i in data)
            {
                print("data[" + i + "]: ", data[i])
            }
            print("children length: ", children.length)
            for(i = 0; i<children.length; i++)
            {
                print("children[" + i + "] 坐标:", children[i].x, children[i].y)
            }
        }
    }
打印结果:
qml: data0: QQuickRectangle(0x2671310)
qml: data1: QQuickRectangle(0x2671f10)
qml: children length: 2
qml: children0 坐标: 0 0
qml: children1 坐标: 50 50
Component.onCompleted 是槽函数,在组件及其所有子对象创建完成后触发
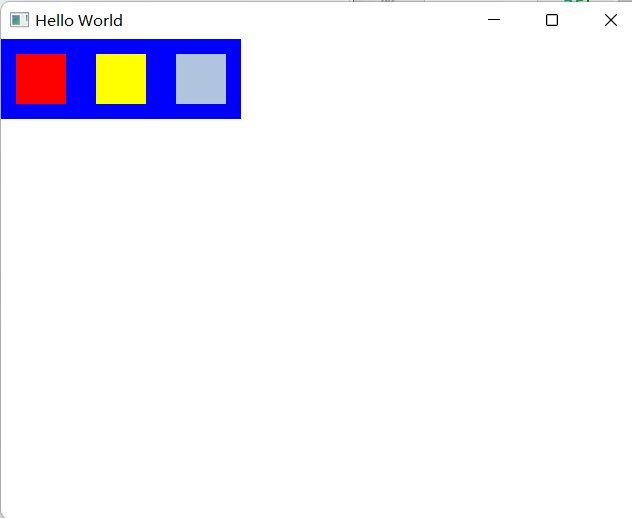
3、Anchors锚:通过它来指定每个元素与其他元素之间的位置方向
示例:
Rectangle{
        color: "blue"
        width: 240
        height: 80
        Rectangle{
            id: rect1
            color: "red"
            anchors.alignWhenCentered: false
            anchors.centerIn: parent
            anchors.horizontalCenterOffset: -parent.width/3 // 中心往左偏移
            anchors.margins: 10
            width: 50
            height: 50
        }
        Rectangle{
            id: rect2
            color: "yellow"
            anchors.alignWhenCentered: false
            anchors.centerIn: parent
            anchors.margins: 10
            width: 50
            height: 50
        }
        Rectangle{
            id: rect3
            color: "lightsteelblue"
            anchors.centerIn: parent
            anchors.horizontalCenterOffset: parent.width/3
            anchors.margins: 10
            width: 50
            height: 50
        }
    }
运行结果:
4、Keys属性使用
Item {
            anchors.fill: parent
            focus: true
            Keys.onSpacePressed: console.log("空格键按下")
    }