我第一次做嵌入式开发,然后把学习过程记录一下。
ESP32开发板
这里我选了一个我同事给我推荐的板子,叫ESP32。
具体型号为ESP32-S3开发板N16R8焊接。
我在淘宝上买的,20多块钱。
开发环境搭建
上来我用最常见的Windows做开发环境,后续我会尝试一下用Linux做开发。
官方文档地址如下:
https://docs.espressif.com/projects/esp-idf/zh_CN/stable/esp32/get-started/windows-setup.html
我的实战操作如下:
下载安装包
https://dl.espressif.com/dl/eim/
打开开始安装:
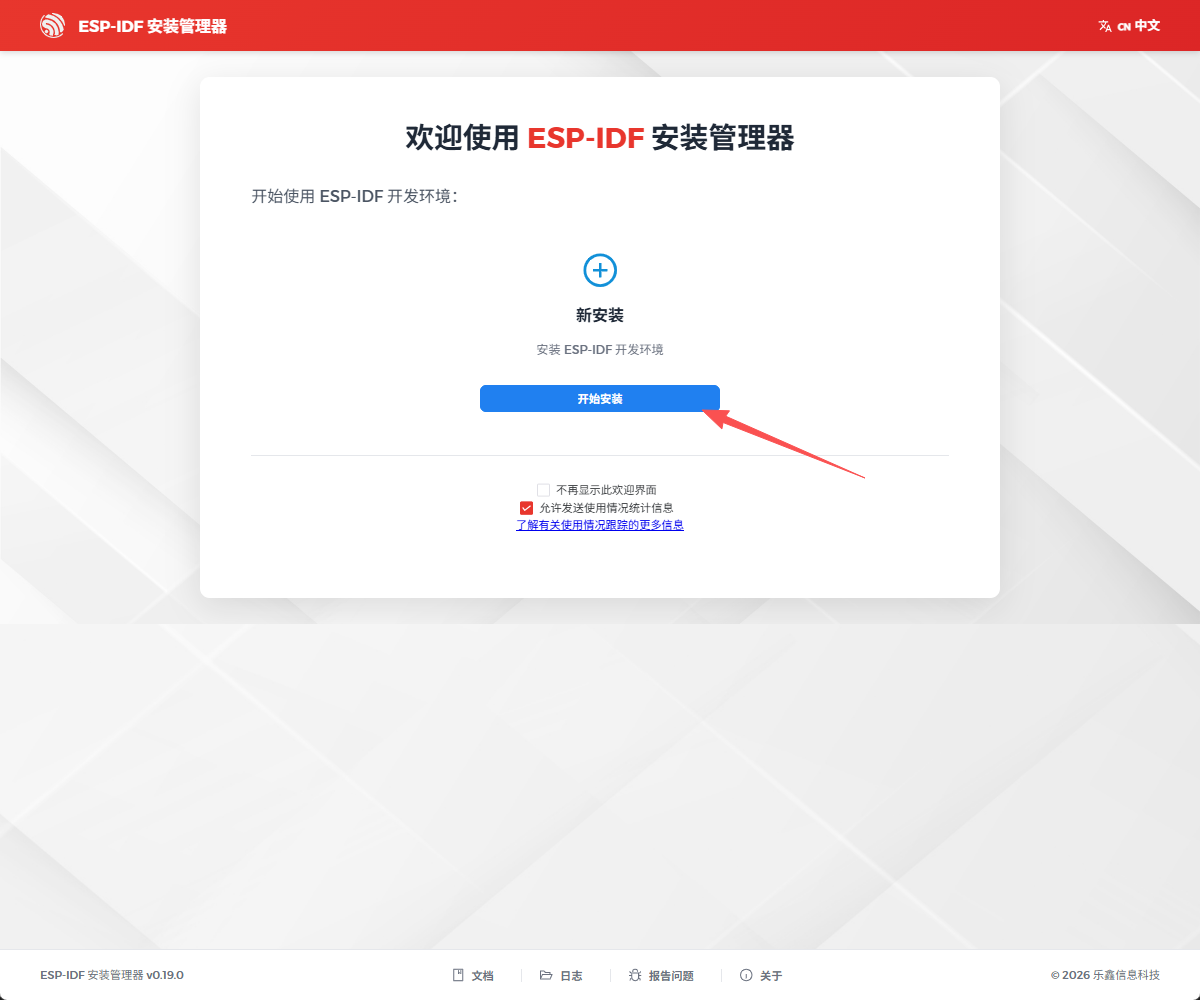
第1次玩,不折腾了,直接简易安装。
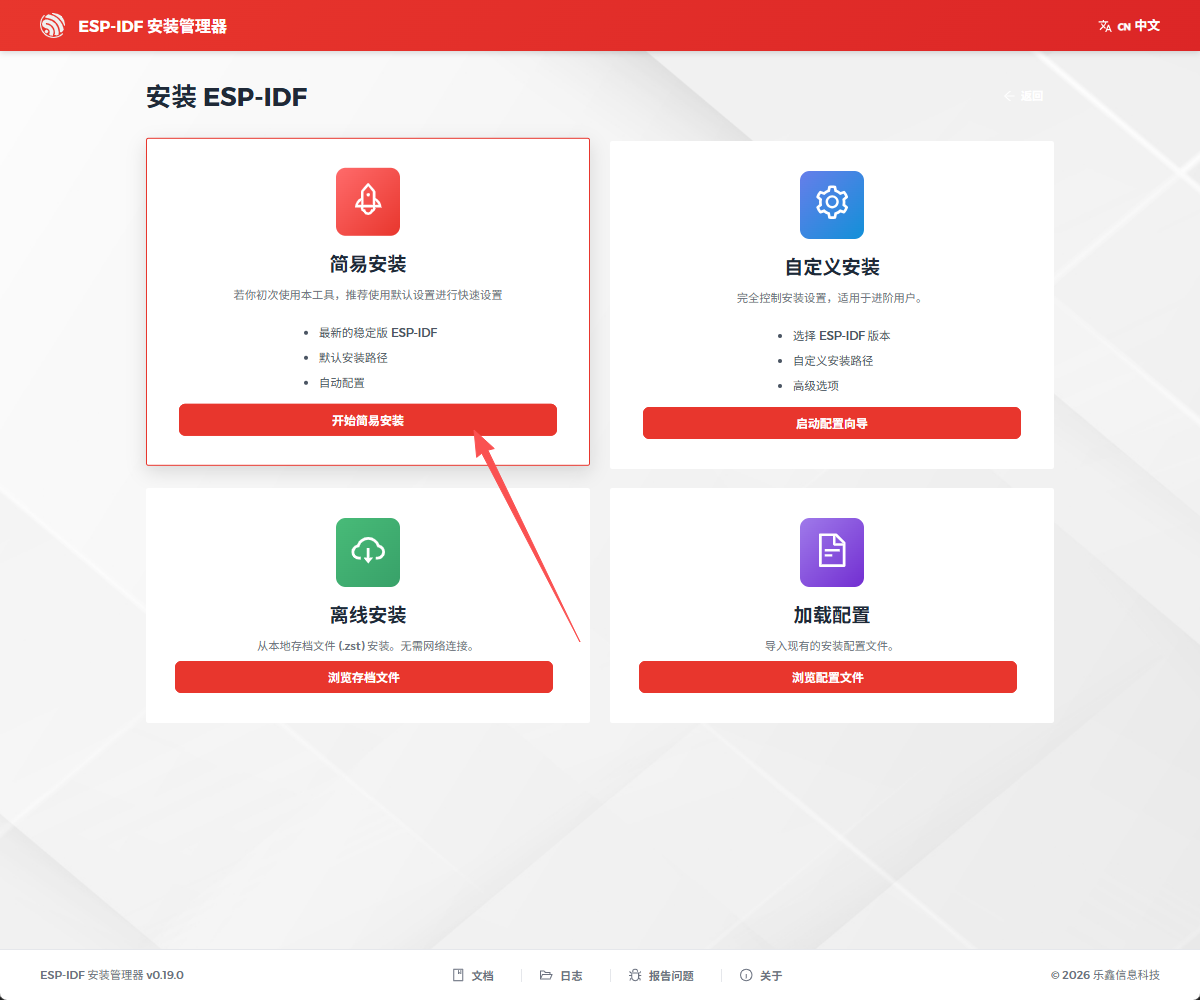
直接点开始安装
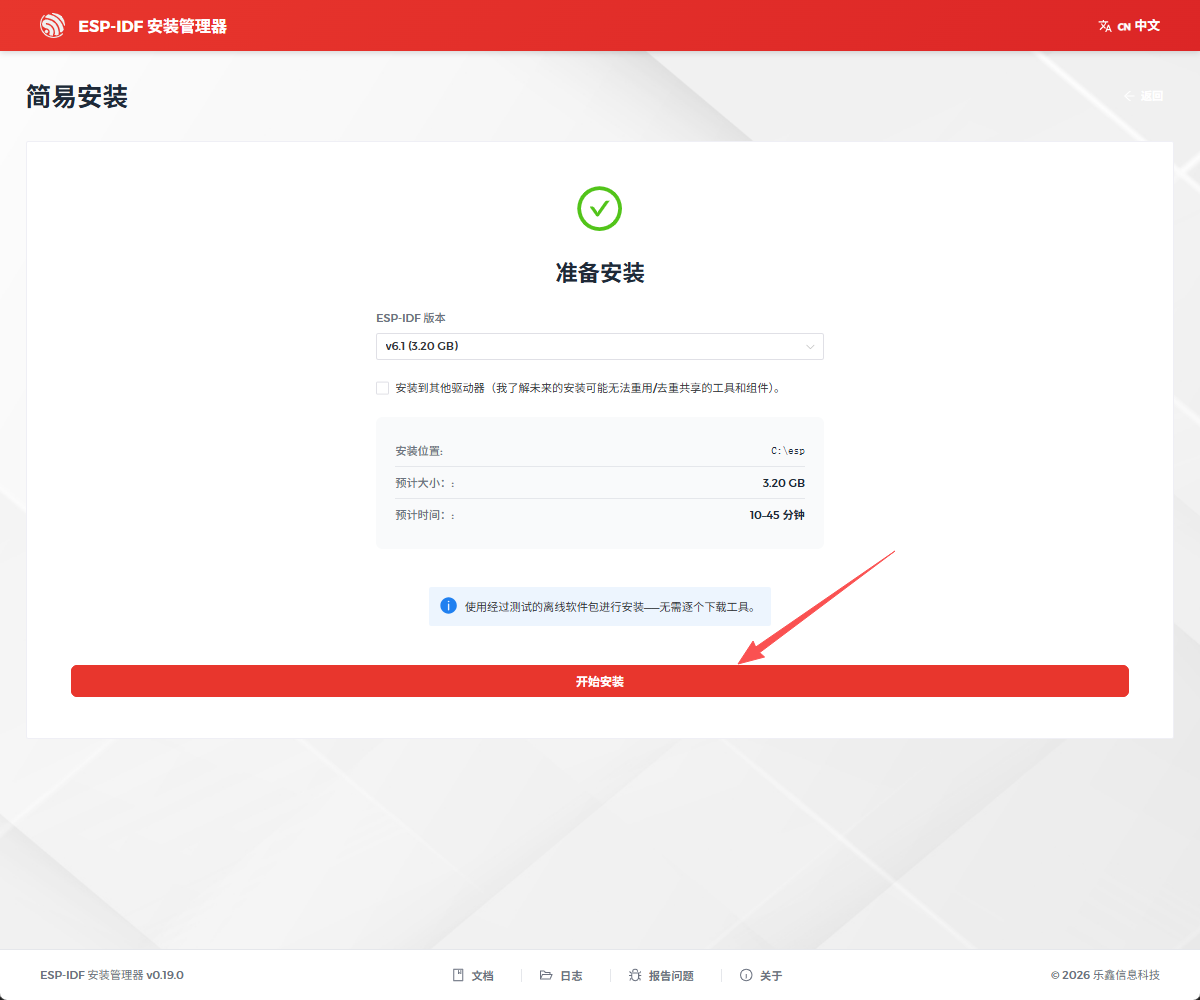
然后就开始下载安装包了
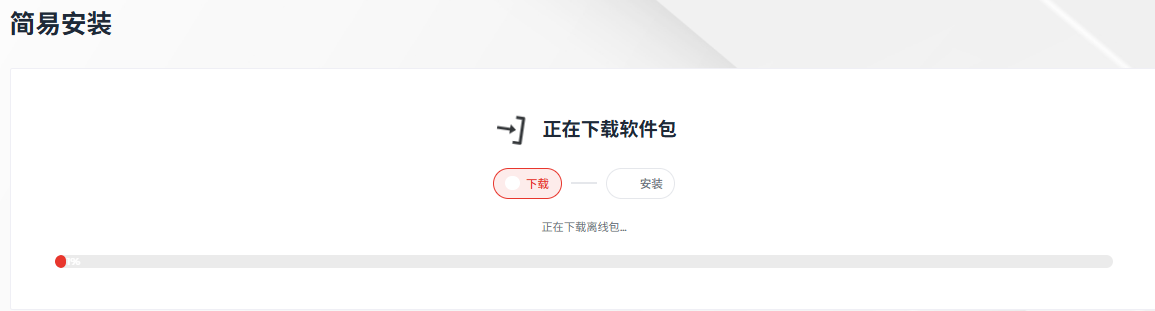
估计要下载10几分钟吧,可惜,我这里自动安装失败了。说什么找不到python的什么环境吧。我忘记截图了,然后点了个重试,说安装路径已经存在。然后又点了专家模式。
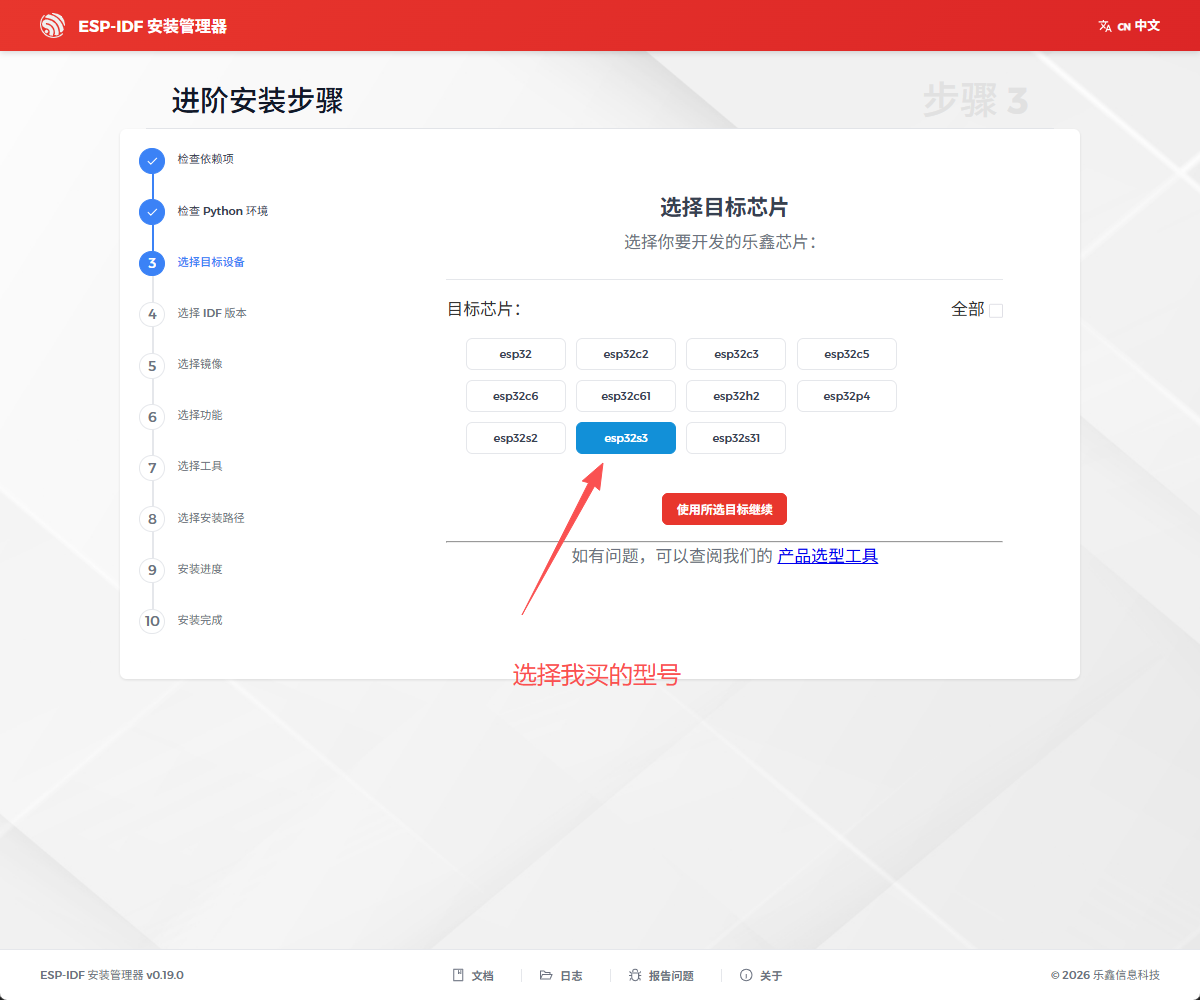
这个版本选择这里,我很怂的选择上个版本的稳定版本v5.5.5。
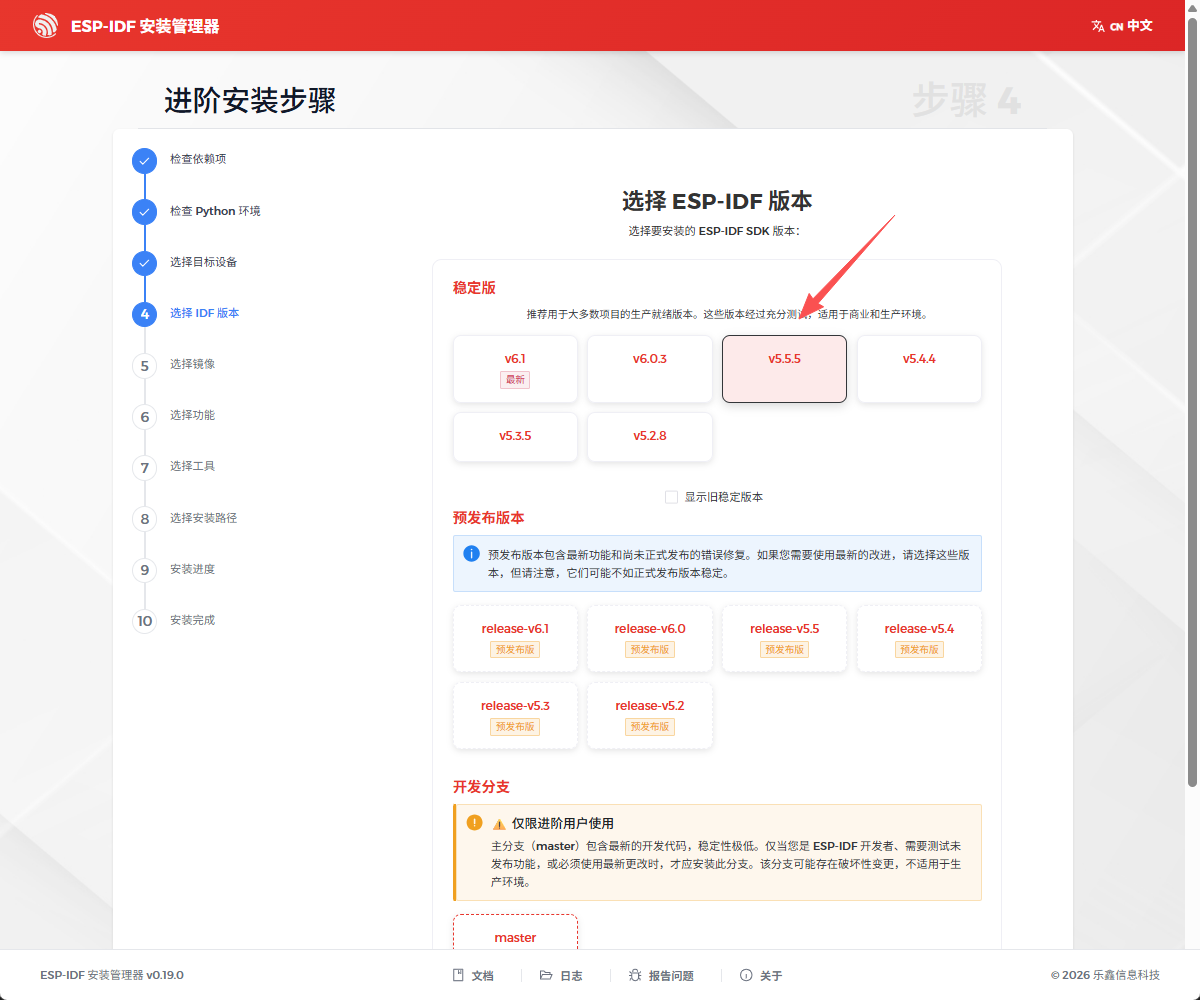
然后点击继续安装。
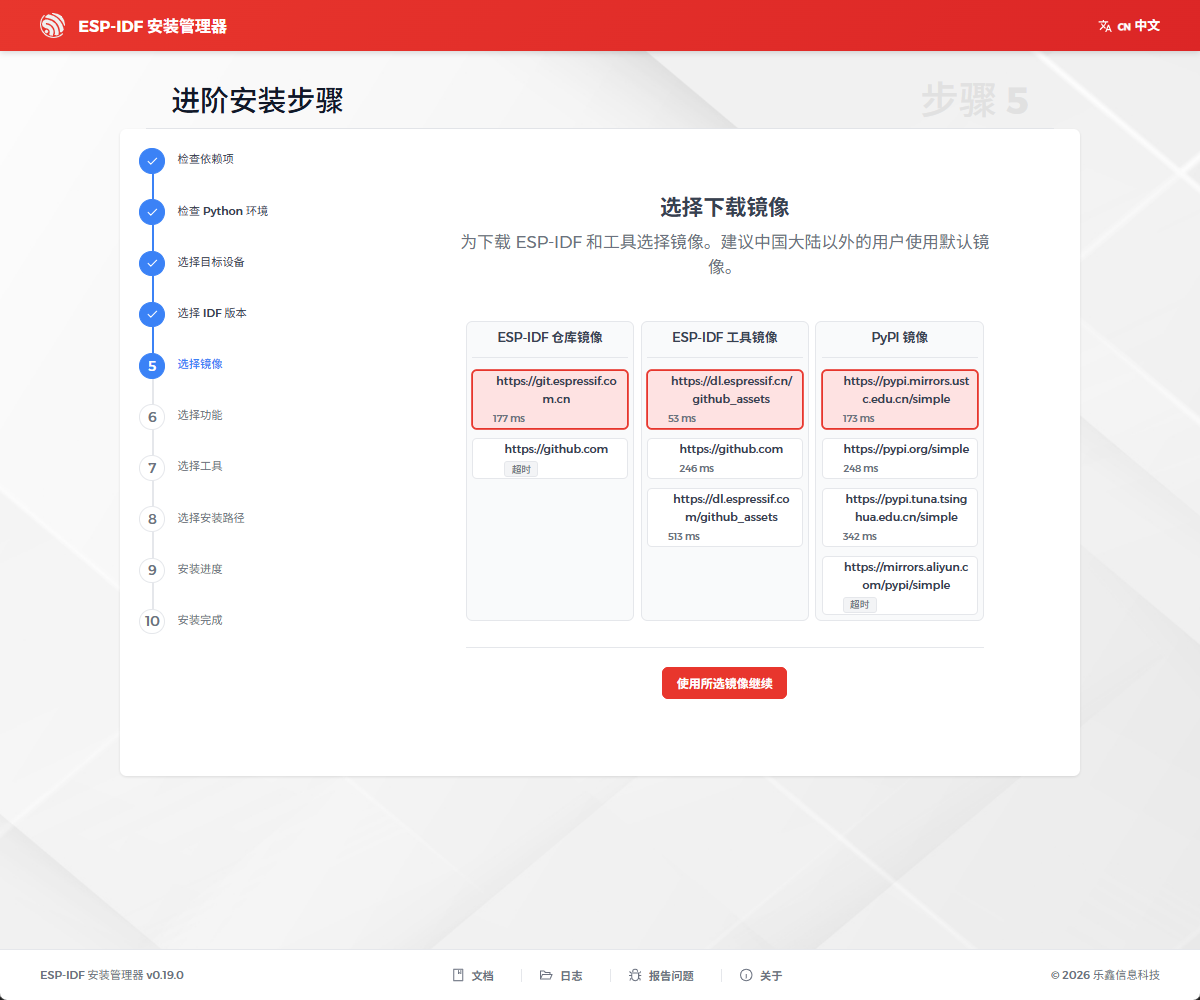
这里因为我不懂,所以我全选 ,第1 次尝试,我全选安装,后来安装失败了。原因是磁盘空间不足(原来C盘就只有不足)。后来我换了安装在D盘。
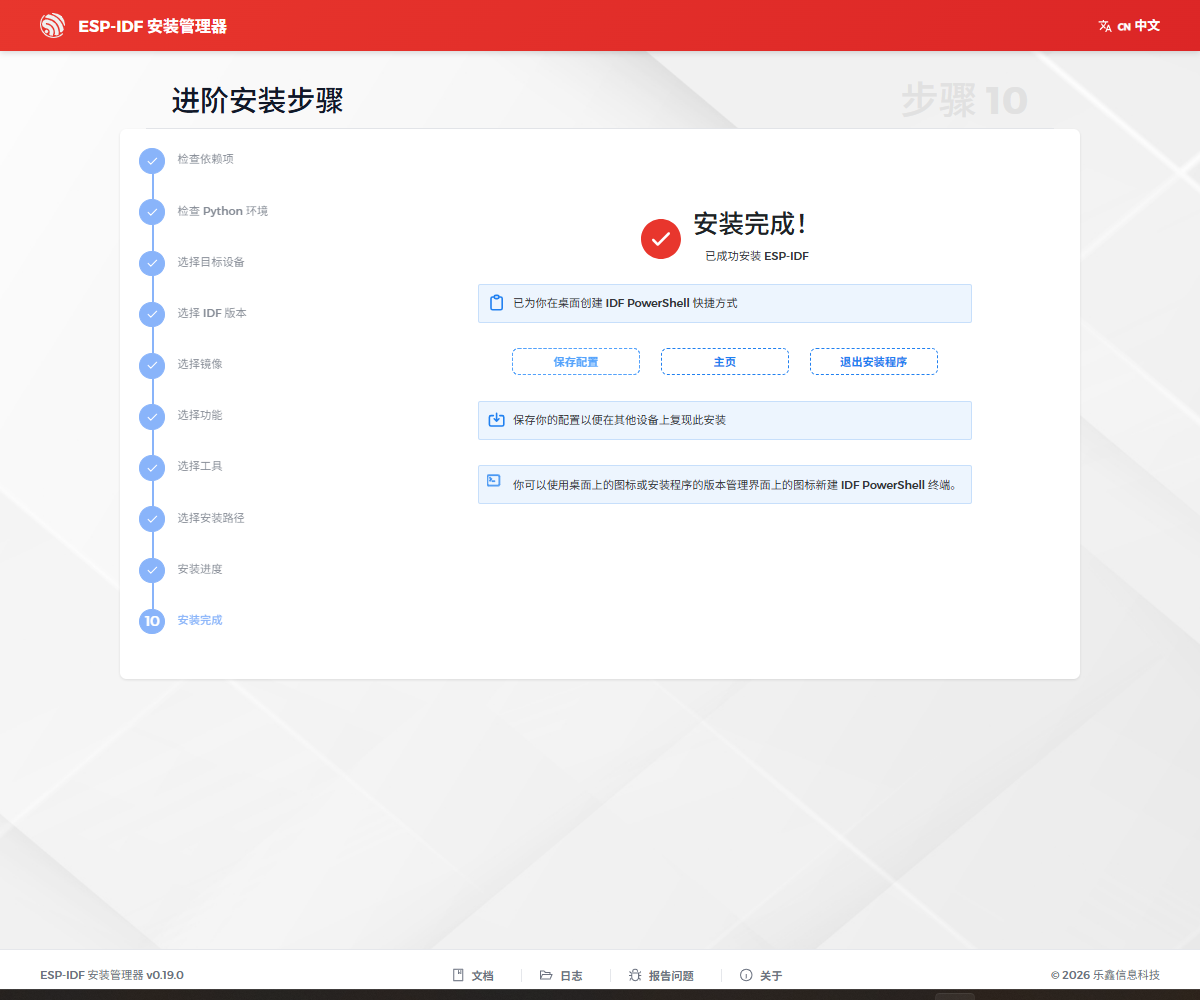
安装后C盘有一个Espressif目录,高达17GB,我感觉这个目录可能是下载的缓存吧,理论上应该可以删除吧。我暂时不敢删除
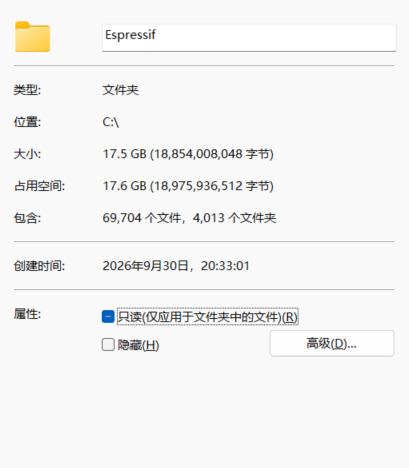
D盘的安装目录是:
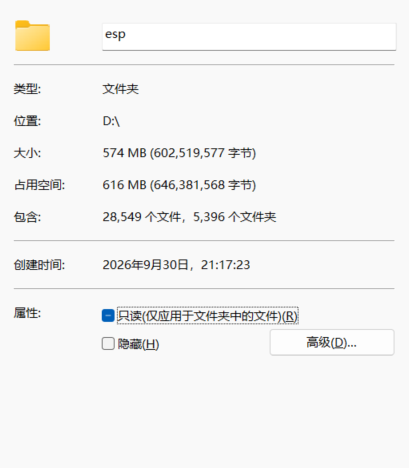
为什么会这么巨大啊,我猜测可能是因为是集成开发环境吧。把一堆依赖项目都自动安装了吧。
创建项目
为了简单点,我选择使用命令行版本的
参考:
ESP-IDF 安装完成后,EIM 会在桌面上创建 快捷方式,用于启动已激活 ESP-IDF 环境的终端。
例如,点击 IDF_v5.4.2_Powershell 快捷方式,打开已设置好环境的 PowerShell 终端。
至此,您已成功在终端中激活 ESP-IDF 环境。后续所有 ESP-IDF 相关命令都需在已激活的终端中运行。
开始创建项目
现在,可以准备开发 ESP32 应用程序了。可以从 ESP-IDF 中 examples 目录下的 get-started/hello_world 项目开始。
重要
ESP-IDF 编译系统不支持 ESP-IDF 路径或其项目路径中带有空格。
将 get-started/hello_world 项目复制至本地的 ~/esp 目录下:
bash
D:\esp\v5.5.5\esp-idf\examples\get-started\我复制到了
bash
D:\workspace\esp\hello_world获取串口信息
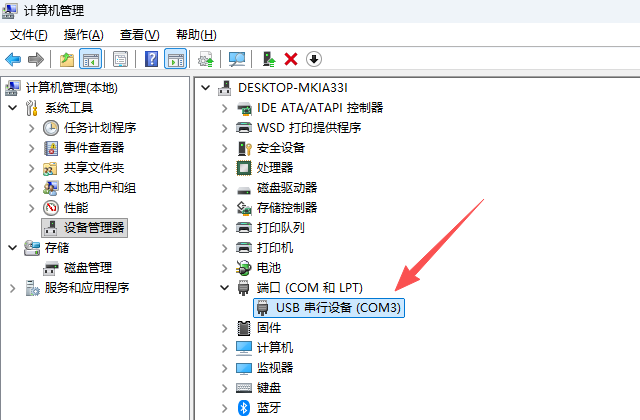
可以拔掉设备后在插上,看端口这里的设备变化,因为我这里只有一台设备,所以知道这里是COM3
bash
cd D:\workspace\esp\hello_world
idf.py set-target esp32
idf.py menuconfig
打开一个新项目后,应首先使用 idf.py set-target esp32 设置"目标"芯片。注意,此操作将清除并初始化项目之前的编译和配置(如有)。也可以直接将"目标"配置为环境变量(此时可跳过该步骤)。更多信息,请见 选择目标芯片:set-target。
正确操作上述步骤后,系统将显示以下菜单:
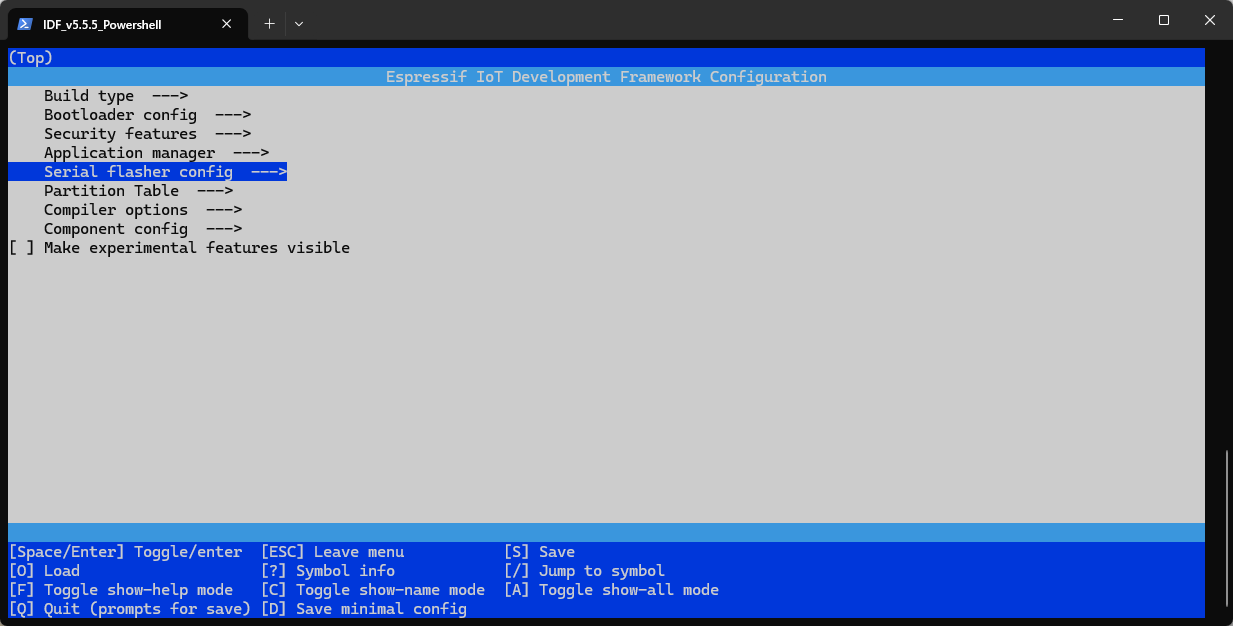
可以通过此菜单设置项目的具体变量,包括 Wi-Fi 网络名称、密码和处理器速度等。hello_world 示例项目会以默认配置运行,因此在这一项目中,可以跳过使用 menuconfig 进行项目配置这一步骤。
编译项目
请使用以下命令,编译烧录项目:
bash
idf.py build运行以上命令可以编译应用程序和所有 ESP-IDF 组件,接着生成引导加载程序、分区表和应用程序二进制文件。
如果一切正常,编译完成后将生成 .bin 文件。
烧录到设备
请运行以下命令,将刚刚生成的二进制文件烧录至 ESP32 开发板:
bash
idf.py -p PORT flash那么我这里就是上面查到的COM3
bash
idf.py -p COM3 flash我这里并没有成功
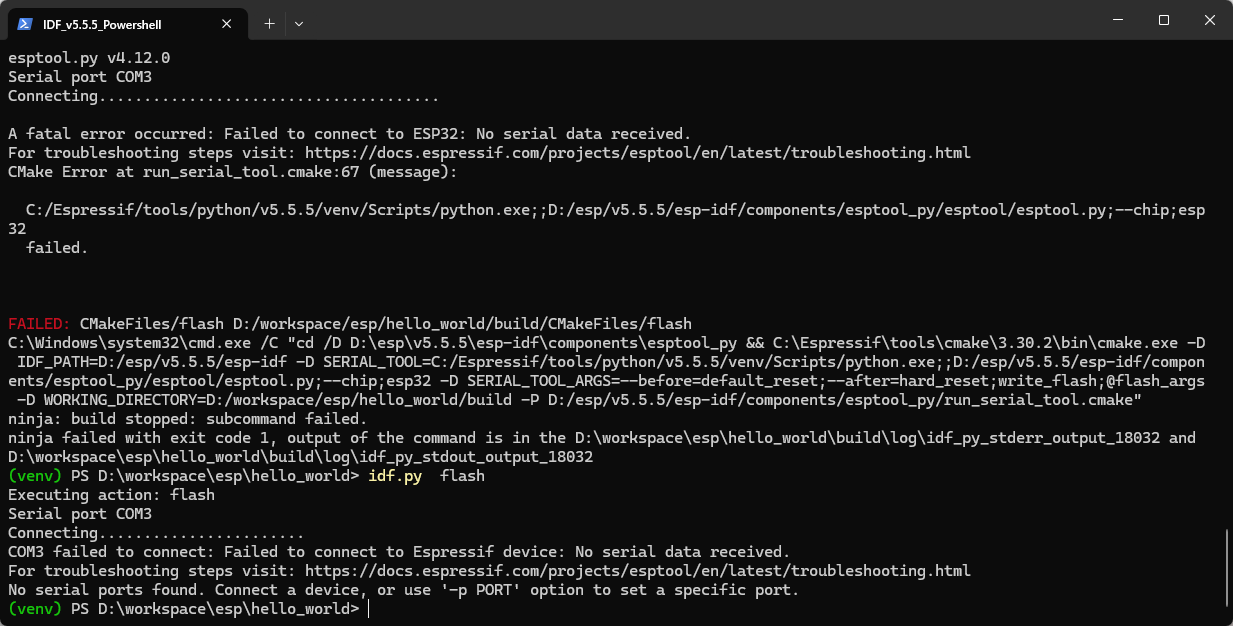
任务失败!明天在试吧。
然后问AI,说尝试按住Boot键然后点一下RST
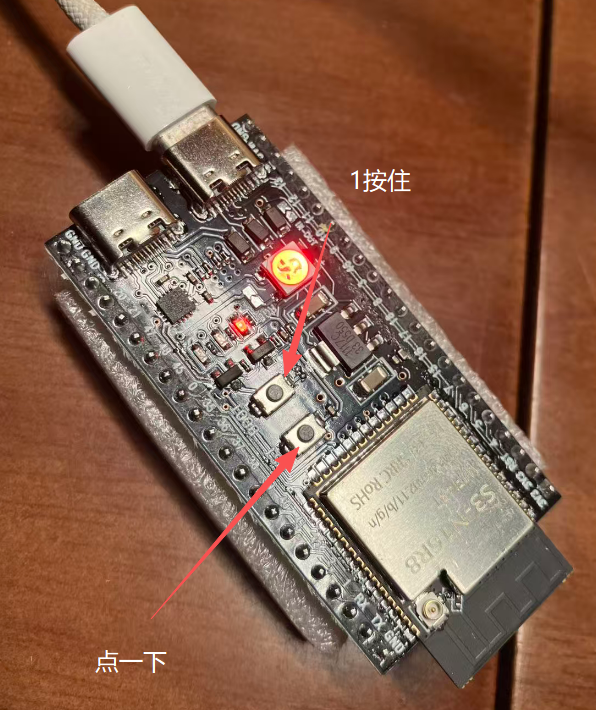
这时会听到电脑一个设备连接的咚一声,在设备管理中发现串口COM3变成COM4了。
这时执行烧写日志发生变化了。
bash
idf.py flash
bash
(venv) PS D:\workspace\esp\hello_world> idf.py flash
Executing action: flash
Serial port COM4
Connecting...
Detecting chip type... ESP32-S3
Running ninja in directory D:\workspace\esp\hello_world\build
Executing "ninja flash"...
[0/1] Re-running CMake...
-- Component directory D:/esp/v5.5.5/esp-idf/components/esp_blockdev does not contain a CMakeLists.txt file. No component will be added
-- Minimal build - ON
-- ccache will be used for faster recompilation
-- git rev-parse returned 'fatal: not a git repository (or any of the parent directories): .git'
-- Could not use 'git describe' to determine PROJECT_VER.
-- Building ESP-IDF components for target esp32
-- ESP-TEE is currently supported only on the esp32c6;esp32h2;esp32c5 SoCs
-- Project sdkconfig file D:/workspace/esp/hello_world/sdkconfig
-- Compiler supported targets: xtensa-esp-elf
-- Detecting C compiler ABI info
-- Detecting C compiler ABI info - done
-- Detecting CXX compiler ABI info
-- Detecting CXX compiler ABI info - done
-- Detecting C compiler ABI info
-- Detecting C compiler ABI info - done
-- Detecting CXX compiler ABI info
-- Detecting CXX compiler ABI info - done
-- USING O3
-- App "hello_world" version: 1
-- Adding linker script D:/workspace/esp/hello_world/build/esp-idf/esp_system/ld/memory.ld
-- Adding linker script D:/workspace/esp/hello_world/build/esp-idf/esp_system/ld/sections.ld.in
-- Adding linker script D:/esp/v5.5.5/esp-idf/components/esp_rom/esp32/ld/esp32.rom.ld
-- Adding linker script D:/esp/v5.5.5/esp-idf/components/esp_rom/esp32/ld/esp32.rom.api.ld
-- Adding linker script D:/esp/v5.5.5/esp-idf/components/esp_rom/esp32/ld/esp32.rom.libgcc.ld
-- Adding linker script D:/esp/v5.5.5/esp-idf/components/esp_rom/esp32/ld/esp32.rom.newlib-data.ld
-- Adding linker script D:/esp/v5.5.5/esp-idf/components/esp_rom/esp32/ld/esp32.rom.syscalls.ld
-- Adding linker script D:/esp/v5.5.5/esp-idf/components/esp_rom/esp32/ld/esp32.rom.libc-funcs.ld
-- Adding linker script D:/esp/v5.5.5/esp-idf/components/esp_rom/esp32/ld/esp32.rom.newlib-reent-funcs.ld
-- Adding linker script D:/esp/v5.5.5/esp-idf/components/soc/esp32/ld/esp32.peripherals.ld
-- Components: app_update bootloader bootloader_support cxx efuse esp_app_format esp_bootloader_format esp_common esp_driver_gpio esp_hw_support esp_mm esp_partition esp_pm esp_rom esp_security esp_system esp_timer esptool_py freertos hal heap log main mbedtls newlib partition_table pthread soc spi_flash xtensa
-- Component paths: D:/esp/v5.5.5/esp-idf/components/app_update D:/esp/v5.5.5/esp-idf/components/bootloader D:/esp/v5.5.5/esp-idf/components/bootloader_support D:/esp/v5.5.5/esp-idf/components/cxx D:/esp/v5.5.5/esp-idf/components/efuse D:/esp/v5.5.5/esp-idf/components/esp_app_format D:/esp/v5.5.5/esp-idf/components/esp_bootloader_format D:/esp/v5.5.5/esp-idf/components/esp_common D:/esp/v5.5.5/esp-idf/components/esp_driver_gpio D:/esp/v5.5.5/esp-idf/components/esp_hw_support D:/esp/v5.5.5/esp-idf/components/esp_mm D:/esp/v5.5.5/esp-idf/components/esp_partition D:/esp/v5.5.5/esp-idf/components/esp_pm D:/esp/v5.5.5/esp-idf/components/esp_rom D:/esp/v5.5.5/esp-idf/components/esp_security D:/esp/v5.5.5/esp-idf/components/esp_system D:/esp/v5.5.5/esp-idf/components/esp_timer D:/esp/v5.5.5/esp-idf/components/esptool_py D:/esp/v5.5.5/esp-idf/components/freertos D:/esp/v5.5.5/esp-idf/components/hal D:/esp/v5.5.5/esp-idf/components/heap D:/esp/v5.5.5/esp-idf/components/log D:/workspace/esp/hello_world/main D:/esp/v5.5.5/esp-idf/components/mbedtls D:/esp/v5.5.5/esp-idf/components/newlib D:/esp/v5.5.5/esp-idf/components/partition_table D:/esp/v5.5.5/esp-idf/components/pthread D:/esp/v5.5.5/esp-idf/components/soc D:/esp/v5.5.5/esp-idf/components/spi_flash D:/esp/v5.5.5/esp-idf/components/xtensa
-- Configuring done (19.4s)
-- Generating done (0.9s)
-- Build files have been written to: D:/workspace/esp/hello_world/build
[3/9] Generating binary image from built executable
esptool.py v4.12.0
Creating esp32 image...
Merged 2 ELF sections
Successfully created esp32 image.
Generated D:/workspace/esp/hello_world/build/hello_world.bin
[4/9] C:\Windows\system32\cmd.exe /C "cd /D D:\workspace\esp\hello_world\build\esp-idf\esptool_py && C:...llo_world/build/partition_table/partition-table.bin D:/workspace/esp/hello_world/build/hello_world.bin
hello_world.bin binary size 0x21660 bytes. Smallest app partition is 0x100000 bytes. 0xde9a0 bytes (87%) free.
[0/1] Re-running CMake...
-- Component directory D:/esp/v5.5.5/esp-idf/components/esp_blockdev does not contain a CMakeLists.txt file. No component will be added
-- Minimal build - OFF
-- Building ESP-IDF components for target esp32
-- ESP-TEE is currently supported only on the esp32c6;esp32h2;esp32c5 SoCs
-- Project sdkconfig file D:/workspace/esp/hello_world/sdkconfig
-- Compiler supported targets: xtensa-esp-elf
-- Detecting C compiler ABI info
-- Detecting C compiler ABI info - done
-- Detecting CXX compiler ABI info
-- Detecting CXX compiler ABI info - done
-- Detecting C compiler ABI info
-- Detecting C compiler ABI info - done
-- Detecting CXX compiler ABI info
-- Detecting CXX compiler ABI info - done
-- Adding linker script D:/esp/v5.5.5/esp-idf/components/soc/esp32/ld/esp32.peripherals.ld
-- Bootloader project name: "bootloader" version: 1
-- Adding linker script D:/esp/v5.5.5/esp-idf/components/esp_rom/esp32/ld/esp32.rom.ld
-- Adding linker script D:/esp/v5.5.5/esp-idf/components/esp_rom/esp32/ld/esp32.rom.api.ld
-- Adding linker script D:/esp/v5.5.5/esp-idf/components/esp_rom/esp32/ld/esp32.rom.libgcc.ld
-- Adding linker script D:/esp/v5.5.5/esp-idf/components/esp_rom/esp32/ld/esp32.rom.libc-funcs.ld
-- Adding linker script D:/esp/v5.5.5/esp-idf/components/bootloader/subproject/main/ld/esp32/bootloader.rom.ld
-- Components: bootloader bootloader_support efuse esp_app_format esp_bootloader_format esp_common esp_hw_support esp_rom esp_security esp_system esptool_py freertos hal log main micro-ecc newlib partition_table soc spi_flash xtensa
-- Component paths: D:/esp/v5.5.5/esp-idf/components/bootloader D:/esp/v5.5.5/esp-idf/components/bootloader_support D:/esp/v5.5.5/esp-idf/components/efuse D:/esp/v5.5.5/esp-idf/components/esp_app_format D:/esp/v5.5.5/esp-idf/components/esp_bootloader_format D:/esp/v5.5.5/esp-idf/components/esp_common D:/esp/v5.5.5/esp-idf/components/esp_hw_support D:/esp/v5.5.5/esp-idf/components/esp_rom D:/esp/v5.5.5/esp-idf/components/esp_security D:/esp/v5.5.5/esp-idf/components/esp_system D:/esp/v5.5.5/esp-idf/components/esptool_py D:/esp/v5.5.5/esp-idf/components/freertos D:/esp/v5.5.5/esp-idf/components/hal D:/esp/v5.5.5/esp-idf/components/log D:/esp/v5.5.5/esp-idf/components/bootloader/subproject/main D:/esp/v5.5.5/esp-idf/components/bootloader/subproject/components/micro-ecc D:/esp/v5.5.5/esp-idf/components/newlib D:/esp/v5.5.5/esp-idf/components/partition_table D:/esp/v5.5.5/esp-idf/components/soc D:/esp/v5.5.5/esp-idf/components/spi_flash D:/esp/v5.5.5/esp-idf/components/xtensa
-- Adding linker script D:/esp/v5.5.5/esp-idf/components/bootloader/subproject/main/ld/esp32/bootloader.ld
-- Configuring done (9.8s)
-- Generating done (0.4s)
-- Build files have been written to: D:/workspace/esp/hello_world/build/bootloader
[1/2] C:\Windows\system32\cmd.exe /C "cd /D D:\workspace\esp\hello_world\build\bootloader\esp-idf\espto...izes.py --offset 0x8000 bootloader 0x1000 D:/workspace/esp/hello_world/build/bootloader/bootloader.bin
Bootloader binary size 0x6610 bytes. 0x9f0 bytes (9%) free.
[7/9] C:\Windows\system32\cmd.exe /C "cd /D D:\esp\v5.5.5\esp-idf\components\esptool_py && C:\Espressif...:/workspace/esp/hello_world/build -P D:/esp/v5.5.5/esp-idf/components/esptool_py/run_serial_tool.cmake
esptool.py --chip esp32 -p COM4 -b 460800 --before=default_reset --after=hard_reset write_flash --flash_mode dio --flash_freq 40m --flash_size 2MB 0x1000 bootloader/bootloader.bin 0x10000 hello_world.bin 0x8000 partition_table/partition-table.bin
esptool.py v4.12.0
Serial port COM4
Connecting...

A fatal error occurred: This chip is ESP32-S3, not ESP32. Wrong --chip argument?
CMake Error at run_serial_tool.cmake:67 (message):

  C:/Espressif/tools/python/v5.5.5/venv/Scripts/python.exe;;D:/esp/v5.5.5/esp-idf/components/esptool_py/esptool/esptool.py;--chip;esp32
  failed.


FAILED: CMakeFiles/flash D:/workspace/esp/hello_world/build/CMakeFiles/flash
C:\Windows\system32\cmd.exe /C "cd /D D:\esp\v5.5.5\esp-idf\components\esptool_py && C:\Espressif\tools\cmake\3.30.2\bin\cmake.exe -D IDF_PATH=D:/esp/v5.5.5/esp-idf -D SERIAL_TOOL=C:/Espressif/tools/python/v5.5.5/venv/Scripts/python.exe;;D:/esp/v5.5.5/esp-idf/components/esptool_py/esptool/esptool.py;--chip;esp32 -D SERIAL_TOOL_ARGS=--before=default_reset;--after=hard_reset;write_flash;@flash_args -D WORKING_DIRECTORY=D:/workspace/esp/hello_world/build -P D:/esp/v5.5.5/esp-idf/components/esptool_py/run_serial_tool.cmake"
ninja: build stopped: subcommand failed.
ninja failed with exit code 1, output of the command is in the D:\workspace\esp\hello_world\build\log\idf_py_stderr_output_5308 and D:\workspace\esp\hello_world\build\log\idf_py_stdout_output_5308
(venv) PS D:\workspace\esp\hello_world>
在日志中看到
A fatal error occurred: This chip is ESP32-S3, not ESP32. Wrong --chip argument?
CMake Error at run_serial_tool.cmake:67 (message):
对,这次日志已经把问题定位得非常清楚了。你的开发板实际上是 ESP32-S3,而你的项目目前按照普通 ESP32 在烧录。
最关键的一行:
text
A fatal error occurred: This chip is ESP32-S3, not ESP32. Wrong --chip argument?也就是说现在的情况是:
text
你的开发板:ESP32-S3
        ↓
当前项目配置:ESP32
        ↓
esptool:--chip esp32
        ↓
发现芯片其实是 ESP32-S3
        ↓
烧录失败
解决方法
你需要把项目的 Target 从 esp32 改成 esp32s3。
在当前项目:
powershell
cd D:\workspace\esp\hello_world执行:
powershell
idf.py set-target esp32s3正常应该会看到类似:
text
Set Target to: esp32s3, new sdkconfig will be created.然后重新编译:
powershell
idf.py build最后烧录:
powershell
idf.py -p COM4 flash这次就烧录成功了。
监视输出
可以使用 idf.py -p PORT monitor 命令,监视 "hello_world" 项目的运行情况。注意,不要忘记将 PORT 替换为自己的串口名称。
运行该命令后,IDF 监视器 应用程序将启动。
我这里显示的内容如下:
bash
(venv) PS D:\workspace\esp\hello_world> idf.py  monitor
Executing action: monitor
Serial port COM4
Connecting...
Detecting chip type... ESP32-S3
Running idf_monitor in directory D:\workspace\esp\hello_world
Executing "C:\Espressif\tools\python\v5.5.5\venv\Scripts\python.exe D:\esp\v5.5.5\esp-idf\tools/idf_monitor.py -p COM4 -b 115200 --toolchain-prefix xtensa-esp32s3-elf- --target esp32s3 --revision 0 D:\workspace\esp\hello_world\build\hello_world.elf D:\workspace\esp\hello_world\build\bootloader\bootloader.elf --force-color -m 'C:\Espressif\tools\python\v5.5.5\venv\Scripts\python.exe' 'D:\esp\v5.5.5\esp-idf\tools\idf.py'"...
--- WARNING: GDB cannot open serial ports accessed as COMx
--- NOTE: Using \\.\COM4 instead...
--- esp-idf-monitor 1.10.0 on \\.\COM4 115200
--- Quit: Ctrl+] | Menu: Ctrl+T | Help: Ctrl+T followed by Ctrl+H
ESP-ROM:esp32s3-20210327
Build:Mar 27 2021
rst:0x15 (USB_UART_CHIP_RESET),boot:0x0 (DOWNLOAD(USB/UART0))
Saved PC:0x40048d14
--- 0x40048d14: uart_rx_one_char in ROM
waiting for download
并没有我想要的hello world的输出。
对,烧录已经成功了。现在的问题也很明确:
text
boot:0x0 (DOWNLOAD(USB/UART0))
waiting for download
说明你的 ESP32-S3 现在还停留在下载模式 ,没有启动刚才写进去的 hello_world 程序。
现在这样做
先退出当前 monitor:
text
Ctrl + ]然后不要按 BOOT,直接按一下开发板上的:
text
RST / RESET / EN然后重新:
powershell
idf.py monitor或者更简单:
powershell
idf.py -p COM4 monitor正常情况下应该看到类似:
text
Hello world!
This is ESP32-S3 chip with 2 CPU cores
Chip revision: v0.2
...
Restarting in 10 seconds...
如果你的 hello_world 是 ESP-IDF 自带的经典示例,它会不断输出类似:
text
I (251) main_task: Calling app_main()
Hello world!
This is esp32s3 chip with 2 CPU core(s), WiFi/BLE, silicon revision v0.2, 2MB external flash
Minimum free heap size: 391992 bytes
Restarting in 10 seconds...
Restarting in 9 seconds...
Restarting in 8 seconds...