OPEN SSH
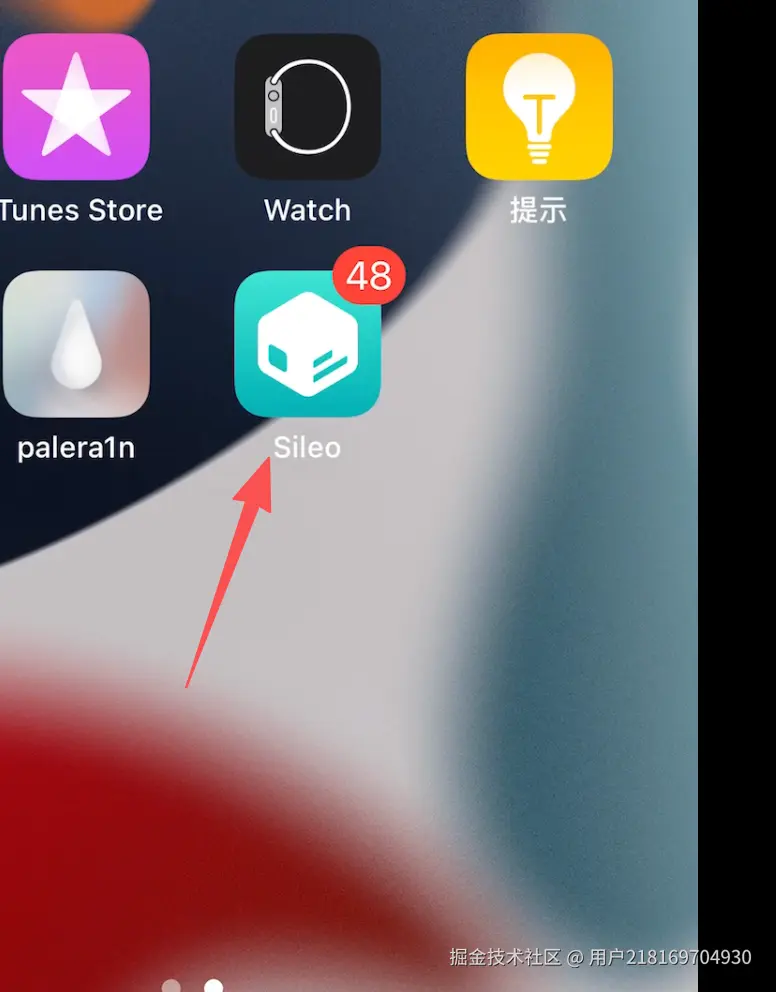
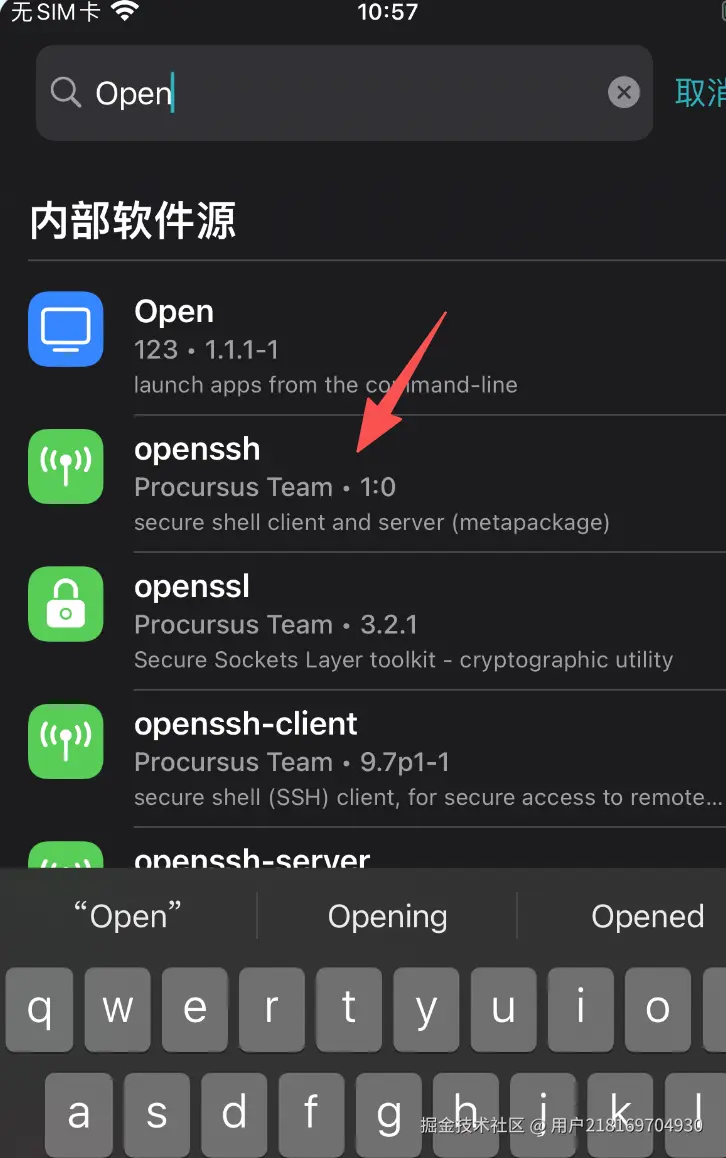
选择搜索,输入框输入openssh
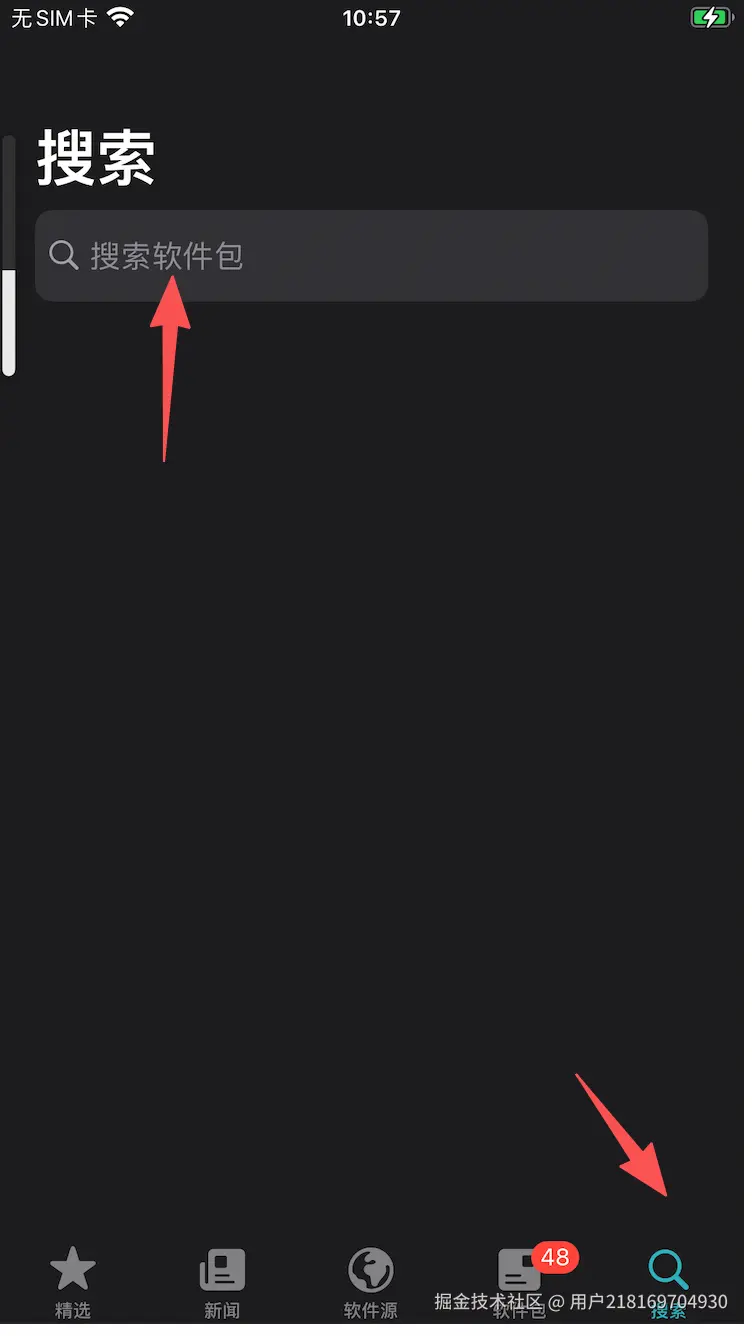
然后安装一个openssh。
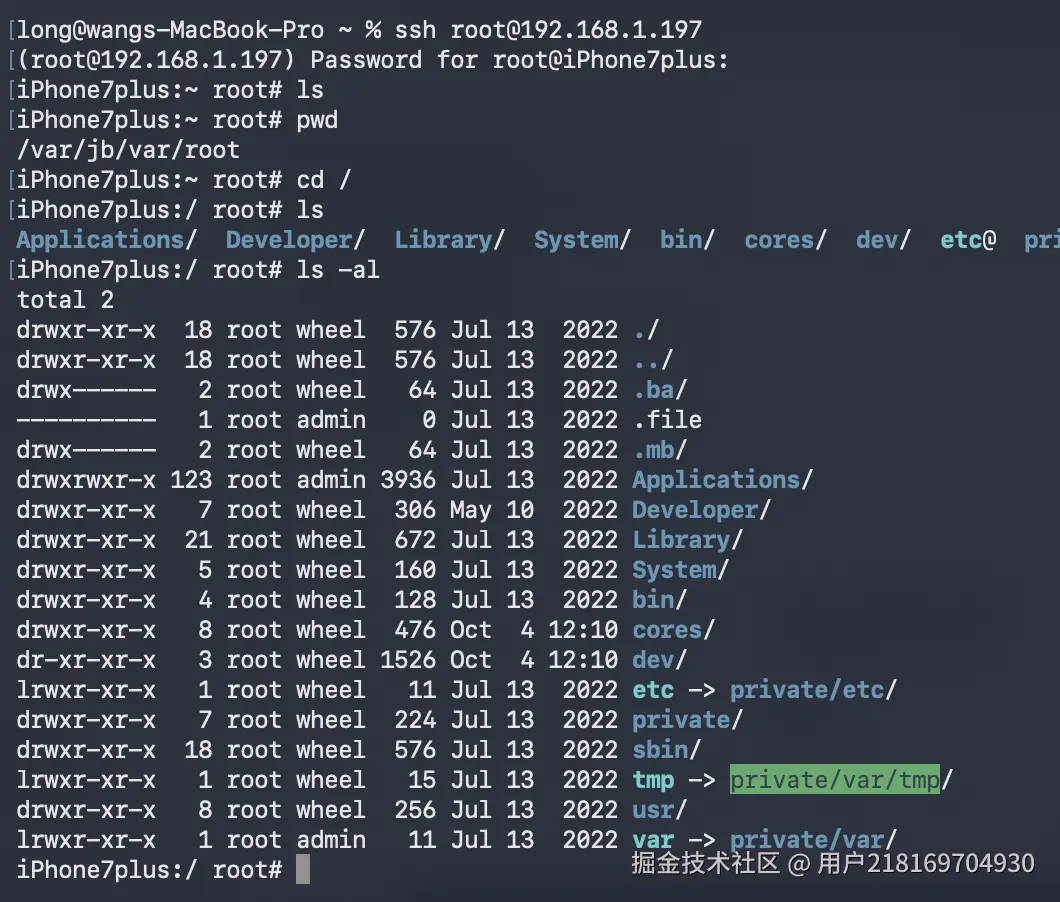
安装NewTerm 修改密码
sudo passwd root接着就可以在mac电脑连接了。记得mac电脑和越狱手机连的是同一个wifi。
免密登录
除了登录到越狱设备。登录到任意一台linux服务器也是一样的逻辑。
arduino
// 表示不需要密码去验证 -P "hello world"还需要密码
ssh-keygen -t rsa -P ""
生成公钥和私钥文件。
vbnet
long@wangs-MacBook-Pro .ssh % ssh-keygen -t rsa -N ""
Generating public/private rsa key pair.
Enter file in which to save the key (/Users/long/.ssh/id_rsa): iphone7Plus
Your identification has been saved in iphone7Plus
Your public key has been saved in iphone7Plus.pub
The key fingerprint is:
SHA256:u9+jUB4htOjlBs7cND87PItkdFlKVwgeSW6KbXH33vg long@wangs-MacBook-Pro.local
The key's randomart image is:
+---[RSA 3072]----+
|        ..+o ..  |
|       o +....   |
|      o B B +    |
|     = O X B .   |
|      * S O   .  |
|       + * + . o |
|        = *   o .|
|       o + =.  . |
|        o.+...  E|
+----[SHA256]-----+
long@wangs-MacBook-Pro .ssh % ls
agent		config		iphone7Plus	iphone7Plus.pub	known_hosts	known_hosts.old
long@wangs-MacBook-Pro .ssh % 然后将.pub上传到手机。scp ihone7Plus.pub root@192.168.1.198://var/jb/var/root/.ssh。
执行cat iphone7Plus.pub >> ~/.ssh/authorized_keys就操作好了。
macOS执行ssh -i ~/.ssh/iphone7Plus root@10.162.147.136就可以不用输入密码了。
继续简化vi ~/.ssh/config。增加下面内容
bash
Host i7
    HostName 10.162.147.136
    User root
    IdentityFile ~/.ssh/iphone7Plus
IdentitiesOnly yes这样就可以直接使用ssh i7登录到手机了。

USB连接
brew install libusbmuxd
iproxy 1234:22 或者空格也行iproxy 1234 22。 将本地的1234端口转发到USB的22端口
ssh root@localhost -p 1234通过USB的接口连接到了手机。
Frida
添加源https://build.frida.re搜索frida并安装。
macOS执行pip3 install frida-tools安装客户端,并添加环境变量export PATH="$PATH:/Users/long/Library/Python/3.9/bin"。
arduino
// 获取所有连接到USB的进程
frida-ps -U

// 获取通过iproxy
iproxy 27042 27042
frida-ps -H 127.0.0.1:27042
注入到进程
arduino
// attach到现有的进程
frida -U com.tencent.xin
// 如果已经启动,则会杀死进程,重启一个进程
frida -U -f com.tencent.xin
bash
# 注意O和C大写,输出所有的类
ObjC.classes
ini
# 下面的代码一次赋值过去
{
    const vcClass = ObjC.classes.UIViewController;
    const imp = vcClass["- viewDidLoad"].implementation;
    Interceptor.attach(imp, {
        onEnter(args) {
            const self = new ObjC.Object(args[0]);
            console.log("[+] VC页面类名:", self.$className);
        }
    });
    console.log("✅ Hook成功!切换微信页面看日志");
}

# 切换页面就会有回调
com.tencent.xin ]-> {
    const vcClass = ObjC.classes.UIViewController;
    const imp = vcClass["- viewDidLoad"].implementation;
    Interceptor.attach(imp, {
        onEnter(args) {
            const self = new ObjC.Object(args[0]);
            console.log("[+] VC页面类名:", self.$className);
        }
    });
    console.log("✅ Hook成功!切换微信页面看日志");
}
✅ Hook成功!切换微信页面看日志
[iPhone::com.tencent.xin ]-> [+] VC页面类名: MMUINavigationController
[+] VC页面类名: NSKVONotifying_WCAccountRegisterViewController
[+] VC页面类名: MMUINavigationController
[+] VC页面类名: NSKVONotifying_WCAccountMainLoginViewController
获取类的所有方法
arduino
{
    const cls = ObjC.classes.WCAccountMainLoginViewController;
    console.log("==== WCAccountMainLoginViewController 全部实例方法 ====");
    for(const m of cls.$methods){
        console.log(m);
    }
}
hook某个对象方法
ini
{
    const cls = ObjC.classes.WCAccountMainLoginViewController;
    const imp = cls["- setupWithData:"].implementation;
    Interceptor.attach(imp, {
        onEnter(args) {
            const self = new ObjC.Object(args[0]);
            const dataObj = new ObjC.Object(args[2]);
            console.log("\n[!] setupWithData 触发");
            console.log("  当前控制器实例:", self.$className);
            console.log("  传入的data对象类名:", dataObj.$className);
        }
    });
    console.log("✅ Hook setupWithData: 完成,重新进入微信登录页面触发");
}
arm64 架构寄存器传参:
args[0]= selfargs[1]= _cmd(selector 选择子)args[2]= 第一个参数args[3]= 第二个参数,以此类推
hook文件
javascript
// hook_login.js
const cls = ObjC.classes.WCAccountMainLoginViewController;
const imp = cls["- setupWithData:"].implementation;

Interceptor.attach(imp, {
    onEnter(args) {
        const self = new ObjC.Object(args[0]);
        const dataObj = new ObjC.Object(args[2]);
        console.log("\n==== setupWithData 参数data ====");
        console.log("类名:", dataObj.$className);

        if(dataObj.isKindOfClass_(ObjC.classes.NSDictionary)){
            const allKeys = dataObj.allKeys();
            const count = allKeys.count();
            for(let i=0;i<count;i++){
                const key = allKeys.objectAtIndex_(i);
                const val = dataObj.objectForKey_(key);
                console.log(key.toString(), " => ", val ? val.toString() : "nil");
            }
        }
    }
});
console.log("✅ Hook setupWithData 已加载");
拿到Windows
ini
{
    const app = ObjC.classes.UIApplication.sharedApplication();
    const windows = app.windows();
    const winCount = windows.count();
    console.log("总window数量:", winCount);
    for(let i=0; i < winCount; i++){
        const win = new ObjC.Object(windows.objectAtIndex_(i));
        console.log(`\nWindow[${i}] class: ${win.$className}`);
        const desc = win.recursiveDescription();
        console.log(desc.toString());
    }
}
可以看到微信有2个Window。
寄存器
通用寄存器
arm64有31个64位的寄存器。分别是x0,x1,x2...x30寄存器。
- x0
- x1
- ...
- x27
- x28
- FP x29 栈底的地址 (不用了)
- LR x30
- SP 栈顶的地址
- PC 寄存器 ,下一条要执行的指令
- CPSR 状态寄存器
str 从寄存器写入到内存 ldr 从内存到寄存器
汇编
能看懂就行,学会没必要。
csharp
.text
.global _A,_B

_A:
    move x0, #0x01a #立即数赋值给x0
    add w0 x0,w1
    sum x0,x3,x1
    stp x29, x30, [sp,#-0x10]!
   bl _B
   ldr x29, x30, [sp,#-0x10]!
   ret
_B:
 mov x0, #0x01b # 修改x0寄存器的值
bl 跳转到函数的首地址,下一条指令保存到lr ret 返回 ,PC指向LR
函数的参数保存在x0-x7。从第9个参数开始就要保存在栈空间。
SP 会根据下一个函数需要使用多少局部变量,拉伸栈空间。如果只需要4个字节,也会16字节对齐。
状态寄存器CPSR
N 位: 运算结果为负数,则为1,非负数为0。
C 位: 加法运算,产生了溢出。
Z 位: 运算结果是否为0。如果为0则为1。减法的时候不够减,产生借位。
V 位: 溢出。正数+正数可能溢出,正数+负数不可能溢出。
T 位: 第5位,是否为Thunmb指令,如果是1就是,0就是arm指令。
汇编指令
ini
mov x0,#0x10 将16赋值给x0寄存区
mvn x0,#0x10 将16取反会赋值给x0
adds x0,x1,x2,lsl 2 将 x1 + (x2>> 2)赋值给x0。adds会影响标志位
sub x0,x1,x2 x0=x1-x2
and x0,x1,x2 x0=x1&x2
mul x0,x1,x2 x0=x1*x2
ldr x0,[x1] 将x1寄存器的地址的值赋值给x0
ldr x0,[x1,#4] x1+4 取该地址的值
ldr x0,[x1,#4]! x0 = x1+4
ldr x0,[x1],#4 x0=x1, x1=x1+4
ldr x0,[x1,x2] x0 = [x1 + x2]
cmp x0,#0x10 将x0和16比较进行比较
跳转指令
css
b 直接跳转
bl 跳转的同时,将下一条保存在lr
bx arm指令和thumb指令切换
编写汇编代码(了解)
汇编实现加减乘除和求余数。
逆向不要求会写汇编,能看懂汇编代码就行,写的汇编代码和实际编译后执行的代码是有区别的。内部会被优化。
swift
int main(int argc, char * argv[]) {


    long a;
    // 加法运算
    __asm__(
            "mov x0,#10\r\n"
            "mov x1,#20\r\n"
            "add x1,x0,x1\r\n"
            "mov %0,x1\r\n"
            : "=r" (a)
            :
            : "x0", "x1"
            );
    NSLog(@"%ld",a);
    // 减法运算
    __asm__(
            "mov x0,#10\r\n"
            "mov x1,#20\r\n"
            "sub x1,x0,x1\r\n"
            "mov %0,x1\r\n"
            : "=r" (a)
            :
            : "x0", "x1"
            );
    NSLog(@"%ld",a);
    // 乘法运算运算
    __asm__(
            "mov x0,#10\r\n"
            "mov x1,#20\r\n"
            "mul x1,x0,x1\r\n"
            "mov %0,x1\r\n"
            : "=r" (a)
            :
            : "x0", "x1"
            );
    NSLog(@"%ld",a);
    // 除法运算
    __asm__(
            "mov x0,#101\r\n"
            "mov x1,#20\r\n"
            "sdiv x1,x0,x1\r\n"
            "mov %0,x1\r\n"
            : "=r" (a)
            :
            : "x0", "x1"
            );
    NSLog(@"%ld",a);
    // 余数 先求商,然后余数 = 被除数 - (商 * 除数)
    __asm__(
            "mov x0,#101\r\n"
            "mov x1,#20\r\n"
            "sdiv x2,x0,x1\r\n"
            "mul x2,x2,x1\r\n"
            "sub x0,x0,x2\r\n"
            "mov %0,x0\r\n"
            : "=r" (a)
            :
            : "x0", "x1"
            );
    NSLog(@"%ld",a);

    return 0;
}
if
if 就是汇编的cmp x0 x1
B.LE 小于等于 B.L 小于 B.EQ 等于 B.GT 大于 B.GE 大于等于 B.HI 无符号大于
while do-while for
本质就是cmp,然后b.lt。
switch
本质也是cmp。
函数的参数。
- 前面8个参数分别在x0-x7,超过8个参数就入栈。
- 对于可变参数,全部参数都是入栈。
指针的反汇编
ini
    int *a;
    int b = 20;
    a = &b;
汇编代码
less
    0x10418980c <+0>:  sub    sp, sp, #0x30 开辟48字节的内存
    0x104189810 <+4>:  stp    x29, x30, [sp, #0x20] x29 x30保存在了32-48字节
    0x104189814 <+8>:  add    x29, sp, #0x20 x29是第32字节的位置
    0x104189818 <+12>: mov    w8, #0x0                  ; =0
    0x10418981c <+16>: str    w8, [sp] 栈顶有一个变量赋值为0。0-8字节
    0x104189820 <+20>: stur   wzr, [x29, #-0x4]
    0x104189824 <+24>: stur   w0, [x29, #-0x8]
    0x104189828 <+28>: str    x1, [sp, #0x10]
    0x10418982c <+32>: adrp   x9, 4131
    0x104189830 <+36>: ldr    x8, [x9, #0x818]
    0x104189834 <+40>: add    x8, x8, #0x1
    0x104189838 <+44>: str    x8, [x9, #0x818]

申请了有一个变量,该变量的地址在sp + 4的位置
    0x10418983c <+48>: add    x8, sp, #0x4

20存到寄存器,有保存到sp + 4的位置,此时可以确定sp+4就是b的地址
->  0x104189840 <+52>: mov    w9, #0x14                 ; =20
    0x104189844 <+56>: str    w9, [sp, #0x4]

x8保存的是b变量的地址,这里B的地址保存到sp+8的位置,这个就是a变量的地址
4 x8是8的地址,这里将x8保存到sp+8 。所以指针a的地址是比b变量后确定的。
    0x104189848 <+60>: str    x8, [sp, #0x8]
    0x10418984c <+64>: adrp   x0, 4126
    0x104189850 <+68>: add    x0, x0, #0x110            ; @"Hello"
    0x104189854 <+72>: bl     0x104dbf588
schema切换到release模式,指针直接被优化掉了,直接将20赋值给b。完全看不到指针a的信息,b直接保存在sp栈顶的位置。
csharp
project1`main:
    0x102db36ac <+0>:  sub    sp, sp, #0x20
    0x102db36b0 <+4>:  stp    x29, x30, [sp, #0x10]
    0x102db36b4 <+8>:  add    x29, sp, #0x10
    0x102db36b8 <+12>: adrp   x8, 4021
    0x102db36bc <+16>: ldr    x9, [x8, #0x800]
    0x102db36c0 <+20>: add    x9, x9, #0x1
    0x102db36c4 <+24>: str    x9, [x8, #0x800]
    0x102db36c8 <+28>: mov    w8, #0x14                 ; =20
->  0x102db36cc <+32>: str    x8, [sp]
    0x102db36d0 <+36>: adrp   x0, 4013
    0x102db36d4 <+40>: add    x0, x0, #0xdd8            ; @"Hello %d"
    0x102db36d8 <+44>: bl     0x103994a28               ; symbol stub for: NSLog
    0x102db36dc <+48>: mov    w0, #0x0                  ; =0
    0x102db36e0 <+52>: ldp    x29, x30, [sp, #0x10]
    0x102db36e4 <+56>: add    sp, sp, #0x20
    0x102db36e8 <+60>: ret
mach-o
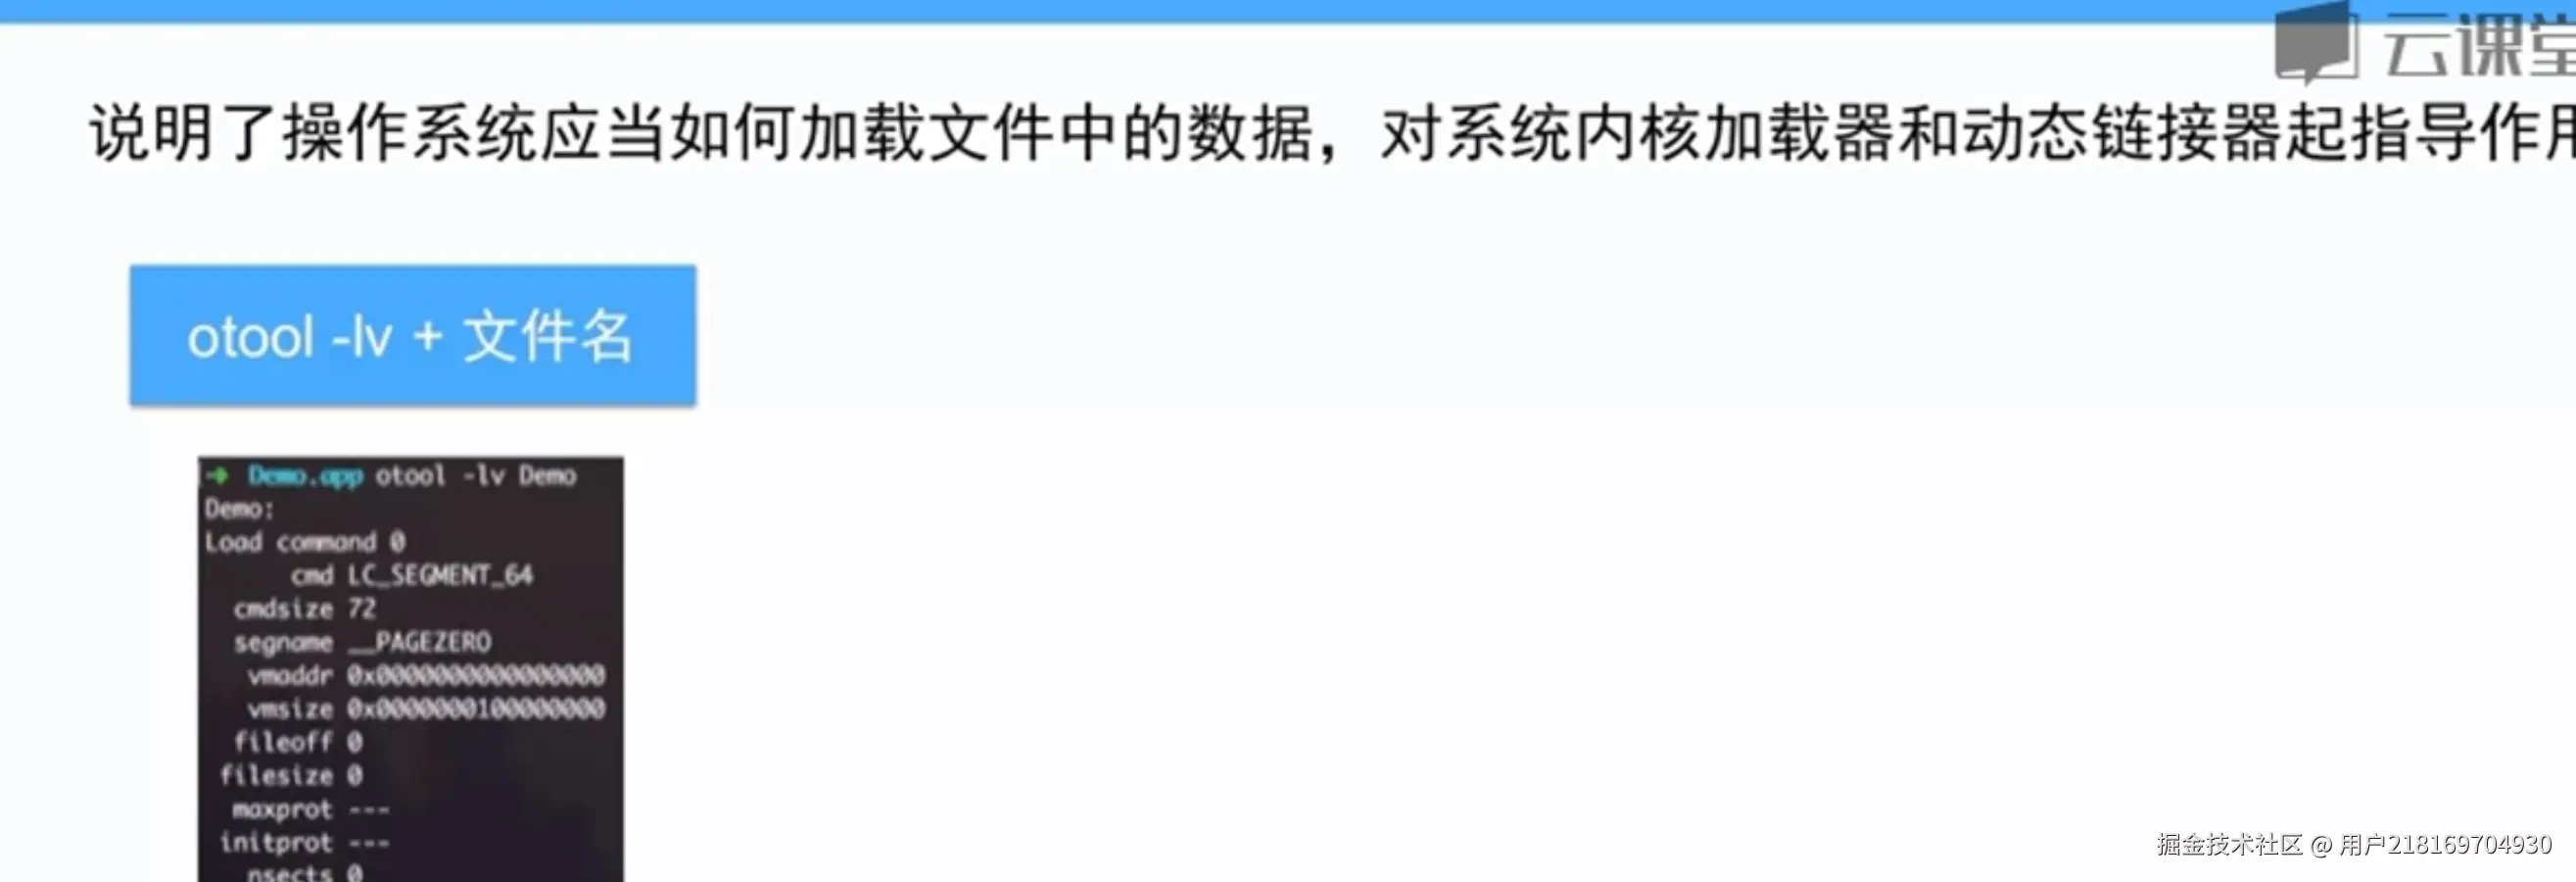
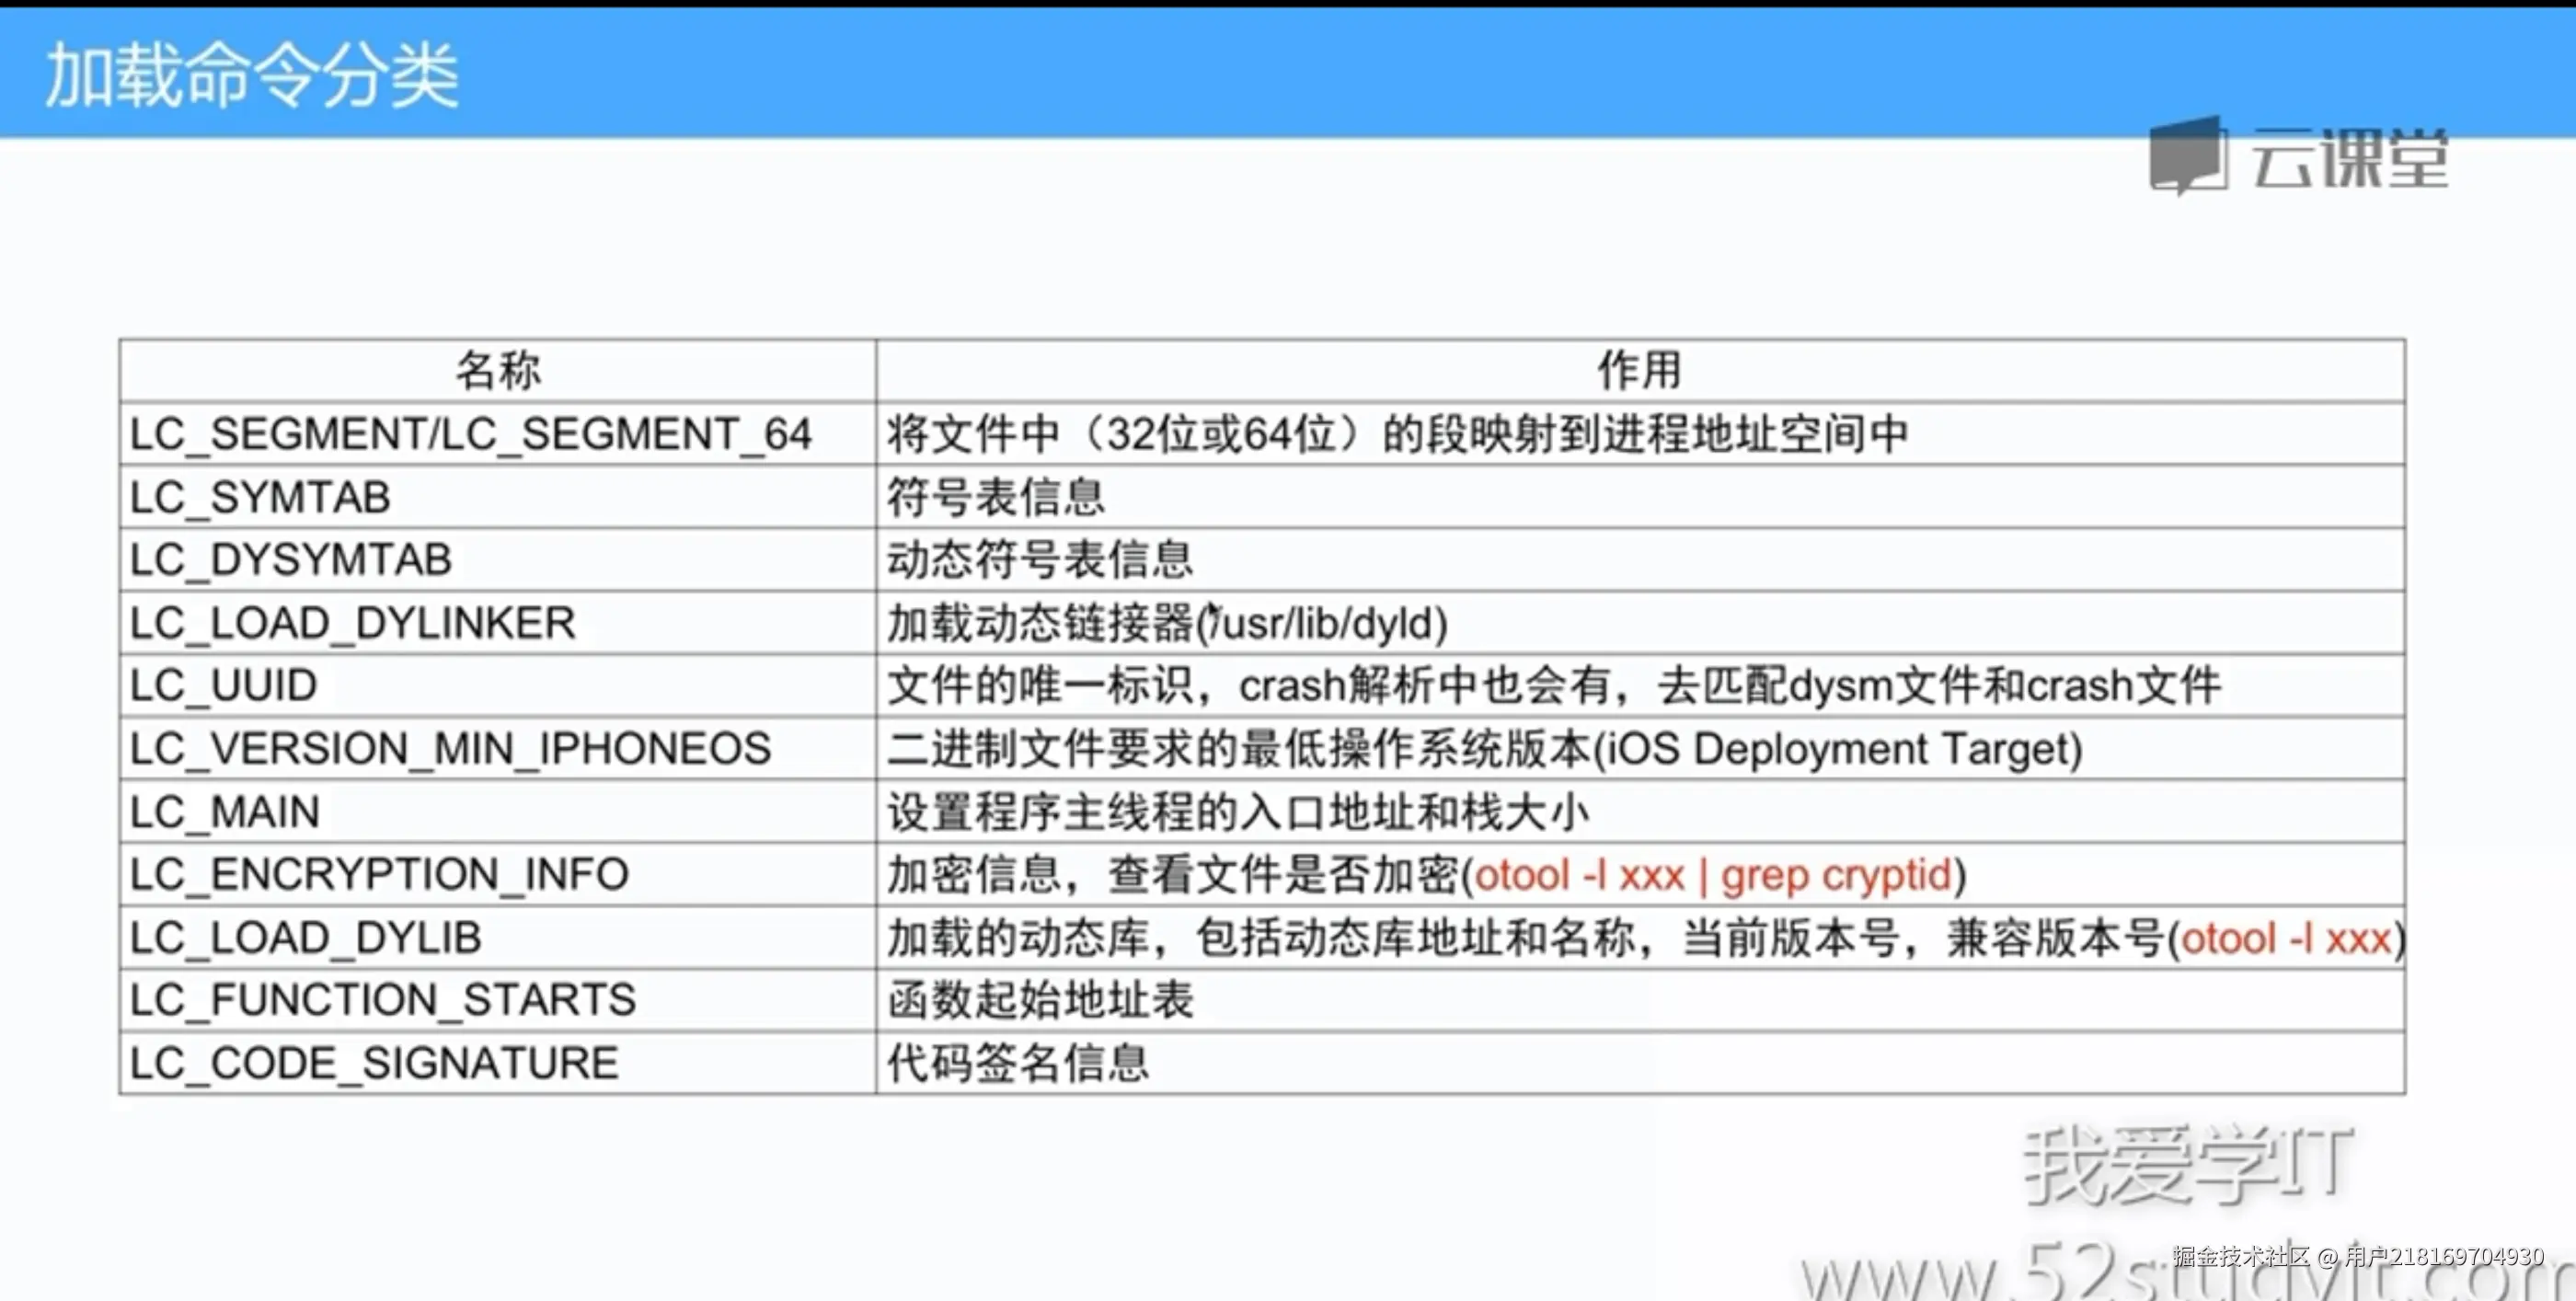
otool -h weichat 查看头文件信息
otool -hv weichat 查看头文件信息 有些字段不知道啥含义。添加v就会翻译
或者直接github搜machoview。可视化看头文件和其它格式。

初始化函数