最近在写一个多模块的SpringBoot项目,基于过程总了一些总结,故把SpringBoot多个模块的项目创建记录下来。
首先,先建立一个父工程:
(1)在IDEA工具栏选择File->New->Project
(2)选择Spring Initializr,默认选择Default,然后点击Next:

(3)在输入框填写以下截图内容,点击Next
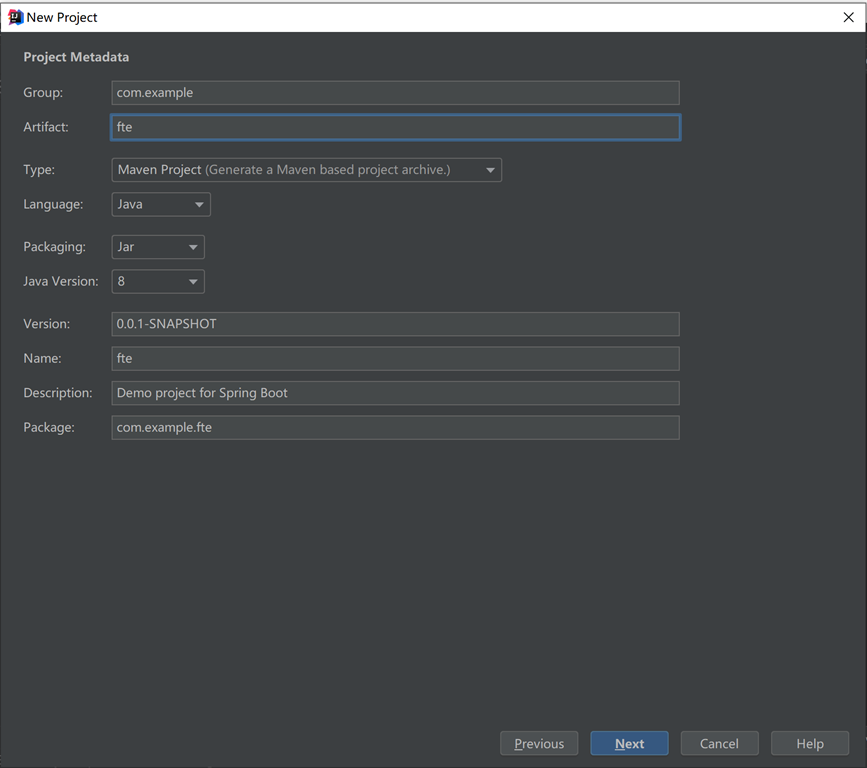
(4)直接点Next,无需选择
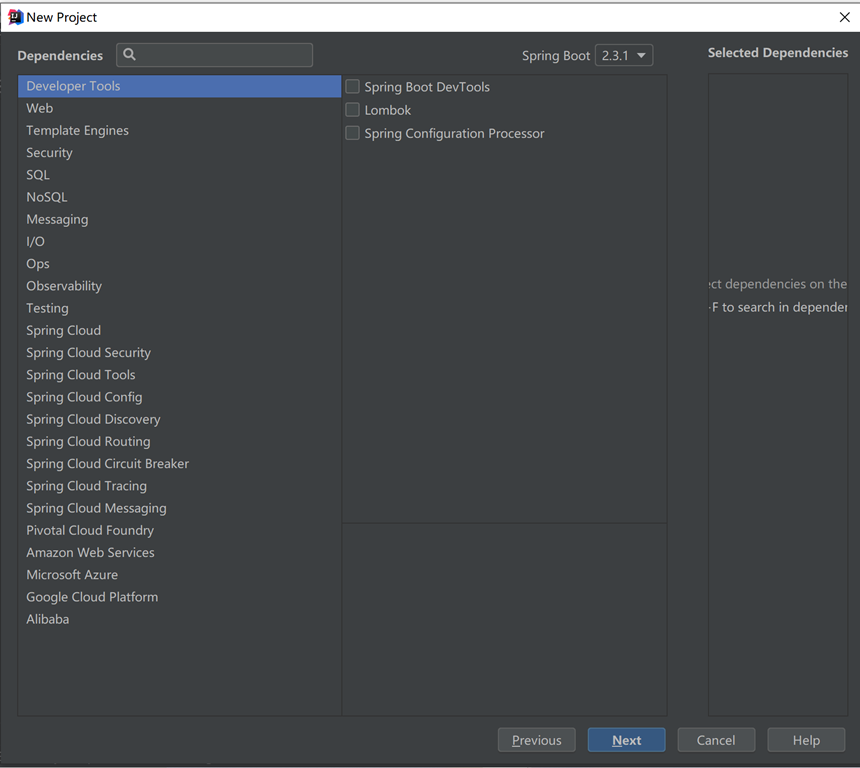
(5)直接点击Finish完成创建
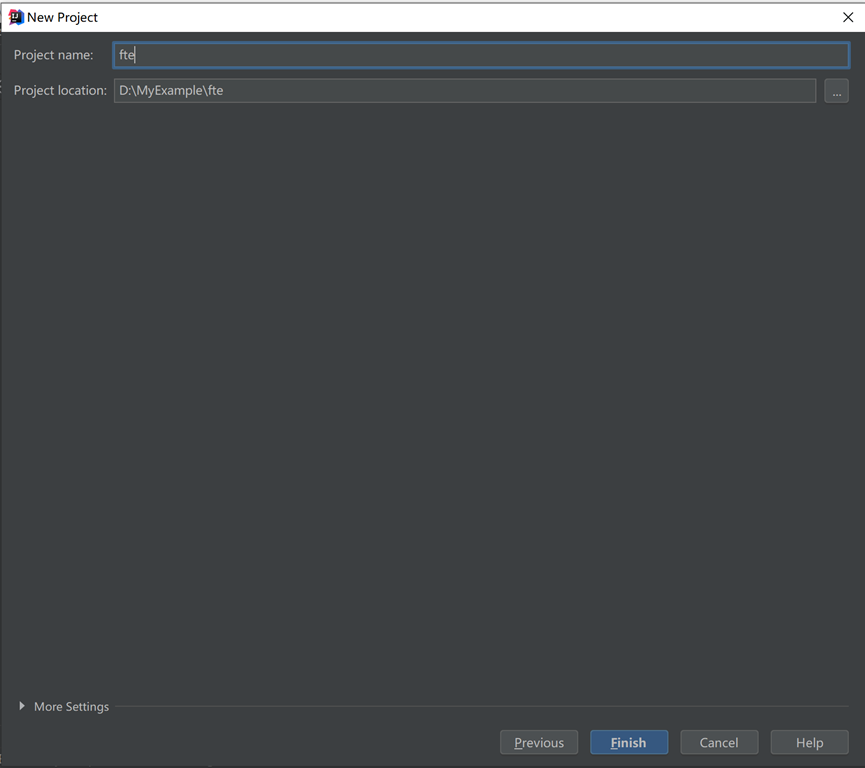
(6)按照以上步骤,可以生成以下的项目目录结构:
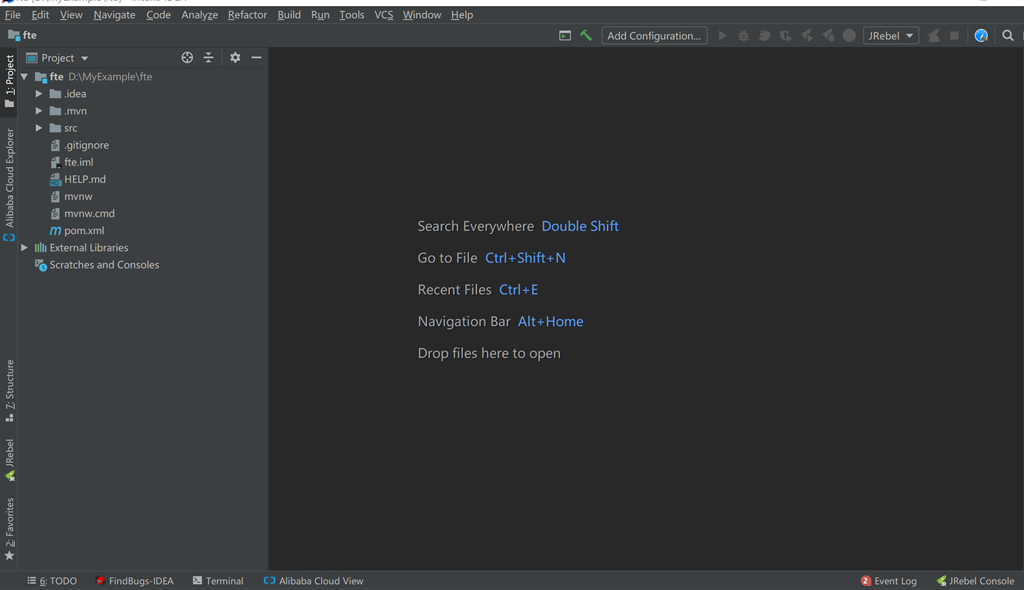
(7)这时把没用的.mvn目录,src目录,mvnw还有mvnw.cmd都删除,最终只保留.gitignore和pom.xml,若是web项目,可在该pom.xml里添加以下依赖:
java
1 <!--web特征-->
2 <dependency>
3     <groupId>org.springframework.boot</groupId>
4     <artifactId>spring-boot-starter-web</artifactId>
5     <version>2.3.1.RELEASE</version>
6 </dependency>
最终得到以下的父结构目录:

以上是创建父模块,下面创建子模块:
(1)在父模块的根目录fte上点右键,在弹出的框里选择New->Module

(2)选择Maven,点击Next

(3)填写以下内容,点击Next
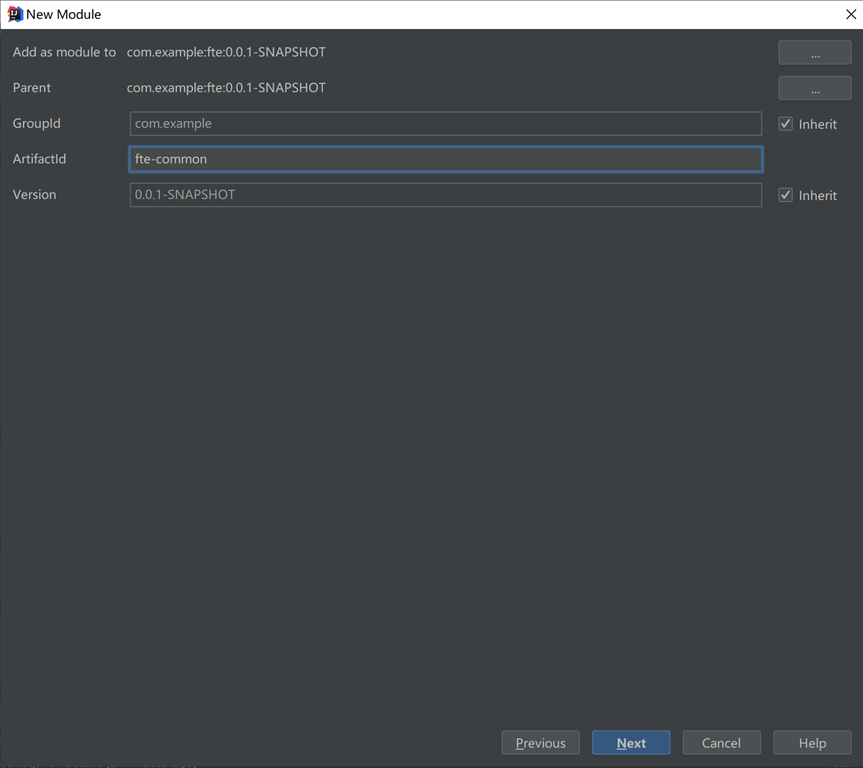
(4)填写Module,点击Finish
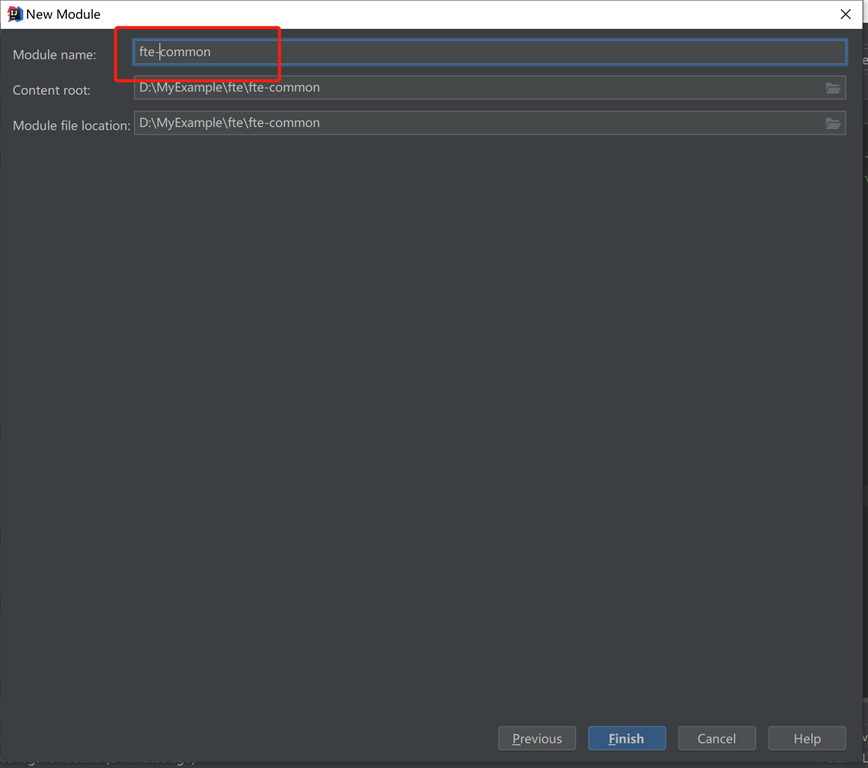
(5)同理添加fte-controller,fte-dao,fte-service,fte-web,最终得到以下的目录结构:
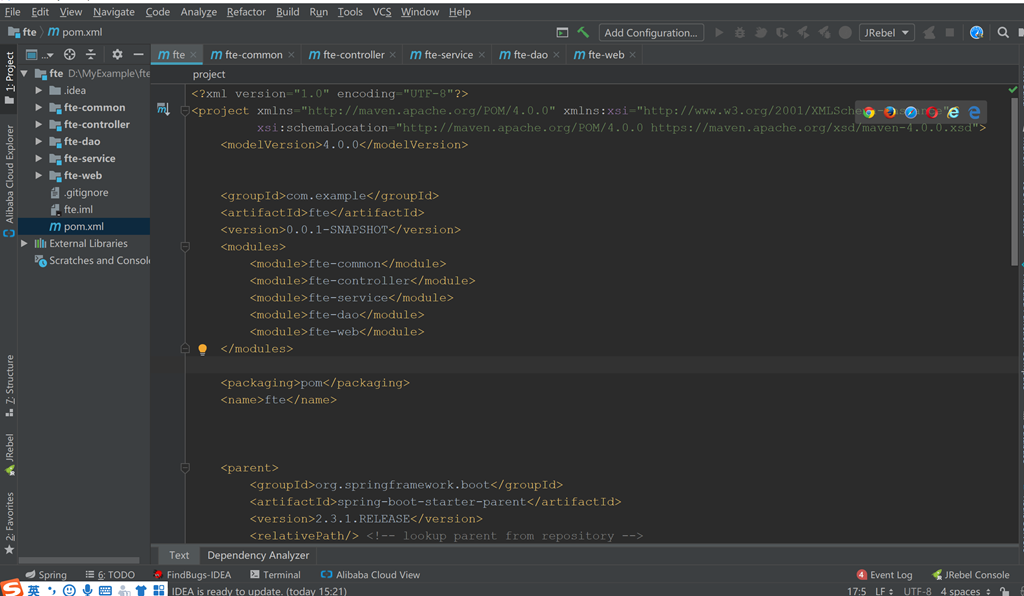
(6)增加模块之间的依赖:
controller层添加以下依赖:
XML
 1 <dependencies>
 2     <dependency>
 3         <groupId>com.example</groupId>
 4         <artifactId>fte-common</artifactId>
 5         <version>0.0.1-SNAPSHOT</version>
 6     </dependency>
 7
 8     <dependency>
 9         <groupId>com.example</groupId>
10         <artifactId>fte-dao</artifactId>
11         <version>0.0.1-SNAPSHOT</version>
12     </dependency>
13
14     <dependency>
15         <groupId>com.example</groupId>
16         <artifactId>fte-service</artifactId>
17         <version>0.0.1-SNAPSHOT</version>
18     </dependency>
19 </dependencies>
service层添加以下依赖:
XML
1 <dependencies>
2     <dependency>
3         <groupId>com.example</groupId>
4         <artifactId>fte-dao</artifactId>
5         <version>0.0.1-SNAPSHOT</version>
6     </dependency>
7 </dependencies>
(7)测试
在fte-controller创建com.zhu.fte.web包,增加以下两个类:
fteWebApplication类:
XML
 1 package com.zhu.fte.web;
 2
 3 import org.springframework.boot.SpringApplication;
 4 import org.springframework.boot.autoconfigure.SpringBootApplication;
 5
 6 @SpringBootApplication
 7 public class fteWebApplication {
 8     public static void main(String[] args) {
 9         SpringApplication.run(fteWebApplication.class,args);
10     }
11 }DemoController类
java
 1 package java.com.zhu.fte.web;
 2
 3 import org.springframework.web.bind.annotation.GetMapping;
 4 import org.springframework.web.bind.annotation.RequestMapping;
 5 import org.springframework.web.bind.annotation.RestController;
 6
 7 @RestController
 8 @RequestMapping("demo")
 9 public class DemoController {
10
11     @GetMapping("test")
12     public String test(){
13         return "hello world";
14     }
15
16 }
运行发现出现错误:
出现错误:
ERROR\] Failed to execute goal org.apache.maven.plugins:maven-surefire-plugin:2.22.2:test (default-test) on project fte-common: Execution default-test of goal org.apache.maven.plugins:maven-surefire-plugin:2.22.2:test failed: Plugin org.apache.maven.plugins:maven-surefire-plugin:2.22.2 or one of its dependencies could not be resolved: Could not transfer artifact junit:junit:jar:4.12 from/to central (https://repo.maven.apache.org/maven2): Connect to repo.maven.apache.org:443 \[repo.maven.apache.org/151.101.52.215\] failed: Connection timed out: connect -\> \[Help 1
把缺少的org.apache.maven.plugins手动放到父工程的pom.xml里
XML
 1 <build>
 2    <plugins>
 3       <plugin>
 4          <groupId>org.apache.maven.plugins</groupId>
 5          <artifactId>maven-clean-plugin</artifactId>
 6          <version>2.5</version>
 7       </plugin>
 8       <plugin>
 9          <groupId>org.apache.maven.plugins</groupId>
10          <artifactId>maven-source-plugin</artifactId>
11          <version>2.2</version>
12       </plugin>
13       <plugin>
14          <groupId>org.apache.maven.plugins</groupId>
15          <artifactId>maven-compiler-plugin</artifactId>
16          <version>3.0</version>
17          <configuration>
18             <source>1.8</source>
19             <target>1.8</target>
20             <encoding>${file.encoding}</encoding>
21             <!--编译的时候方法不改变方法参数名称,用于支持使用反射获取方法参数名称-->
22             <compilerArgument>-parameters</compilerArgument>
23          </configuration>
24       </plugin>
25       <plugin>
26          <groupId>org.apache.maven.plugins</groupId>
27          <artifactId>maven-install-plugin</artifactId>
28          <version>2.4</version>
29       </plugin>
30       <plugin>
31          <groupId>org.apache.maven.plugins</groupId>
32          <artifactId>maven-jar-plugin</artifactId>
33          <version>2.4</version>
34          <configuration>
35             <archive>
36                <manifest>
37                   <addDefaultImplementationEntries>true
38                   </addDefaultImplementationEntries>
39                </manifest>
40             </archive>
41          </configuration>
42       </plugin>
43
44       <plugin>
45          <groupId>org.apache.maven.plugins</groupId>
46          <artifactId>maven-surefire-plugin</artifactId>
47          <version>2.13</version>
48          <configuration>
49             <argLine>-Xmx512M -Dfile.encoding=${file.encoding}</argLine>
50          </configuration>
51       </plugin>
52    </plugins>
53 </build>运行fteWebApplication类里的main方法,默认端口为8080,访问http://localhost:8080/demo/test,正常出现以下情况:
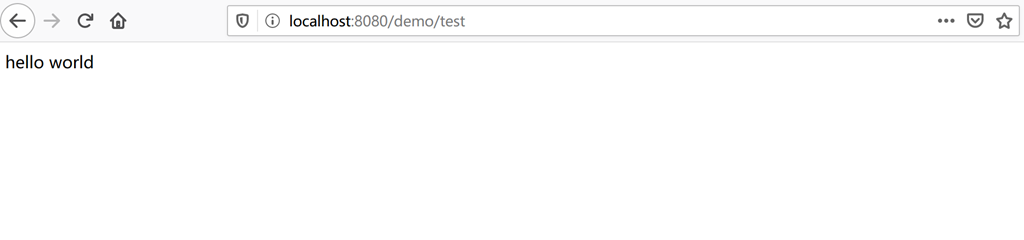
按照以上步骤,就可以初步建立SpringBoot多模块的项目,下一章将基于这个基础搭建Mybatis以及其逆向工程。