开发背景
人们对健康的要求越来越高,从单纯的健康饮食到健康运动,再到两者的结合。但是,饮食和运动之间的平衡一般人很难掌握,而我们这款 APP 将饮食、运动、以及自身身体状况(如体脂、体重、内脂等)有机结合起来。
以体魄为根本,运动为支撑点,饮食为辅助,为每个人量身打造健康体魄,为实现健康中国努力。
需求分析
目前年轻人工作压力大,饮食基本靠外卖,锻炼就去健身房,无法将饮食和健身相结合,本 APP 旨在为每一位用户打造个性化的运动饮食计划。
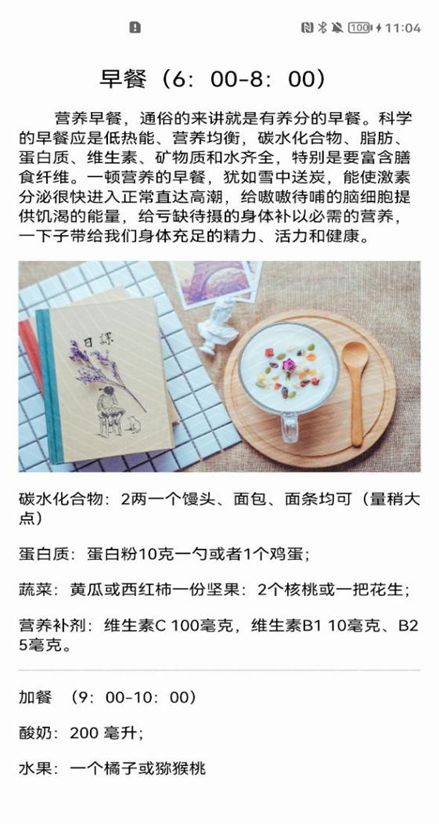
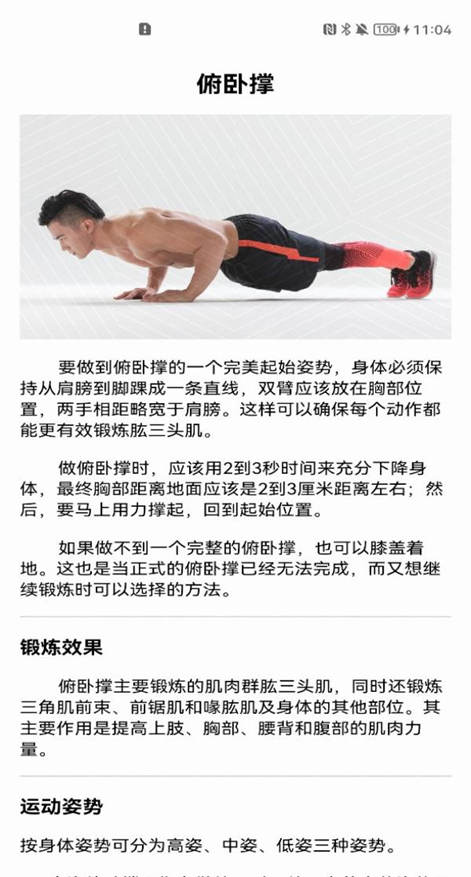
其功能主要分为两类:运动(包括如何运动、需要多大运动量)与饮食(早中晚餐吃什么,怎么制作等)。
主要功能介绍
健康+服务卡片主要包含三部分功能:
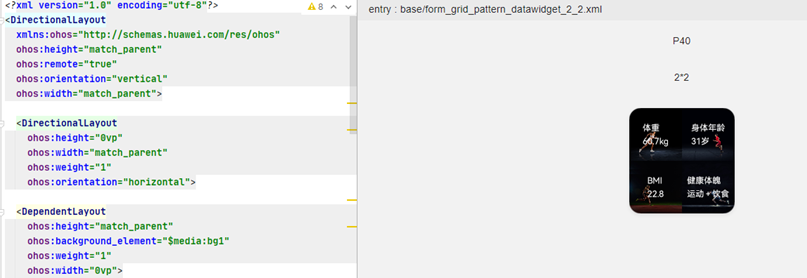
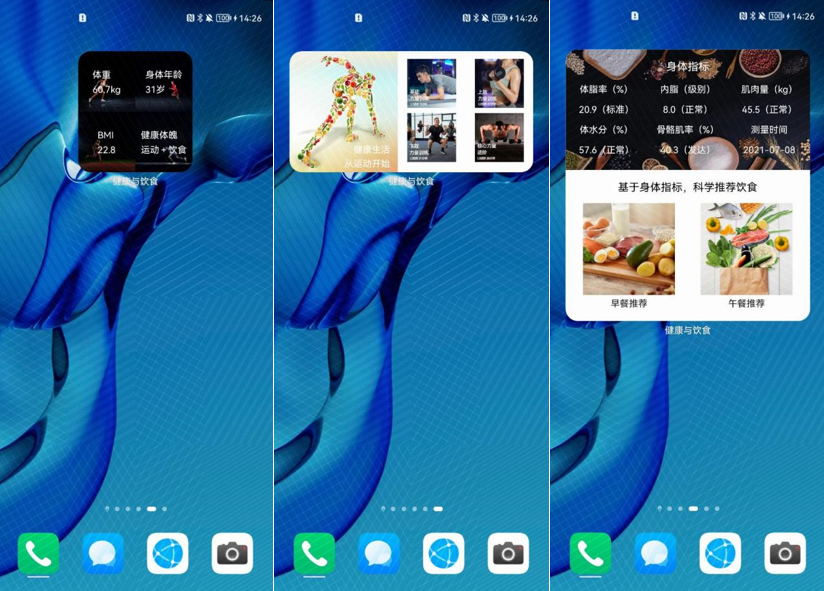
①服务卡片(2*2)展示体脂仪主要测量数据(体重、身体年龄、BMI 值)。
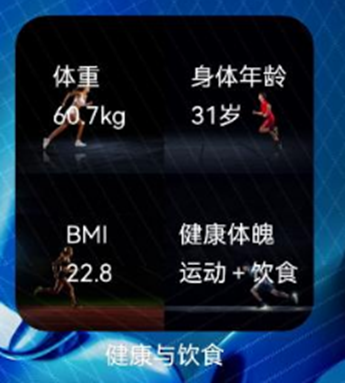
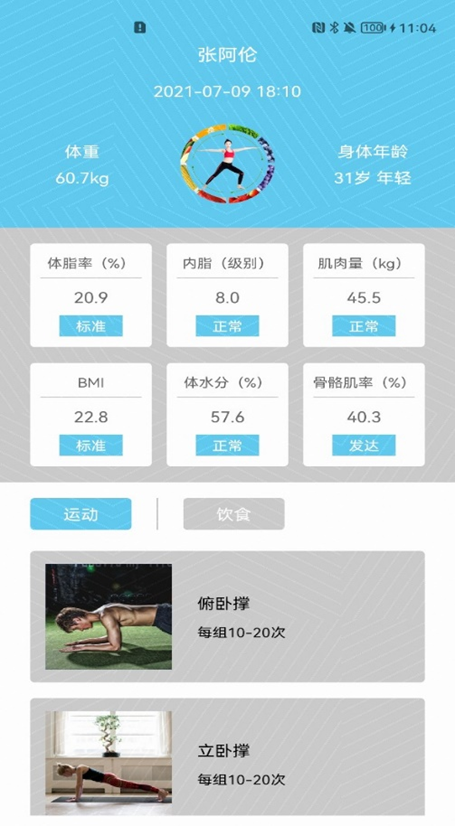
点击该卡片,可以进入 APP 主页,查看更多指标数据。
②服务卡片(4*4)展示体脂仪其他更为精准化的测量数据,并根据这些数据给出科学的饮食推荐。
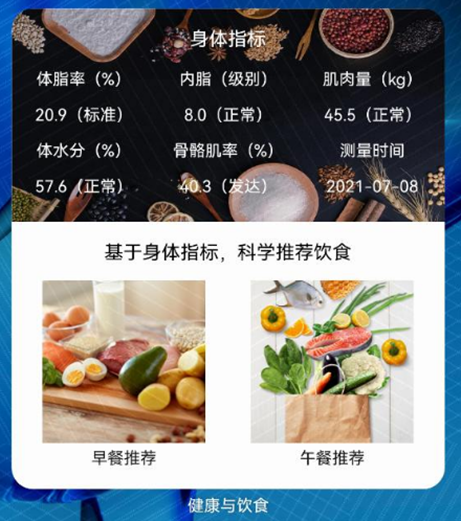
点击"早餐推荐"或午餐推荐,可以跳转至推荐的饮食页面。
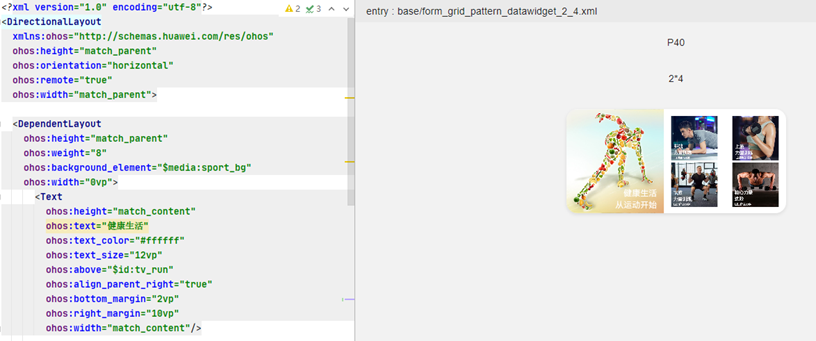
③服务卡片(2*4)根据体脂仪测量的各项数据,给出合理化的,精准化的训练方案。

点击卡片右侧推荐的健身项目,进入对应的训练项目详解。
关键技术细节实现
①创建"健康+"app 工程
安装和配置 DevEco Studio 2.1 Release,并创建项目。
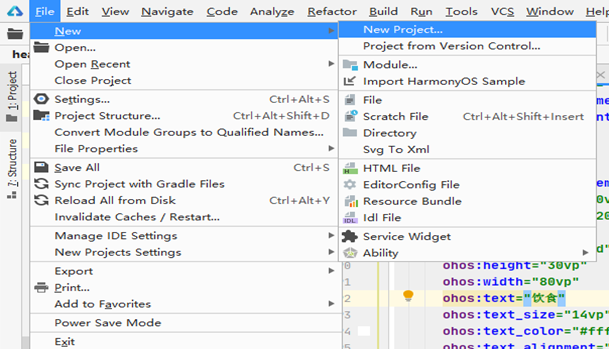
打开 DevEco Studio,File→New→New Project:
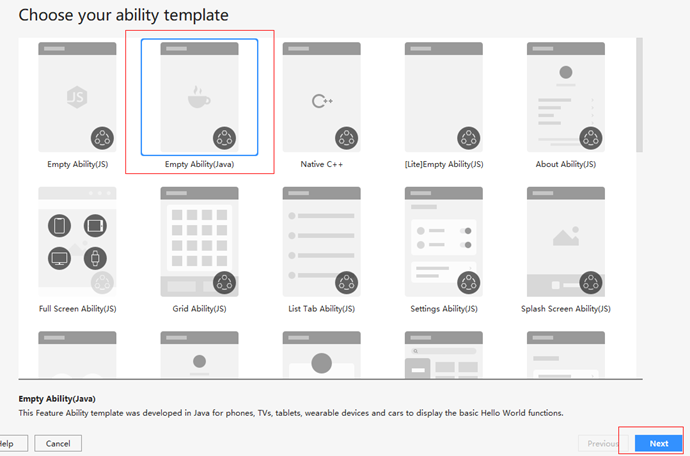
Choose your ability template,选择 Empty Ability(Java),然后 Next:
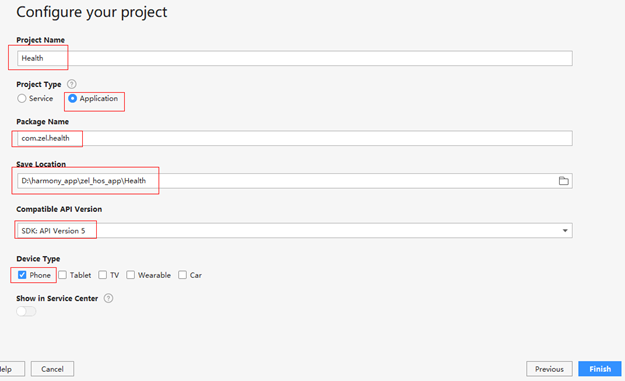
Configure your project,下列红色框中都是要填写或者选择的,其中 Project Name,Package Name,Save Location 可以自定义。
Project Type 注意选择 Application;Compatible API Version 注意选择最新 SDK 版本:SDK API Version 5;Device Type 选择你使用的设备,我这里选择 Phone。
最后点击 Finish,项目创建完成:
②健康与饮食 app 服务卡片实现
第一步:卡片生成
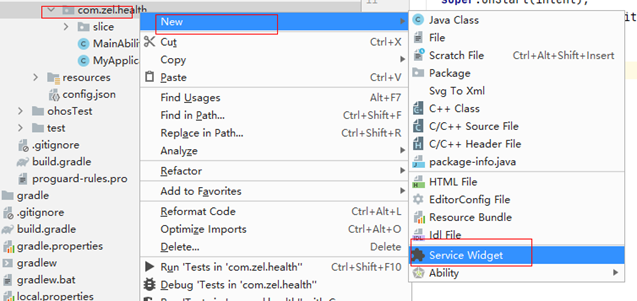
在项目包名上右击,选择 New→Service Widget:
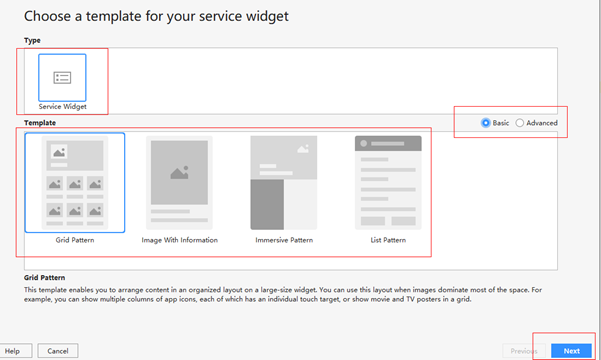
Choose a template for your service widget,选择 Base 的服务卡片,然后在 Template 下任意选择一种模版,点击 Next:
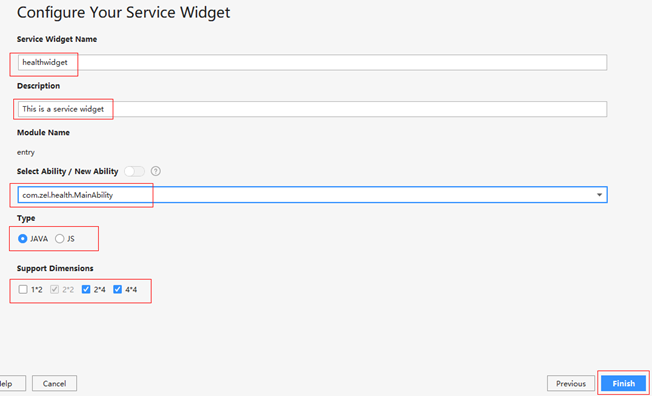
Configure Your Service Widget,其中 Service Widget Name, Description 可以自定义。
Select Ability/New Ability 使用默认的 MainAbility;Type 可以选择 java 或者 js 开发;SupportDimensions 选择卡片样式(2*2、2*4 以及 4*4)。
点击 Finish,完成服务卡片创建:
第二步:卡片布局的修改
2*2 服务卡片的布局:
2*4 服务卡片的布局:
4*4 服务卡片的布局:

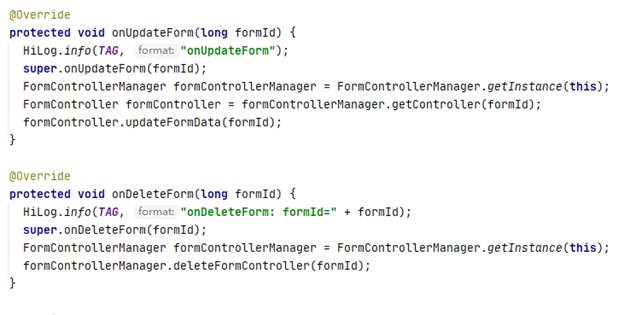
第三步:卡片信息创建、更新、删除
代码如下:
第四步、卡片在桌面的创建方式
长按 app 图标,弹出如下弹框:
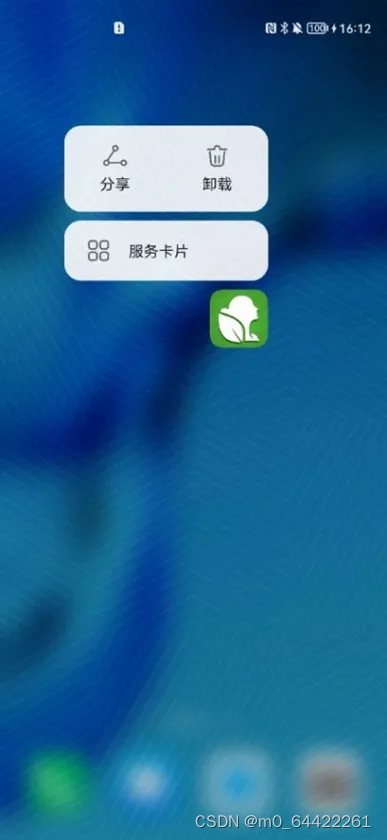
选择服务卡片,出现如下选择画面:
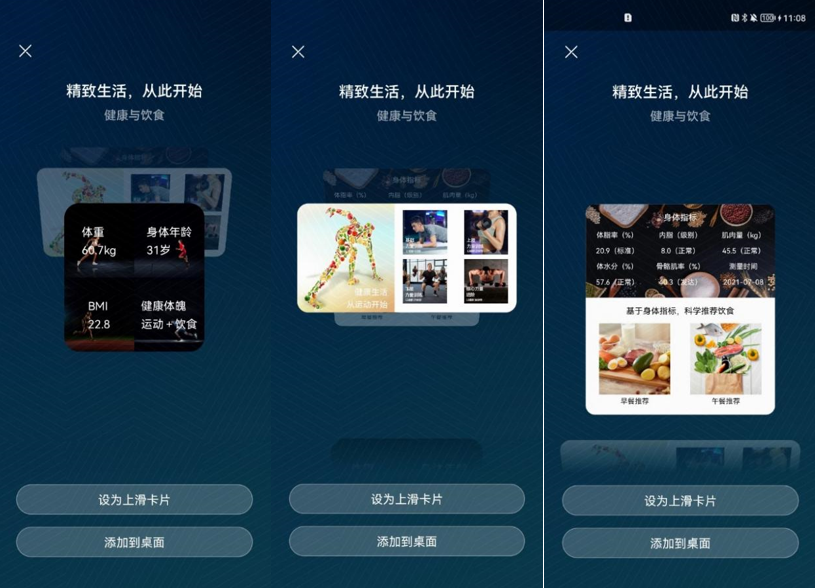
选择添加到桌面,则桌面会出现对应的服务卡片:
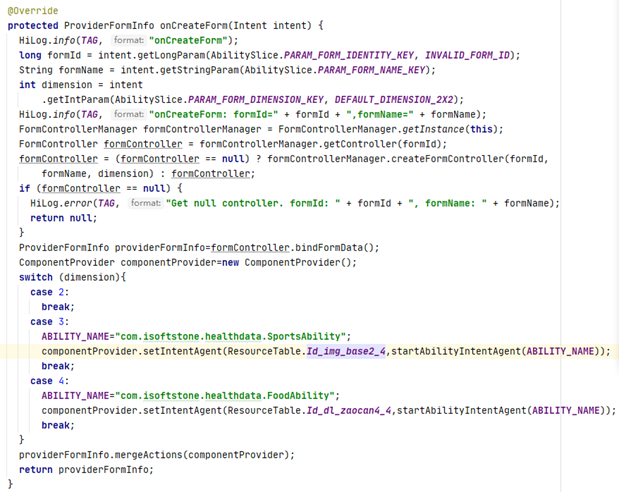
第五步:卡片的点击跳转实现
代码如下:
重难点解析
点击卡片中某个控件,跳转至指定页面:
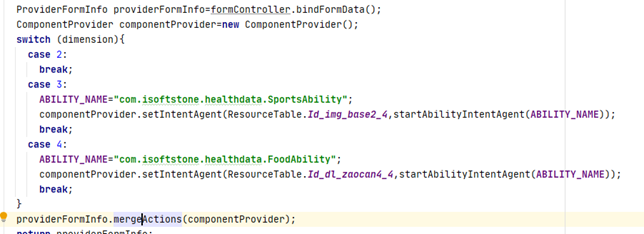
①在 MainAbility 的创建卡片 onCreateForm(Intent intent) 方法中创建 ComponentProvider 对象。
ComponentProvider componentProvider=new ComponentProvider();②然后调用componentProvider.setIntentAgent(int viewId,IntentAgent intent);其中第一个参数为控件 ID,第二个参数为跳转指定页面传入的 intent。
③componentProvider.setIntentAgent(ResourceTable.Id_img_base2_4, startAbilityIntentAgent(ABILITY_NAME));
④最后 providerFormInfo.mergeActions(componentProvider);
⑤startAbilityIntentAgent(ABILITY_NAME) 参数为初入的 ability 名,字符串类型。
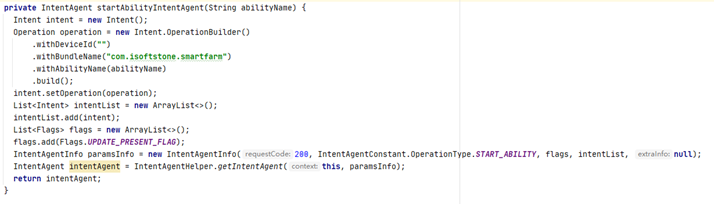
private IntentAgent startAbilityIntentAgent(String abilityName) {
  Intent intent = new Intent();
  Operation operation = new Intent.OperationBuilder()
      .withDeviceId("")
      .withBundleName("com.zel.health")
      .withAbilityName(abilityName)
      .build();
  intent.setOperation(operation);
  List<Intent> intentList = new ArrayList<>();
  intentList.add(intent);
  List<Flags> flags = new ArrayList<>();
  flags.add(Flags.UPDATE_PRESENT_FLAG);
  IntentAgentInfo paramsInfo = new IntentAgentInfo(200, IntentAgentConstant.OperationType.START_ABILITY, flags, intentList, null);
  IntentAgent intentAgent = IntentAgentHelper.getIntentAgent(this, paramsInfo);
  return intentAgent;
}
最后
如果你想快速提升鸿蒙技术,那么可以直接领取这份包含了:【OpenHarmony多媒体技术、Stage模型、ArkUI多端部署、分布式应用开发、音频、视频、WebGL、Napi组件、OpenHarmony内核、Harmony南向开发、鸿蒙项目实战】等技术知识点。
鸿蒙Next全套VIP学习资料←点击领取!(安全链接,放心点击)
1.鸿蒙核心技术学习路线
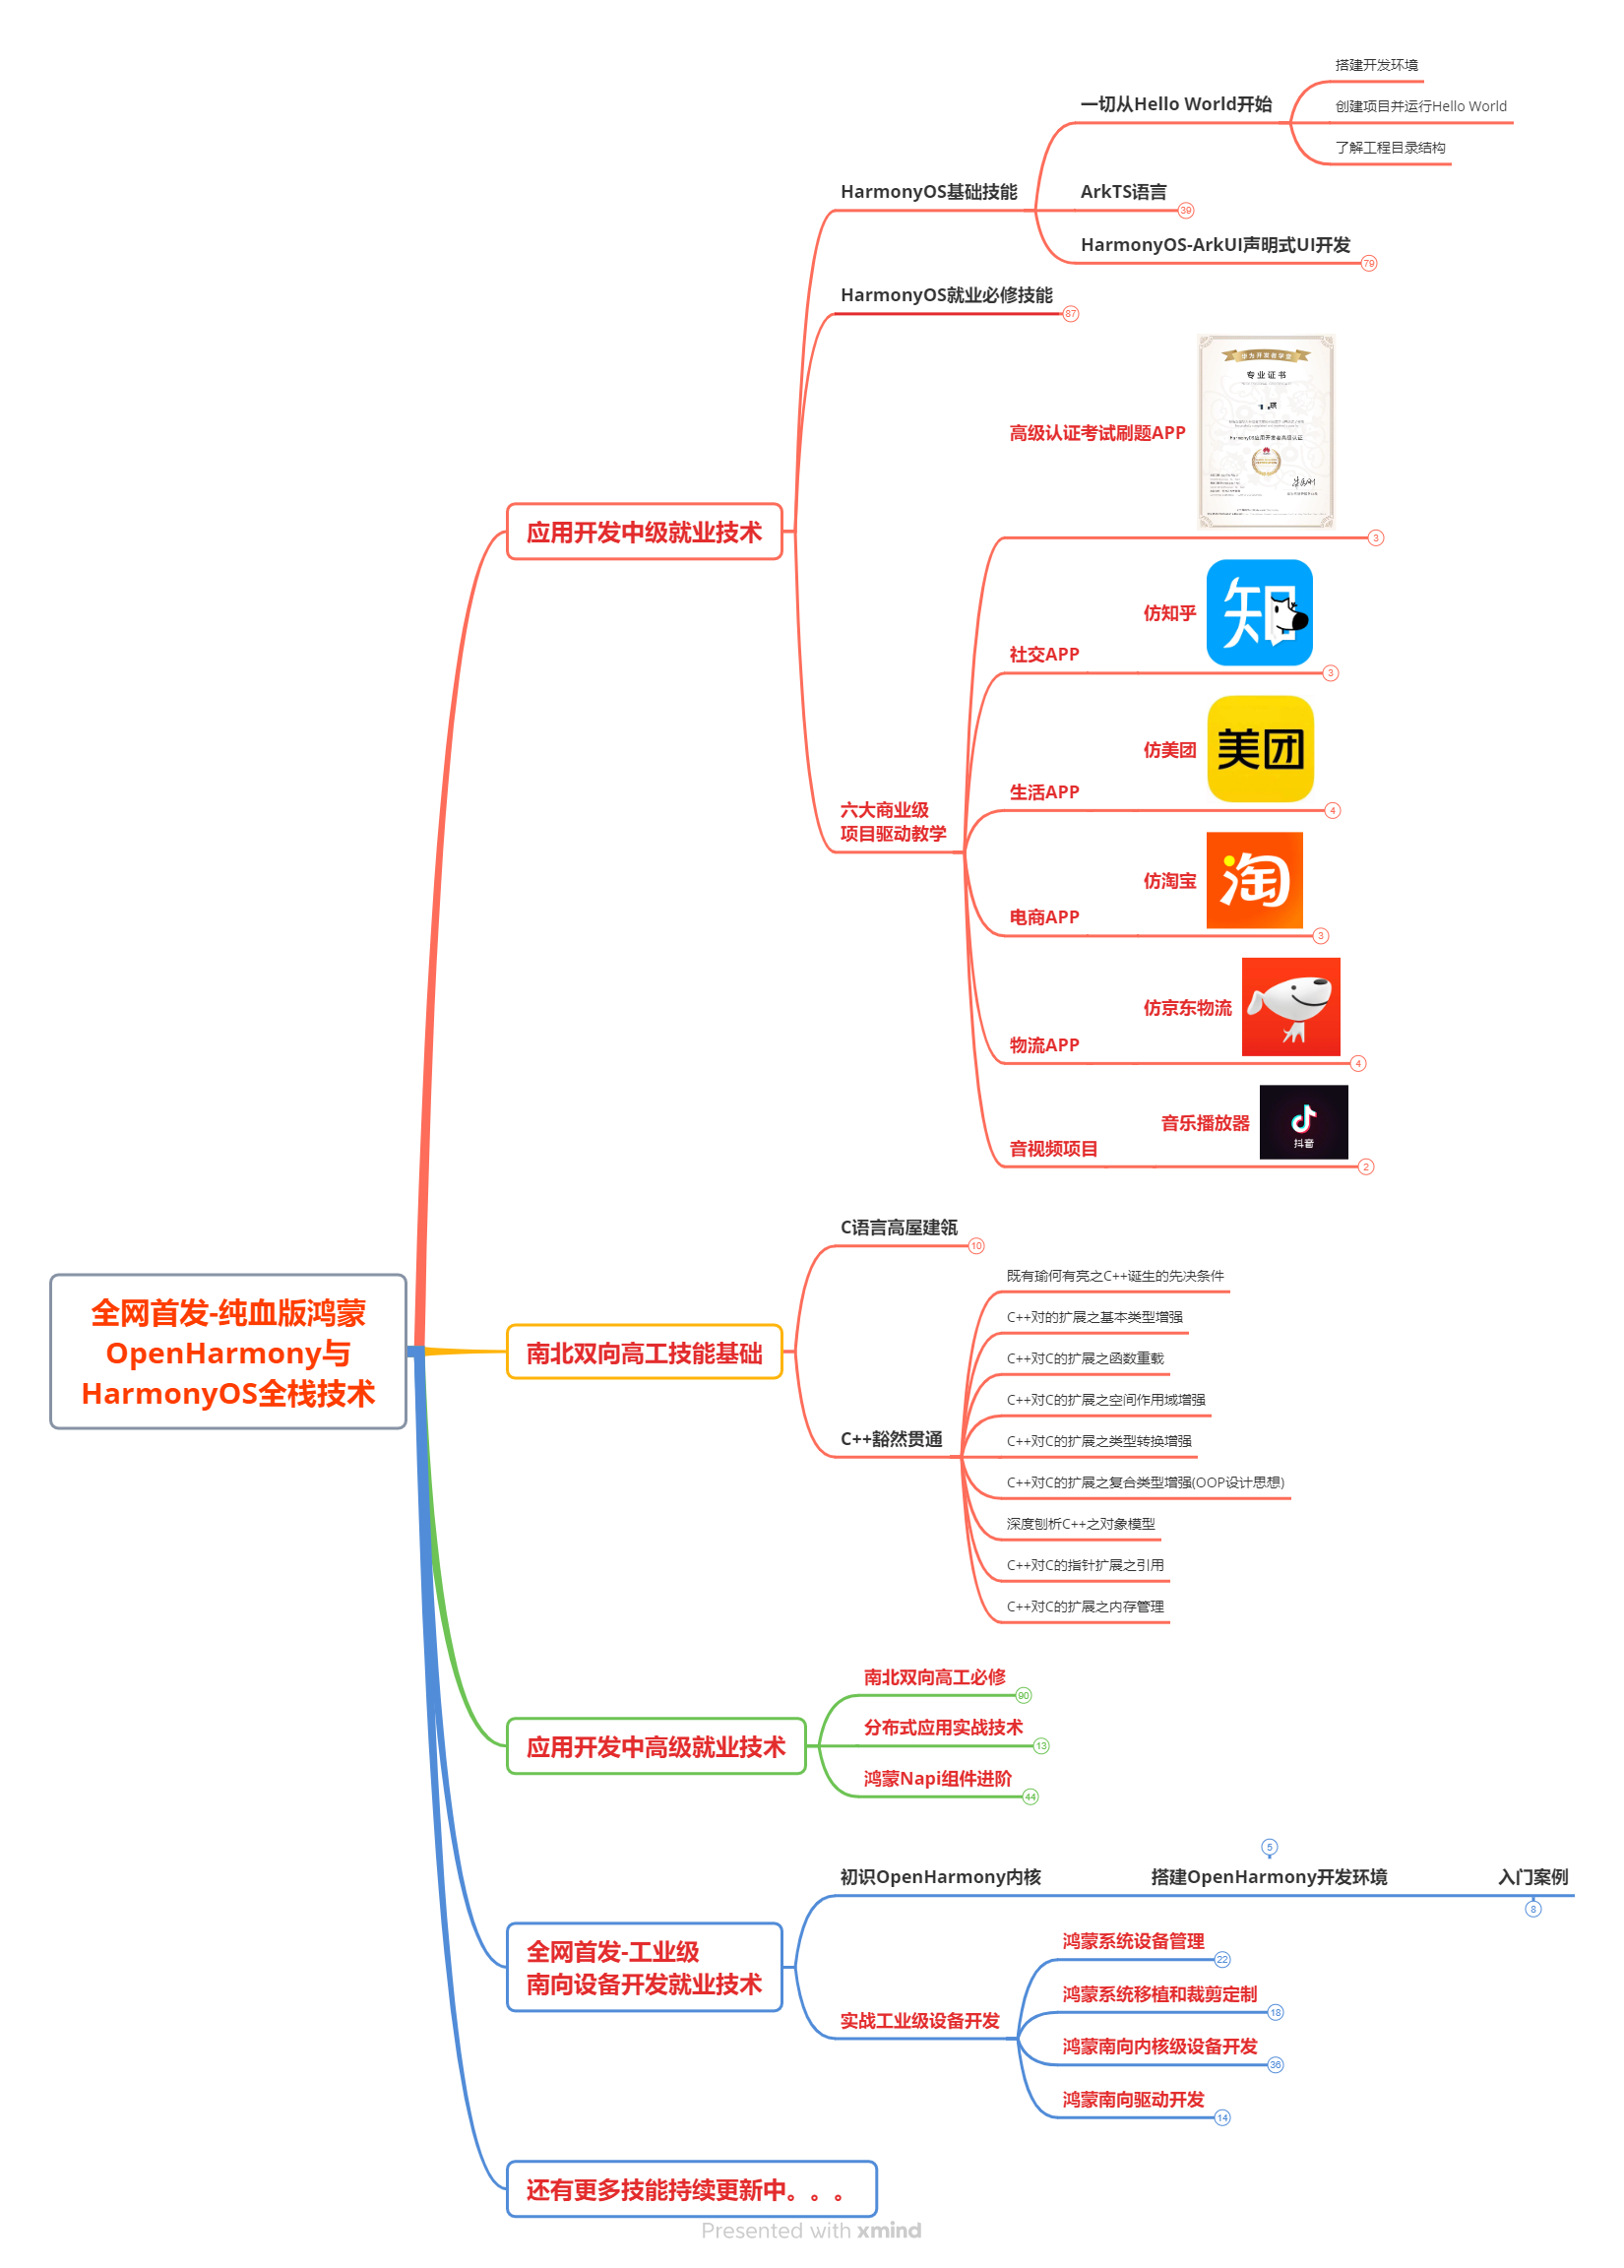
2.大厂面试必问面试题

3.鸿蒙南向开发技术
4.鸿蒙APP开发必备
5.HarmonyOS Next 最新全套视频教程
6.鸿蒙生态应用开发白皮书V2.0PDF