文章目录
- 本地部署Whisper实现语言转文字
- 1.前置条件
- 2.安装chocolatey
- 3.安装ffmpeg
- 4.安装whisper
- 5.测试用例
- 6.命令行用法
- [7.本地硬件受限,借用hugging face资源进行转译](#7.本地硬件受限,借用hugging face资源进行转译)
本地部署Whisper实现语言转文字
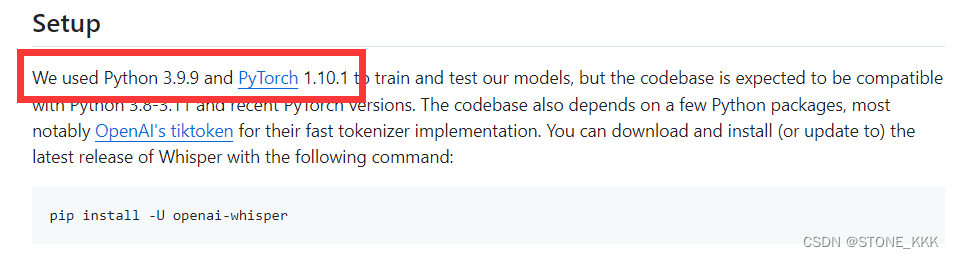
1.前置条件
环境windows10 64位
2.安装chocolatey
安装chocolatey目的是安装ffpeg以管理员身份运行PowerShell
粘贴命令
Set-ExecutionPolicy Bypass -Scope Process -Force; [System.Net.ServicePointManager]::SecurityProtocol = [System.Net.ServicePointManager]::SecurityProtocol -bor 3072; iex ((New-Object System.Net.WebClient).DownloadString('https://community.chocolatey.org/install.ps1'))安装成功打入choco
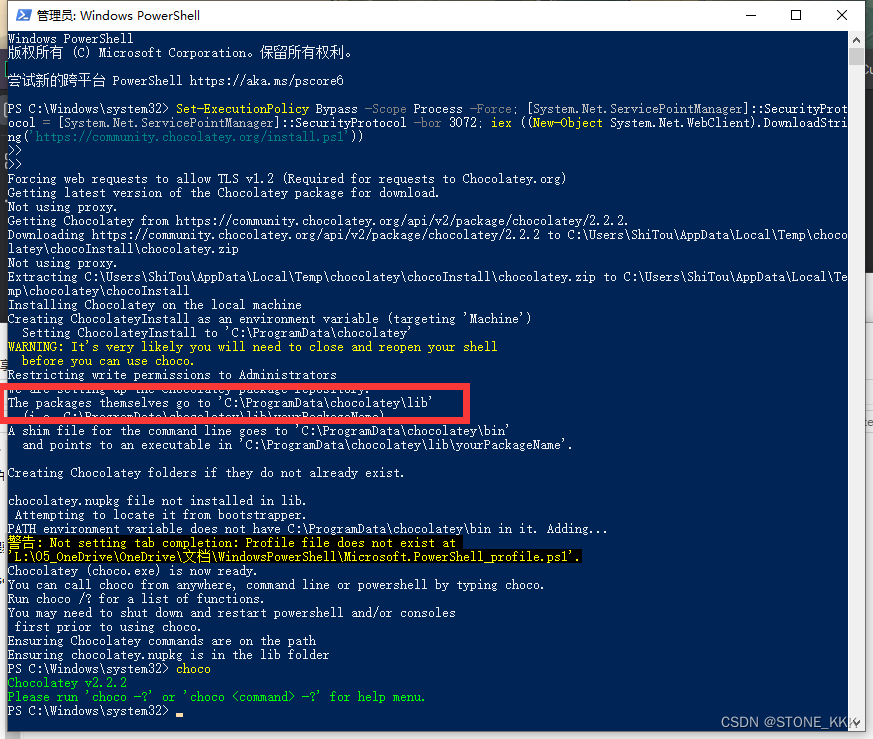
安装文件夹路径
C:\ProgramData\chocolatey3.安装ffmpeg
choco install ffmpeg
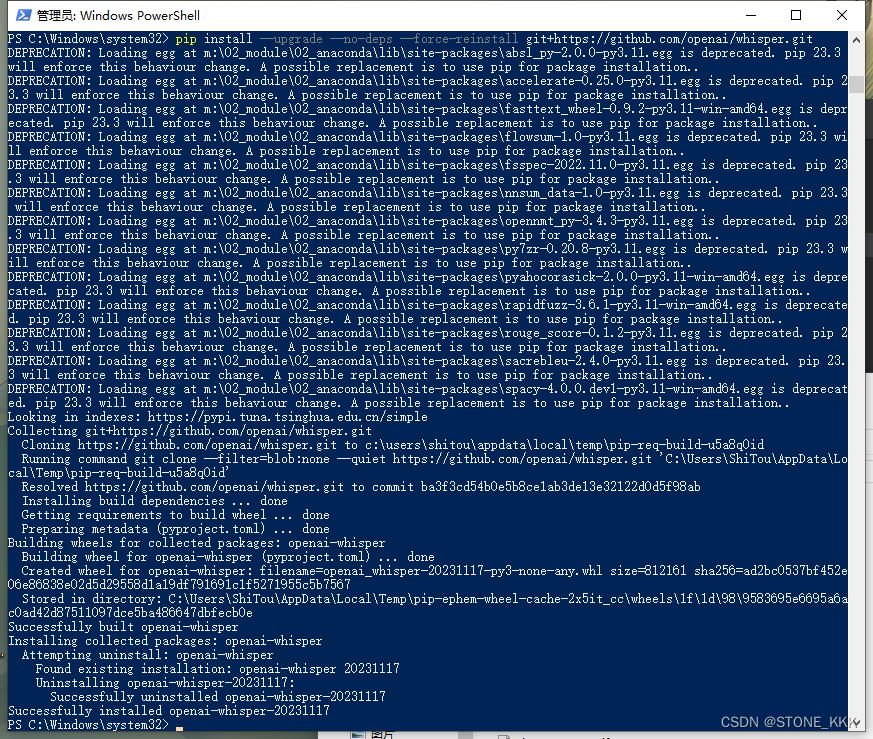
4.安装whisper
pip install git+https://github.com/openai/whisper.git安装完成运行
pip install --upgrade --no-deps --force-reinstall git+https://github.com/openai/whisper.git安装完成
5.测试用例
直接命令行
whisper yoump3.mp3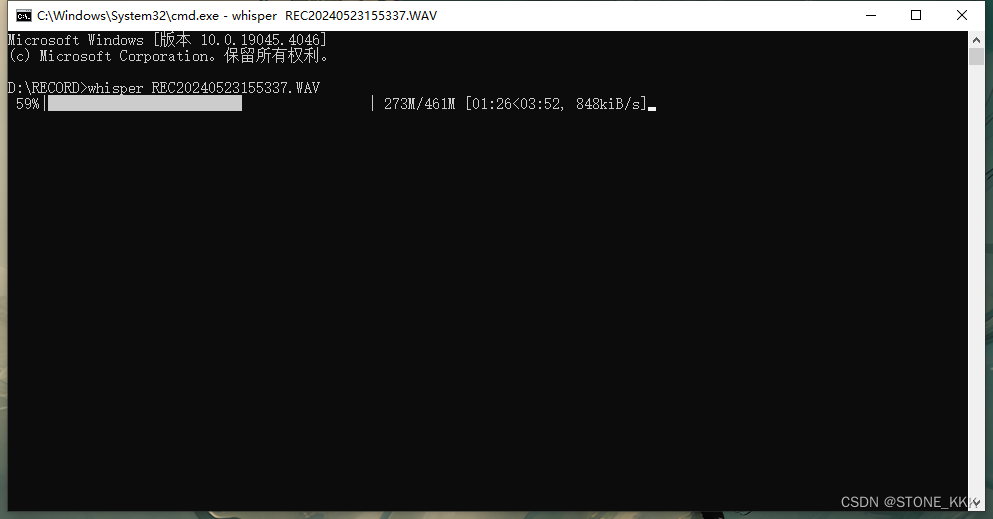
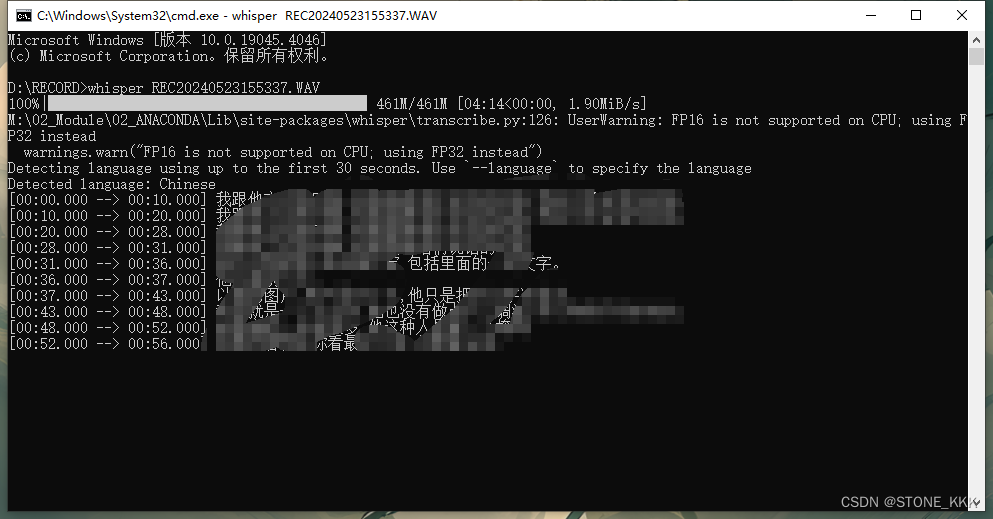
6.命令行用法
以下命令将使用medium模型转录音频文件中的语音:
whisper audio.flac audio.mp3 audio.wav --model medium默认设置(选择模型small)非常适合转录英语。要转录包含非英语语音的音频文件,您可以使用以下选项指定语言--language:
whisper japanese.wav --language Japanese添加--task translate后将把演讲翻译成英文:
whisper japanese.wav --language Japanese --task translate运行以下命令查看所有可用选项:
whisper --help7.本地硬件受限,借用hugging face资源进行转译
进入huggingface网址,往下拉
https://huggingface.co/openai/whisper-large-v3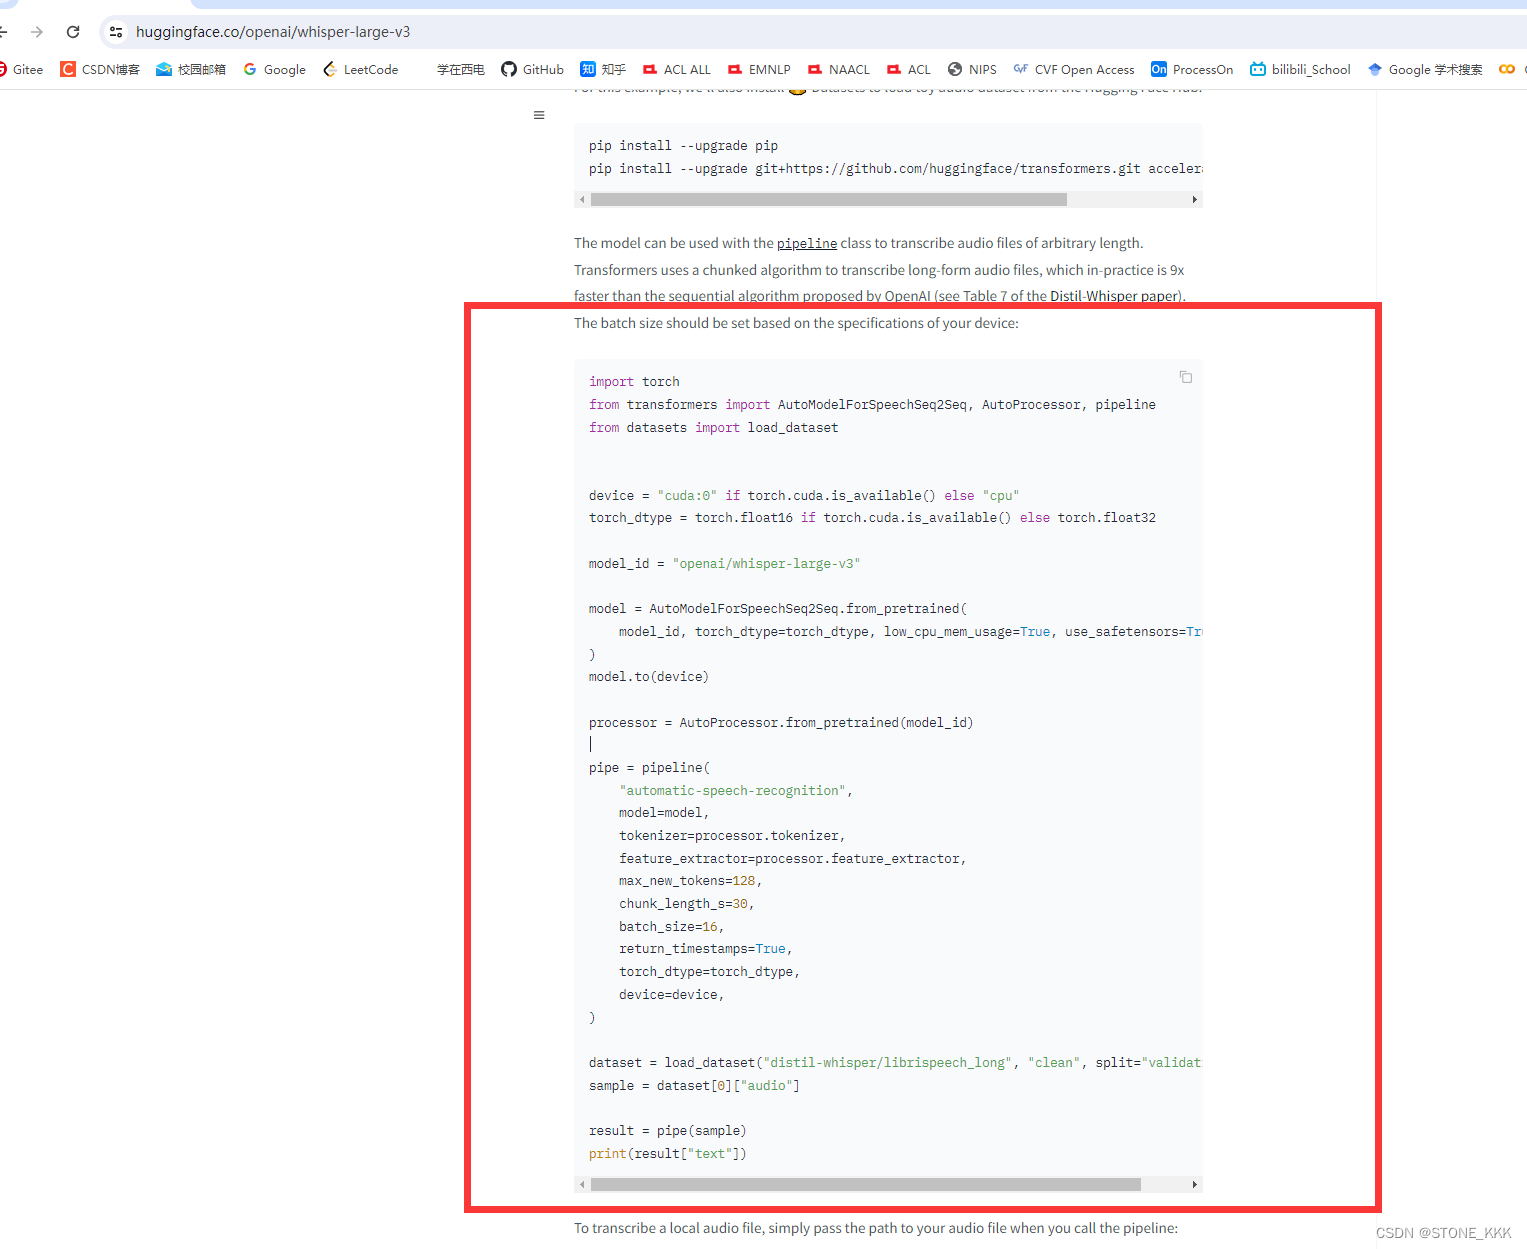
粘贴上述代码
import torch
from transformers import AutoModelForSpeechSeq2Seq, AutoProcessor, pipeline
from datasets import load_dataset


device = "cuda:0" if torch.cuda.is_available() else "cpu"
torch_dtype = torch.float16 if torch.cuda.is_available() else torch.float32

model_id = "openai/whisper-large-v3"

model = AutoModelForSpeechSeq2Seq.from_pretrained(
    model_id, torch_dtype=torch_dtype, low_cpu_mem_usage=True, use_safetensors=True
)
model.to(device)

processor = AutoProcessor.from_pretrained(model_id)

pipe = pipeline(
    "automatic-speech-recognition",
    model=model,
    tokenizer=processor.tokenizer,
    feature_extractor=processor.feature_extractor,
    max_new_tokens=128,
    chunk_length_s=30,
    batch_size=16,
    return_timestamps=True,
    torch_dtype=torch_dtype,
    device=device,
)

dataset = load_dataset("distil-whisper/librispeech_long", "clean", split="validation")
sample = dataset[0]["audio"]

result = pipe(sample)
print(result["text"])
修改本地代码,将sample修改为,需要转录的录音,接入代理;
import torch
from transformers import AutoModelForSpeechSeq2Seq, AutoProcessor, pipeline
from datasets import load_dataset

import os
os.environ['CURL_CA_BUNDLE'] = ''
os.environ["http_proxy"] = "http://127.0.0.1:7890"
os.environ["https_proxy"] = "http://127.0.0.1:7890"

device = "cuda:0" if torch.cuda.is_available() else "cpu"
torch_dtype = torch.float16 if torch.cuda.is_available() else torch.float32

model_id = "openai/whisper-large-v3"

model = AutoModelForSpeechSeq2Seq.from_pretrained(
    model_id, torch_dtype=torch_dtype, low_cpu_mem_usage=True, use_safetensors=True
)
model.to(device)

processor = AutoProcessor.from_pretrained(model_id)

pipe = pipeline(
    "automatic-speech-recognition",
    model=model,
    tokenizer=processor.tokenizer,
    feature_extractor=processor.feature_extractor,
    max_new_tokens=128,
    chunk_length_s=30,
    batch_size=16,
    return_timestamps=True,
    torch_dtype=torch_dtype,
    device=device,
)

dataset = load_dataset("distil-whisper/librispeech_long", "clean", split="validation")
sample = dataset[0]["audio"]

result = pipe("myaudio")
print(result["text"])
借用huggingface的速度,速度取决于网速