Centos7安装Redis
安装步骤
下载安装包

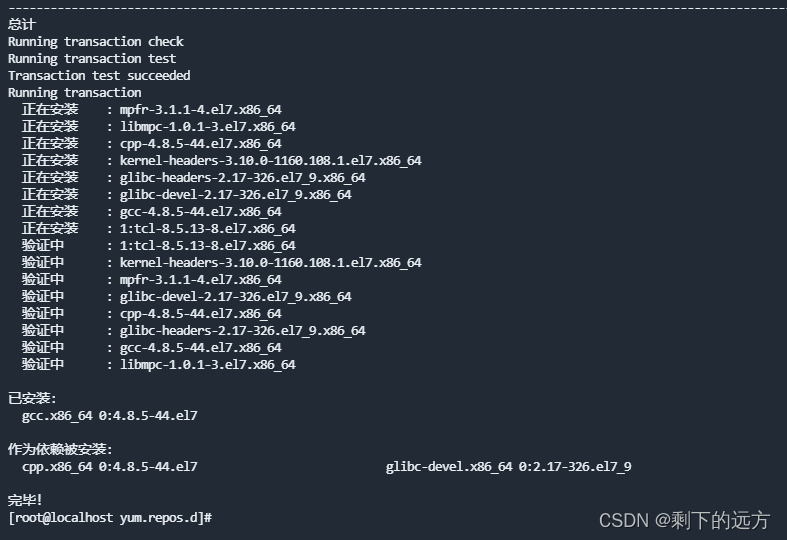
Redis是基于C语言编写的,所以首先要在Linux中安装Redis所需要的gcc依赖;
shell
yum install -y gcc tcl出现下图代表依赖安装完成!
解压缩redis
shell
tar -zxvf redis-6.2.14.tar.gz 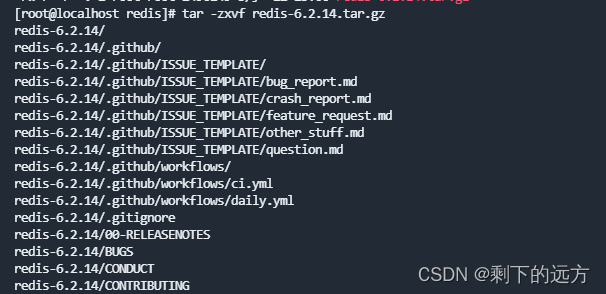
进入redis文件夹
shell
cd redis-6.2.14
运行编译命令,其中make是编译,make install是安装。(也可以指定安装路径 make install PREFIX=/usr/local/redis;默认安装路径为/usr/local/bin/)
shell
make && make install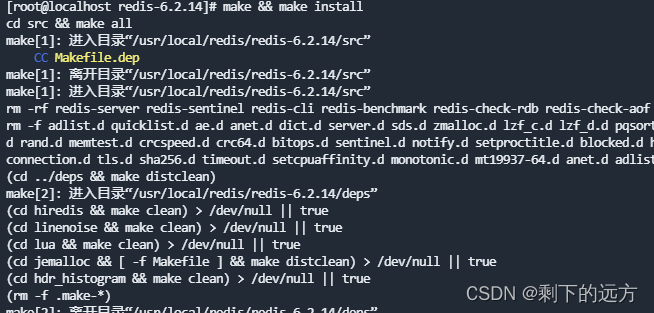
默认安装路径是/usr/local/bin/目录,所以我们到这个目录看下。
shell
cd /usr/local/bin/
启动方式
默认的启动方式(不推荐):
安装完成后,可在任意目录下运行redis-server命令启动Redis:
这种方式为前台 启动,会阻塞整个会话窗口,此时需要打开另一个窗口进行连接,窗口关闭或者按下【ctrl+c】则Redis停止。此种方式不推荐使用。
shell
redis-server
指定配置文件启动(推荐):
若要让Redis以后台方式启动,则需要修改redis的配置文件,配置文件就在redis的安装目录下,即
/usr/local/redis/redis-6.2.6下,在此之前可以先cp,即复制一份,以防文件被改烂。(如果是指定的安装目录此处是需要将redis.conf 复制到安装路径下)

修改配置文件:
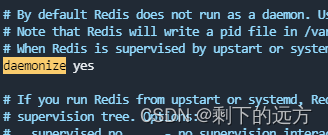
vim redis.conf守护进程,修改为yes后可后台进行
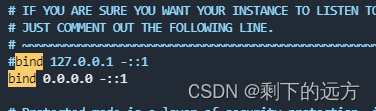
监听的地址,默认是127.0.0.1,会导致只能在本地访问,改为0.0.0.0表示任何ip都可以访问,生产环境不要设置成0.0.0.0
requirepass 123456(密码可以随意);密码设置后访问redis必须输入密码

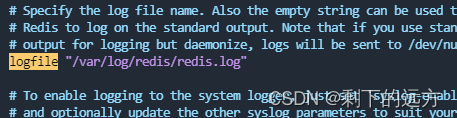
设置redis的日志文件 logfile "/var/log/redis/redis.log"
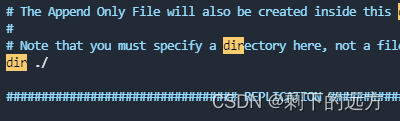
工作目录,默认是当前目录,也就是运行redis-server时的命令,日志、持久化等文件会保
dir ./ 代表存在当前目录
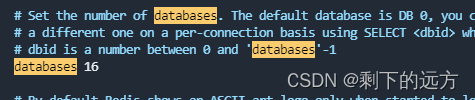
数据库数量,设置为1,代表只使用1个库,默认有16个库,编号0~15
databases 16
设置redis能够使用的最大内存 maxmemory 512mb

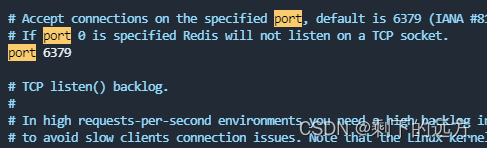
监听的端口
修改保存后,启动Redis,加上配置文件的全路径,这里若是在redis安装目录下,可省去全路径。
shell
# 启动redis
redis-server redis.conf

# 查看redis 的进程
ps -ef | grep redis
可以通过kill -9 杀死对应进程
开机自启(推荐):
将redis加入开机自启服务,在/etc/systemd/system创建redis.service文件并加入内容:
shell
[Unit]
Description=redis-server
After=network.target
[Service]
Type=forking
ExecStart=/usr/local/bin/redis-server /usr/local/redis/redis-6.2.14/redis.conf
PrivateTmp=true
[Install]
WantedBy=multi-user.target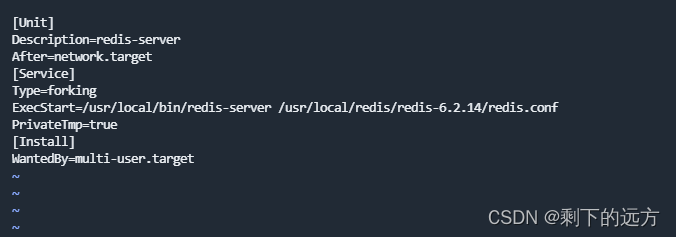
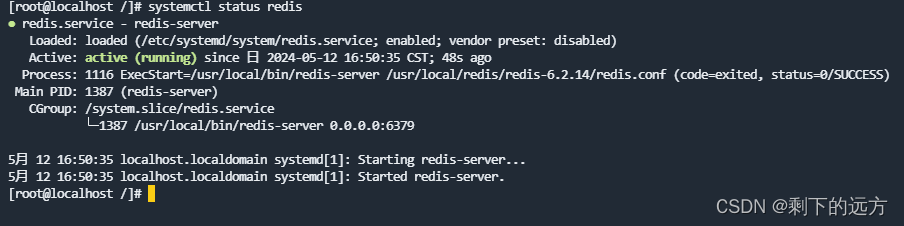
设置redis开机启动
shell
systemctl enable redis重新开机 查看 redis状态
结束
至此完成安装!
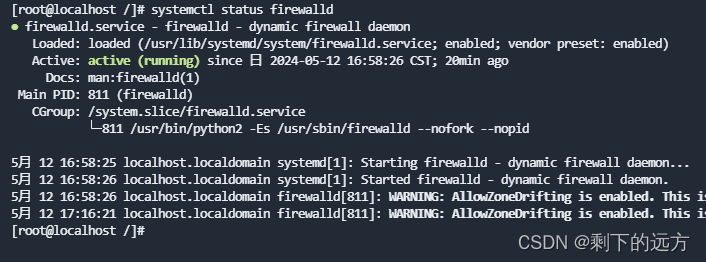
如果在客户端发现请求不了 6379 的端口号 则看下是不是 防火墙开着 如果开着是不是6379端口没有放开,如果没放开则需要放开。