本文以Windows Vista系统为例,详细讲解IIS7整合Tomcat服务器,同时支持ASP+PHP+JSP三种Web动态网页技术的方法。
Vista系统自带的IIS版本为7.0,能安装的IE浏览器的最高版本为IE9。IE9也是Vue2前端框架支持的最低浏览器版本。
【准备工作】
去微软官网下载VC14运行库:
Visual C++ Redistributable for Visual Studio 2015
https://www.microsoft.com/zh-cn/download/details.aspx?id=48145
Windows 32位版本:vc_redist.x86.exe
Windows 64位版本:vc_redist.x64.exe
去PHP官网下载PHP7.1.33压缩包:
https://windows.php.net/downloads/releases/archives
Windows 32位版本:php-7.1.33-nts-Win32-VC14-x86.zip
Windows 64位版本:php-7.1.33-nts-Win32-VC14-x64.zip
nts(非线程安全)版本为IIS的专用版本,VC14表示这个版本需要VC14运行库才能运行。
Windows 95最高只能安装PHP4.2。
Windows 98、Windows ME和Windows 2000最高只能安装PHP5.2。
Windows XP和Windows Server 2003最高只能安装PHP5.4。
Windows Vista和Windows Server 2008最高只能安装PHP7.1。
Windows 7和Windows Server 2008 R2最高只能安装PHP8.2。
去Oracle官网下载JDK 8u202(Java最后的免费版本)的安装包。
https://www.oracle.com/java/technologies/javase/javase8-archive-downloads.html
Windows 32位版本:jdk-8u202-windows-i586.exe
Windows 64位版本:jdk-8u202-windows-x64.exe
Java 8u202是最后一个免费的版本,之后的版本都是收费的,都不能免费使用!
去Tomcat官网下载Tomcat 9.0.89的安装包。(Tomcat 10不支持免费的Java 8,所以选择安装Tomcat 9)
https://tomcat.apache.org/download-90.cgi
栏目:32-bit/64-bit Windows Service Installer
文件名:apache-tomcat-9.0.89.exe
去Tomcat官网下载tomcat-connectors连接器。
https://dlcdn.apache.org/tomcat/tomcat-connectors/jk/binaries/windows/
32位版本:tomcat-connectors-1.2.49-windows-i386-iis.zip
64位版本:tomcat-connectors-1.2.49-windows-x86_64-iis.zip
【安装IIS并测试ASP】
在控制面板的程序与功能里面安装Internet 信息服务,注意要手动勾选应用程序开发功能里面的所有选项。

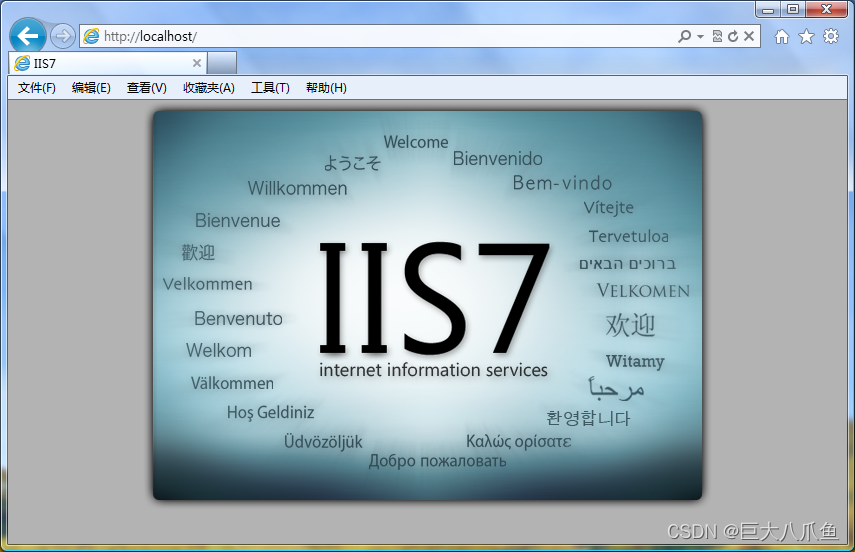
安装好之后IIS服务器会自动启动,可以直接用浏览器访问http://localhost/。
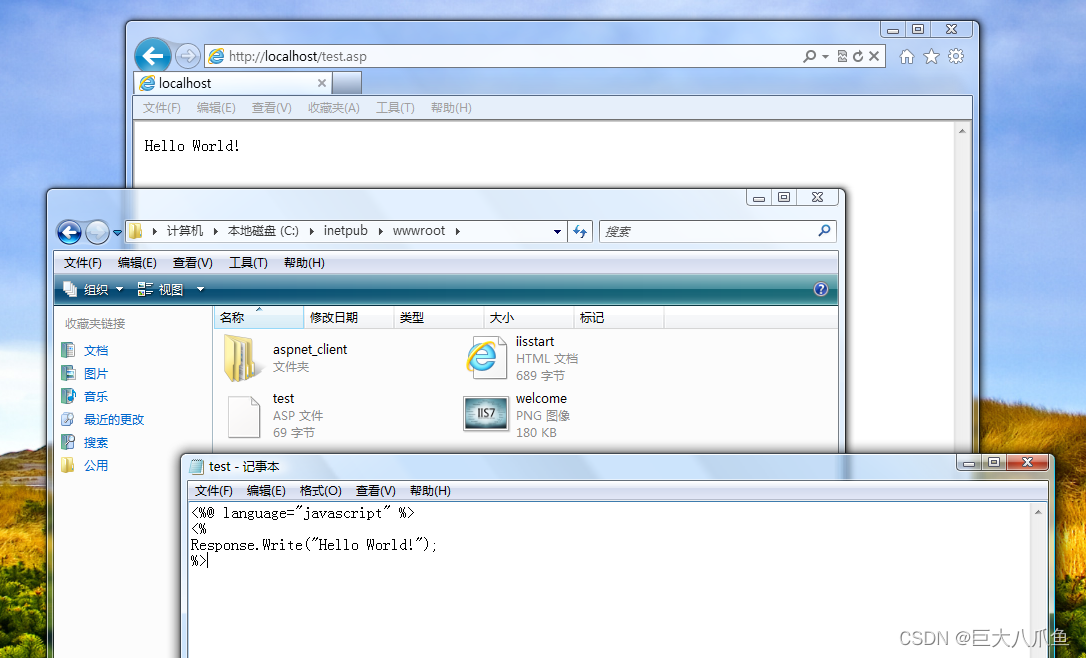
在C:\inetpub\wwwroot中创建test.asp文件,内容如下:
<%@ language="javascript" %>
<%
Response.Write("Hello World!");
%>
保存文件后,用IE浏览器访问http://localhost/test.asp,即可看到Hello World!输出。
【在IIS中配置PHP】
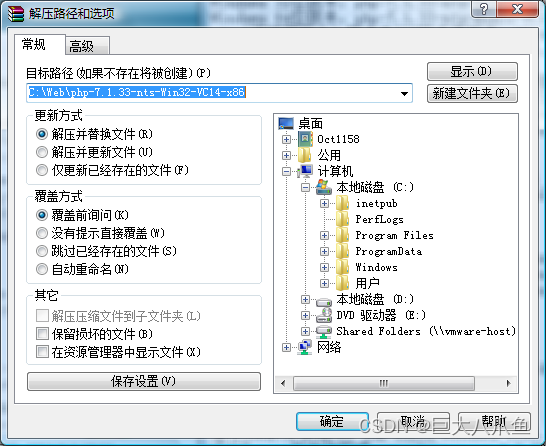
创建C:\Web文件夹,将php-7.1.33-nts-Win32-VC14-x86.zip解压到C:\Web\php-7.1.33-nts-Win32-VC14-x86文件夹中。
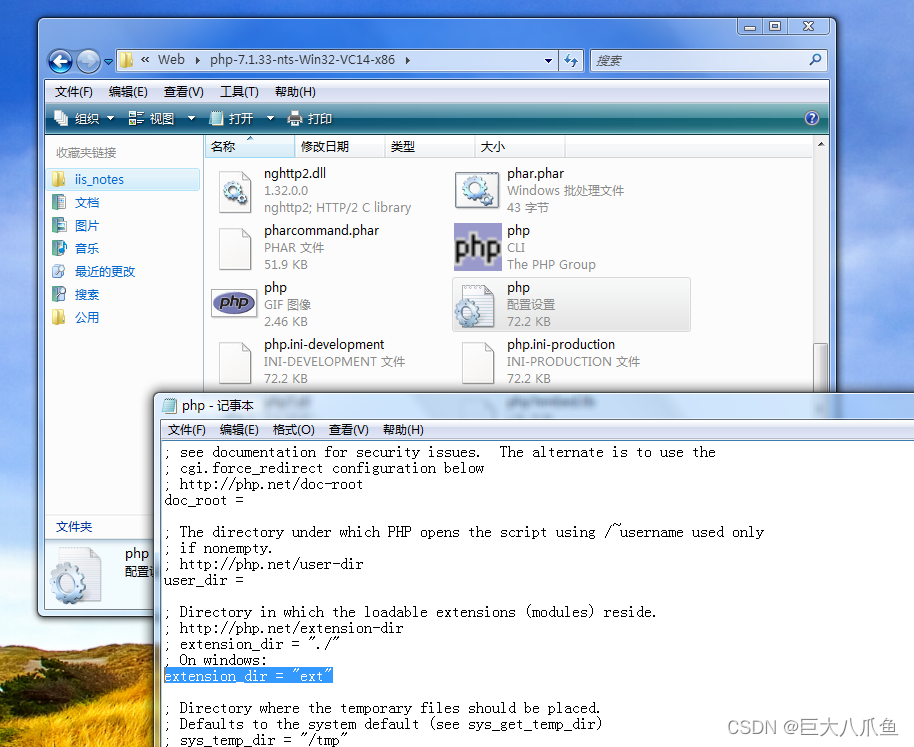
复制里面的php.ini-development文件,将复制的文件命名为php.ini。
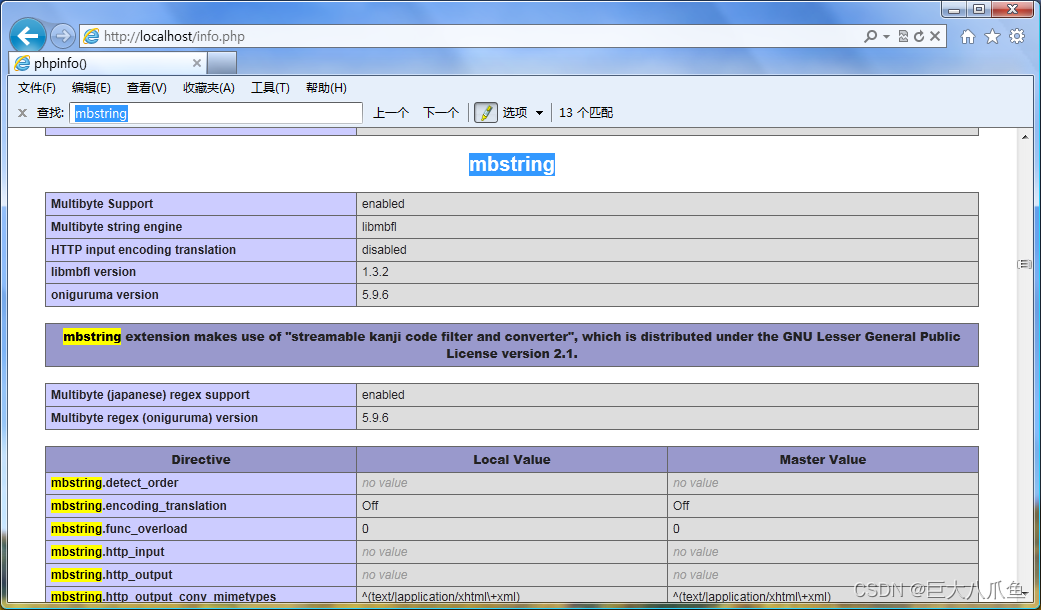
打开php.ini,把; extension_dir = "ext"和;extension=php_mbstring.dll前面的分号去掉。
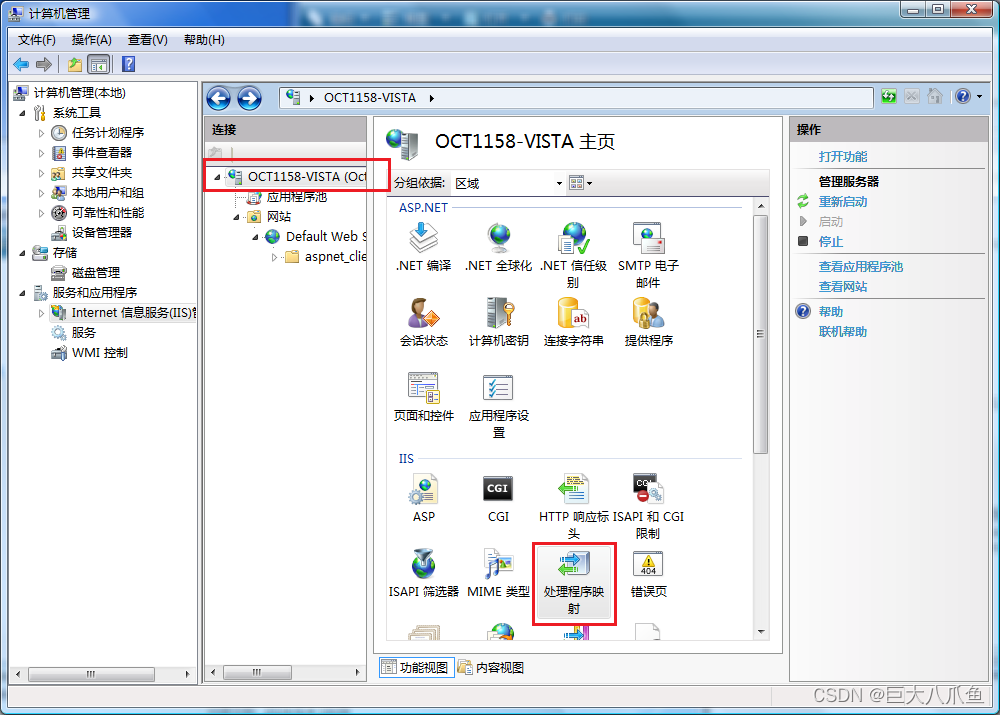
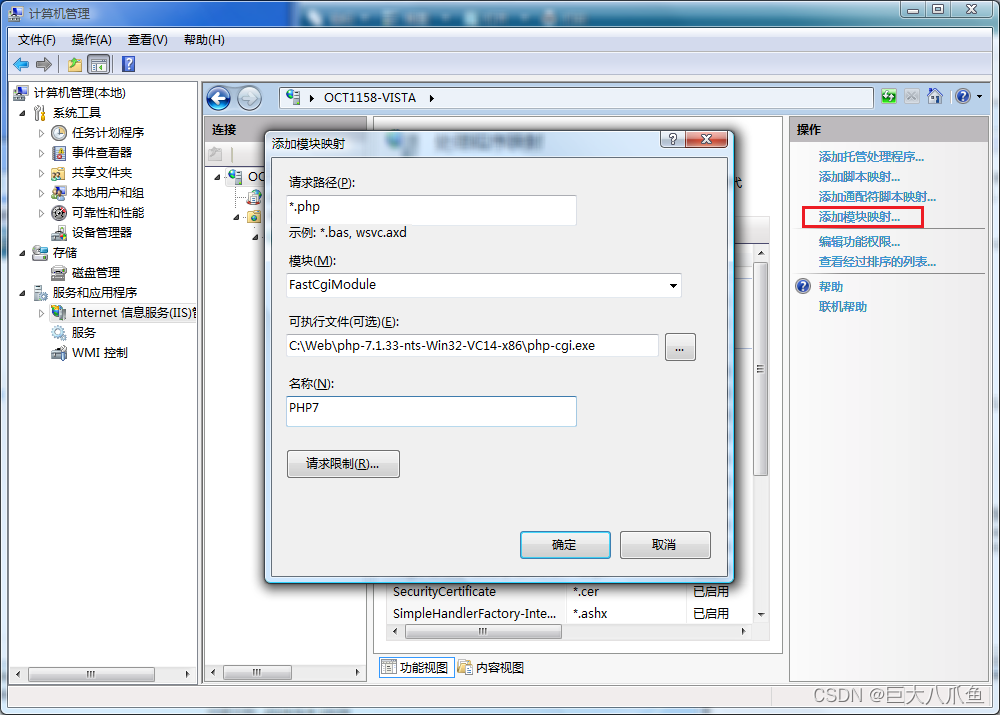
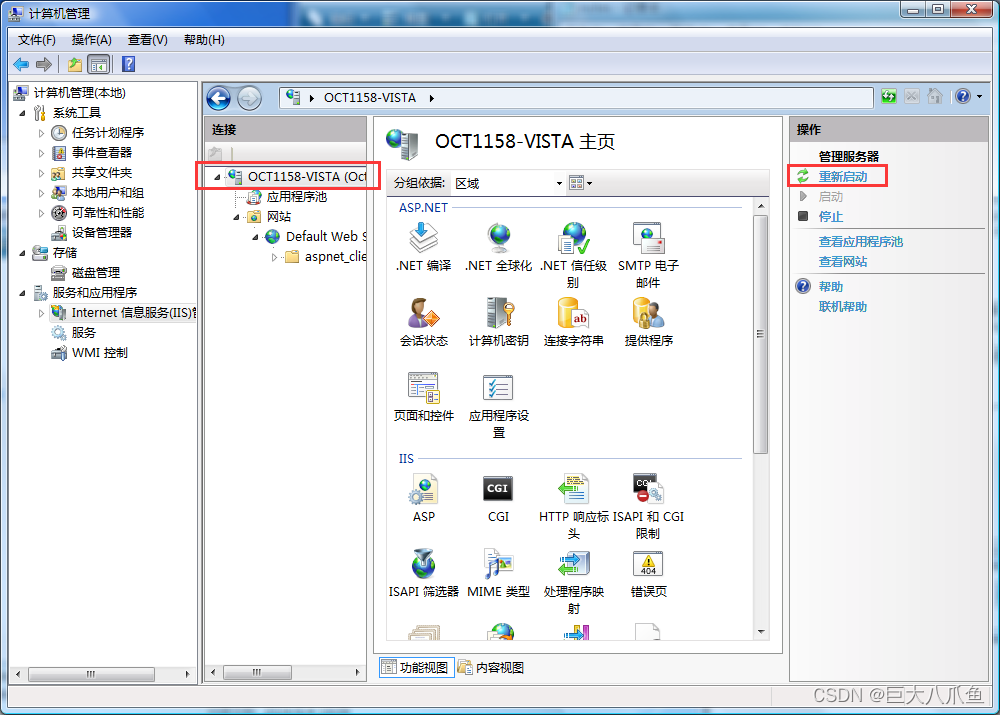
打开计算机管理里面的Internet信息服务,选择左边最上面的根节点(计算机名,如OCT1158-VISTA),再打开右边的"处理程序映射",点击右边的"添加模块映射"。
请求路径填写*.php。
模块选择FastCgiModule。
可执行文件填写C:\Web\php-7.1.33-nts-Win32-VC14-x86\php-cgi.exe。
名称填写PHP7。
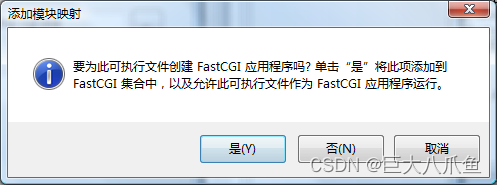
点击确定后再点击是。
在根节点处(OCT1158-VISTA)处重启IIS服务器。
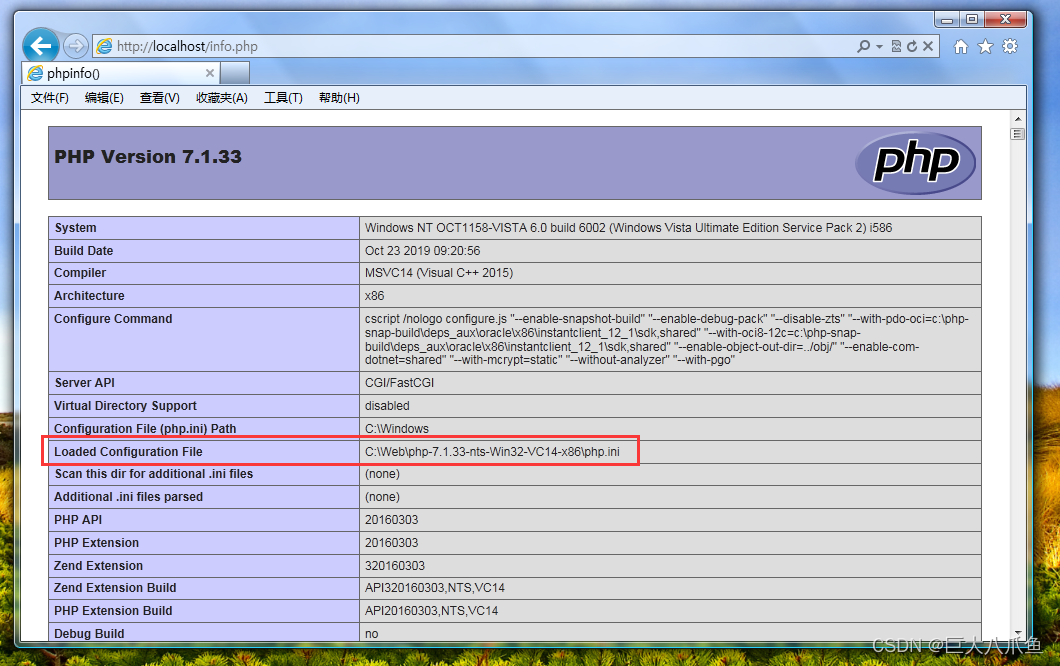
在C:\inetpub\wwwroot中创建info.php文件,内容如下:
<?php
phpinfo();
?>
保存文件后,用IE浏览器访问http://localhost/info.php,即可看到PHP版本信息输出,并且还可以看到我们刚才在php.ini里面启用的mbstring扩展。
【安装JDK和Tomcat】
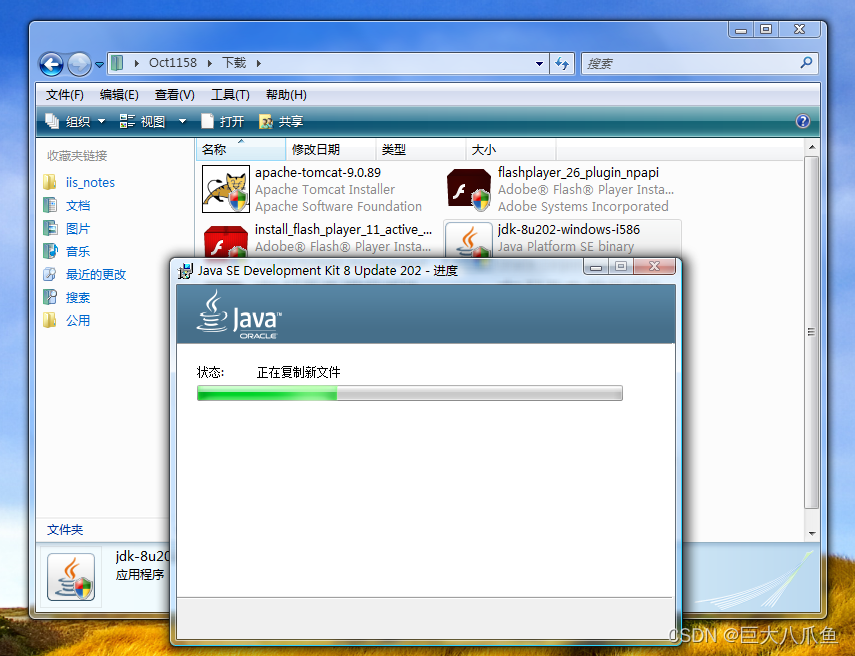
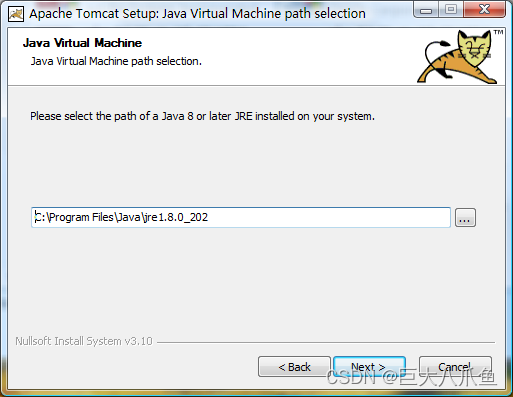
运行JDK的安装程序:jdk-8u202-windows-i586.exe
JDK以及附带的JRE的安装路径为C:\Program Files\Java。
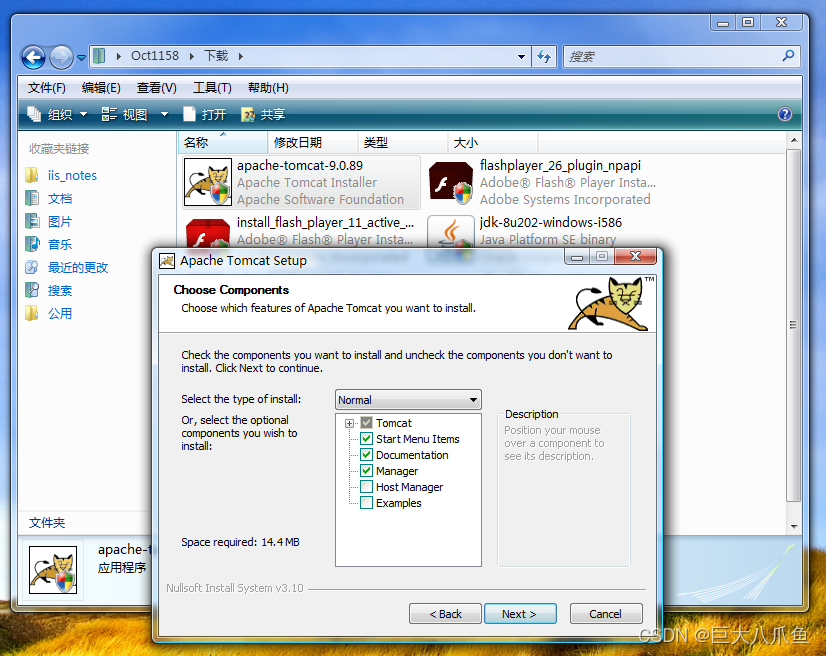
运行Tomcat的安装程序:apache-tomcat-9.0.89.exe
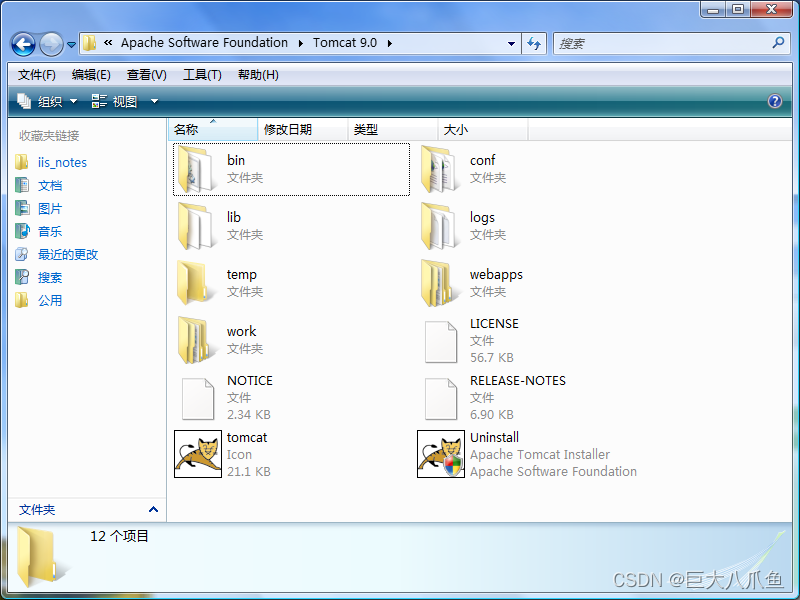
Tomcat的安装路径为C:\Program Files\Apache Software Foundation\Tomcat 9.0。

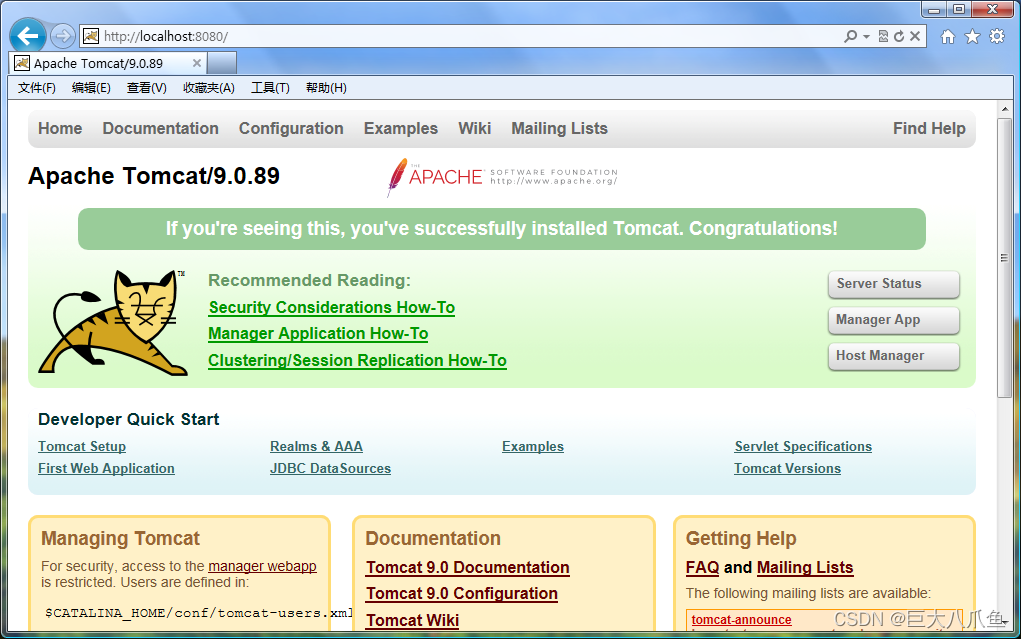
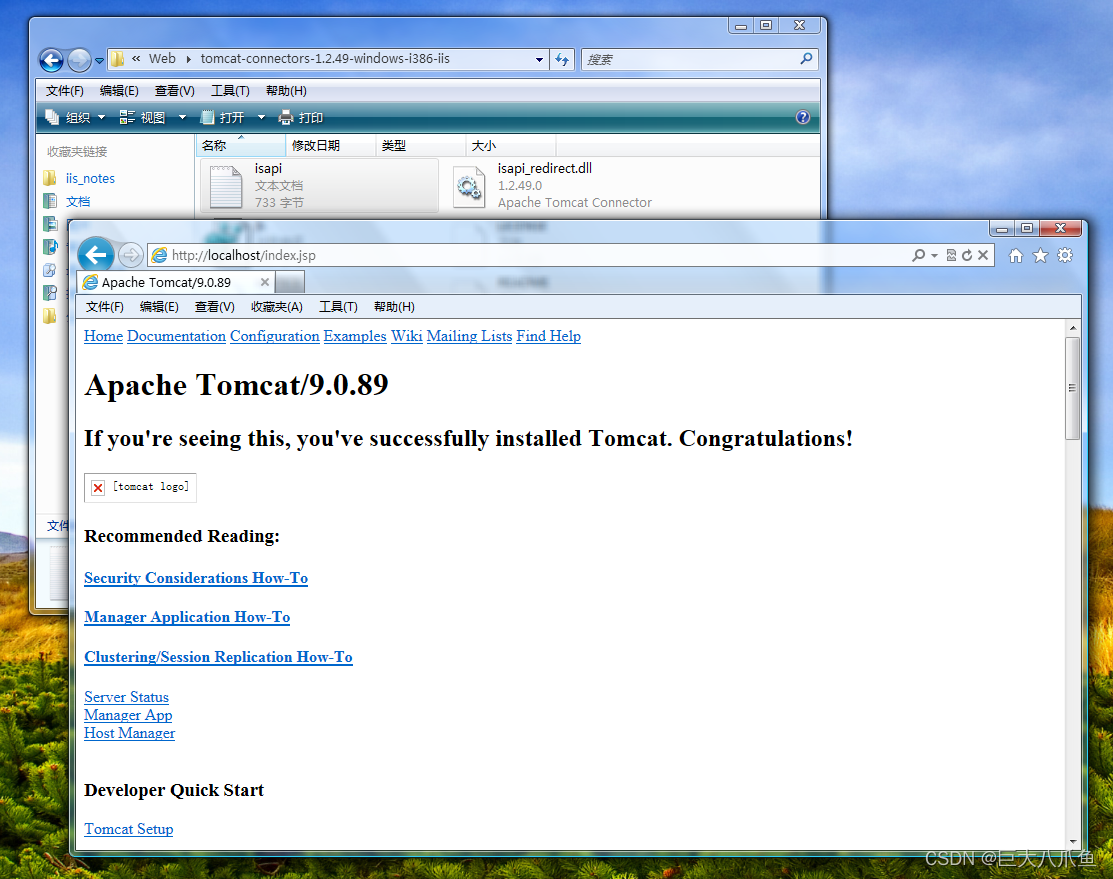
安装好之后即可用IE浏览器访问http://localhost:8080。
【在IIS中配置JSP】
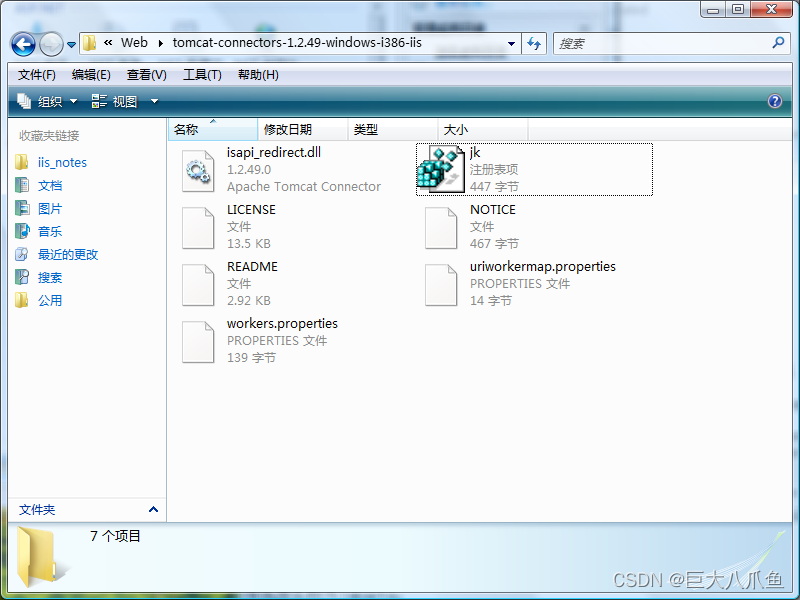
解压tomcat-connectors-1.2.49-windows-i386-iis.zip压缩包到C:\Web\tomcat-connectors-1.2.49-windows-i386-iis文件夹中。
在里面创建workers.properties文件,内容为
worker.list=worker1
worker.worker1.port=8009
worker.worker1.host=localhost
worker.worker1.type=ajp13
worker.worker1.secret=helloworld
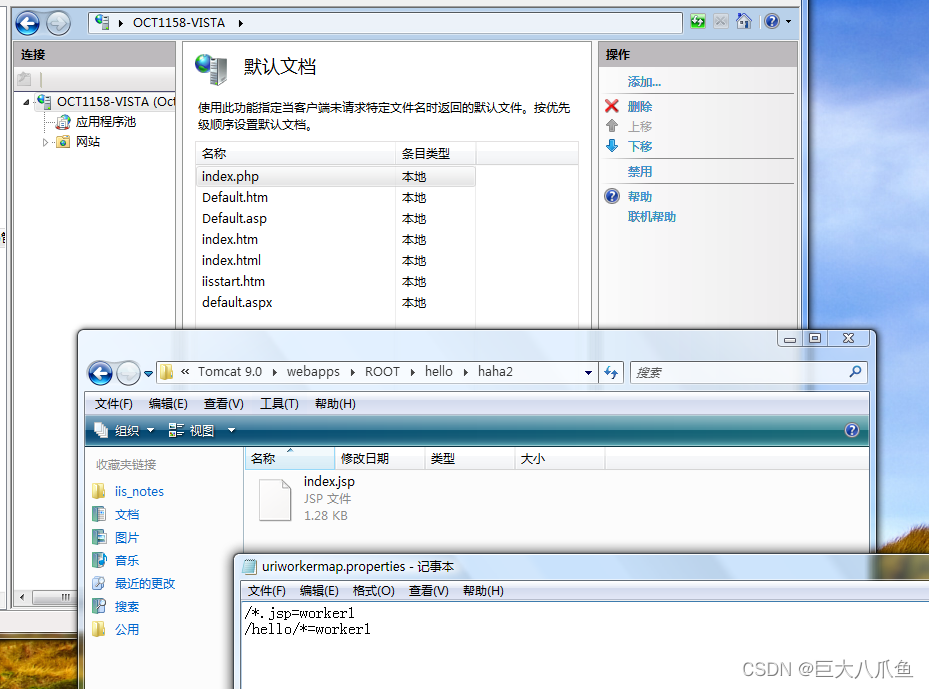
再创建一个uriworkermap.properties文件,内容为
/*.jsp=worker1
再创建一个.reg文件,内容如下:
Windows Registry Editor Version 5.00
HKEY_LOCAL_MACHINE\\SOFTWARE\\Apache Software Foundation\\Jakarta Isapi Redirector\\1.0
"extension_uri"="/jakarta/isapi_redirect.dll"
"log_file"="C:/Web/tomcat-connectors-1.2.49-windows-i386-iis/isapi.log"
"log_level"="info"
"worker_file"="C:/Web/tomcat-connectors-1.2.49-windows-i386-iis/workers.properties"
"worker_mount_file"="C:/Web/tomcat-connectors-1.2.49-windows-i386-iis/uriworkermap.properties"
双击这个reg文件导入进注册表。
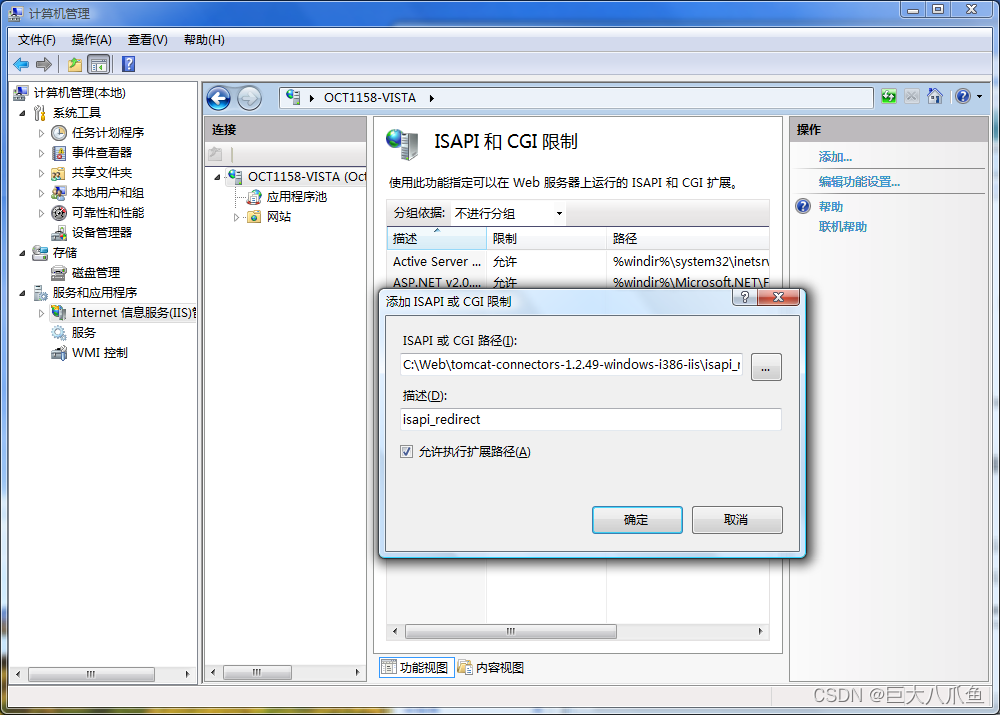
打开Internet信息服务,选择左边的根节点,再打开右边的"ISAPI和CGI限制",点击右边的添加。
ISAPI或CGI路径为C:\Web\tomcat-connectors-1.2.49-windows-i386-iis\isapi_redirect.dll。
描述为isapi_redirect。
勾选"允许执行扩展路径",然后点击确定。
返回主页面,打开"ISAPI筛选器",点击右边的添加。
筛选器名称为jakarta。
可执行文件为C:\Web\tomcat-connectors-1.2.49-windows-i386-iis\isapi_redirect.dll。
点击确定。

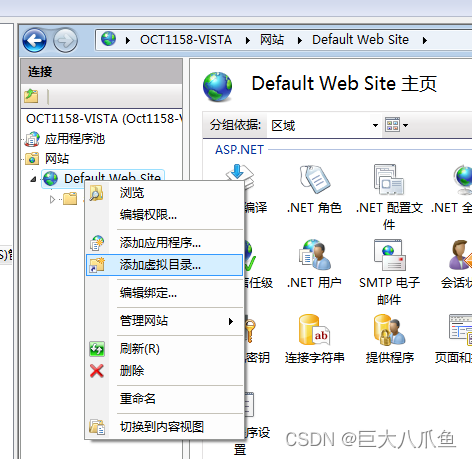
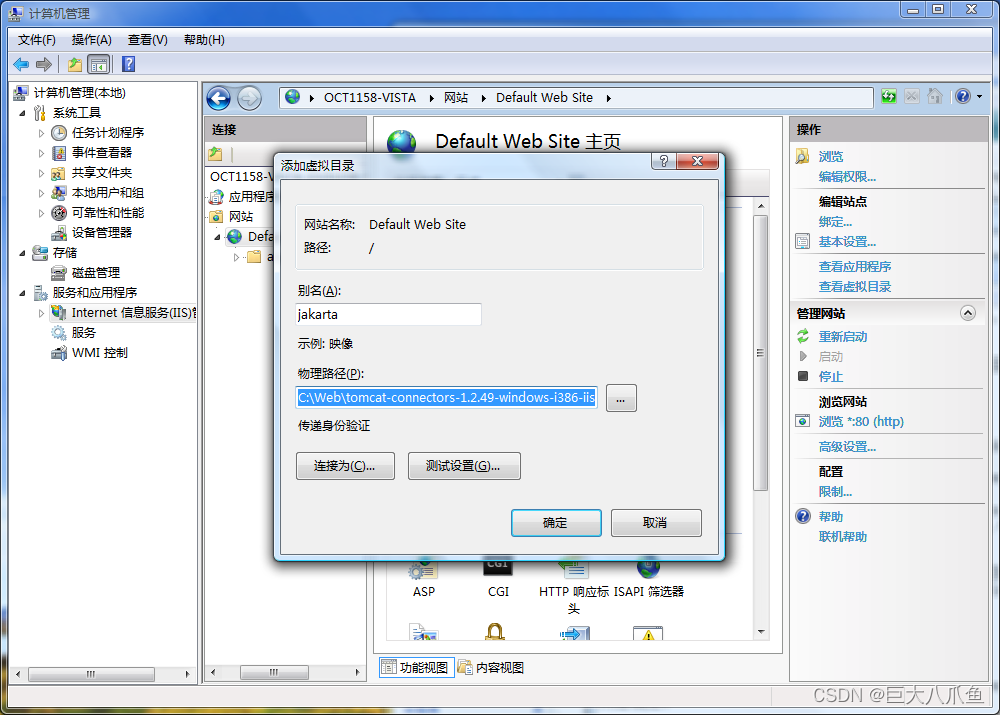
在默认网站里面添加一个虚拟目录。
别名为jakarta。
物理路径为C:\Web\tomcat-connectors-1.2.49-windows-i386-iis。
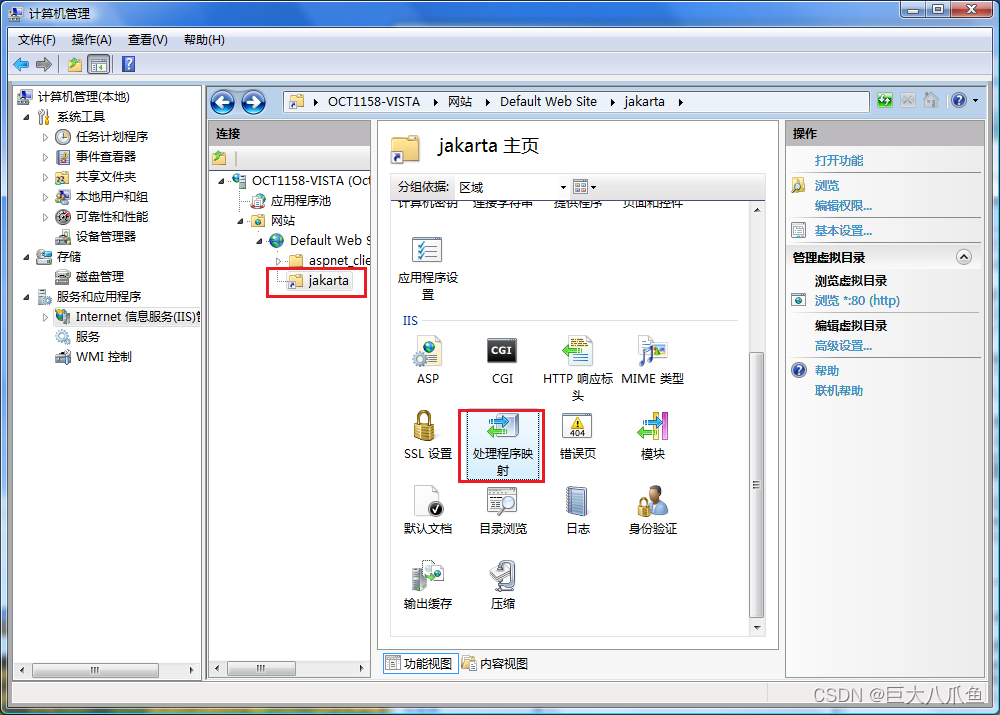
添加后选中左边的虚拟目录,再打开右边的"处理程序映射"。
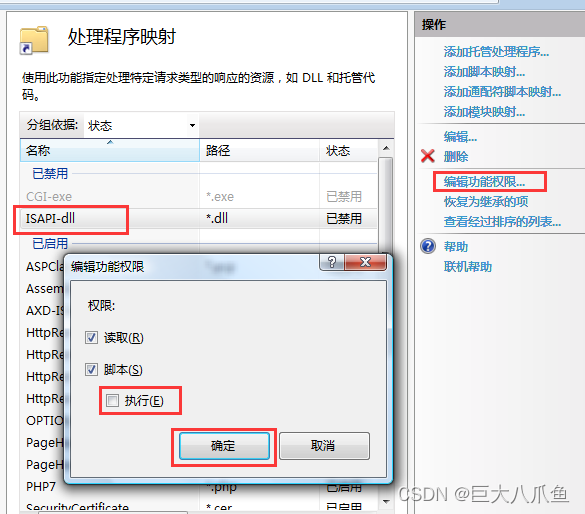
选中已禁用的"ISAPI-dll",点击右边的"编辑功能权限",勾选"执行",点击确定。这样就把"ISAPI-dll"设置为了已启用。
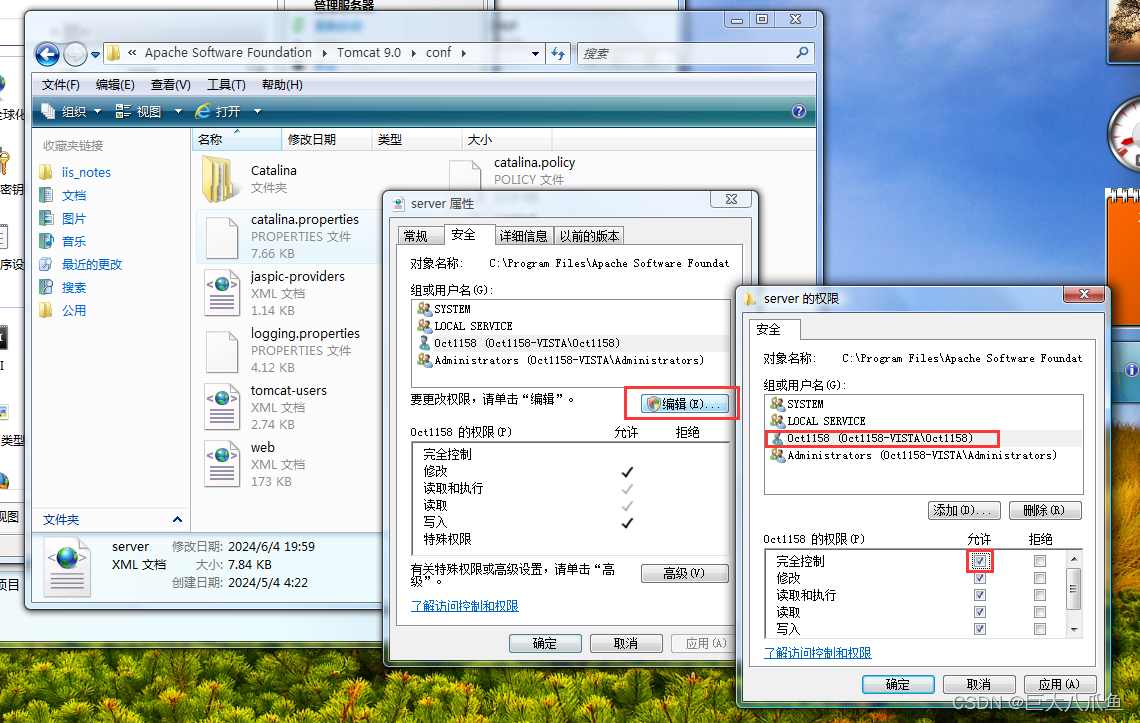
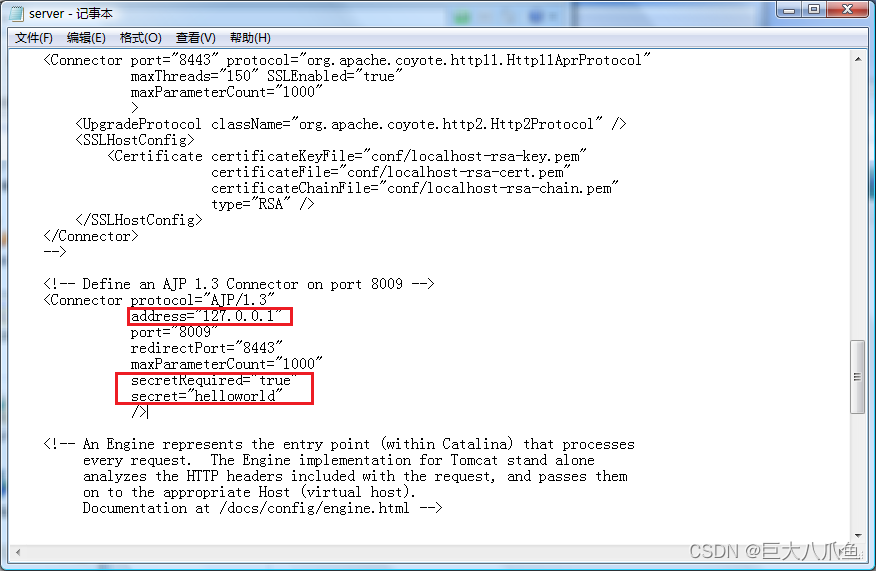
编辑Tomcat的配置文件C:\Program Files\Apache Software Foundation\Tomcat 9.0\conf\server.xml。(编辑前要给当前用户添加写权限,不然保存不了)
找到8009端口的Connector节点,取消注释,并把address改成127.0.0.1,添加secretRequired="true"和secret="helloworld",保存文件。
重启IIS和Tomcat服务器。
并且C:\Web\tomcat-connectors-1.2.49-windows-i386-iis目录下自动生成了isapi.log日志文件。
在C:\Program Files\Apache Software Foundation\Tomcat 9.0\webapps\ROOT下建立test.jsp文件,内容如下(注意以UTF-8编码方式保存):
<%@ page language="java" contentType="text/html; charset=UTF-8"
pageEncoding="UTF-8"%>
<%!
String getURL(HttpServletRequest request) {
String scheme = request.getScheme();
int port = request.getServerPort();
boolean hasPort = true;
if (scheme.equals("http")) {
if (port == 80) {
hasPort = false;
}
} else if (scheme.equals("https")) {
if (port == 443) {
hasPort = false;
}
}
String url = scheme + "://" + request.getServerName();
if (hasPort) {
url += ":" + port;
}
url += request.getRequestURI();
String query = request.getQueryString();
if (query != null) {
url += "?" + query;
}
return url;
}
%>
<!DOCTYPE html PUBLIC "-//W3C//DTD HTML 4.01 Transitional//EN" "http://www.w3.org/TR/html4/loose.dtd">
<html>
<head>
<meta http-equiv="Content-Type" content="text/html; charset=UTF-8">
<title>IIS JSP测试页</title>
</head>
<body>
<b>Tomcat版本: </b><%= application.getServerInfo() %><br />
<b>Java版本: </b><%= System.getProperty("java.version") %>
<hr />
<b>URL1: </b><%= request.getRequestURL() %><br />
<b>URL2: </b><%= getURL(request) %><br />
<b>ContextPath: </b><%= request.getContextPath() %><br />
<b>ServletPath: </b><%= request.getServletPath() %><br />
<b>IP地址: </b><%= request.getRemoteAddr() %>
</body>
</html>
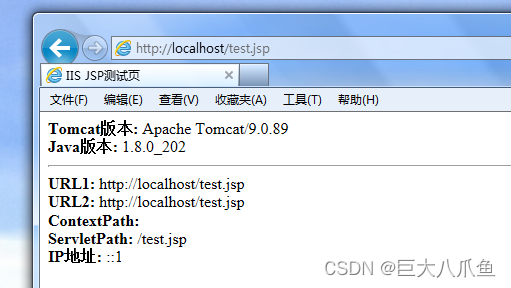
保存后,即可访问http://localhost/test.jsp。
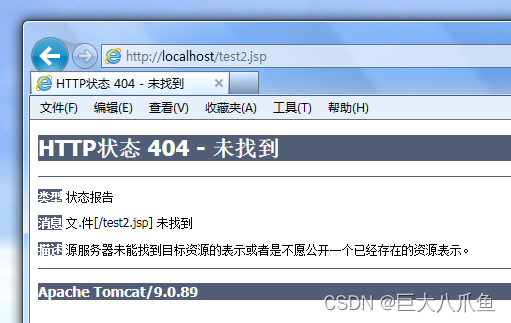
访问一个不存在的jsp页面:
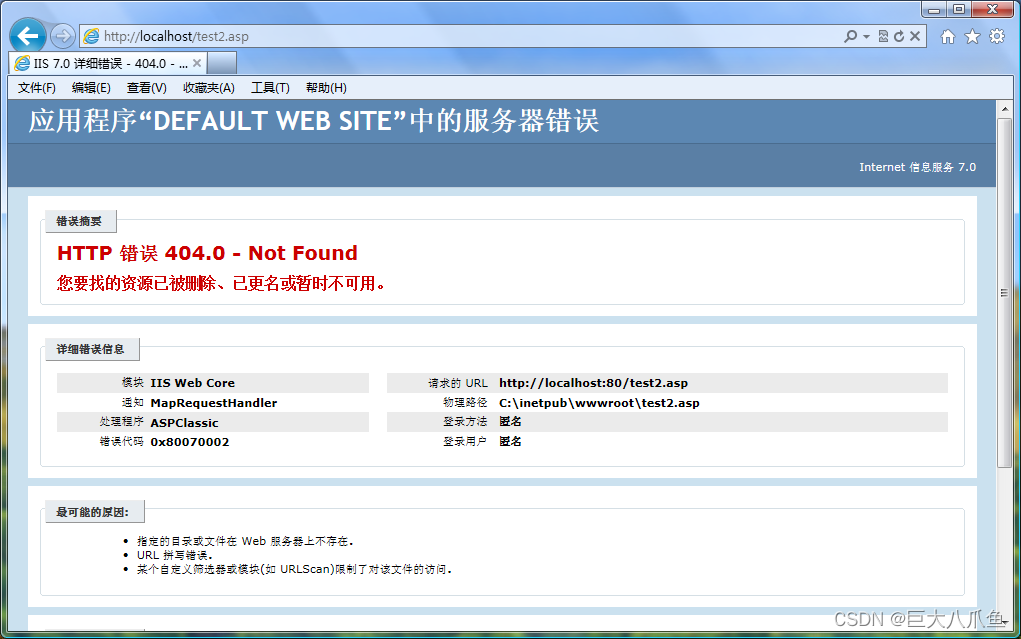
访问一个不存在的asp页面:
我们还可以把index.php添加到默认文档里面去。
index.jsp不需要添加,只要我们在uriworkermap.properties里面映射了整个目录,那么Tomcat会自动识别index.jsp。
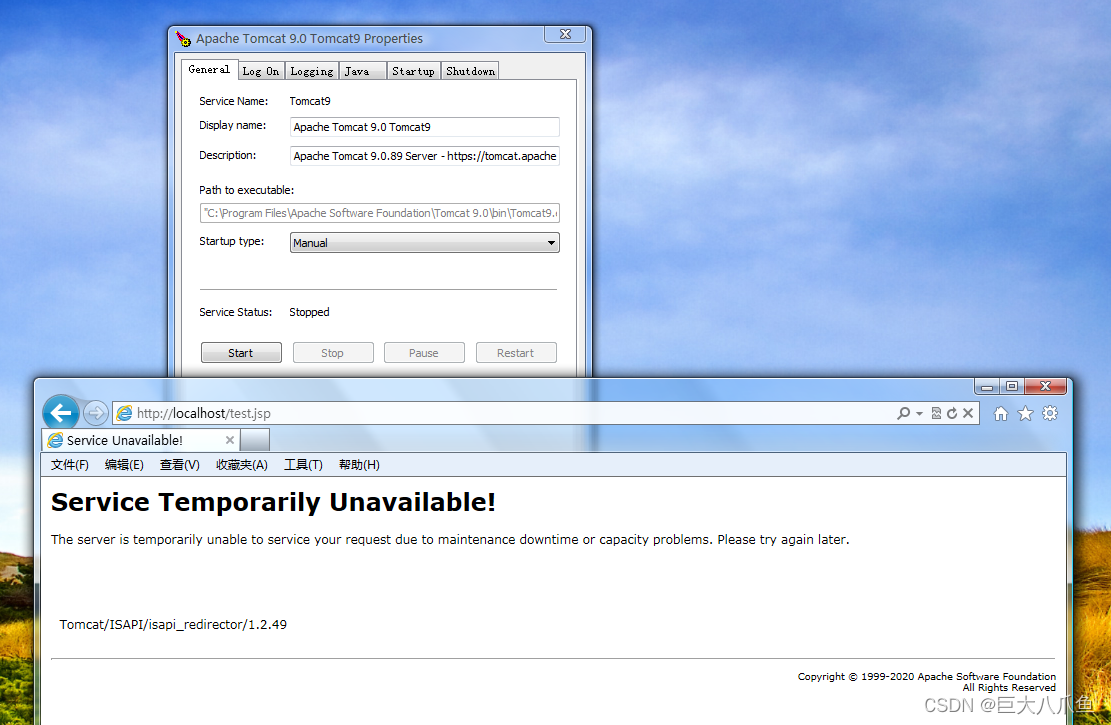
如果关闭了Tomcat服务器,只打开IIS,或者Tomcat的server.xml里面没有打开8009端口,IIS访问jsp页面就会提示Service Temporarily Unavailable!。