说明:
- 本文APISIX的配置参考我之前写的《Ubuntu部署Apache APISIX》
创建最小API
首先,确保你已经安装了.NET 6 SDK。创建文件夹"MinimalApiDemo",VS Code打开文件夹,打开终端
powershell
dotnet new web -o MinimalApiDemo
cd MinimalApiDemo
修改Program.cs
cs
var builder = WebApplication.CreateBuilder(args);
var app = builder.Build();

builder.WebHost.UseUrls("http://0.0.0.0:5001");

app.MapGet("/", () => "Hello, World!");

app.MapGet("/protect/{name}", (string name) => $"Hello, {name}!");

app.Run();
启动项目
powershell
dotnet run浏览器打开"http://192.168.8.220:5001/protect/tom",显示结果
plaintext
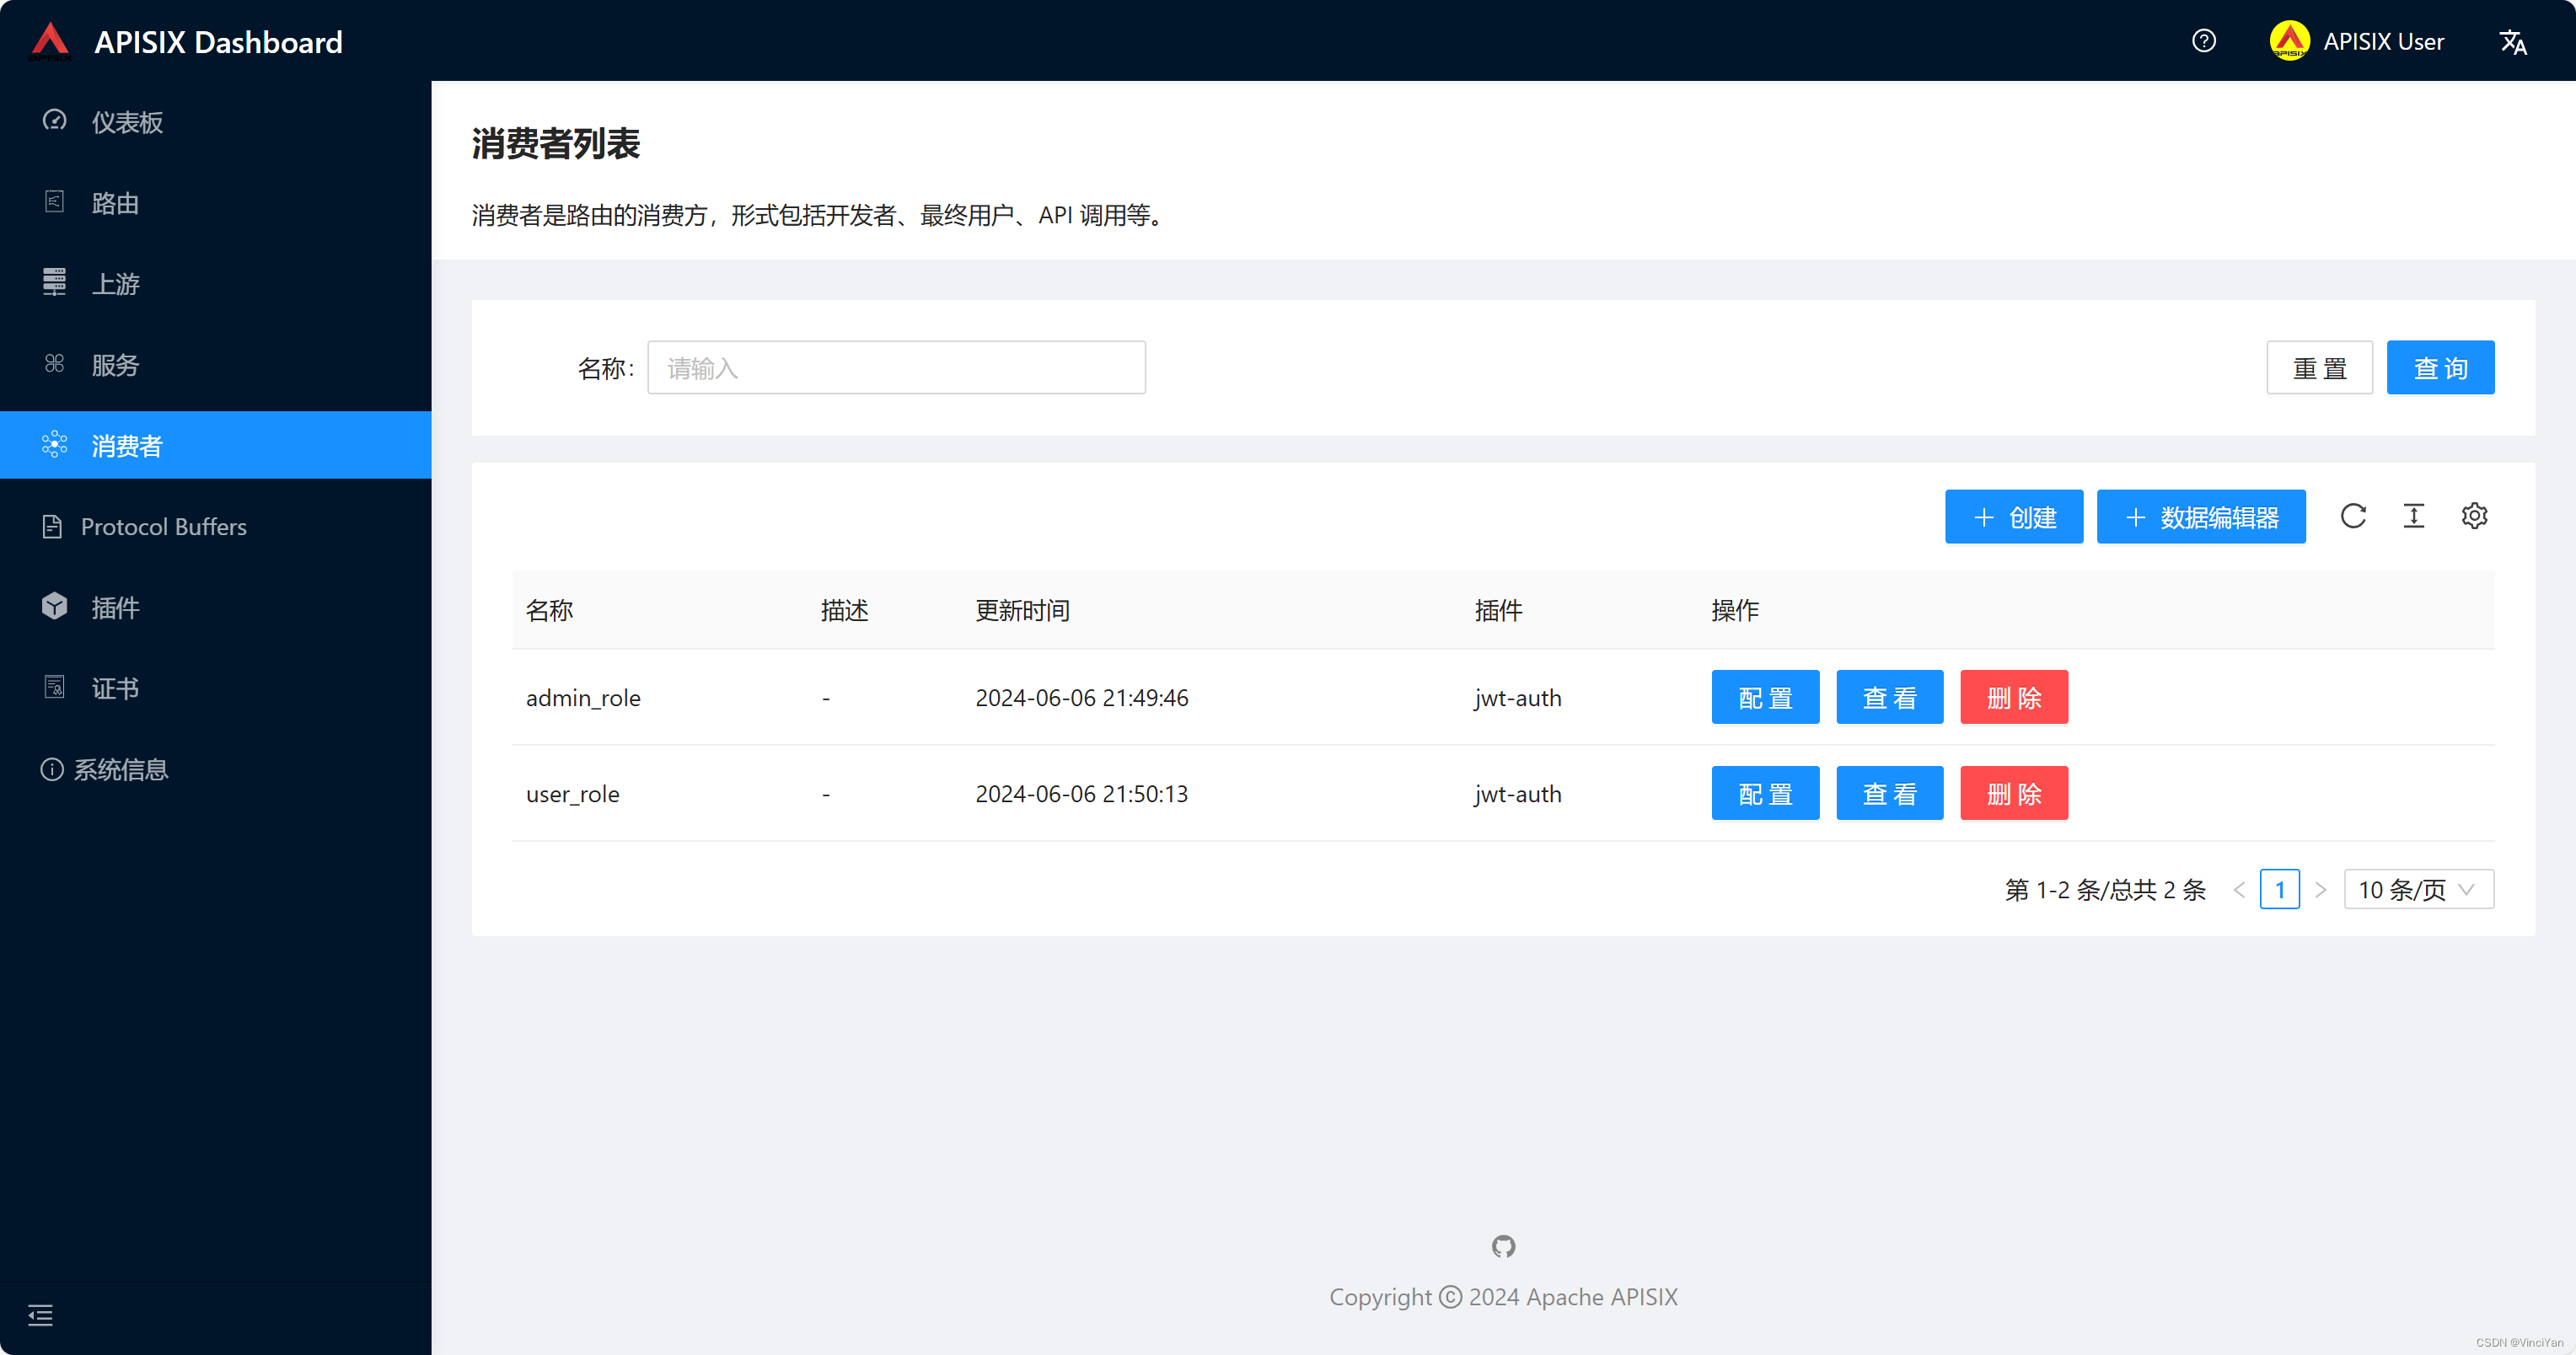
Hello, tom!创建消费者
创建两个消费者,管理员admin和用户user
json
{
  "username": "admin_role",
  "plugins": {
    "jwt-auth": {
      "exp": 86400,
      "key": "admin",
      "secret": "admin1234567890"
    }
  }
}
json
{
  "username": "user_role",
  "plugins": {
    "jwt-auth": {
      "exp": 86400,
      "key": "user",
      "secret": "user1234567890"
    }
  }
}
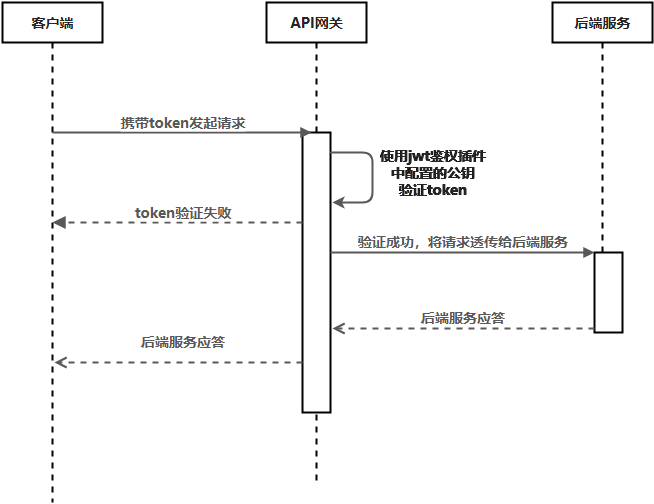
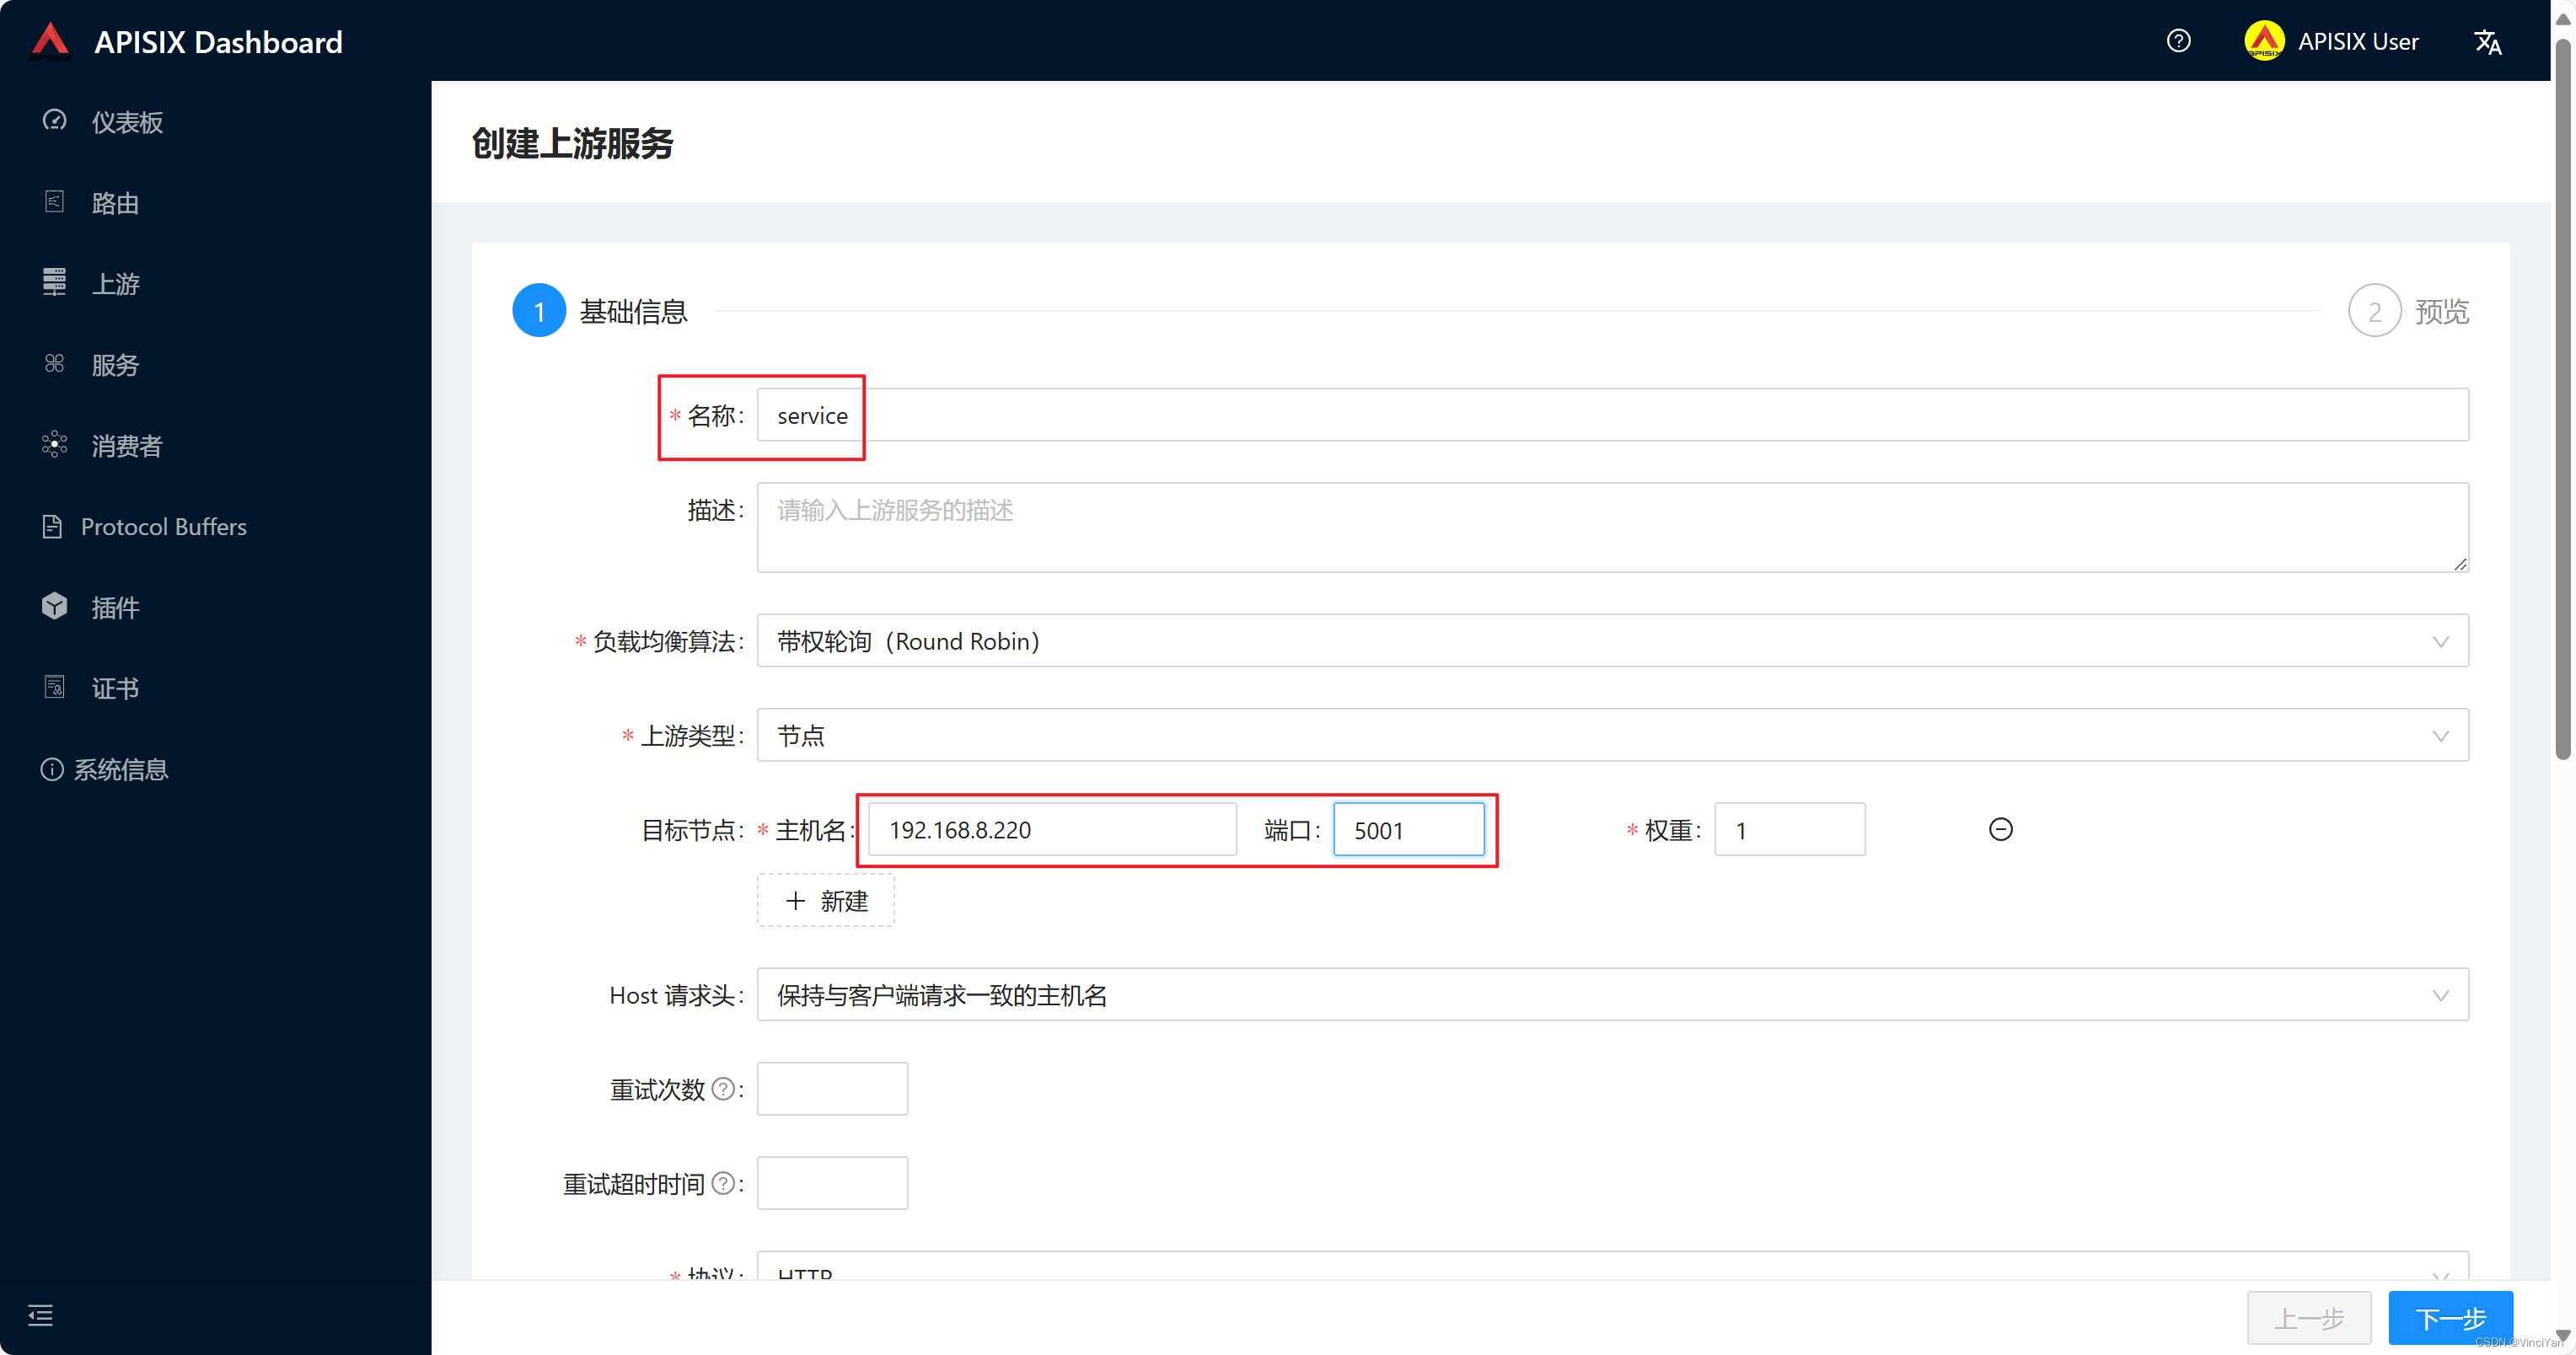
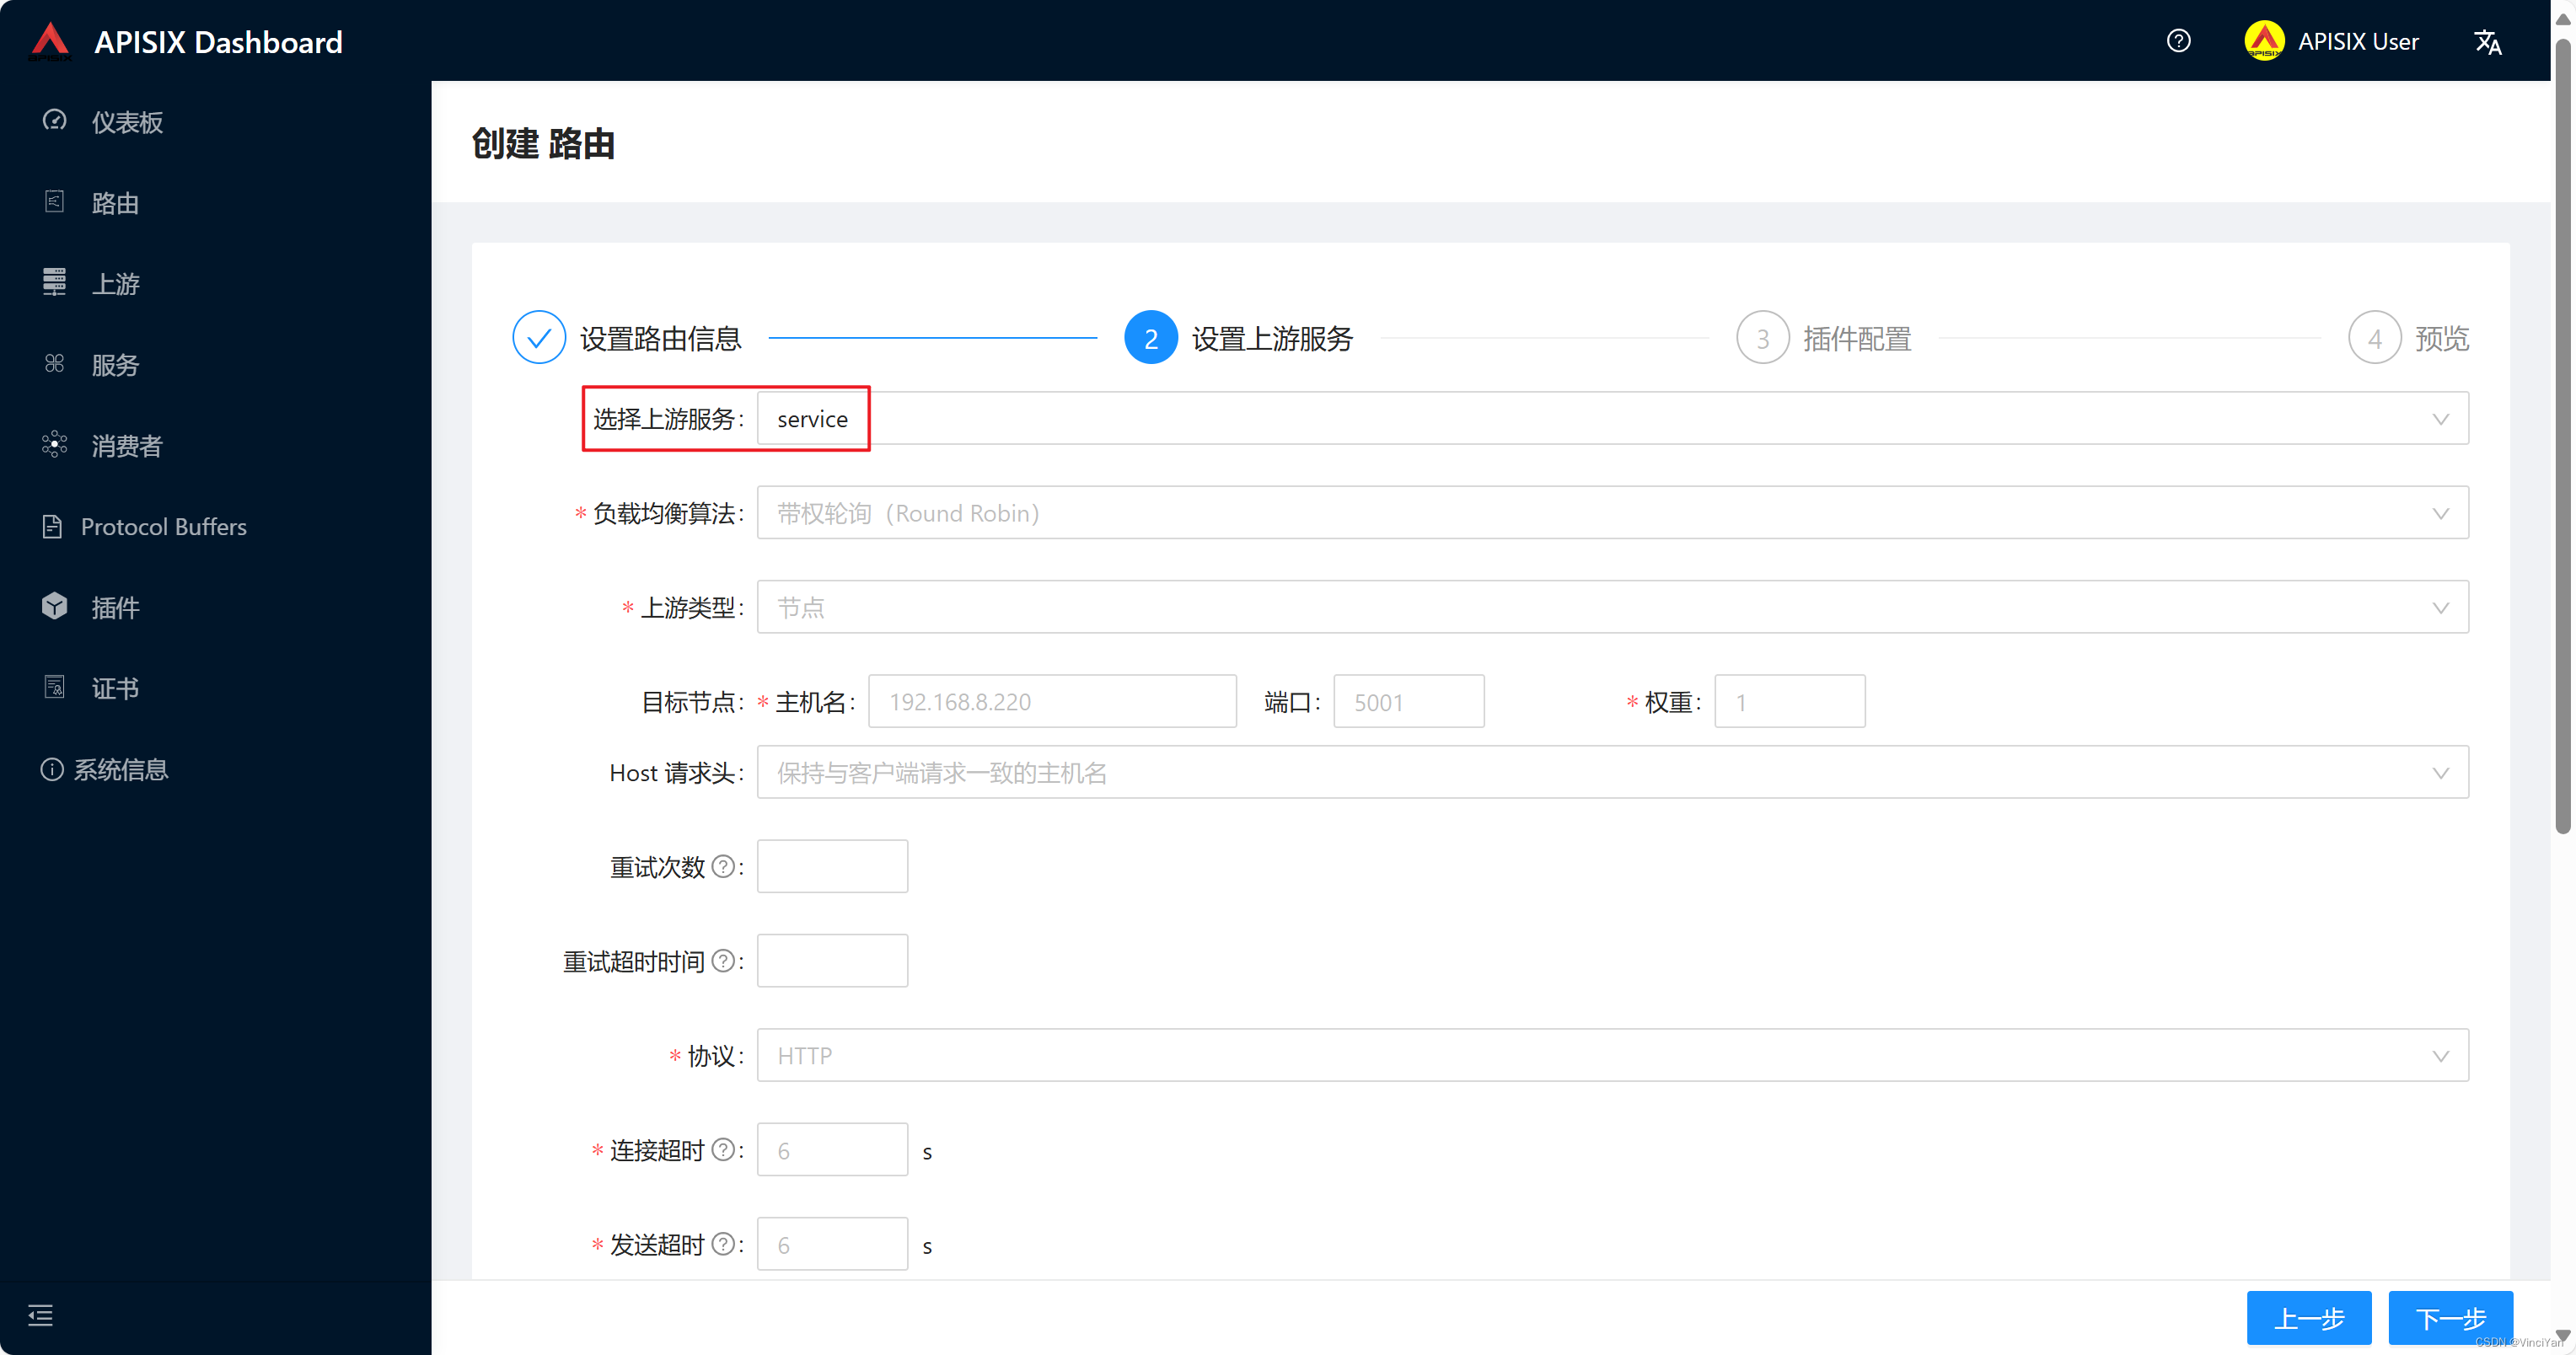
创建上游
创建公共API端点
为JWT身份验证创建公共API端点/apisix/plugin/jwt/sign
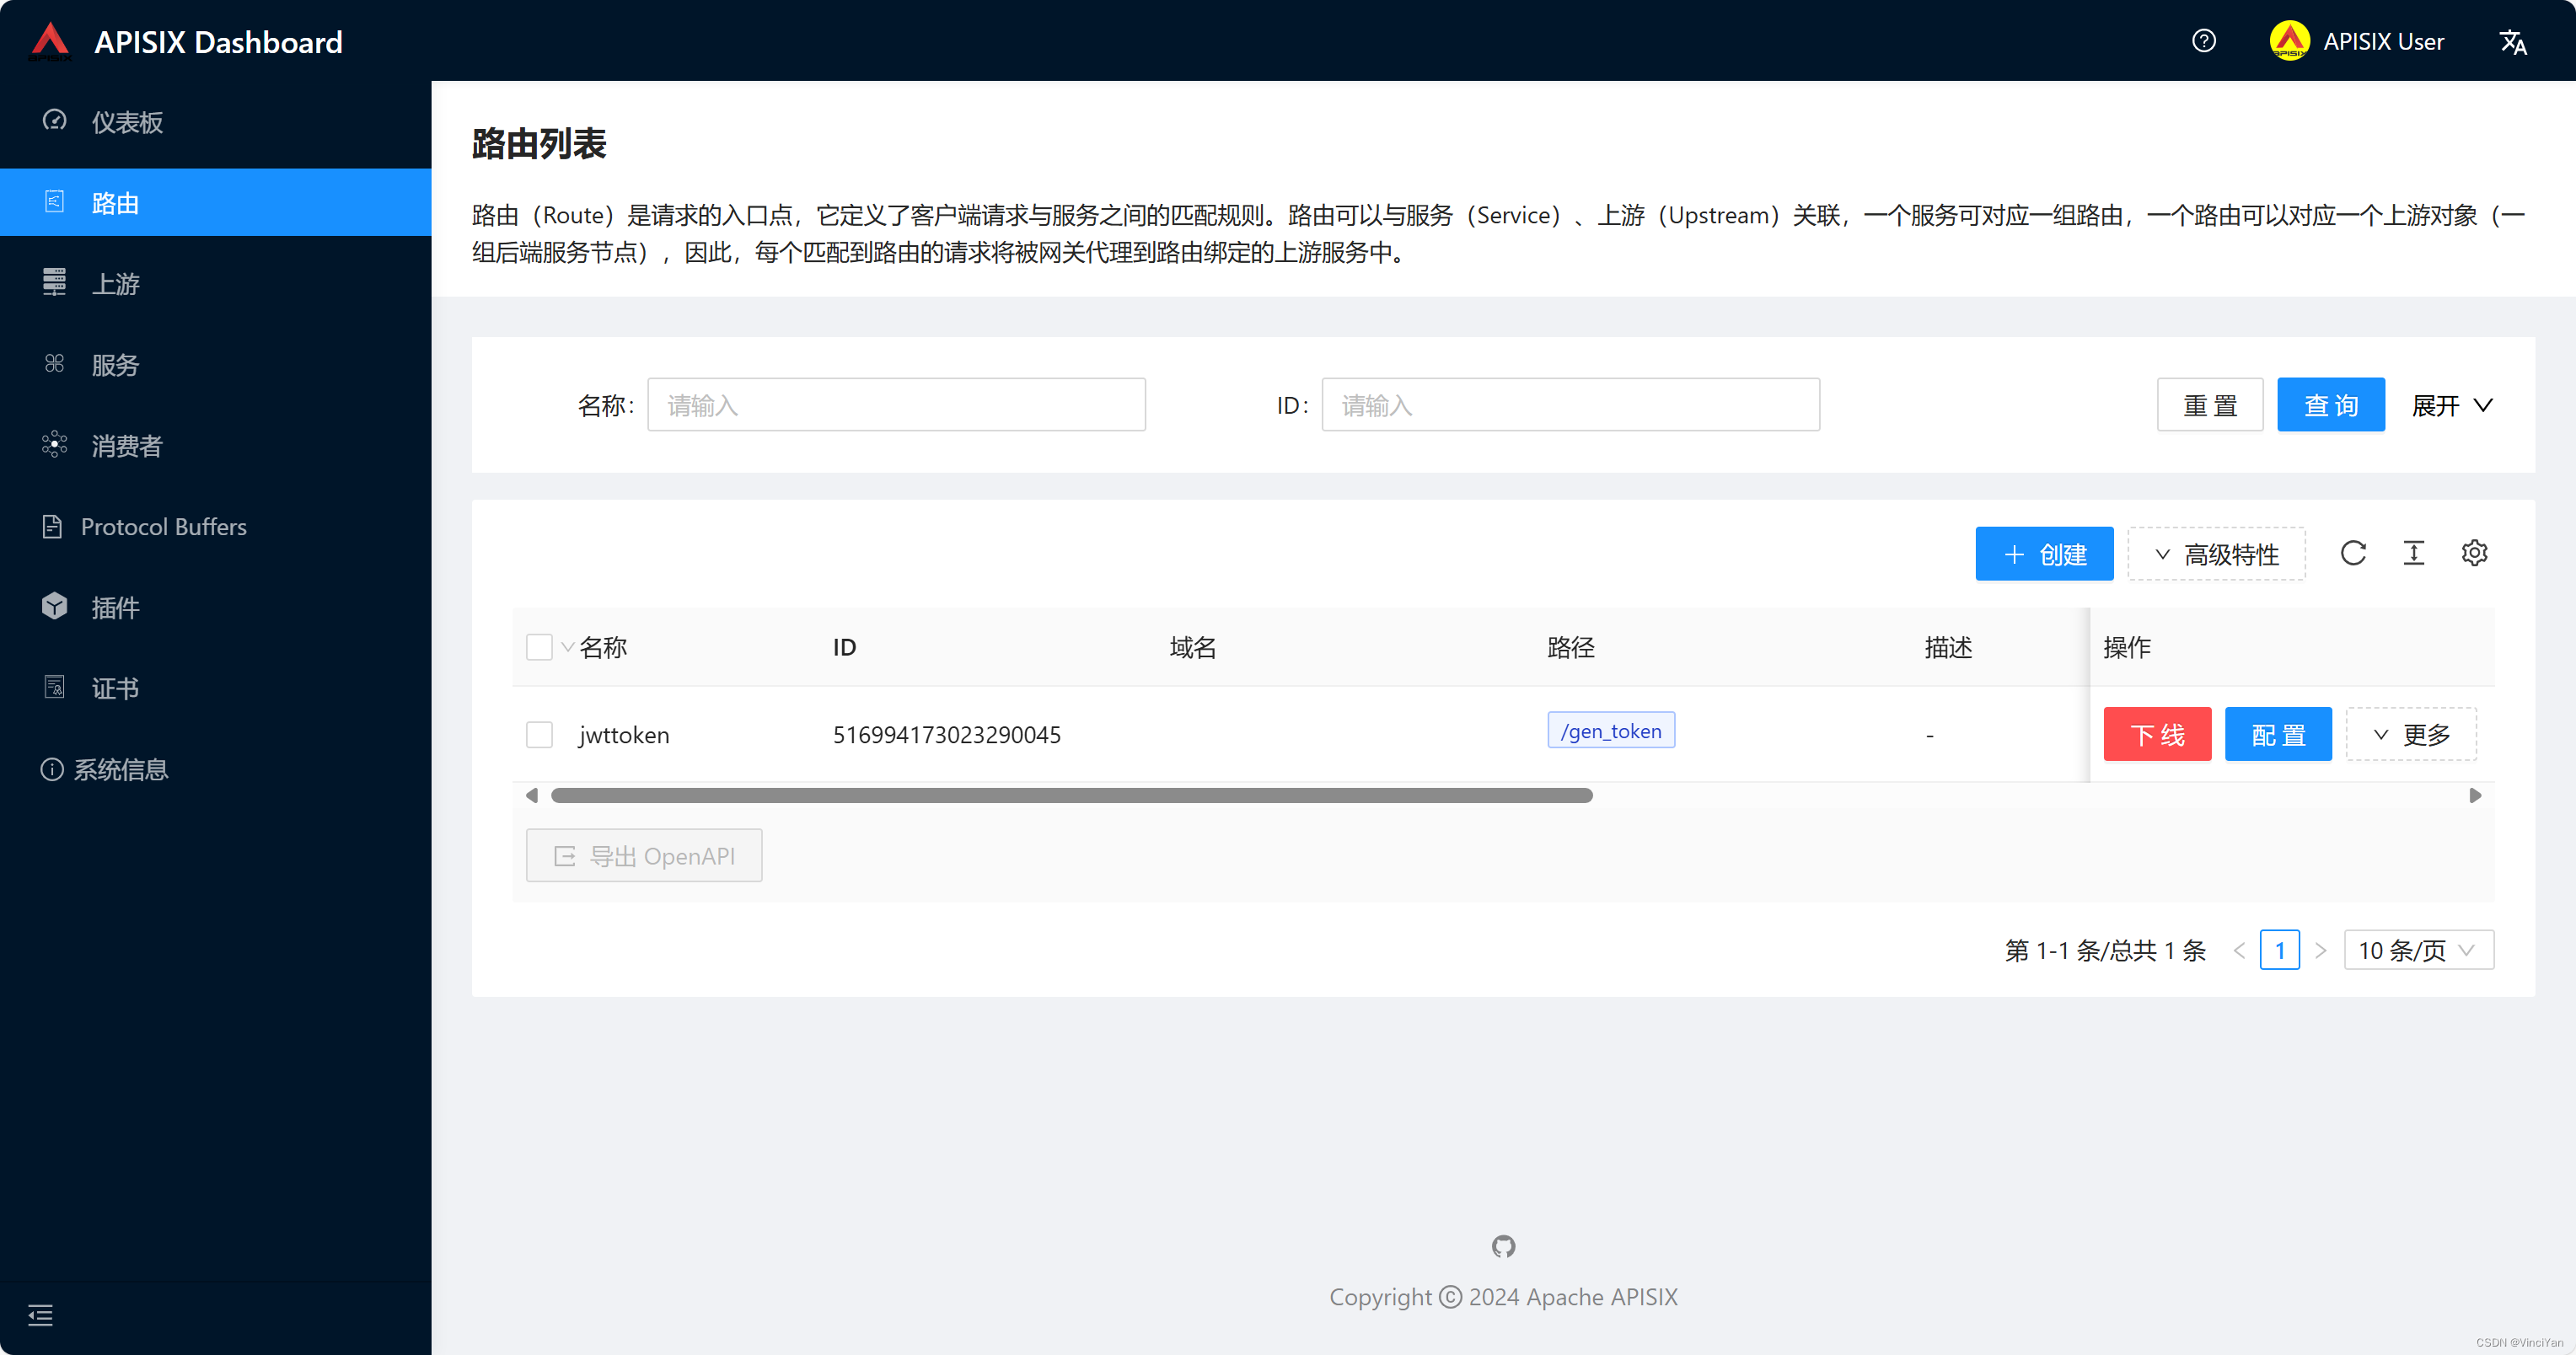
json
{
  "uri": "/gen_token",
  "name": "jwttoken",
  "plugins": {
    "public-api": {
      "uri": "/apisix/plugin/jwt/sign"
    }
  },
  "status": 1
}
浏览器或者Postman等工具,请求如下链接,注意这里的key为admin
plaintext
http://192.168.8.249:9080/gen_token?key=admin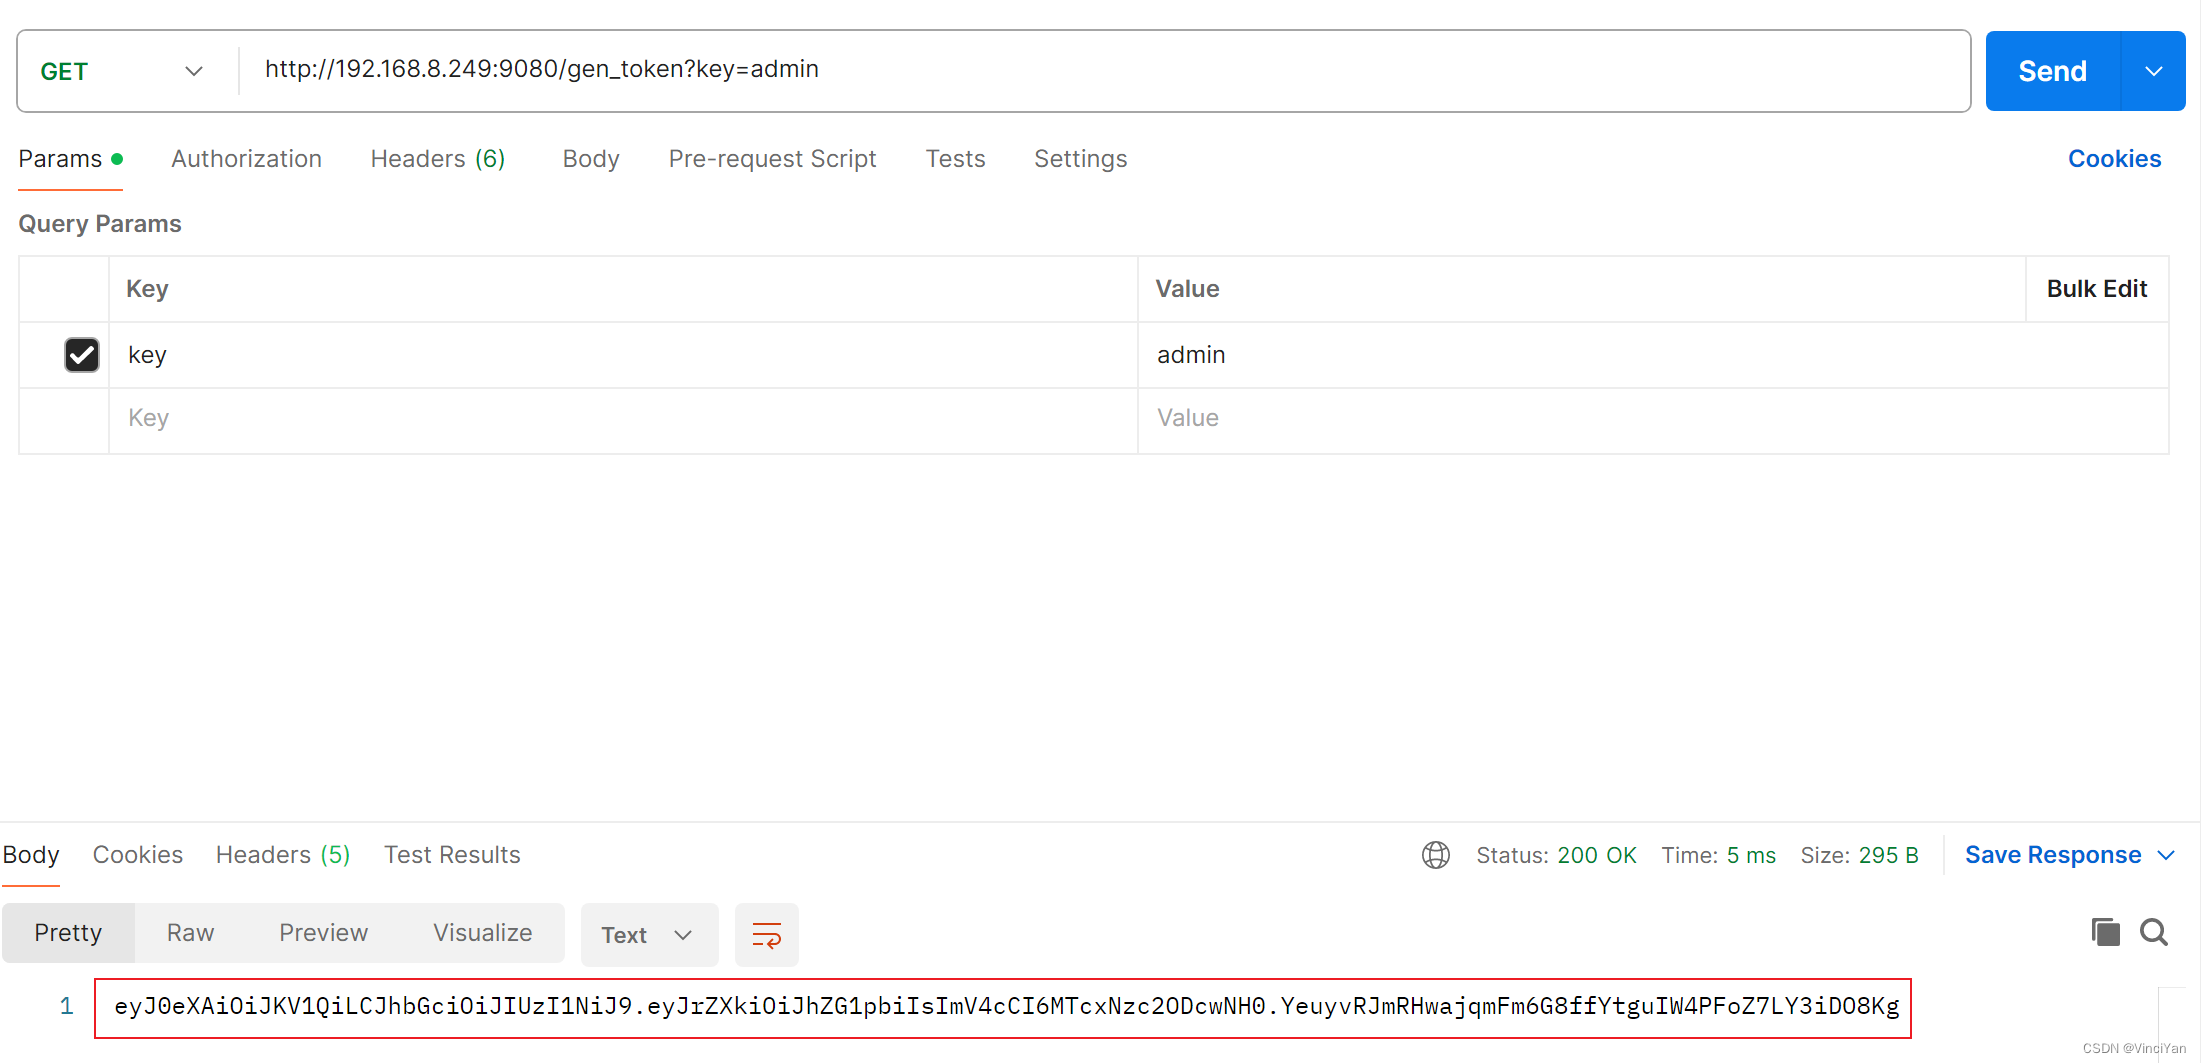
得到admin的token
plaintext
eyJ0eXAiOiJKV1QiLCJhbGciOiJIUzI1NiJ9.eyJrZXkiOiJhZG1pbiIsImV4cCI6MTcxNzc2ODcwNH0.YeuyvRJmRHwajqmFm6G8ffYtguIW4PFoZ7LY3iDO8Kg同理,接下来使用key为user
plaintext
http://192.168.8.249:9080/gen_token?key=user得到user的token
plaintext
eyJhbGciOiJIUzI1NiIsInR5cCI6IkpXVCJ9.eyJrZXkiOiJ1c2VyIiwiZXhwIjoxNzE3NzY4ODc0fQ.ZSpDGNmBHVjoKtLxxic6S5C4auNJx1FlAJThvJReq6k创建测试路由
测试之前的最小API接口
json
http://192.168.8.220:5001/protect/tom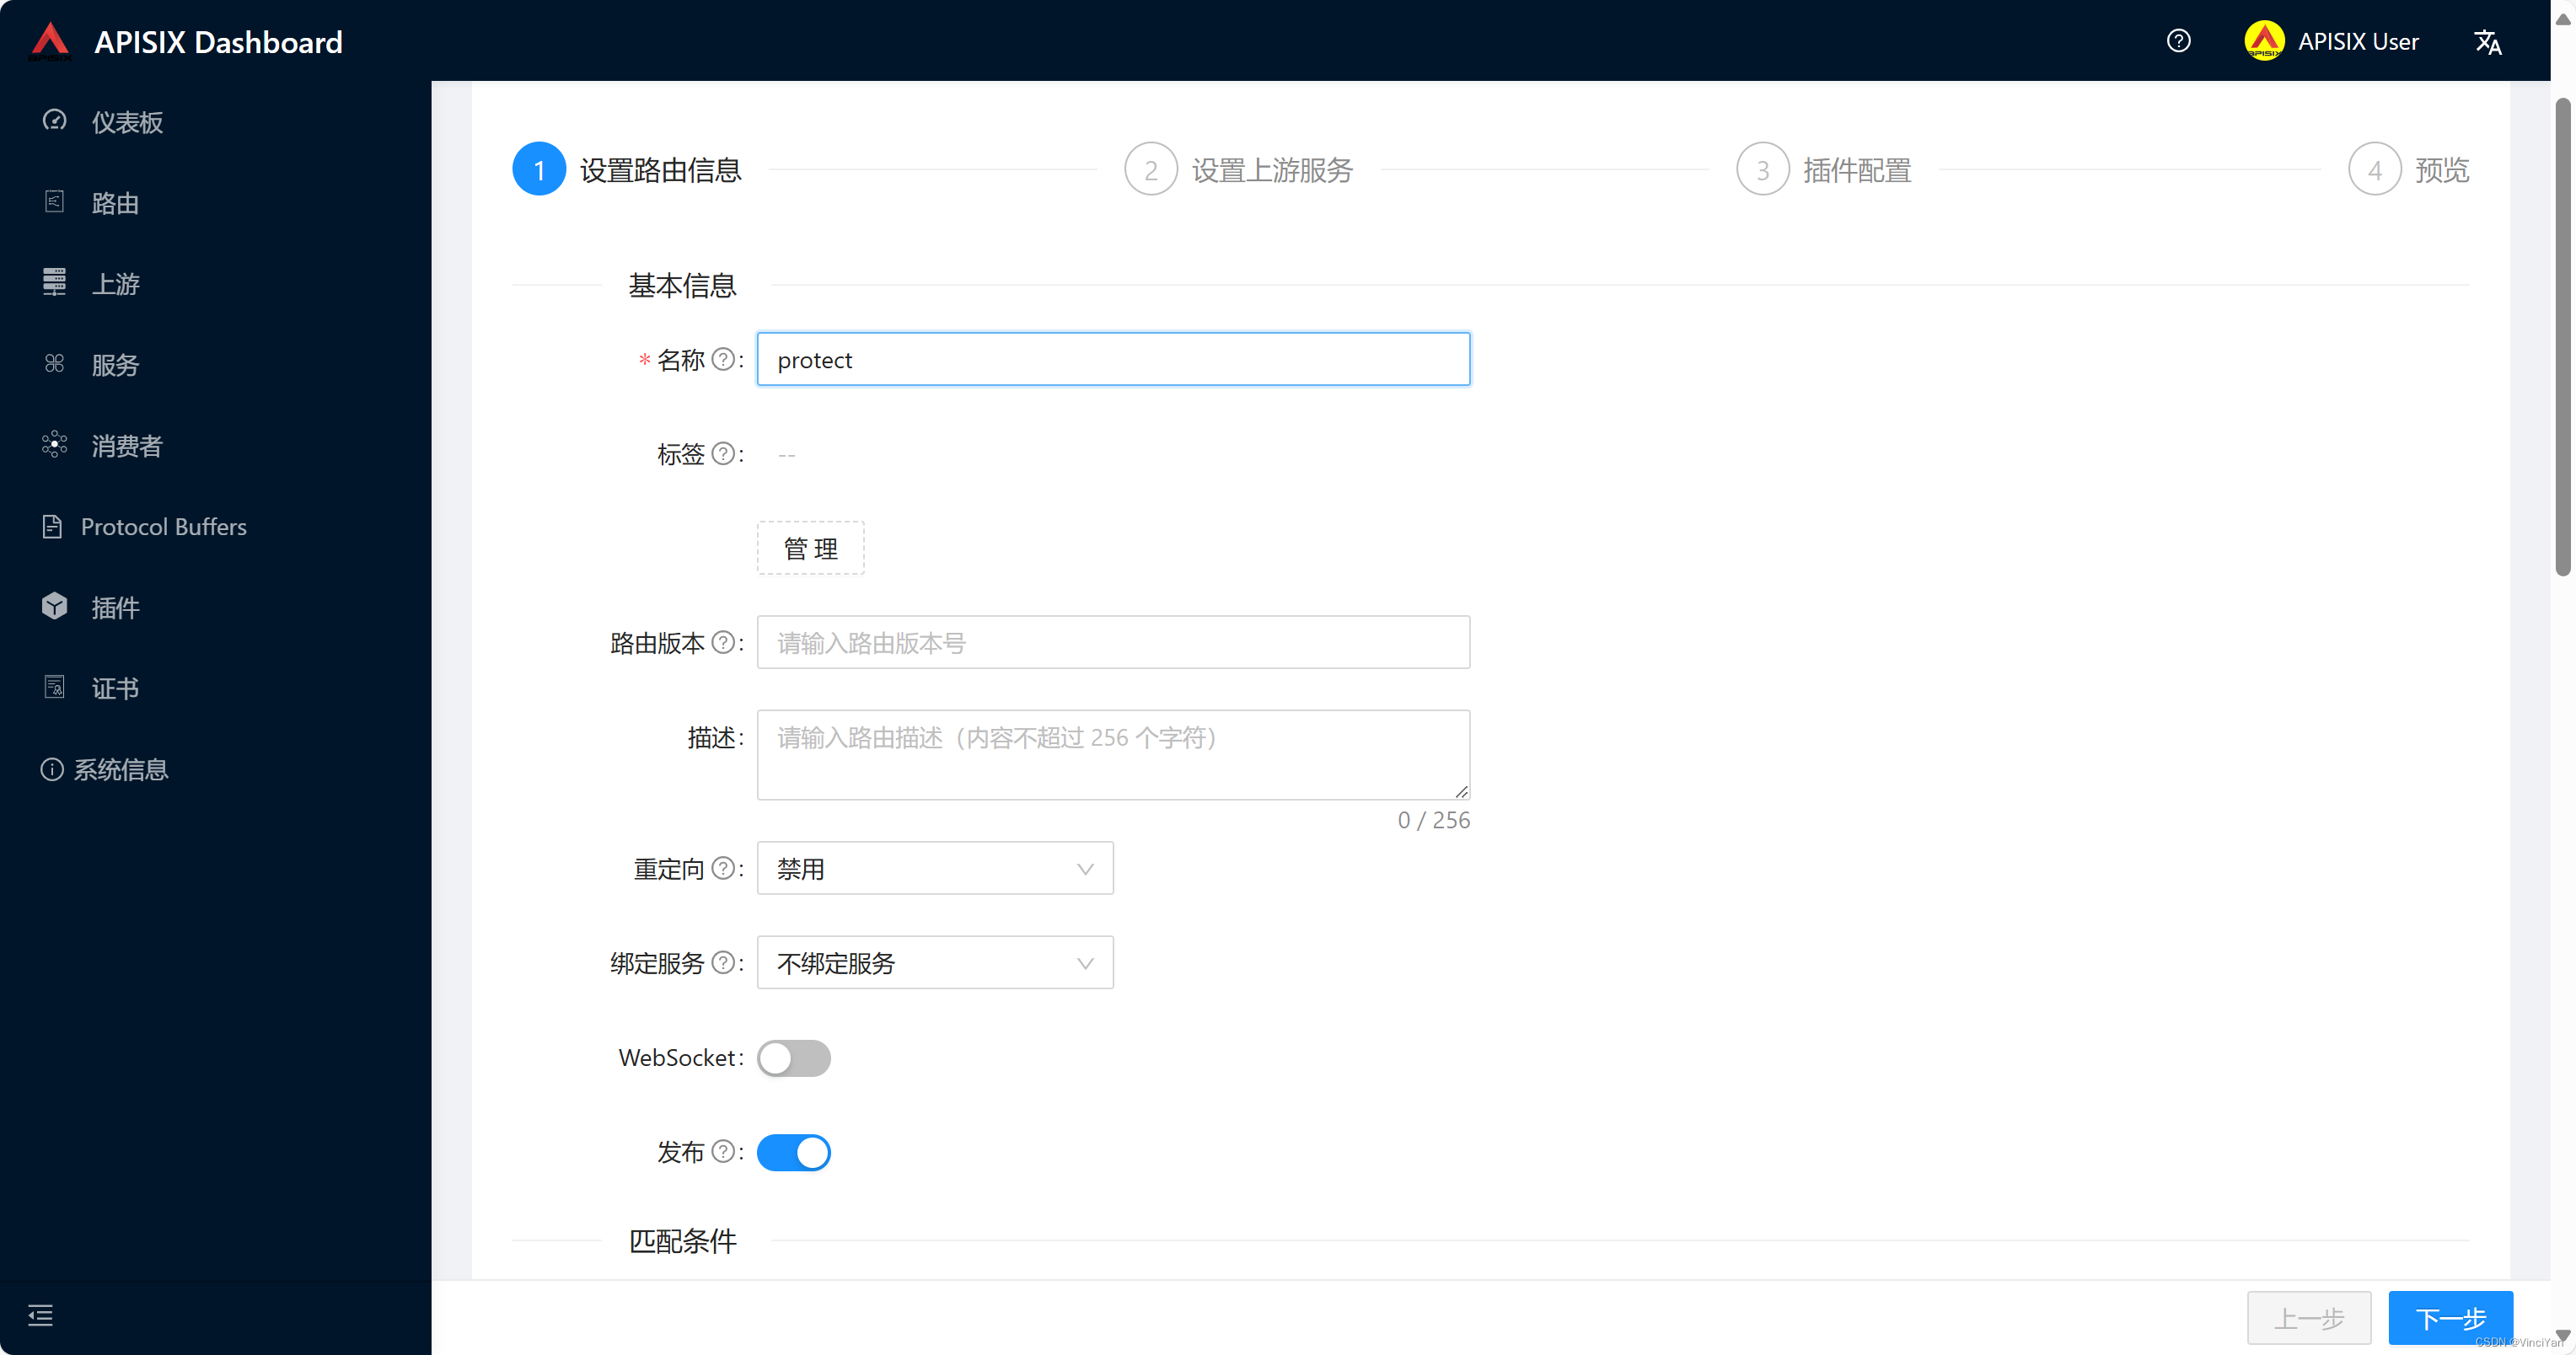

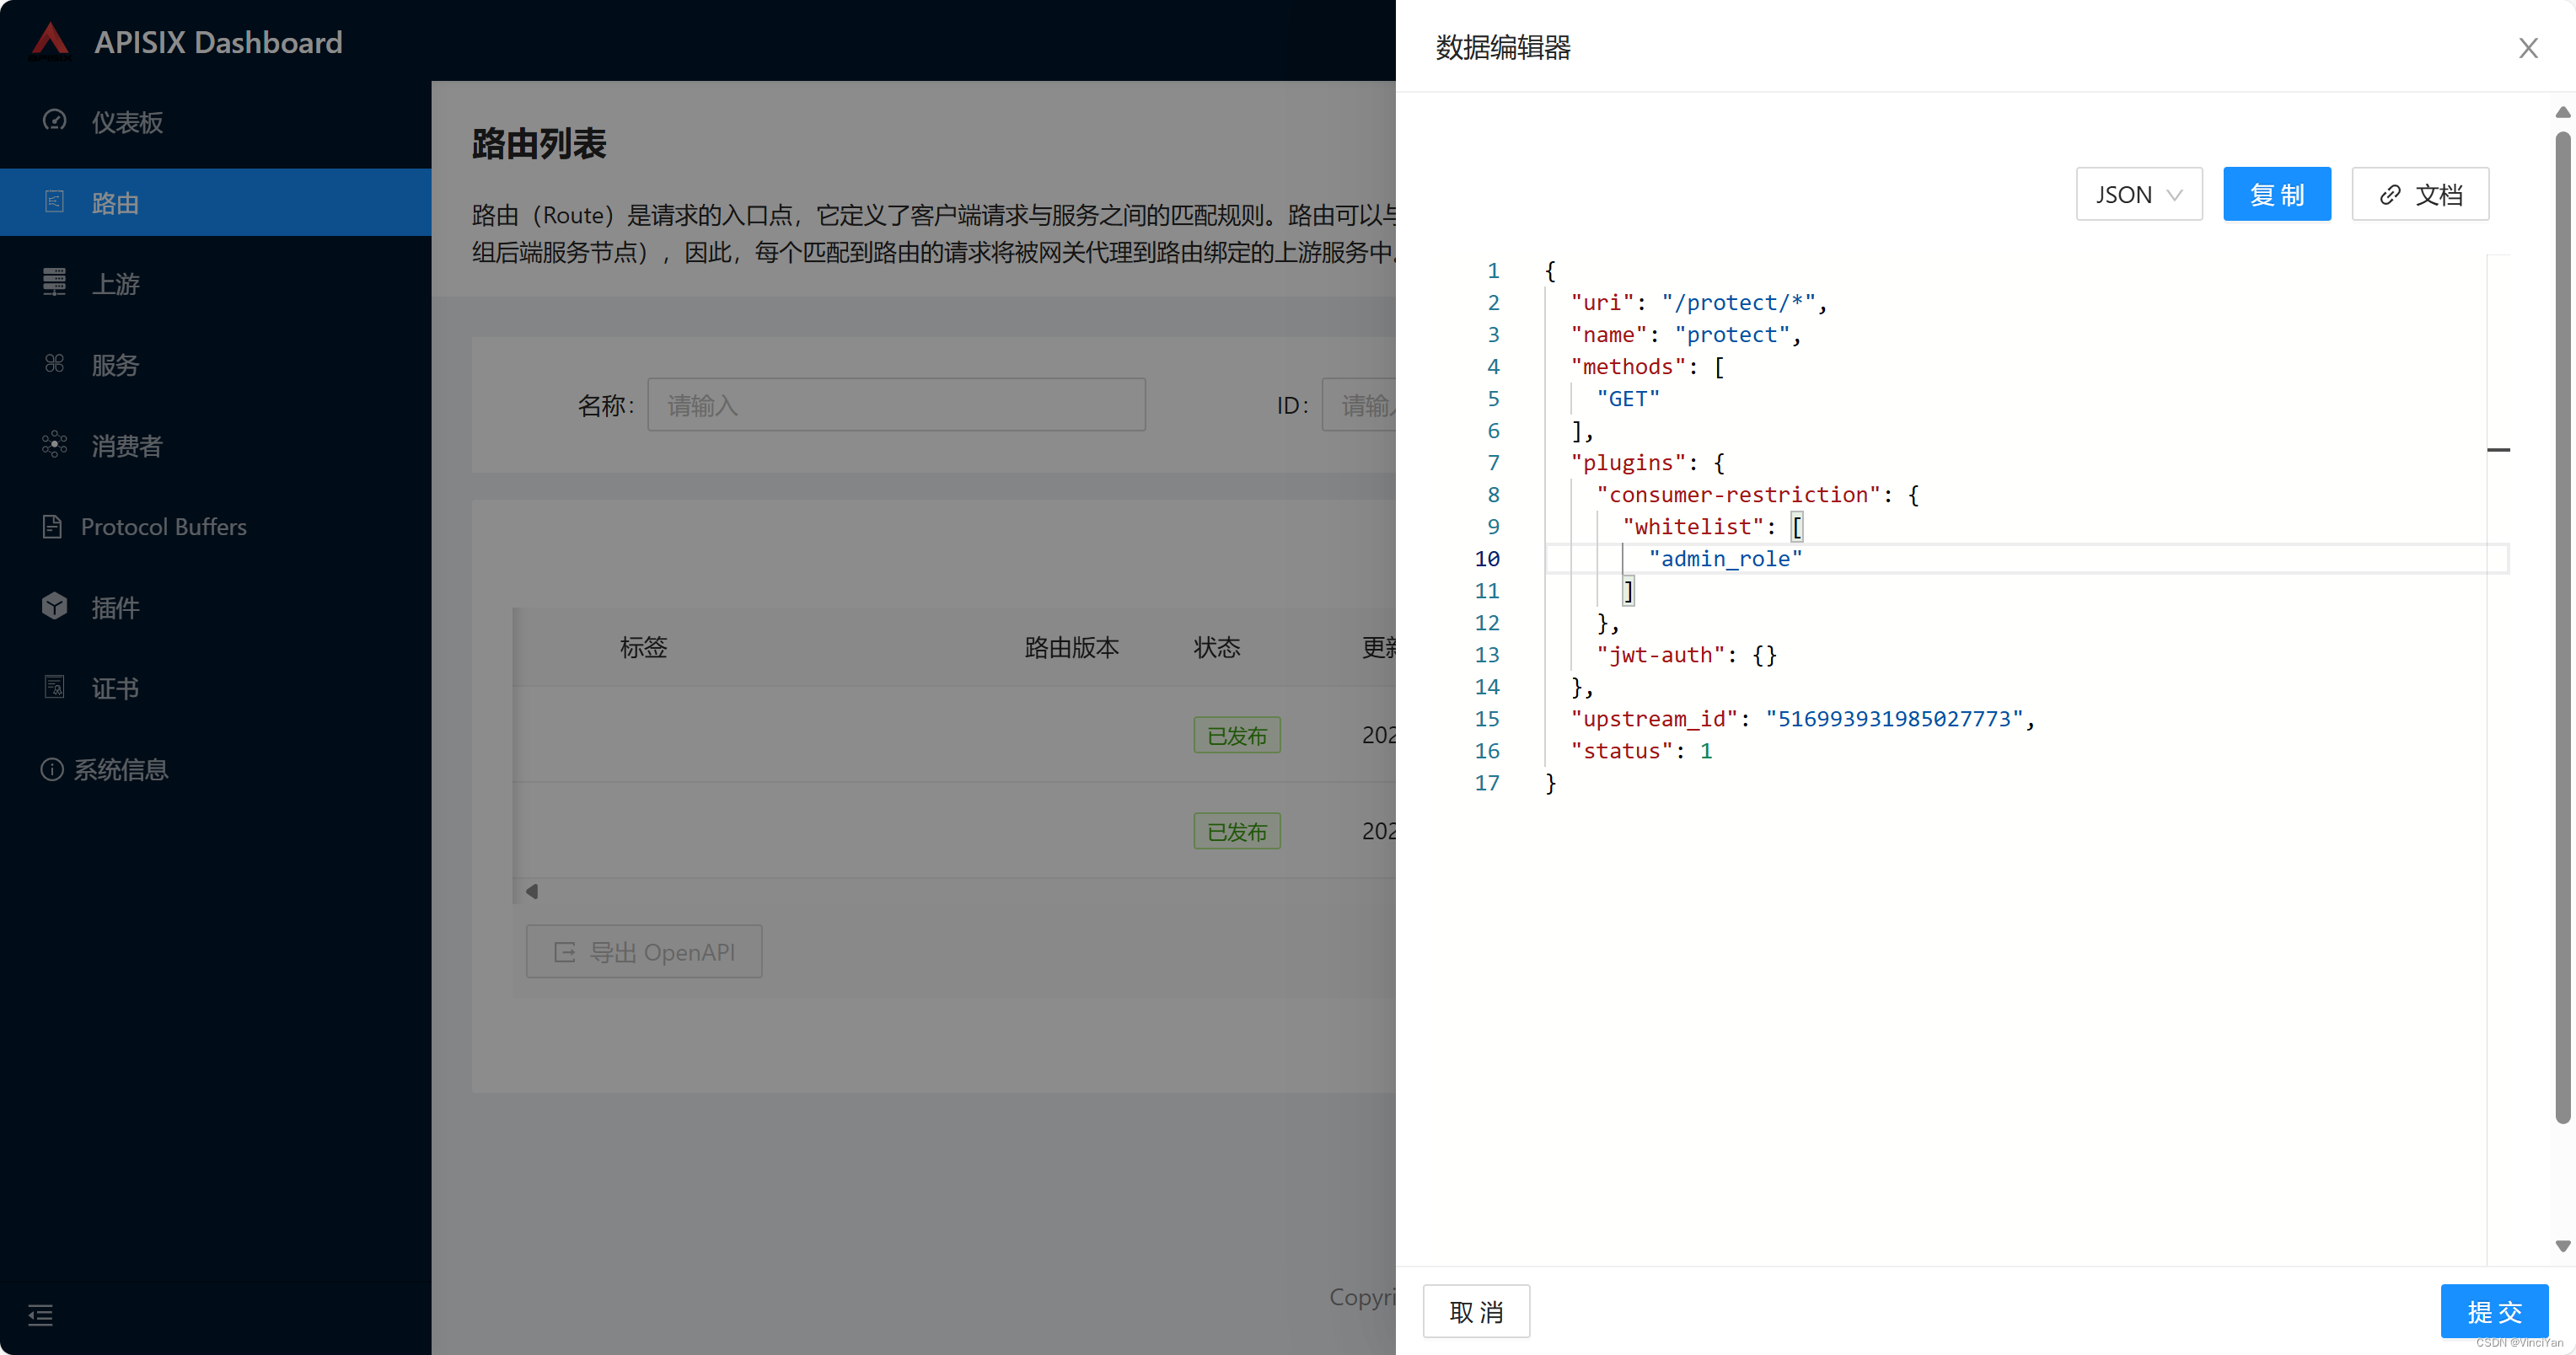
【更多】【查看】的内容如下
json
{
  "uri": "/protect/*",
  "name": "protect",
  "methods": [
    "GET"
  ],
  "plugins": {
    "consumer-restriction": {
      "whitelist": [
        "admin_role"
      ]
    },
    "jwt-auth": {}
  },
  "upstream_id": "516993931985027773",
  "status": 1
}
测试JWT认证
使用Postman工具,访问如下接口
plaintext
http://192.168.8.249:9080/protect/tom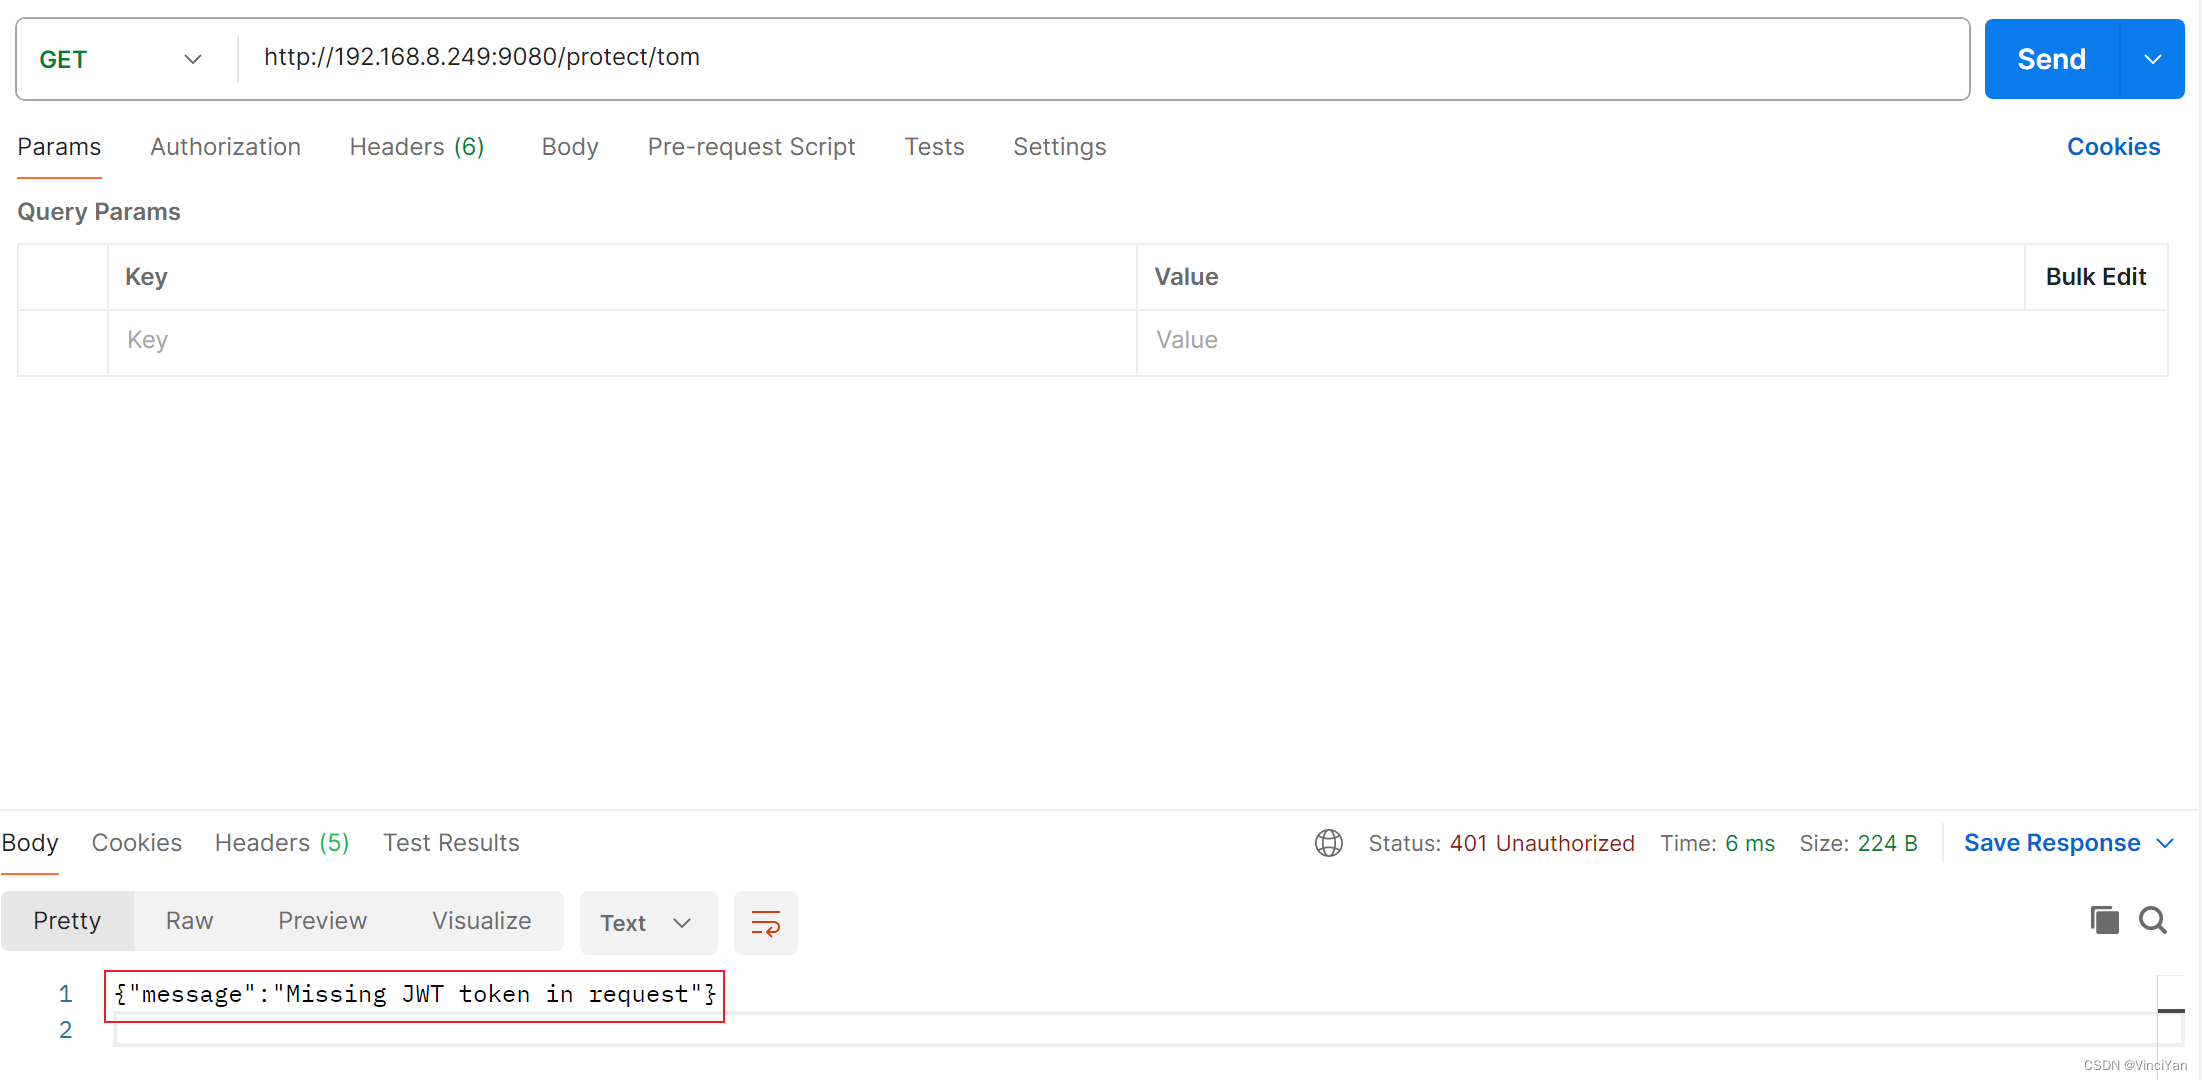
Postman提示
json
{"message":"Missing JWT token in request"}Headers中Key填写"Authorization",Value填写"Bearer token"(注意Bearer和token之间有一个空格)
使用user的token
plaintext
Bearer eyJhbGciOiJIUzI1NiIsInR5cCI6IkpXVCJ9.eyJrZXkiOiJ1c2VyIiwiZXhwIjoxNzE3NzY4ODc0fQ.ZSpDGNmBHVjoKtLxxic6S5C4auNJx1FlAJThvJReq6kPostman提示如下。网关阻止了user用户请求
json
{"message":"The consumer_name is forbidden."}
接下来使用admin的token
json
Bearer eyJ0eXAiOiJKV1QiLCJhbGciOiJIUzI1NiJ9.eyJrZXkiOiJhZG1pbiIsImV4cCI6MTcxNzc2ODcwNH0.YeuyvRJmRHwajqmFm6G8ffYtguIW4PFoZ7LY3iDO8Kg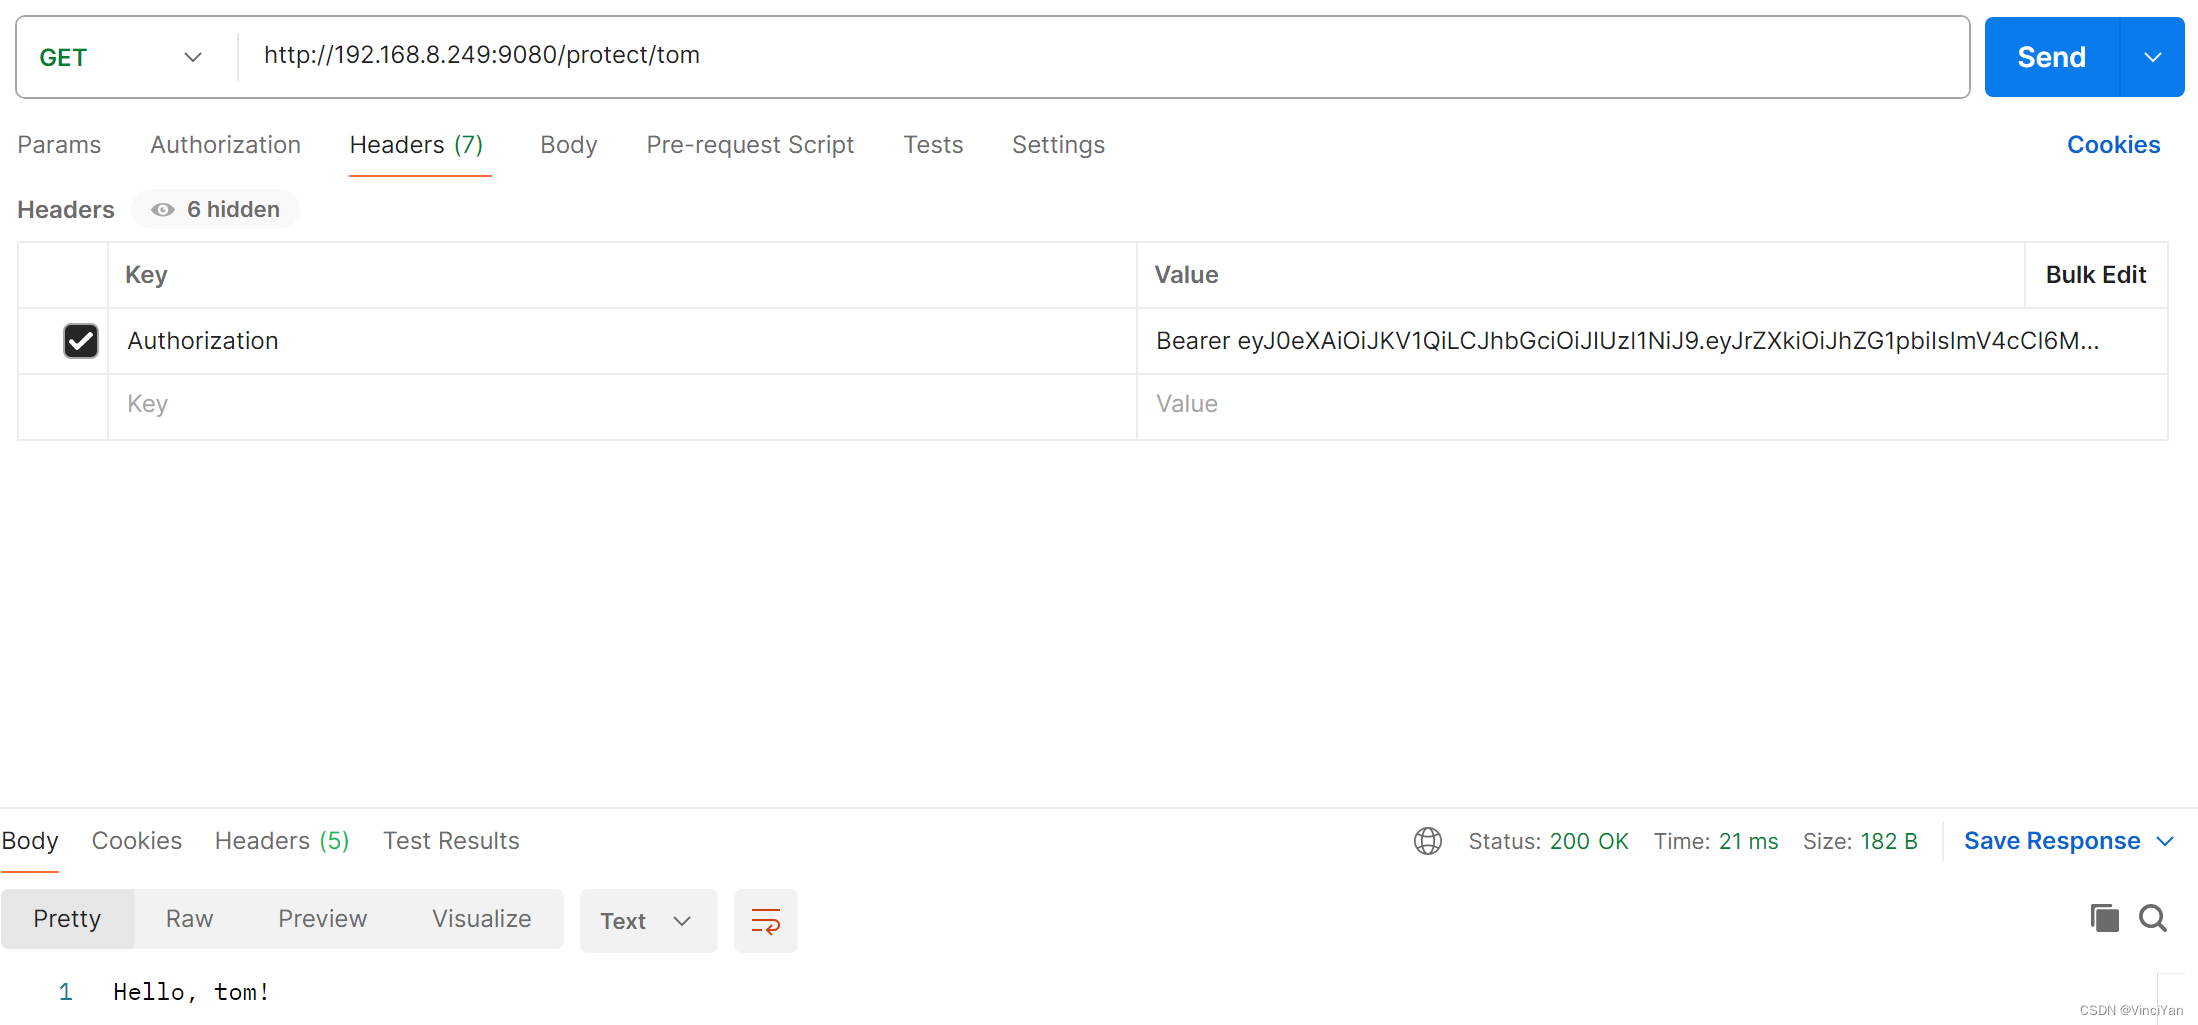
admin用户顺序访问受保护的接口
参考
- 公共 API | Apache APISIX®------云原生 API 网关 --- public-api | Apache APISIX® -- Cloud-Native API Gateway
- 什么是基于JWT的token认证,如何配置token认证_API 网关(API Gateway)-阿里云帮助中心 (aliyun.com)
- How To Use JWT Authentication With Web API (c-sharpcorner.com)
- jwt-auth | Apache APISIX® -- Cloud-Native API Gateway