(electron vue3 项目搭建部分 自行查找其他资源 本文只讲解Electron+vue3 如何实现静默打印)
第一步获取打印机资源
渲染端代码(vue里面)
javascript
// 因使用了vite所以在浏览器中打开 require会报错 只能在electron中
const { ipcRenderer } = require( 'electron')
// 初始化打印
async function handleInit() {
  //  获取到当前所有打印机 (获取以后取打印机NAME 用于electron的deviceName字段)
   ipcRenderer.invoke("getPrinters").then(res=>{
        console.log(res)
   })
  // 创建要打印的窗口
  await ipcRenderer.invoke("openPrintWindow",'printId');
}
第二步 进程端 完善
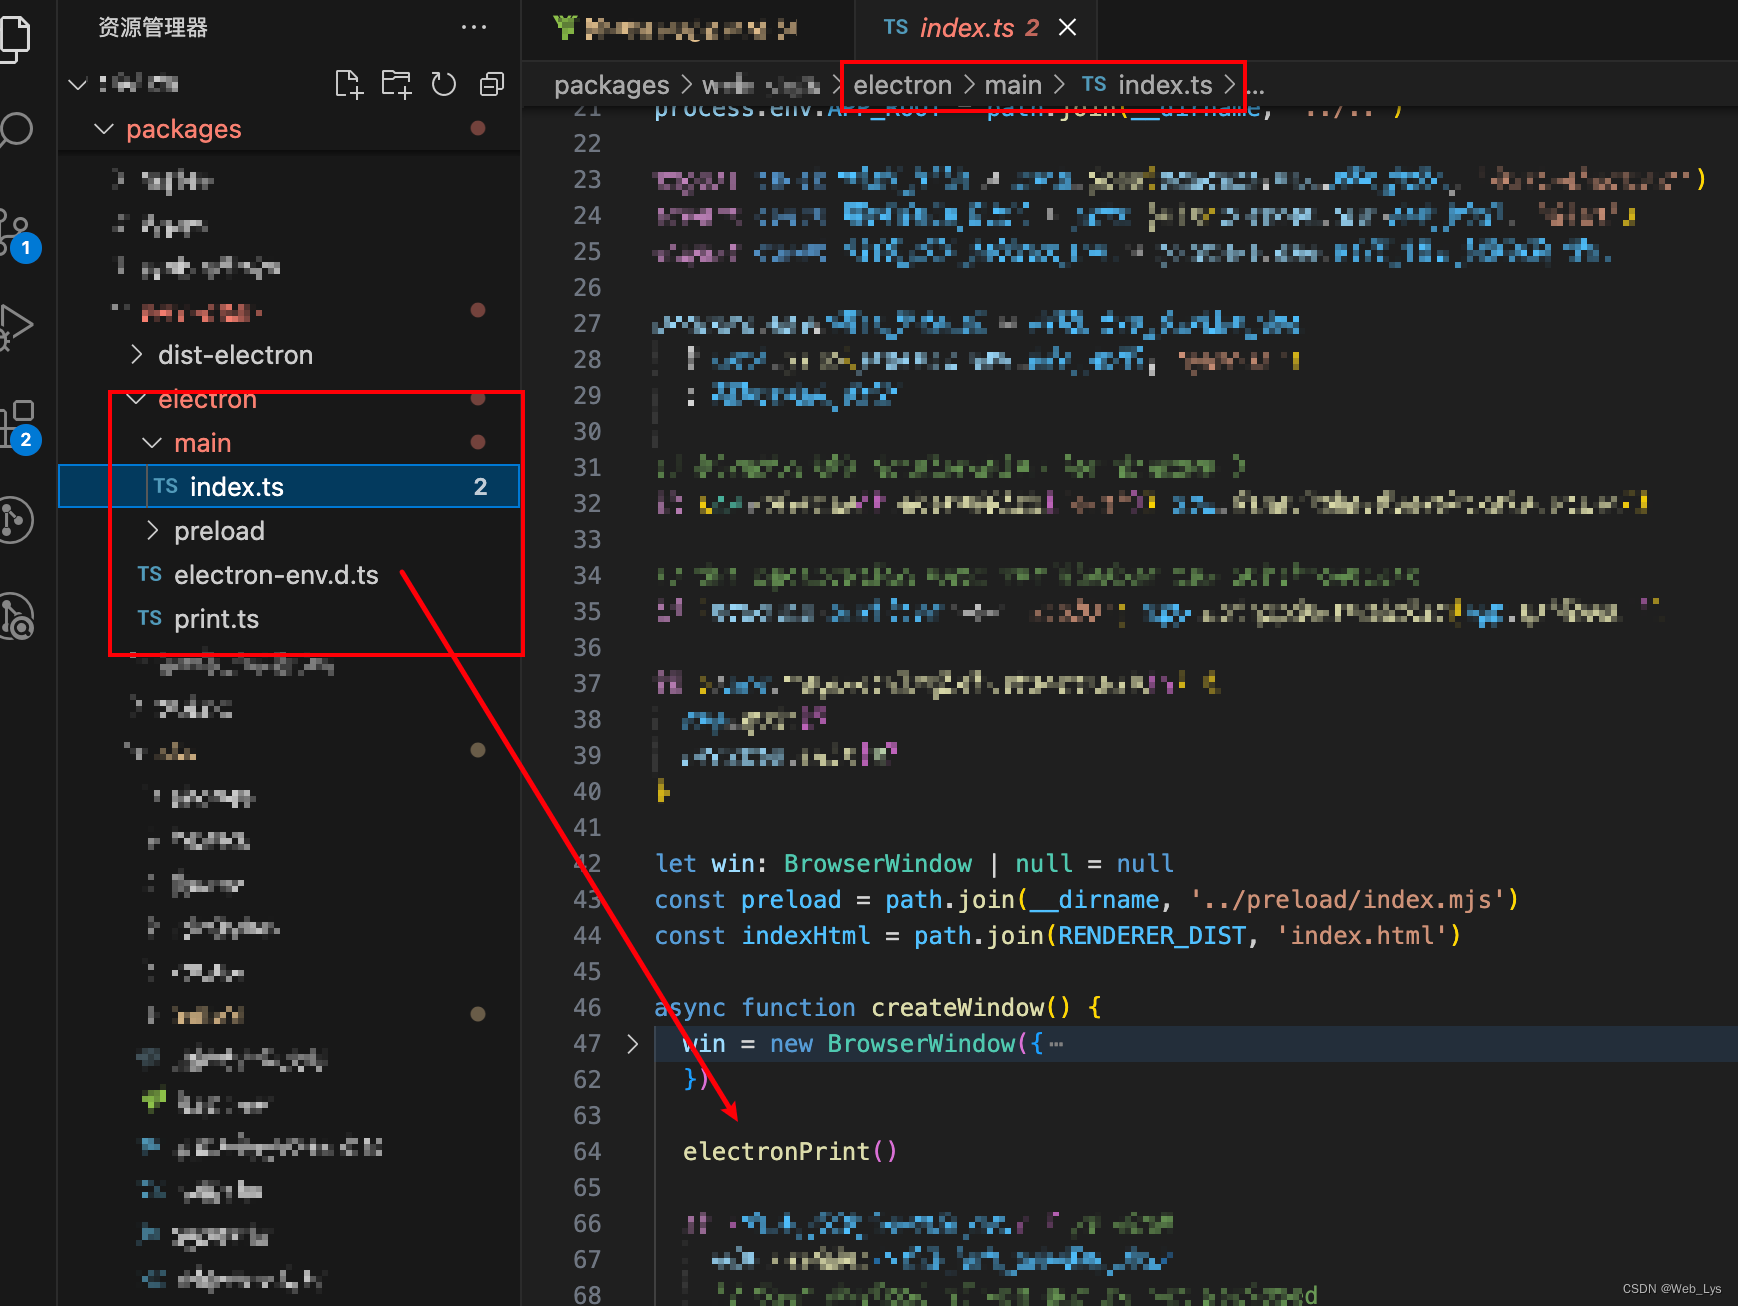
在electron文件夹目录下新增文件print.ts
typescript
// print.ts
import { app, BrowserWindow, shell, ipcMain, BrowserWindowConstructorOptions, WebContentsPrintOptions } from 'electron'
export const electronPrint = () => {
let win: BrowserWindow;
// 获取系统打印机详情
ipcMain.handle("getPrinters", async (event) => {
return await event.sender.getPrintersAsync();
});
// 调用打印机打印
ipcMain.handle("printHandlePrint",async (event, options: WebContentsPrintOptions) => {
console.log("调用打印了")
return new Promise((resolve) => {
event.sender.print(
options,
(success: boolean, failureReason: string) => {
console.log("打印的结果",{ success, failureReason })
resolve({ success, failureReason });
}
);
});
}
);
// 创建打印界面
ipcMain.handle("openPrintWindow", (_, id) => {
// id 用于传递的参数
openPrintWindow(id);
});
// 销毁打印界面
ipcMain.handle("destroyPrintWindow", () => {
if (win) win.destroy();
});
function openPrintWindow(id) {
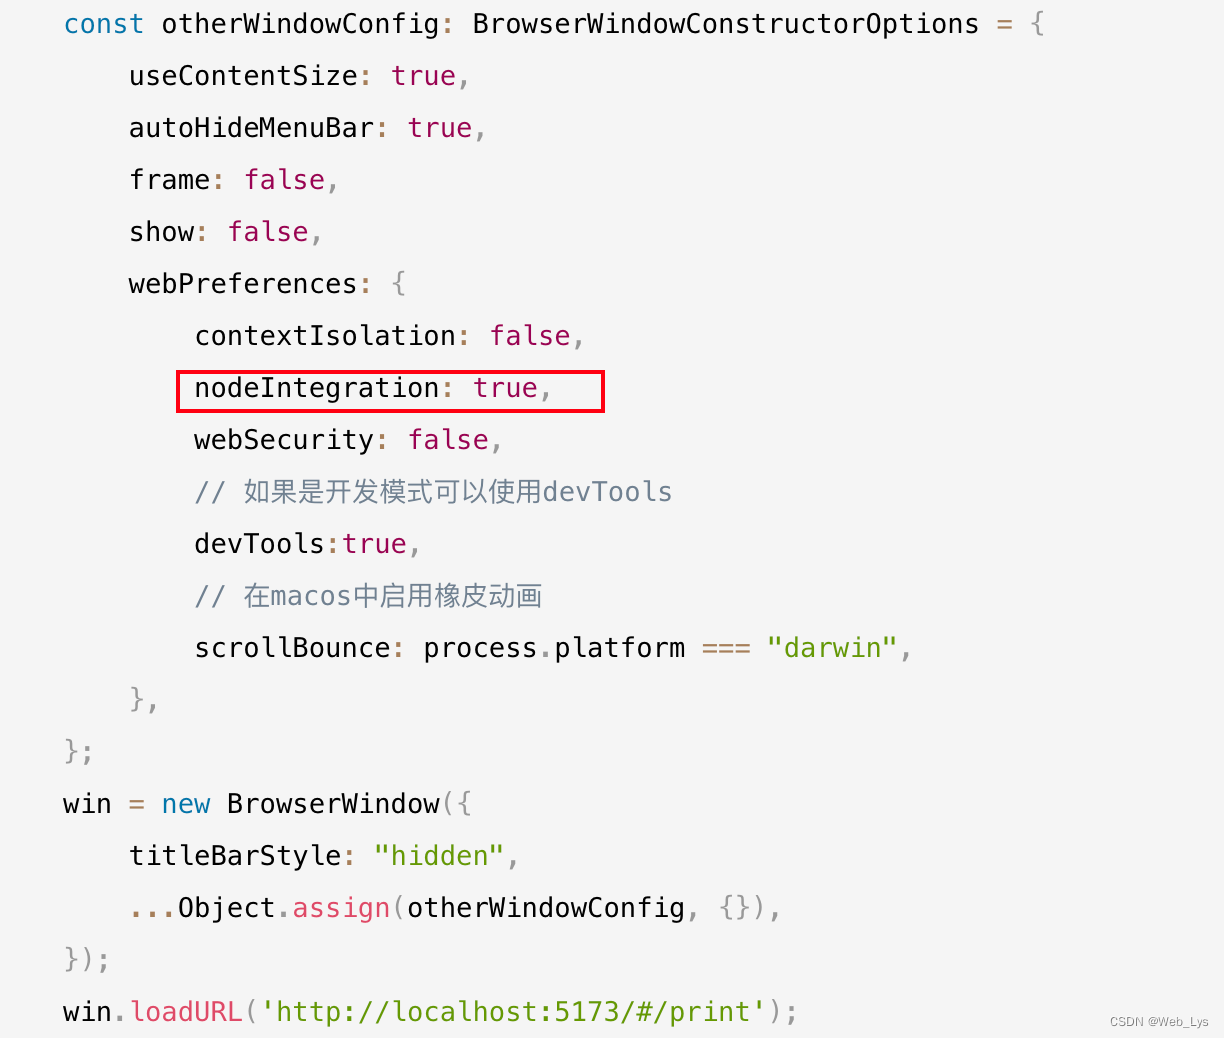
const otherWindowConfig: BrowserWindowConstructorOptions = {
useContentSize: true,
autoHideMenuBar: true,
frame: false,
show: false,
webPreferences: {
contextIsolation: false,
nodeIntegration: true,
webSecurity: false,
// 如果是开发模式可以使用devTools
devTools:true,
// 在macos中启用橡皮动画
scrollBounce: process.platform === "darwin",
},
};
win = new BrowserWindow({
titleBarStyle: "hidden",
...Object.assign(otherWindowConfig, {}),
});
win.loadURL('http://localhost:5173/#/print');
win.setMenu(null);
win.on("ready-to-show", () => {
console.log("打印窗口已经新建出来了 隐藏处理")
win.hide();
});
win.on("closed", () => {
win = null;
});
}
}在main中调用即可
第三步 渲染端(vue)调用打印
typescript
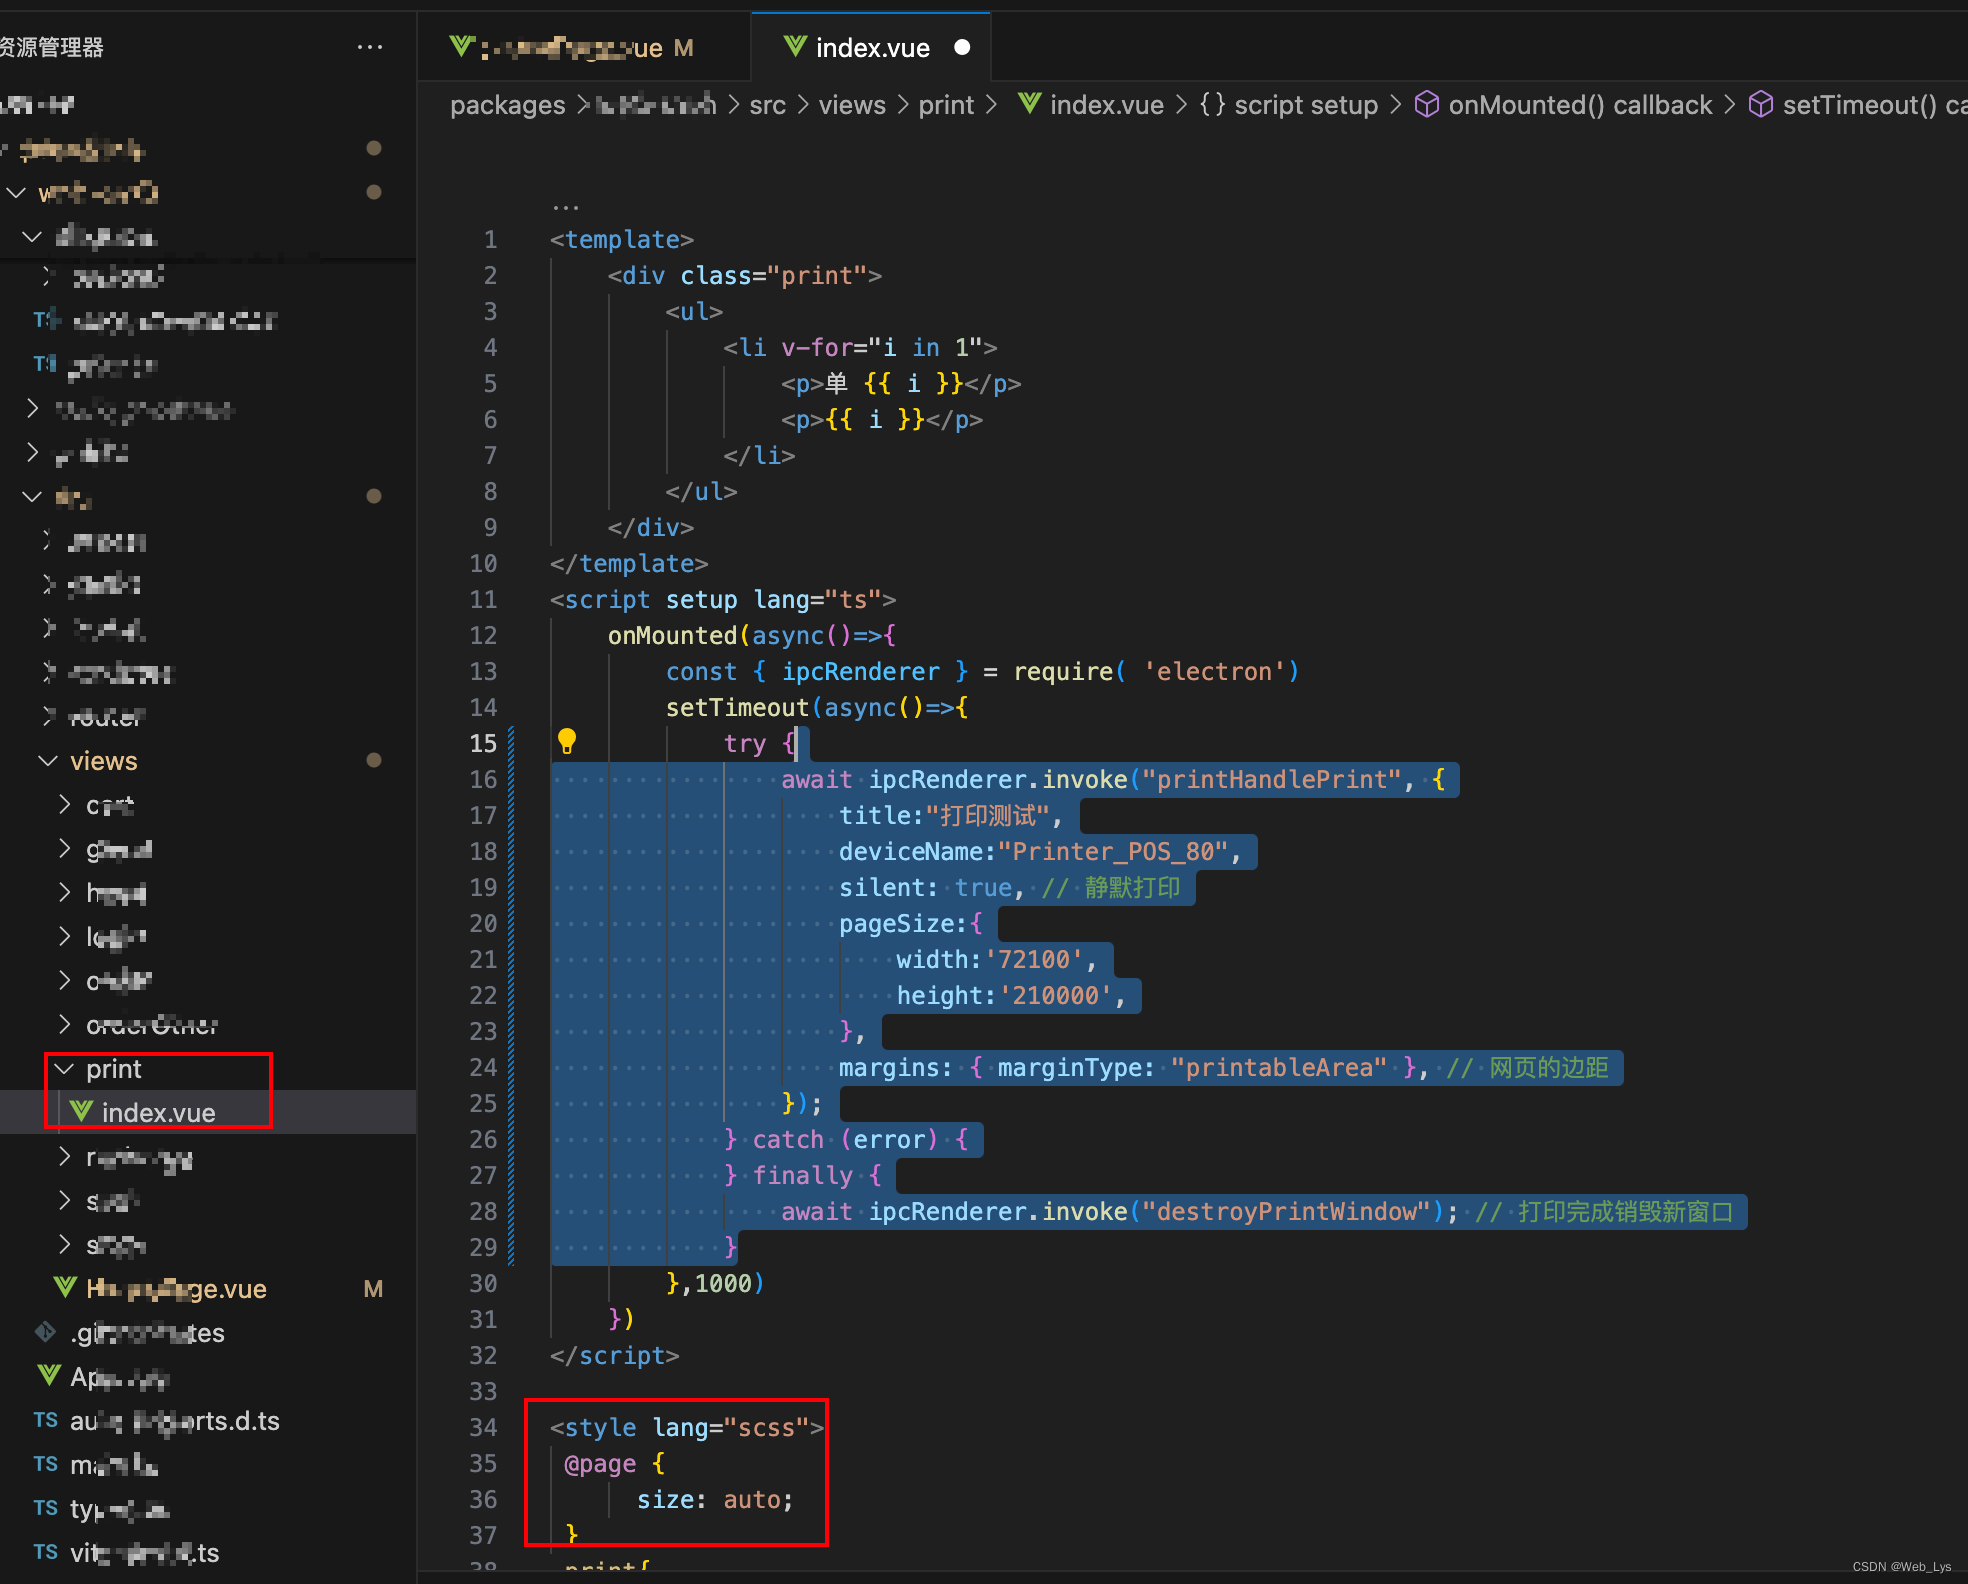
onMounted(async()=>{
const { ipcRenderer } = require( 'electron')
setTimeout(async()=>{
try {
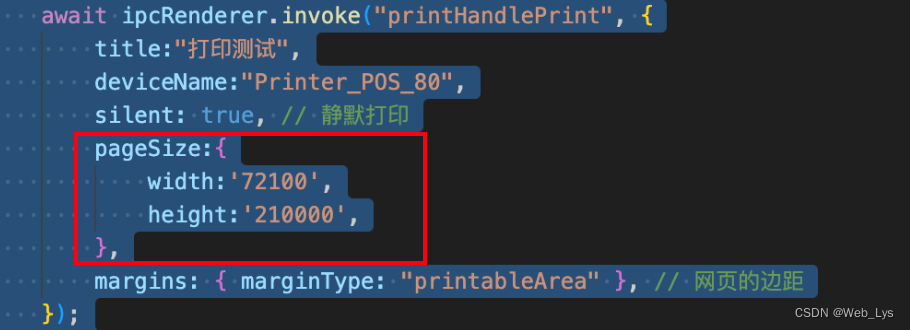
await ipcRenderer.invoke("printHandlePrint", {
deviceName:"Printer_POS_80",
silent: true, // 静默打印
pageSize:{
width:'72100',
height:'210000',
},
margins: { marginType: "printableArea" }, // 网页的边距
});
} catch (error) {
} finally {
await ipcRenderer.invoke("destroyPrintWindow"); // 打印完成销毁新窗口
}
},1000)
})
常见问题总结
-
require 报错
解决:如图所示添加nodeIntegration字段 并且在electron中运行 (浏览器运行会报错)
-
打印出来内容尺寸不对
添加pagesize字段 width eight单位是微米 查看你要打印的尺寸设置即可 要打印的页面添加样式 @page{size:auto}