第一章 PostgreSQL安装
1.1 新建 /opt/tools 目录
mkdir -p /opt/tools
1.2 上传postgresql文件
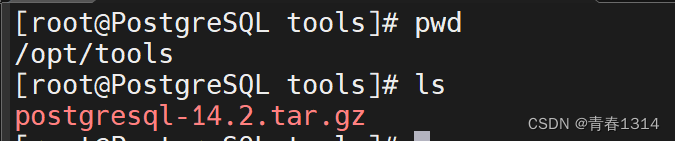
1.3 解压postgresql文件
tar -zxvf postgresql-14.2.tar.gz
1.4 进入 postgresql 并配置
cd postgresql-14.2
mkdir -p /opt/app/postgresql
./configure --prefix=/opt/app/postgresql
注: /opt/app/postgresql/:安装目录
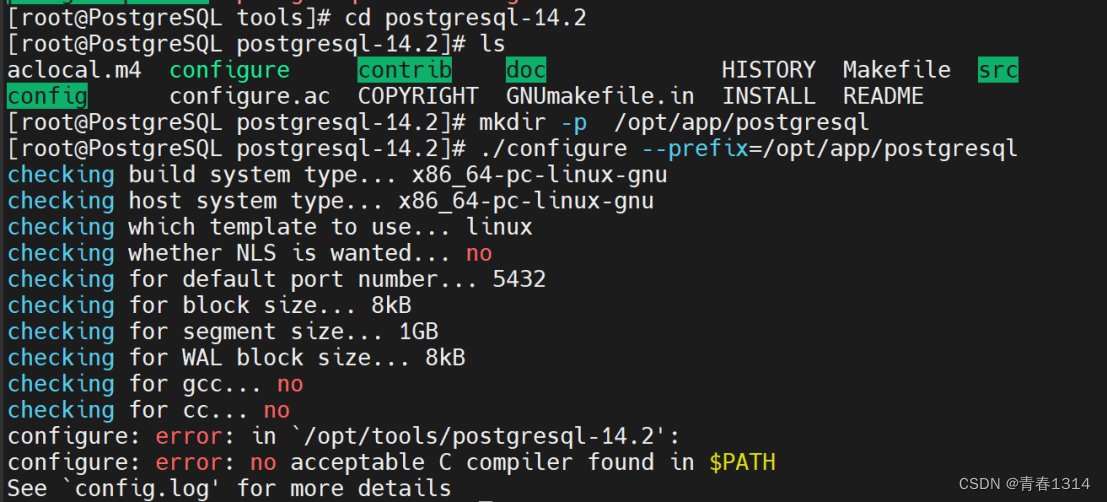
执行配置脚本前需安装gcc、readline-devel、zlib-devel
yum -y install gcc
yum -y install readline-devel
yum install -y zlib-devel
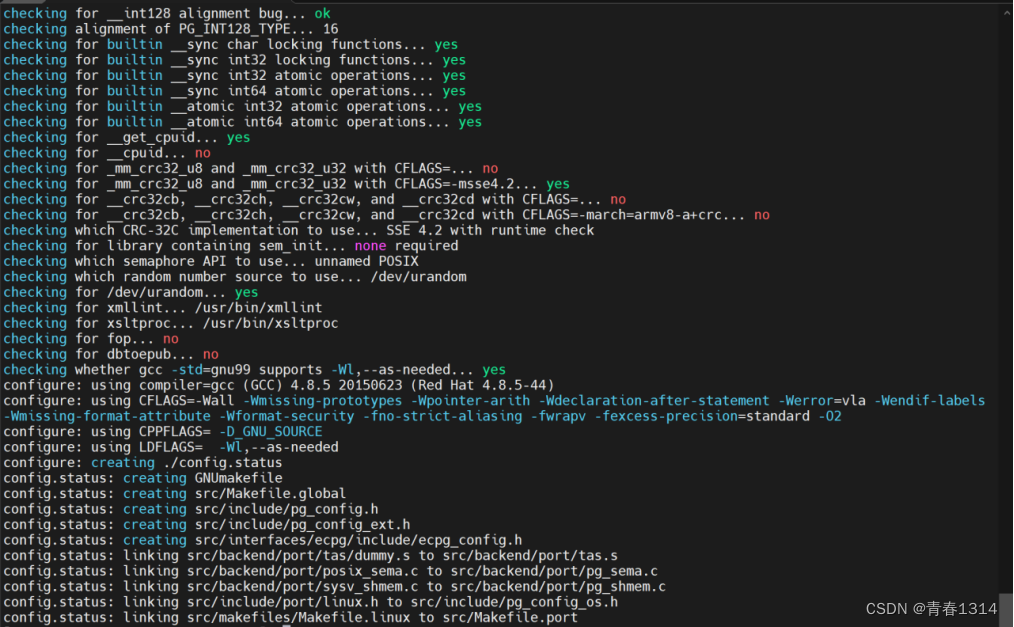
重新再次执行
./configure --prefix=/opt/app/postgresql
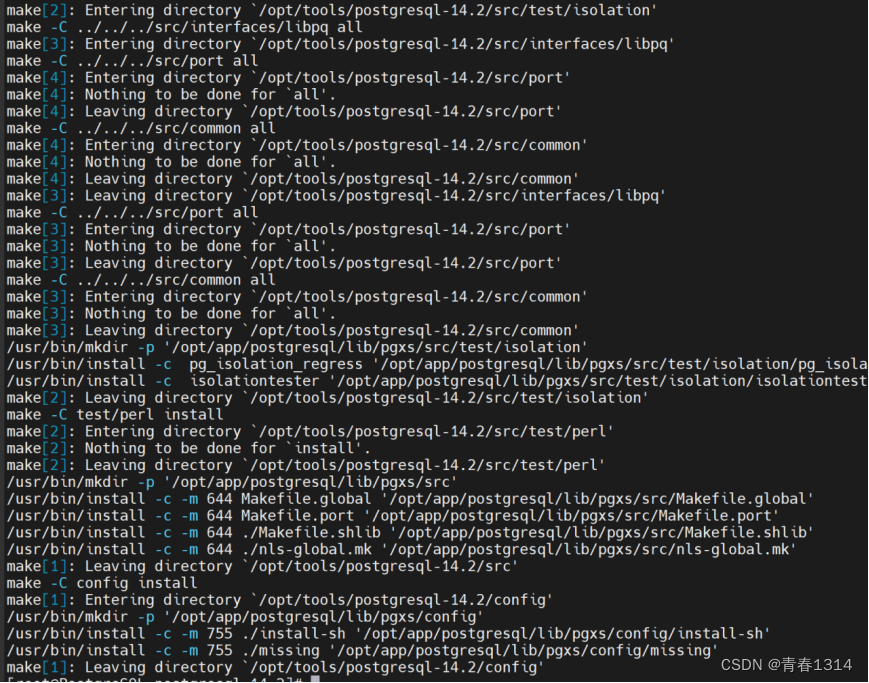
1.5 编译安装
make && make install
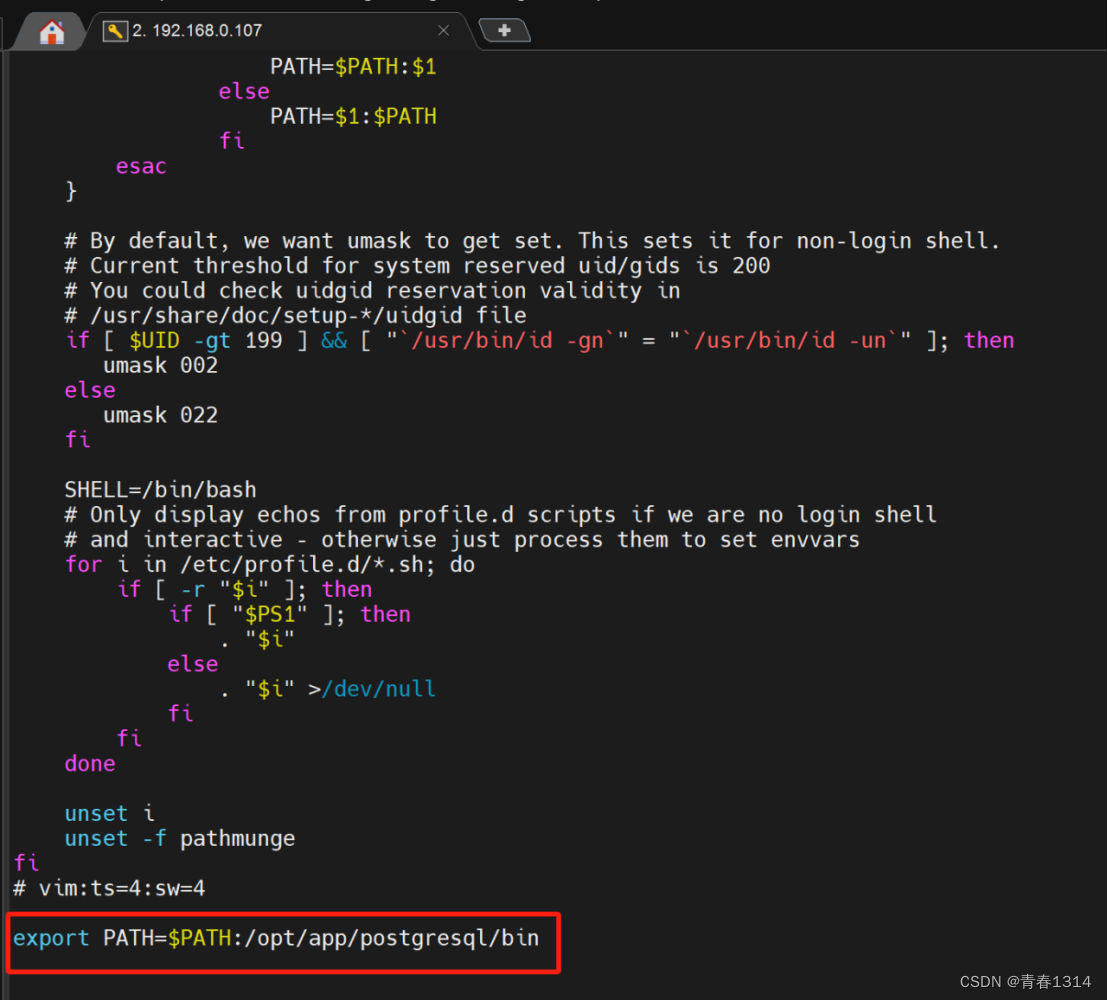
1.6 配置环境变量
vi /etc/bashrc
在文件末尾添加以下内容
export PATH=$PATH:/opt/app/postgresql/bin
使修改马上生效:
source /etc/bashrc
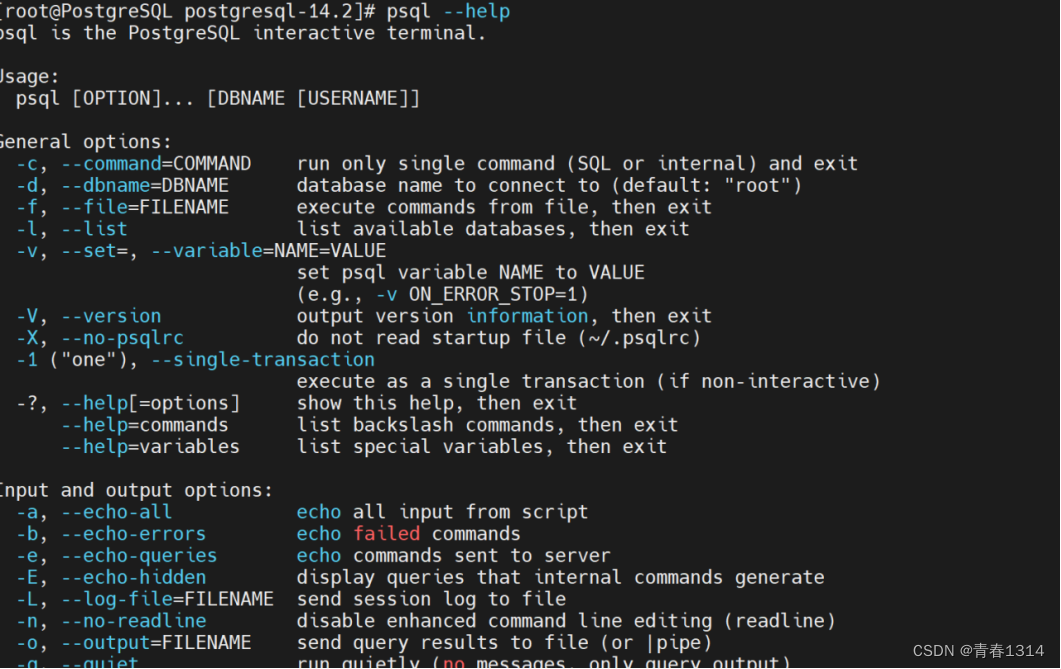
测试psql命令
psql --help
1.7 初始化数据
1.7. 1 创建psql的用户和密码
useradd postgres
passwd postgres
1.7.2 创建数据目录
cd /opt/app/postgresql
mkdir data
1.7.3 创建日志目录
cd /opt/app/postgresql
mkdir logs
1.7.4 设置postgresql文件夹的所有者和所属组为postgres
chown -R postgres:postgres /opt/app/postgresql
1.7.5 切换到postgres用户来操作数据库,pgsql数据库以postgres为默认用户
su postgres
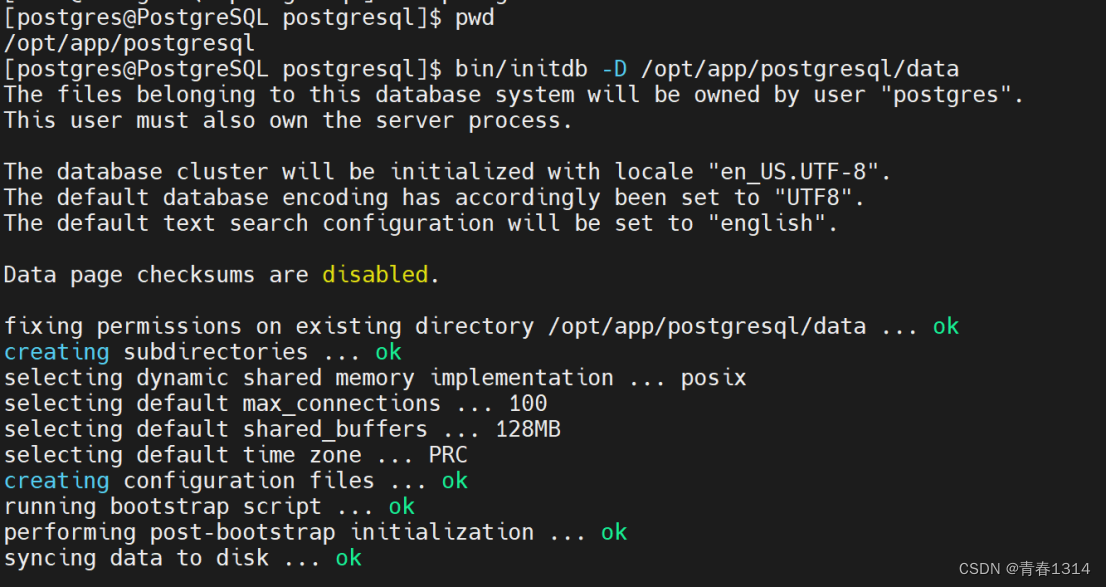
1.7.6 初始化数据库
bin/initdb -D /opt/app/postgresql/data
1 . 8 启动postgresql数据库
bin/pg_ctl -D /opt/app/postgresql/data -l /opt/app/postgresql/logs/logfile start

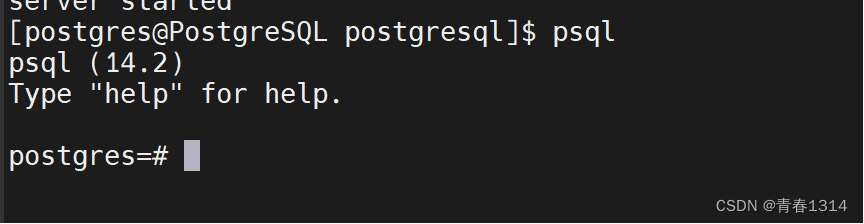
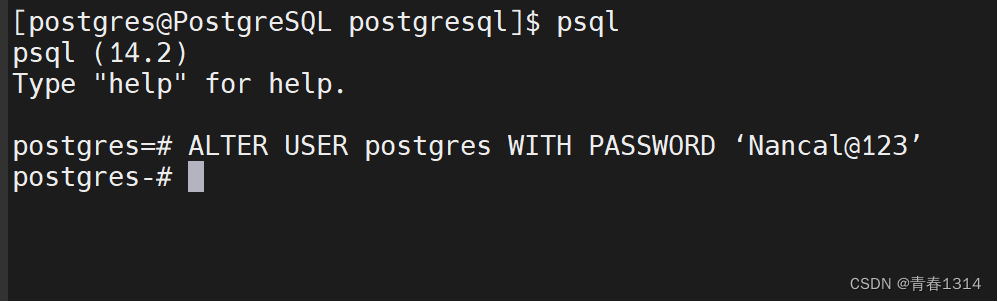
1.8.1 登录测试
psql
1.8.2 修改postgre密码
ALTER USER postgres WITH PASSWORD 'Nancal@123'
1.9 停止postgresql数据库
bin/pg_ctl -D /opt/app/postgresql/data stop

1.10 配置系统服务service
1.10.1 进入postgresql源码包的解压目录
cd /opt/tools/postgresql-14.2
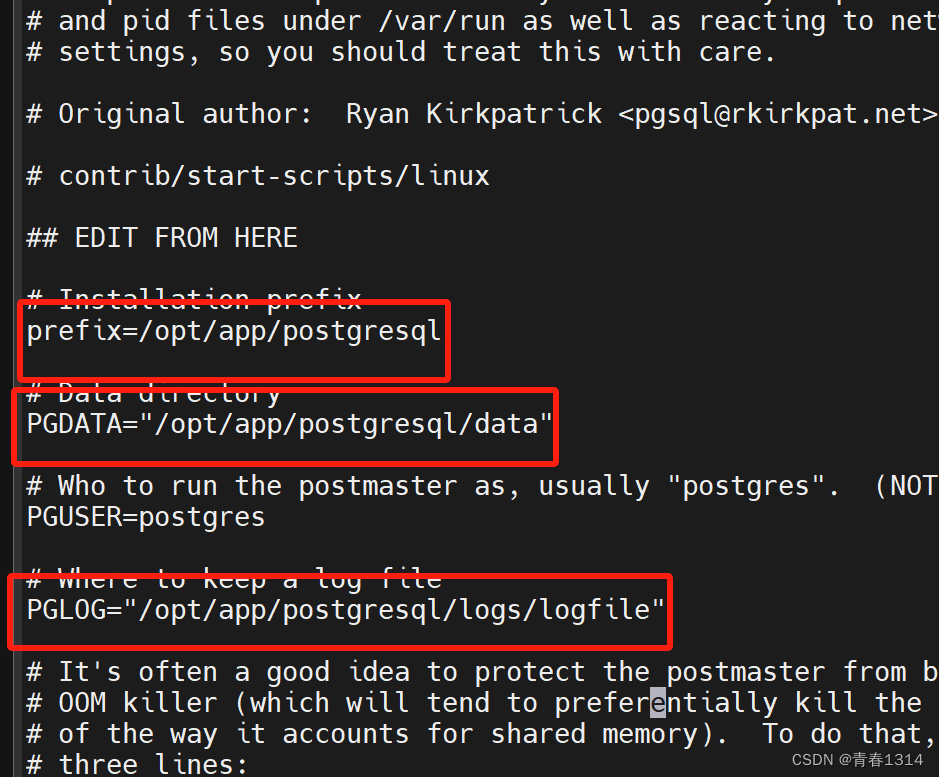
1.10.2 复制启动脚本到init.d下
cp contrib/start-scripts/linux /etc/init.d/postgresql
1.10.3 修改postgresql
vi /etc/init.d/postgresql
/opt/app/postgresql
1.10.4 赋予该文件执行权限
chmod +x /etc/init.d/postgresql
1.10.5 设置服务开机自启
chkconfig --add postgresql
1.10.6 启动数据库服务
service postgresql start

第二章 远程访问
默认情况下,pgsql在linux服务器上面,已经是安装和启动成功了,也能连上。但是本地window环境下,是无法连接上pgsql服务器的。
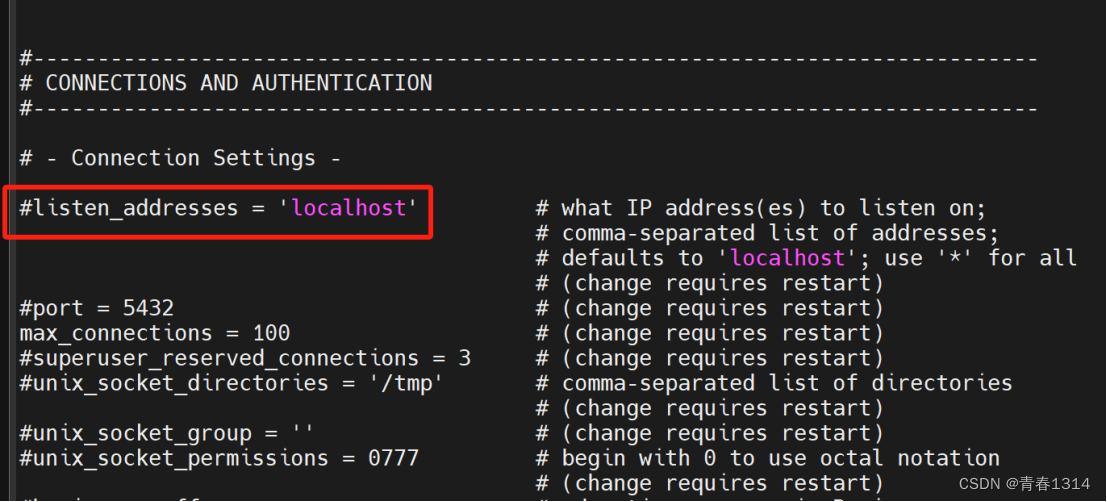
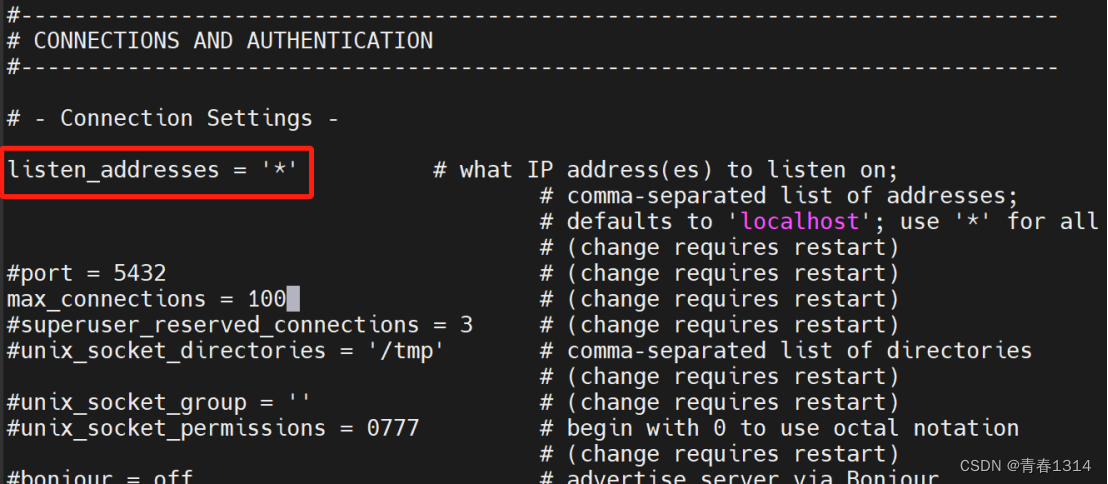
2 .1 修改postgresql.conf
vi /opt/app/postgresql/data/postgresql.conf
取消 listen_addresses 的注释,将参数值改为"*"。
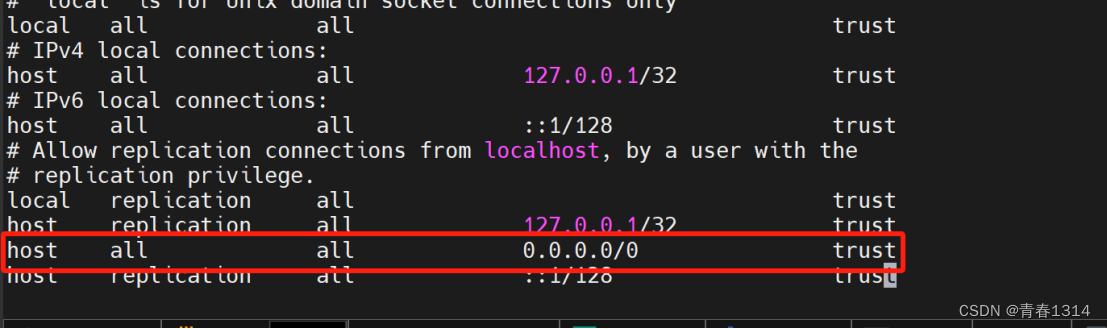
2 .2 修改pg_hba.conf
vi /opt/app/postgresql/data/pg_hba.conf
找到host all all 127.0.0.1/32 trust这行,然后在下面添加一行:host all all 0.0.0.0/0 trust即可。
2.3 重启服务
cd /opt/app/postgresql
su postgres
bin/pg_ctl -D /opt/app/postgresql/data -l /opt/app/postgresql/logs/logfile restart

第三章 配置防火墙
3 .1 开启5432端口
开放5432端口
firewall-cmd --zone=public --add-port=5432/tcp --permanent
#关闭5432端口
firewall-cmd --zone=public --remove-port=5432/tcp --permanent
3.2 配置立即生效
firewall-cmd --reload
3.3 重启防火墙
service firewalld restart
3.4 查看已开放的端口
firewall-cmd --list-ports
第四章 Navicat连接postgresql
