往期内容
express+vue在线im实现【一】
express+vue在线im实现【二】
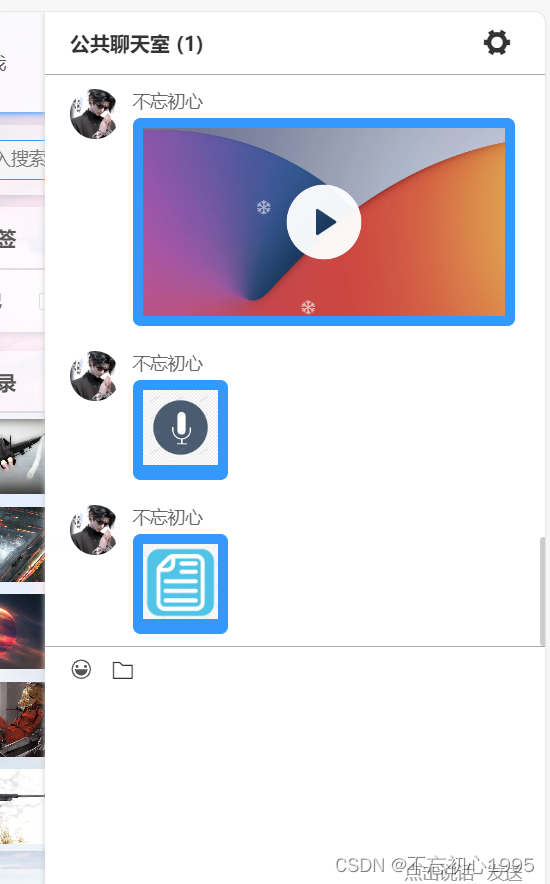
本期示例
本期总结
- 支持各种类型的文件上传,常见文件类型图片,音频,视频等
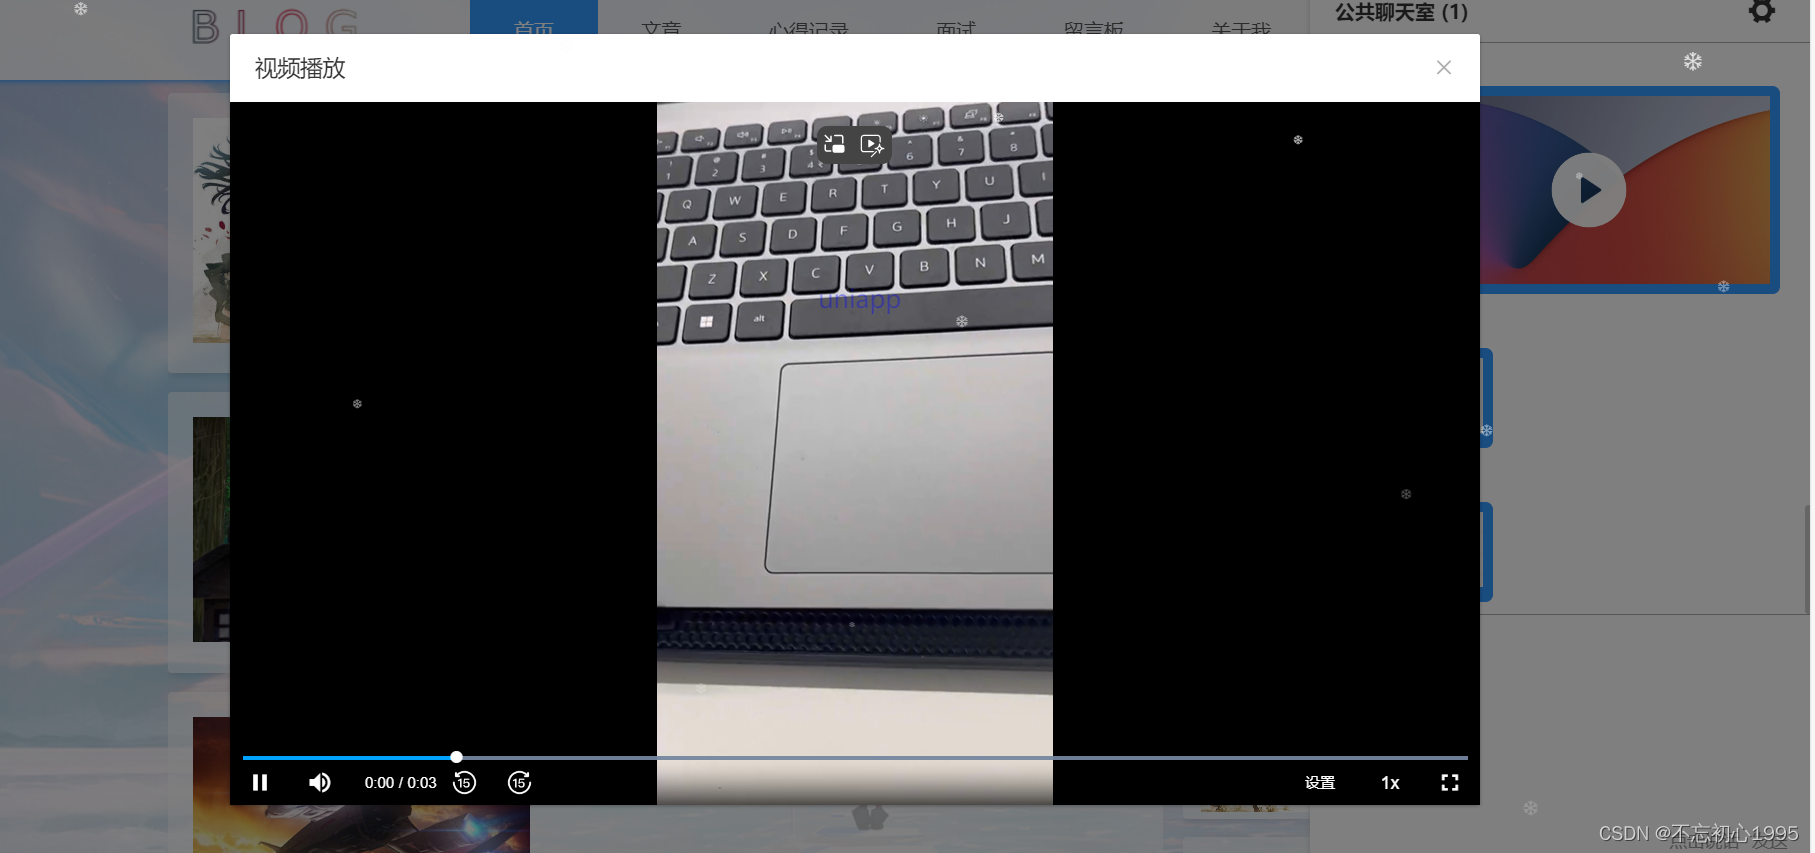
- 使用腾讯播放器完成视频播放,这个是本期亮点,支持自定义控件功能与样式,这儿示例了前进后退15s与设置里的配置
- 音频使用html5标签audio播放
- 其他类型统一为下载
下期安排
- 在线音频录制,发送
- 在线语音
重点总结
上传部分
input chang方法
js
        // 有上传文件
        inputFileChange(e) {
            let file = e.target.files[0]

            if (!file) return
            let { type } = file
            // 图片
            if (type.indexOf('image') >= 0) {
                this.commonUploadImg(file, 'im')
                    .then(({ url }) => {
                        // 发送消息
                        this.pushInfo({
                            msg_type: '2',
                            content: url,
                        })
                    })
                    .catch(() => {})
                    .finally(() => {
                        this.$refs.fileInput.value = ''
                    })

                return
            }

            // mp4
            if (type.indexOf('video') >= 0) {
                if (type != 'video/mp4') {
                    this.$message.warning('请上传mp4格式的视频')
                    return
                }
                // 视频上传
                this.commonUploadFile(file, 'im', 500)
                    .then(({ url = '' }) => {
                        // 发送消息
                        this.pushInfo({
                            msg_type: '4',
                            content: url,
                        })
                    })
                    .catch(() => {})

                this.$refs.fileInput.value = ''
                return
            }

            // audio
            if (type.indexOf('audio') >= 0) {
                if (type != 'audio/ogg') {
                    this.$message.warning('请上传audio/ogg格式的音频')
                    return
                }
                this.commonUploadFile(file, 'im', 500)
                    .then(({ url = '' }) => {
                        // 发送消息
                        this.pushInfo({
                            msg_type: '5',
                            content: url,
                        })
                    })
                    .catch(() => {})

                this.$refs.fileInput.value = ''
                return
            }

            // 其他类型
            this.commonUploadFile(file, 'im', 500)
                .then(({ url = '' }) => {
                    // 发送消息
                    this.pushInfo({
                        msg_type: '3',
                        content: url,
                    })
                })
                .catch(() => {})
            this.$refs.fileInput.value = ''
        },
统一的上传方法
js
/**
 * 公共上传图片方法(相比下面的上传文件方法,多了压缩与获取图片宽高)
 * @param {*} oldFile  文件信息
 * @param {*} type     服务器的存储位置
 * @param {*} minSize  最小产生loading的文件大小
 * @returns
 */
export function commonUploadImg(oldFile, type, minSize = 500) {
    return new Promise(async (resolve, reject) => {
        let { size } = oldFile
        // 对于大于200k的图片添加一个loading
        const currentSize = size / 1024
        let loading = null
        if (currentSize > minSize) {
            loading = this.$klLoading()
        }
        try {
            let { file: miniFile, newWidth, newHeight } = await compressImg(oldFile)
            const formData = new FormData()
            formData.append('file', miniFile)
            const devicePixelRatioa = window.devicePixelRatio || 1

            // 上传图片,同时需要上传图片的宽高
            upload_imgs_im(formData, {
                type,
                devicePixelRatioa,
                width: Math.floor(newWidth / devicePixelRatioa),
                height: Math.floor(newHeight / devicePixelRatioa),
            }).then((res) => {
                resolve({ url: `/${type}/` + res.data[0]?.filename })
            })
        } catch (err) {
            this.$message.warning('请重新上传')
            reject()
        }
        loading && loading.close()
    })
}

/**
 * 公共上传通用文件的方法
 * @param {*} oldFile  文件信息
 * @param {*} type     服务器的存储位置
 * @param {*} minSize  最小产生loading的文件大小
 * @param {*} needPoster   对于视频需要上传封面图,这个用于获取封面图
 * @returns
 * */
export function commonUploadFile(oldFile, type, minSize = 500) {
    return new Promise(async (resolve, reject) => {
        let { size = 0 } = oldFile
        // 对于大于minSize的图片添加一个loading
        let loading = null
        if (size / 1024 > minSize) {
            loading = this.$klLoading()
        }
        const formData = new FormData()
        formData.append('file', oldFile)
        upload_imgs_im(formData, {
            type,
        })
            .then((res) => {
                resolve({ url: `/${type}/` + res.data[0]?.filename })
            })
            .catch((err) => {
                reject(err)
            })
            .finally(() => {
                loading && loading.close()
            })
    })
}

// 富文本给图片补充完整路径
export function parseHtmlUrl(htmlString) {
    function removeTrailingSlash(str) {
        if (str.endsWith('/')) {
            return str.slice(0, -1) // 使用slice方法从字符串的开头到倒数第二个字符(不包括结尾的/)
        }
        return str // 如果字符串不以/结尾,则直接返回原字符串
    }
    const { origin } = location
    const baseurl = removeTrailingSlash(baseURL)
    const parser = new DOMParser()
    const doc = parser.parseFromString(htmlString, 'text/html')
    const imgs = doc.body.querySelectorAll('img')
    for (let index = 0; index < imgs.length; index++) {
        const element = imgs[index]
        const { src } = element
        if (src && src.startsWith('/') && !src.startsWith('//')) {
            element.src = baseurl + element.src
        }
    }

    const serializer = new XMLSerializer()
    const modifiedHtml = serializer.serializeToString(doc.body)
    // 移除外层的body
    let div = document.createElement('div')
    div.innerHTML = modifiedHtml
    return div.innerHTML
}
视频播放组件
核心播放组件
html
<template>
    <div class="demo">
        <video
            id="player-container-id"
            preload="auto"
            playsinline
            webkit-playsinline
            class="tx-video"
            :style="getStyle"
        ></video>
    </div>
</template>

<script>
import { createControl } from './index.js'
const plugins = [
    {
        isAppendHead: true,
        css: 'https://web.sdk.qcloud.com/player/tcplayer/release/v5.0.1/tcplayer.min.css',
    },
    {
        js: 'https://web.sdk.qcloud.com/player/tcplayer/release/v5.0.1/tcplayer.v5.0.1.min.js',
    },
]
export default {
    props: {
        videoUrl: {
            type: String,
            default: '',
        },
        width:{
            type: String,
            default: '600px',
        },
        height:{
            type: String,
            default:'400px',
        }
    },
    data() {
        return {
            list: [1111],
        }
    },
    computed: {
        player() {
            let { videoStore } = this.$store.state
            return videoStore.player || {}
        },
        getStyle(){
            return {
                width:this.width,
                height:this.height,
            }
        }
    },
    mounted() {
        this.getIndexDBJS(plugins).finally(() => {
            this.init()
        })
    },
    beforeDestroy() {
        this.player.dispose()
        this.delPageScript(plugins)
    },
    methods: {
        async init() {
            this.$store.commit('videoStore/SET_PLAYER', null)
            let { player } = this
            if (player && this.getType(player.dispose) === 'function') {
                // 先销毁
                this.player.dispose()
                await this.$nextTick()
            }
            player = TCPlayer('player-container-id', {
                sources: [
                    {
                        src: this.videoUrl,
                    },
                ],
                licenseUrl: this.videoUrl,
            })
            player.src(this.videoUrl)
            player.on('loadedmetadata', () => {
                // 视频加载完成-设置控件
                createControl(this)
            })

            this.$store.commit('videoStore/SET_PLAYER', player)
        },
    },
}
</script>

<style scoped>
/deep/ .tcp-skin .vjs-custom-control-spacer {
    display: flex;
    justify-content: space-between;
    align-items: center;
}
</style>
控件index.js入口
js
// 前进后退控件
import fast_forward from './components/fast_forward.vue'

// 系统控制控件
import sys from './components/sys.vue'

export function createControl(that) {
    // 处理前进后退的播放控件
    const Ctor = Vue.extend(fast_forward)
    // create 可以传入props值
    const comp = new Ctor({
        propsData: {
            preImg: '//image.zlketang.com/public/news/others/imgs/web_pc/0283cad753b8be5df7a764d78f66dd31.png',
            nextImg:
                '//image.zlketang.com/public/news/others/imgs/web_pc/5510ac8bad62f39b6675a12574347598.png',
        },
    })
    comp.$mount()
    let controlBox = document.querySelector('.vjs-custom-control-spacer')
    if (!controlBox) return
    // 清空controlBox下的数据
    controlBox.innerHTML = ''

    controlBox.appendChild(comp.$el)
    // 监听组件的emit事件
    comp.$on('pre-fun', (data) => {
        console.log('pre-fun', data, that.list)
    })
    comp.$on('next-fun', (data) => {
        console.log('next-fun', data, that.list)
    })
    const sysCtor = Vue.extend(sys)
    // create 可以传入props值
    const sysComp = new sysCtor({
        propsData: {},
    })

    sysComp.$mount()
    controlBox.appendChild(sysComp.$el)
}
具体实现fast_forward.vue示例
html
<template>
    <!-- 前进后退15s控件  -->
    <div class="tx-video-control-fast-forward flex-center-wrap">
          <img
            @click="pre"
            class="backward-box-img"
            :src="preImg"
        />
        <img
            @click="next"
            class="forward-box-img"
            :src="nextImg"
        />
    </div>
</template>

<script>
export default {
    name: 'tx-video-control-fast-forward',
    props:{
        preImg:{
            type:String,
            default:''
        },
        nextImg:{
            type:String,
            default:''
        }
    },
    data() {
        return {}
    },
    methods: {
        pre() {
            this.$emit('pre-fun')
        },
        next() {
            this.$emit('next-fun')
        },
    },
}
</script>

<style scoped>
.backward-box-img {
    cursor: pointer;
    width: 20px;
    height: 20px;
}
.forward-box-img {
    cursor: pointer;
    width: 20px;
    height: 20px;
    margin-left: 24px;
}
</style>