1、引用路由组件
html
npm install vue-router2、创建路由
根据项目结构创建对应的组件(home\news\about)

在 src 目录下创建 router/index.ts
javascript
//引入路由
import { createRouter,createWebHistory,createWebHashHistory } from 'vue-router'
import Home from '@/pages/Home.vue'
import News from '@/pages/News.vue'
import About from '@/pages/About.vue'


//创建路由器
const router = createRouter({
    history:createWebHistory(),
    routes:[
        {
            path:'/',
            name:'home',
            component:Home
        },
        {
            path:'/news',
            name:'news',
            component:News
        },
        {
            path:'/about',
            name:'about',
            component:About
        }
    ]
})
//导出
export default router
history的两种区别:
1、createWebHistory 浏览器窗口不会显示 # ,但是项目部署到服务器,使用刷新按钮时会出错。
解决:在 nginx.conf里添加:try_files uri uri/ /index.html;
javascript
location / {
        root   /usr/share/nginx/html;
	    try_files $uri $uri/ /index.html;
        index  index.html index.htm;
    }
2、createWebHashHistory 浏览器会显示 # ,不美观,但不会出错
3、引入路由
我们要将路由使用到项目中,需要到 main.ts中导入
javascript
import {createApp} from 'vue'
import App from './App.vue'
//router目录下只有一个index.ts 则可以省略不写
import router from './router'

//创建一个应用
const app = createApp(App)
//使用路由器
app.use(router)
//挂在整个应用
app.mount('#app')
4、使用路由
在vue文件中使用路由
javascript
<template>
<div class="App">
<Head/>
<!--导航区-->
<div class="navigate">
<RouterLink to="/" active-class="router-link-active">首页</RouterLink>
<RouterLink :to="{path:'/news'}">新闻</RouterLink>
<RouterLink :to="{name:'about'}">关于</RouterLink>
</div>
<div class="main-content">
<RouterView></RouterView>
</div>
</div>
</template>
<script lang="ts" setup name="App">
import {RouterView,RouterLink} from 'vue-router'
import Head from '@/components/Head.vue'
</script>
<style>
a{
list-style: none;
margin-right: 10px;
text-decoration: none;
color:gray;
}
.main-content{
width:500px;
height:300px;
border:1px solid grey;
margin-top: 20px;
}
.router-link-active{
color:blueviolet;
font-weight: bold;
}
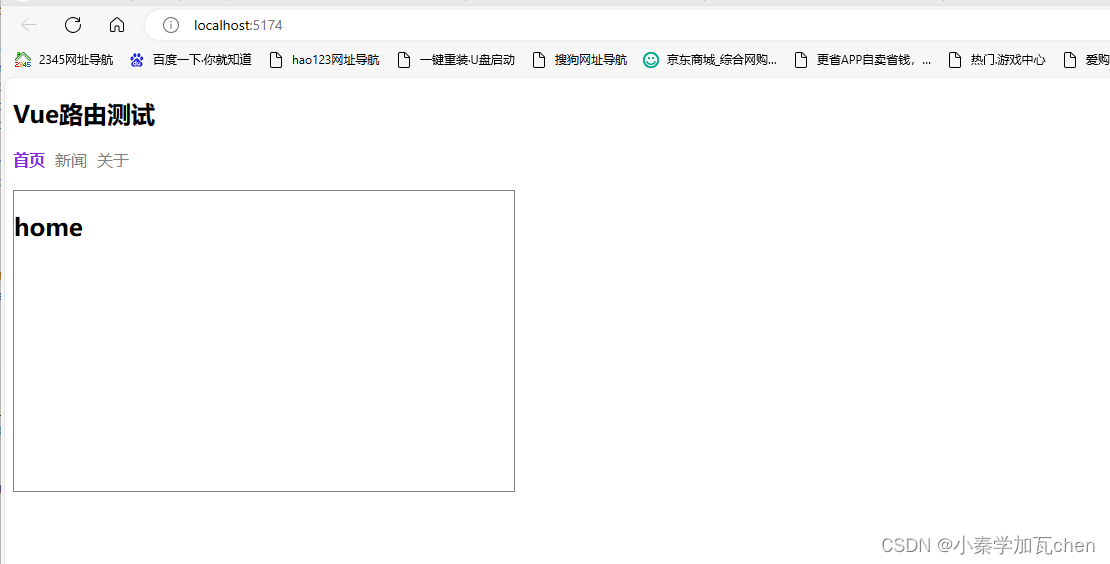
</style>RouterLink 路由绑定的两种写法:
1、to="/" 静态绑定
2、:to = "{path:'/home'}" 绑定对象,更加灵活
效果: