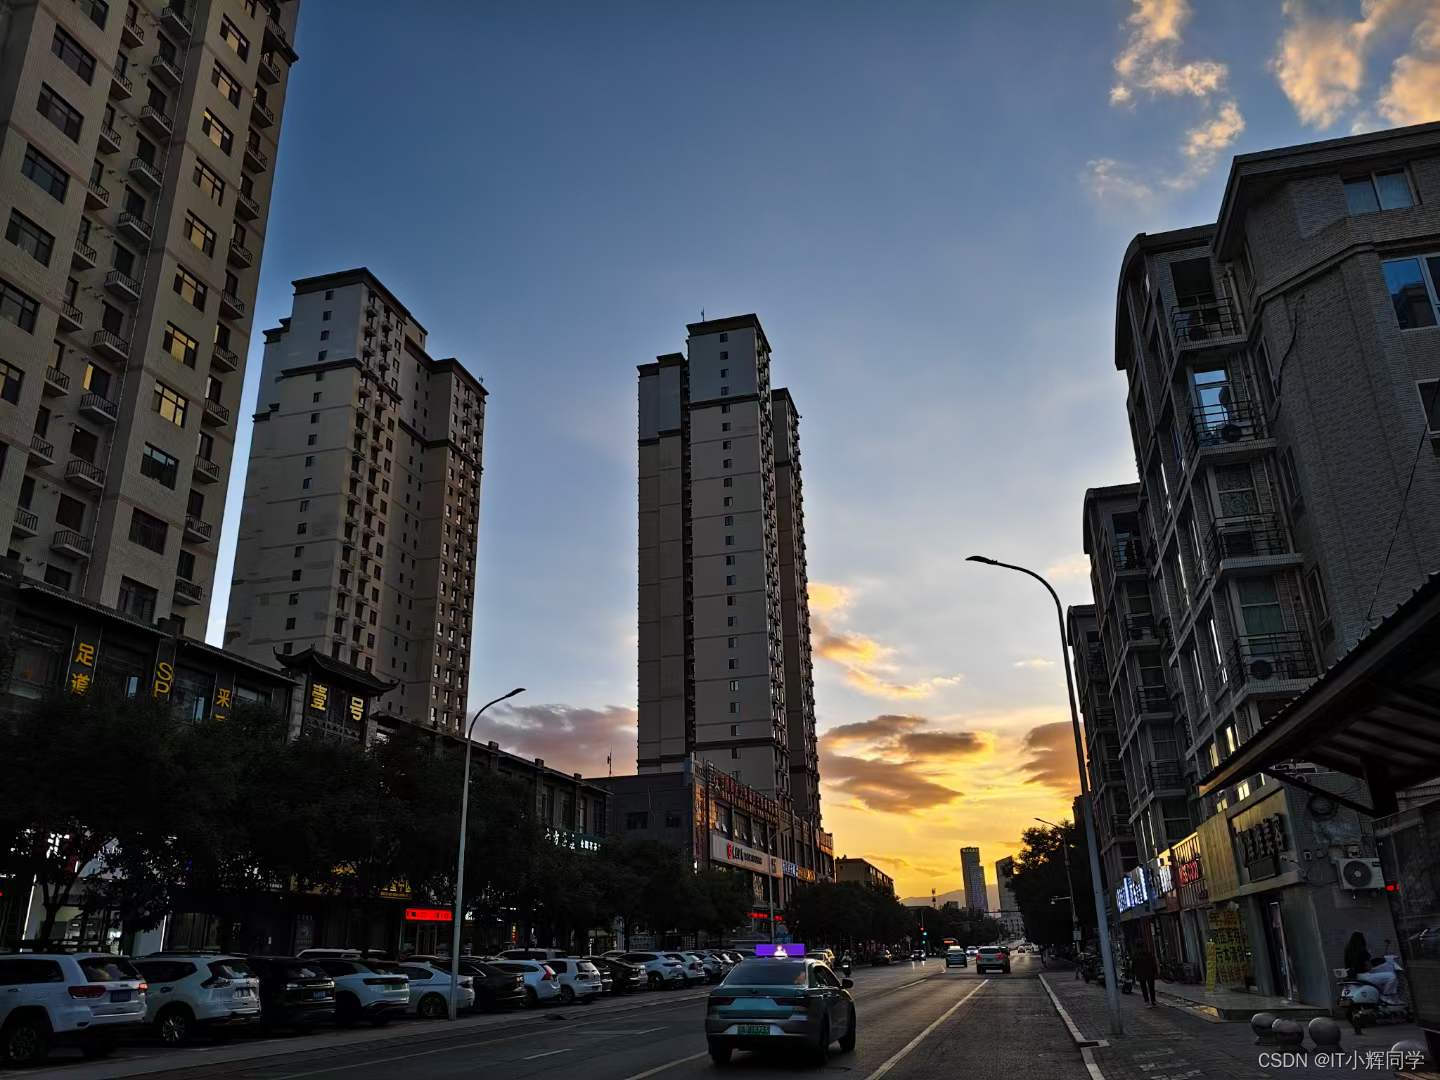
云层区分神经网络模型------二分类
问奶奶,是什么让他们维护一份感情长达年,奶奶说那个年代什么东西坏了都会想要修,现在什么坏了都想着换。
安装依赖
sh
# 要运行脚本,请先安装以下库:
 pip install tensorflow
 pip install matplotlib
 pip install numpy
数据准备
训练模型时,通过给定的数据集目录结构来区分有云和没有云的图片。数据集目录结构已经在之前的回答中说明过,其中不同的类别(clouds 和 no_clouds)被分别放置在不同的子目录中。ImageDataGenerator 会根据目录结构自动为图片分配标签,这样在训练过程中模型就可以学习到哪些图片是有云的,哪些是没有云的。
确保你的数据集目录结构如下所示:
dataset/
    train/
        clouds/
            cloud_image_001.jpg
            cloud_image_002.jpg
            ...
        no_clouds/
            no_cloud_image_001.jpg
            no_cloud_image_002.jpg
            ...
    validation/
        clouds/
            cloud_image_101.jpg
            cloud_image_102.jpg
            ...
        no_clouds/
            no_cloud_image_101.jpg
            no_cloud_image_102.jpg
            ...
    test/
        clouds/
            cloud_image_201.jpg
            cloud_image_202.jpg
            ...
        no_clouds/
            no_cloud_image_201.jpg
引入依赖
python
import os
import numpy as np
import matplotlib.pyplot as plt
from tensorflow.keras.optimizers import Adam
from tensorflow.keras.models import Sequential
from tensorflow.keras.optimizers import RMSprop
from tensorflow.keras.preprocessing.image import ImageDataGenerator
from tensorflow.keras.layers import Conv2D, MaxPooling2D, Flatten, Dense, Dropout
设置图片路径
python
# 设置图片的目录路径
train_dir = './data/train'
validation_dir = './data/validation'
test_dir = './data/test'

# 设置图片的参数
img_width, img_height = 224, 224 #图片大小,选择吉祥数224
batch_size = 32 #训练批次大小
epochs = 30 #x训练轮次
数据处理
python
#云层通常是白色的,所以在数据增强时可以考虑一些特定的处理方式,如调整亮度、对比度等,以增加模型的鲁棒性。
#创建训练数据增强生成器
train_datagen = ImageDataGenerator(
    rescale=1./255,  # 将像素值缩放到0和1之间
    rotation_range=20,  # 图像随机旋转的角度范围(0-20度)
    width_shift_range=0.2,  # 图像宽度平移的范围(占总宽度的比例)
    height_shift_range=0.2,  # 图像高度平移的范围(占总高度的比例)
    shear_range=0.2,  # 图像错切变换的角度范围
    zoom_range=0.2,  # 图像随机缩放的范围
    brightness_range=[0.8, 1.2],  # 图像亮度随机调整的范围
    horizontal_flip=True,  # 随机水平翻转图像
    fill_mode='nearest'  # 填充新创建像素的方法
)

#创建测试数据生成器
test_datagen = ImageDataGenerator(rescale=1./255)
#创建训练数据生成器:
train_generator = train_datagen.flow_from_directory(
    train_dir,  # 训练数据所在目录
    target_size=(img_width, img_height),  # 将所有图像调整为相同的目标大小
    batch_size=batch_size,  # 每次生成的批量大小
    class_mode='binary'  # 二分类模式
)

#创建验证数据生成器
validation_generator = test_datagen.flow_from_directory(
    validation_dir,  # 验证数据所在目录
    target_size=(img_width, img_height),  # 将所有图像调整为相同的目标大小
    batch_size=batch_size,  # 每次生成的批量大小
    class_mode='binary'  # 二分类模式
)
创建神经网络模型
python
#考虑增加卷积层的深度和/或数量,以增强模型的特征提取能力。
model = Sequential([
    Conv2D(32, (3, 3), activation='relu', input_shape=(img_width, img_height, 3)),
    MaxPooling2D(2, 2),
    Conv2D(64, (3, 3), activation='relu'),
    MaxPooling2D(2, 2),
    Conv2D(128, (3, 3), activation='relu'),
    MaxPooling2D(2, 2),
    Conv2D(256, (3, 3), activation='relu'),  # 增加一层卷积层
    MaxPooling2D(2, 2),
    Flatten(),
    Dense(512, activation='relu'),
    Dropout(0.5),
    Dense(1, activation='sigmoid')
])
编译模型
python
#尝试不同的学习率和优化器,以优化模型的收敛速度和准确率。
model.compile(optimizer=RMSprop(learning_rate=1e-4), loss='binary_crossentropy', metrics=['accuracy'])
训练模型
python
history = model.fit(
    train_generator,
    steps_per_epoch=train_generator.samples // batch_size,
    epochs=epochs,
    validation_data=validation_generator,
    validation_steps=validation_generator.samples // batch_size
)
收集训练参数
python
acc = history.history['accuracy']   #训练集准确率
val_acc = history.history['val_accuracy'] #验证集准确率
loss = history.history['loss'] #训练集损失率
val_loss = history.history['val_loss']  #验证集损失率
epochs_range = range(len(acc)) #横轴坐标
plt.figure(figsize=(12, 6)) #画布大小
绘制准确率曲线
python
plt.subplot(1, 2, 1)
plt.plot(epochs_range, acc, label='Training Accuracy')
plt.plot(epochs_range, val_acc, label='Validation Accuracy')
plt.legend(loc='lower right')
plt.title('Training and Validation Accuracy')
绘制损失曲线
python
plt.subplot(1, 2, 2)
plt.plot(epochs_range, loss, label='Training Loss')
plt.plot(epochs_range, val_loss, label='Validation Loss')
plt.legend(loc='upper right')
plt.title('Training and Validation Loss')
plt.show()
测试集评估模型
python
test_generator = test_datagen.flow_from_directory(
    test_dir,
    target_size=(img_width, img_height),
    batch_size=batch_size,
    class_mode='binary'
)

test_loss, test_acc = model.evaluate(test_generator, steps=test_generator.samples // batch_size)
print(f'Test accuracy: {test_acc}')
使用模型批量处理图片
python
import os
import shutil
import numpy as np
from tensorflow.keras.preprocessing import image
from PIL import Image

# 预测新图片
def predict_image(img_path, model):
    img = image.load_img(img_path, target_size=(224, 224))  # 修改为 (224, 224)
    img_tensor = image.img_to_array(img) / 255.0
    img_tensor = np.expand_dims(img_tensor, axis=0)

    prediction = model.predict(img_tensor)
    return prediction[0][0]

# 指定图片文件夹路径
image_folder = './images'
cloudy_folder = './cloudy_images'

# 创建保存有云图片的文件夹
if not os.path.exists(cloudy_folder):
    os.makedirs(cloudy_folder)

# 遍历文件夹中的所有图片
for filename in os.listdir(image_folder):
    if filename.lower().endswith(('.png', '.jpg', '.jpeg')):
        img_path = os.path.join(image_folder, filename)
        prediction = predict_image(img_path, model)

        if prediction > 0.5:
            shutil.move(img_path, os.path.join(cloudy_folder, filename))
            print(f'The image at {img_path} contains clouds and has been moved to {cloudy_folder}. Prediction: {prediction}')
        else:
            print(f'The image at {img_path} does not contain clouds. Prediction: {prediction}')

# 显示最后处理的一张图片
if prediction > 0.5:
    img = Image.open(os.path.join(cloudy_folder, filename))
else:
    img = Image.open(os.path.join(image_folder, filename))
img.show()
为了将训练好的模型保存起来,并在后续的代码中直接调用,可以使用TensorFlow和Keras提供的模型保存和加载方法。以下是保存和加载模型的具体步骤:
保存模型
在训练完成后,可以将模型保存到一个文件中,以便以后加载和使用。
python
# 保存模型到文件
model.save('cloud_model.h5')
加载模型
在需要使用模型的时候,可以从文件中加载已保存的模型。
python
from tensorflow.keras.models import load_model

# 从文件中加载模型
model = load_model('cloud_model.h5')
完整的代码示例
包括模型保存、加载和预测新图片,并将有云的图片移动到指定文件夹:
python
import os
import shutil
import numpy as np
from tensorflow.keras.preprocessing import image
from PIL import Image

# 预测新图片
def predict_image(img_path, model):
    img = image.load_img(img_path, target_size=(224, 224))  # 修改为 (224, 224)
    img_tensor = image.img_to_array(img) / 255.0
    img_tensor = np.expand_dims(img_tensor, axis=0)
    #这里就会调用直接训练好的模型
    prediction = model.predict(img_tensor)
    return prediction[0][0]

# 指定图片文件夹路径
image_folder = './images'
cloudy_folder = './cloudy_images'

# 创建保存有云图片的文件夹
if not os.path.exists(cloudy_folder):
    os.makedirs(cloudy_folder)

# 遍历文件夹中的所有图片
for filename in os.listdir(image_folder):
    if filename.lower().endswith(('.png', '.jpg', '.jpeg')):
        img_path = os.path.join(image_folder, filename)
        prediction = predict_image(img_path, model)

        if prediction > 0.5:
            shutil.move(img_path, os.path.join(cloudy_folder, filename))
            print(f'The image at {img_path} contains clouds and has been moved to {cloudy_folder}. Prediction: {prediction}')
        else:
            print(f'The image at {img_path} does not contain clouds. Prediction: {prediction}')

# 显示最后处理的一张图片
if prediction > 0.5:
    img = Image.open(os.path.join(cloudy_folder, filename))
else:
    img = Image.open(os.path.join(image_folder, filename))
img.show()