Notification Publisher
在Swift的Combine框架中,可以使用NotificationCenter.Publisher来创建一个能够订阅和接收通知的Publisher。
swift
// 创建一个订阅通知的Publisher
let notificationPublisher = NotificationCenter.default.publisher(for: Notification.Name("CustomNotification"))接下来,我们可以订阅这个Publisher,并处理接收到的通知。
swift
// 订阅通知
let cancellable = notificationPublisher.sink { notification in
    // 处理接收到的通知
    print("Received notification: \(notification)")
}
发送通知
swift
// 发送通知
NotificationCenter.default.post(name: Notification.Name("CustomNotification"), object: nil)
下面代码中就是一个完整的例子:
swift
class NotificationViewModel: ObservableObject {
  private var cancellable = Set<AnyCancellable>()

  func setUpNotification() {
    let notificationPublisher = NotificationCenter.default.publisher(for: Notification.Name("CustomNotification"))
    notificationPublisher
      .sink { notification in
        print("Received notification: \(notification)")
      }
      .store(in: &cancellable)
  }

  func sendNotification() {
    NotificationCenter.default.post(name: Notification.Name("CustomNotification"), object: nil)
  }
}

struct NotificationDemo: View {
  @StateObject private var viewModel = NotificationViewModel()

  var body: some View {
    Button("Send Notification") {
      viewModel.sendNotification()
    }
    .buttonStyle(BorderedProminentButtonStyle())
    .onAppear {
      viewModel.setUpNotification()
    }
  }
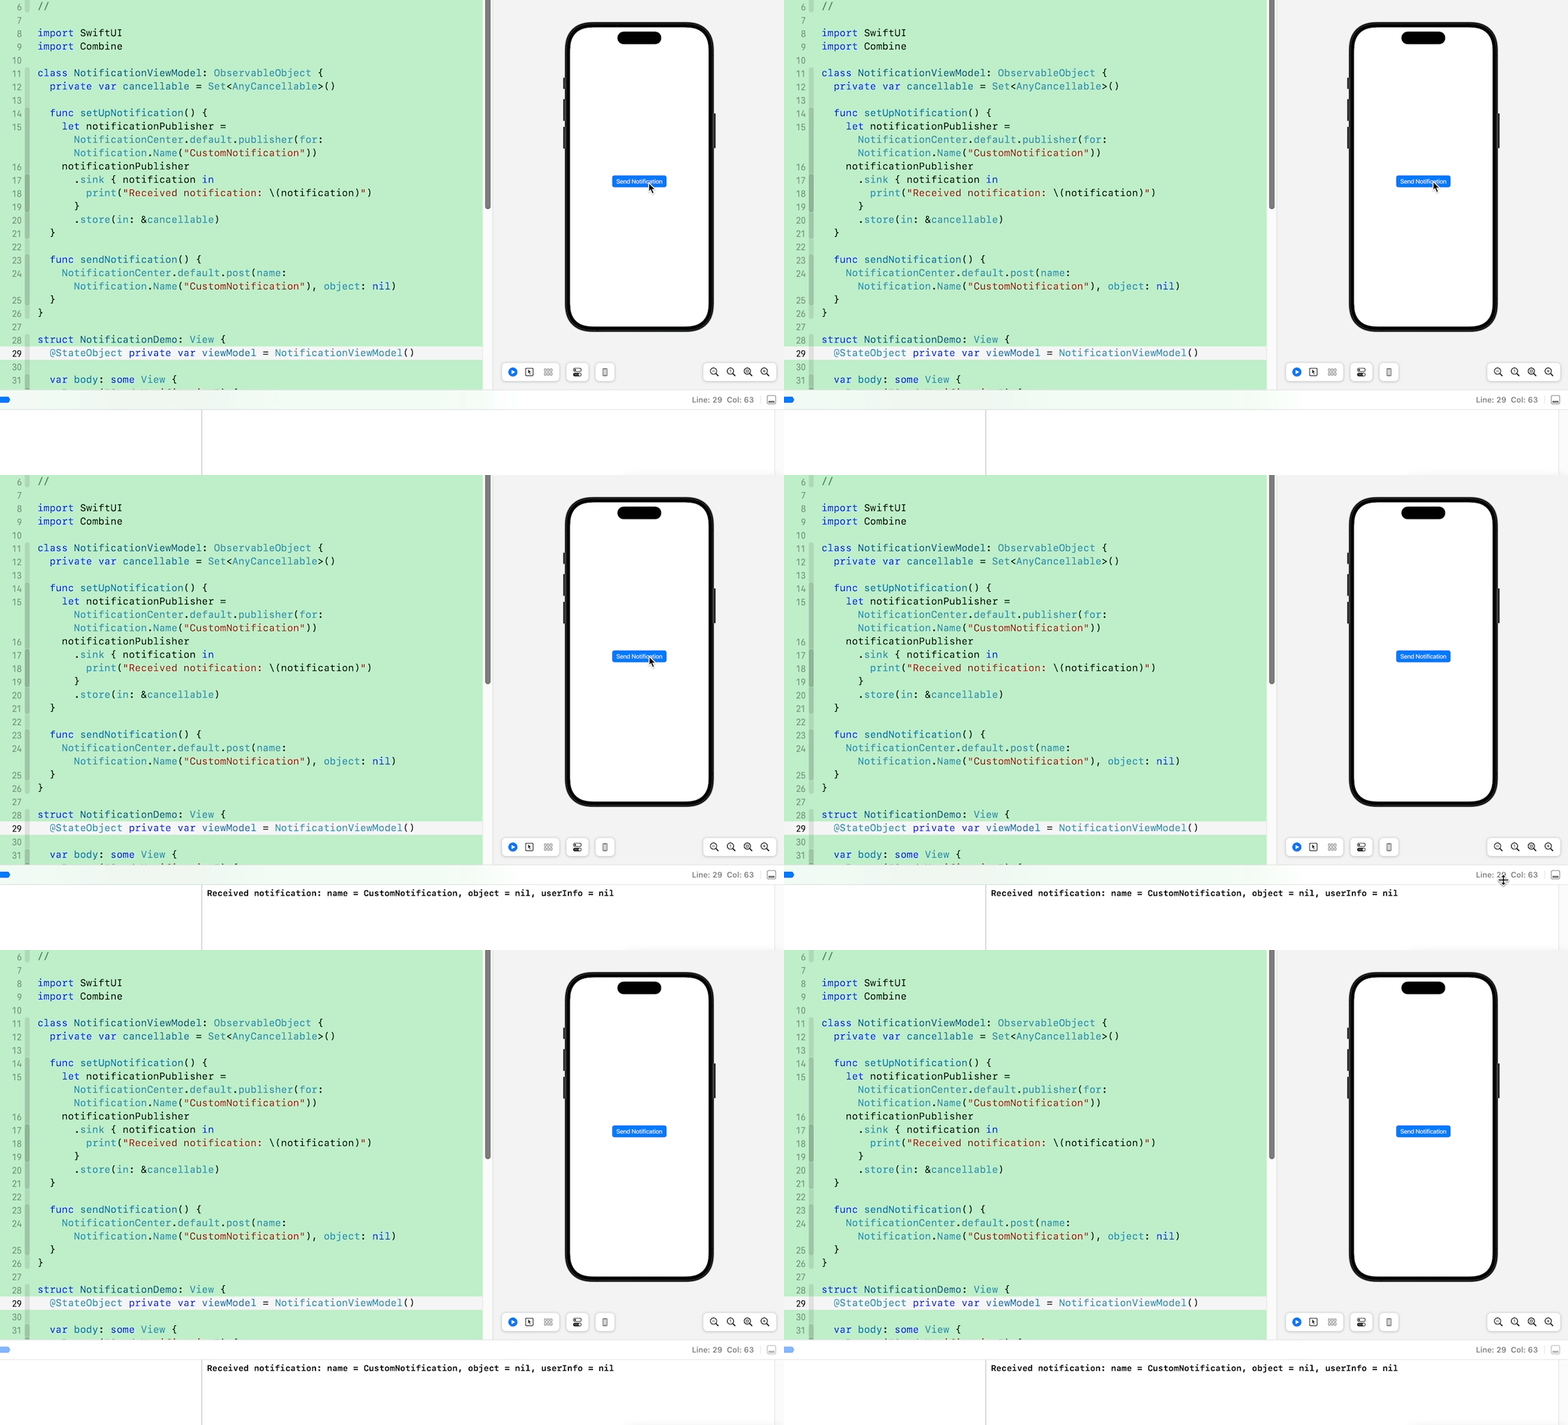
}上面代码中在ViewModel中定义并且订阅了Notification Publisher,在SwiftUI界面触发NotificationCenter发送通知,随后在sink方法中收到了该通知。

除了这种用法外,有的时候也可以直接在SwiftUI界面通过onReceive方式使用。
现在SwiftUI界面定义一个Notification。
swift
// app 进入前台前的通知
let willEnterForegroundPublisher = NotificationCenter.default.publisher(for: UIApplication.willEnterForegroundNotification)
然后设置onReceive方法:
swift
.onReceive(willEnterForegroundPublisher, perform: { notification in
  print("Received App will enter foreground notification")
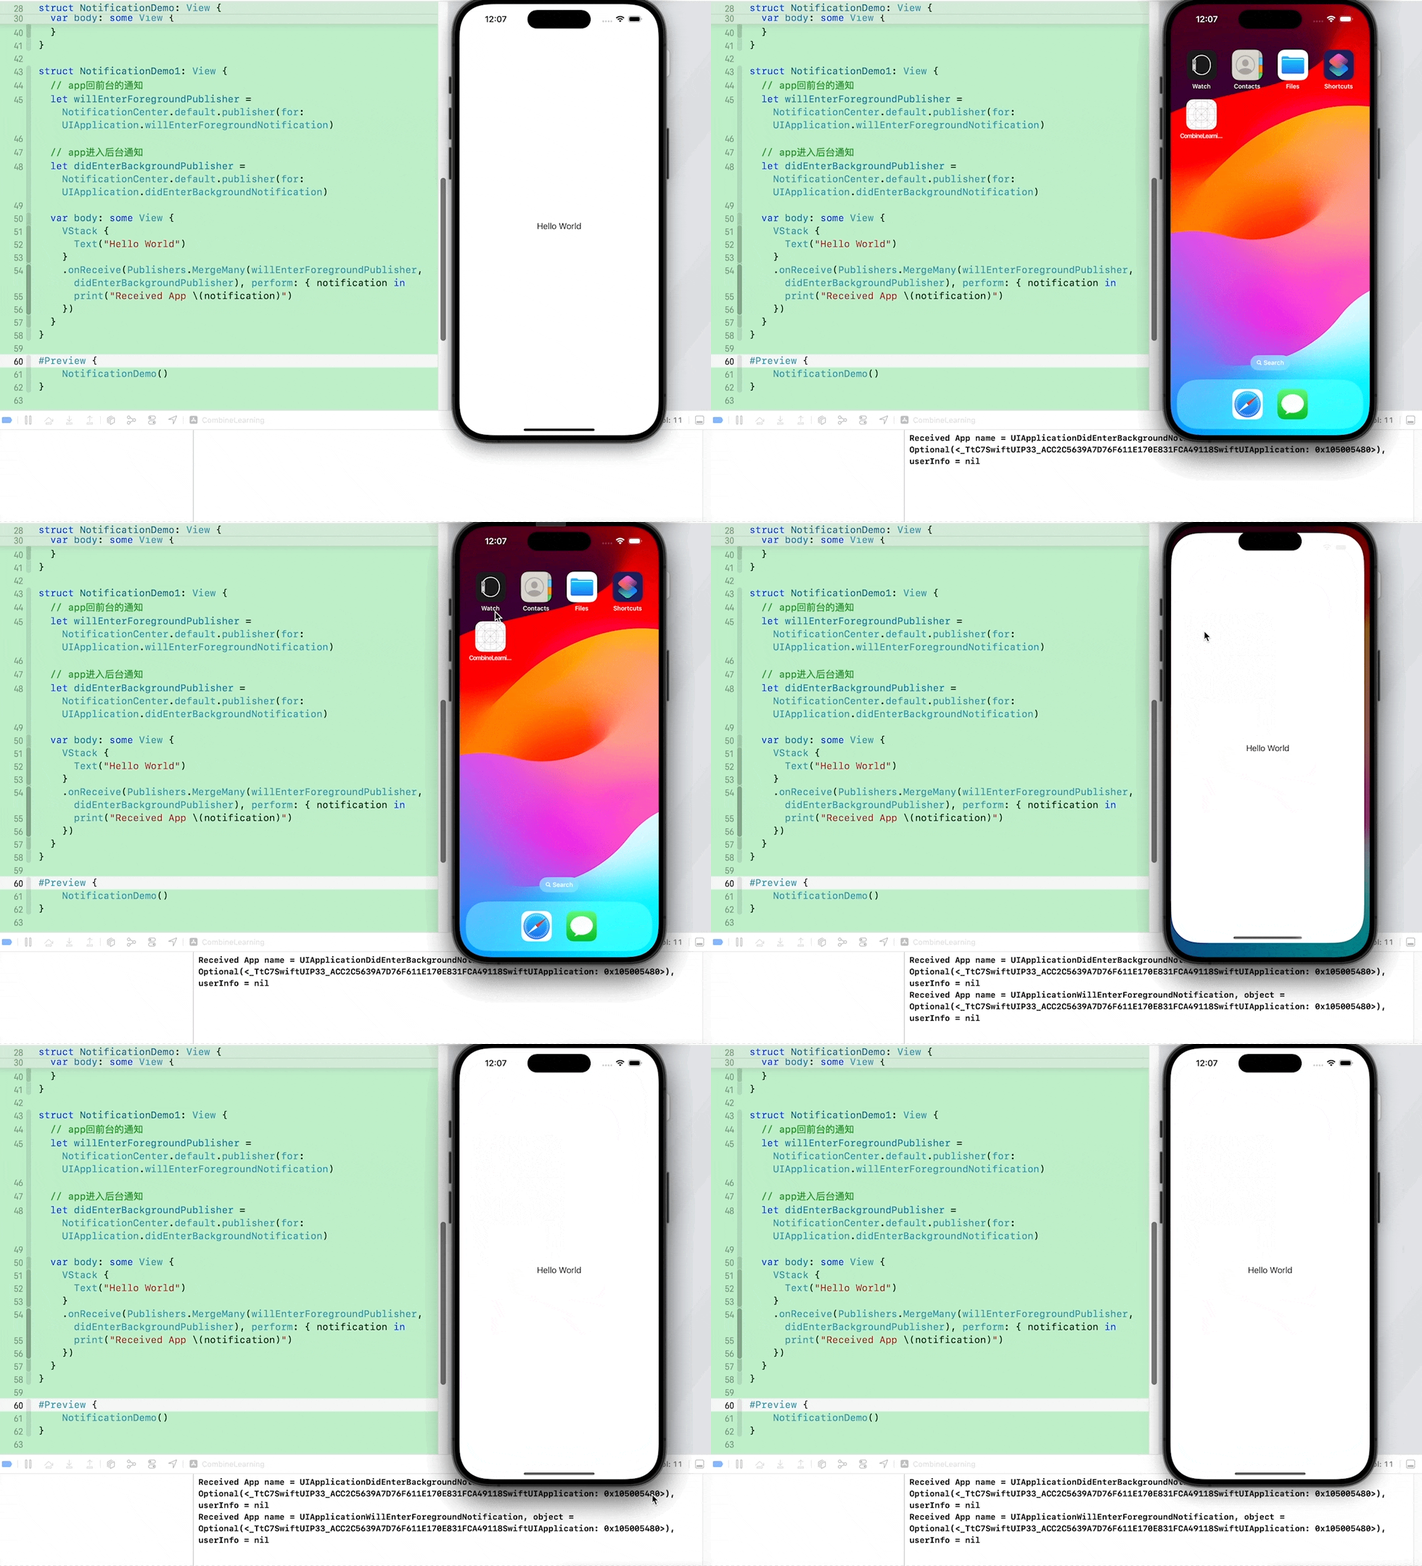
})这样在App从后台回前台的时候就触发了这个通知,onReceive的闭包中的打印就会输出。
完整代码如下:
swift
struct NotificationDemo1: View {
  // app回前台的通知
  let willEnterForegroundPublisher = NotificationCenter.default.publisher(for: UIApplication.willEnterForegroundNotification)

  var body: some View {
    VStack {
      Text("Hello World")
    }
    .onReceive(willEnterForegroundPublisher, perform: { notification in
      print("Received App will enter foreground notification")
    })
  }
}如果想在这个界面添加多个通知,那是不是要加多个onReceive方法呢?也可以不是的,比如像这样:
swift
.onReceive(Publishers.MergeMany(willEnterForegroundPublisher, didEnterBackgroundPublisher), perform: { notification in
  print("Received App \(notification)")
})可以通过Publishers.MergeMany方法将多个Publisher合并,然后在一个回调中处理收到通知事件。
swift
struct NotificationDemo1: View {
  // app回前台的通知
  let willEnterForegroundPublisher = NotificationCenter.default.publisher(for: UIApplication.willEnterForegroundNotification)

  // app进入后台通知
  let didEnterBackgroundPublisher = NotificationCenter.default.publisher(for: UIApplication.didEnterBackgroundNotification)

  var body: some View {
    VStack {
      Text("Hello World")
    }
    .onReceive(Publishers.MergeMany(willEnterForegroundPublisher, didEnterBackgroundPublisher), perform: { notification in
      print("Received App \(notification)")
    })
  }
}
URLSession Publisher
在Swift的Combine框架中,URLSession.DataTaskPublisher提供了一种方便的方式来执行网络请求并处理返回的数据。
首先创建一个Publisher:
swift
// 创建一个网络请求Publisher
let url = URL(string: "https://......")!
let request = URLRequest(url: url)
let dataTaskPublisher = URLSession.shared.dataTaskPublisher(for: request)接下来,我们可以订阅这个Publisher,并处理接收到的数据和错误。
swift
// 订阅网络请求
let cancellable = dataTaskPublisher
    .map(\.data) // 提取返回的数据
    .decode(type: MyResponse.self, decoder: JSONDecoder()) // 解码数据为自定义类型
    .receive(on: DispatchQueue.main) // 切换到主线程处理结果
    .sink(receiveCompletion: { completion in
        switch completion {
        case .finished:
            print("Request completed successfully")
        case .failure(let error):
            print("Request failed with error: \(error)")
        }
    }, receiveValue: { response in
        print("Received response: \(response)")
    })
在 dataTaskPublisher 发送一个新的事件值时,我们将其中的 Data 通过 map 的方式提取出来,并交给 decode 这个 Operator 进行处理。decode 要求上游 Publisher 的 Output 类型是 Data,它会使用参数中接受的 decoder (本例中是 MyResponse) 来对上游数据进行解析,生成对应类型的实例,并作为新的 Publisher 事件发布出去。然后切换到主线程处理结果,包括刷新UI等等。
把上面的代码优化一下,具体化一下,实现一个真实的网络请求示例:
swift
import SwiftUI
import Combine
import Foundation

struct Photo: Identifiable, Decodable {
  let id: Int
  let albumId: Int
  let title: String
  let url: String
  let thumbnailUrl: String
}

class URLSessionViewModel: ObservableObject {
  private var cancellable = Set<AnyCancellable>()
  @Published var photos: [Photo] = []
  @Published var isFetching: Bool = false

  func fetchPhotoData() {
    guard let url = URL(string: "https://jsonplaceholder.typicode.com/photos") else {
      return
    }
    isFetching = true
    let request = URLRequest(url: url)
    URLSession.shared.dataTaskPublisher(for: request)
      .map(\.data)
      .decode(type: [Photo].self, decoder: JSONDecoder())
      .receive(on: DispatchQueue.main)
      .sink { completion in
        switch completion {
          case .finished:
            print("Request completed successfully")
          case .failure(let error):
            print("Request failed with error: \(error)")
          }
      } receiveValue: { photos in
        print("Received response: \(photos)")
        self.isFetching = false
        self.photos = photos
      }
      .store(in: &cancellable)
  }
}

struct URLSessionDemo: View {
  @StateObject private var viewModel = URLSessionViewModel()

  var body: some View {
    VStack {
      if viewModel.photos.isEmpty {
        if viewModel.isFetching {
          ProgressView()
        } else {
          Button("Fetch photos data") {
            viewModel.fetchPhotoData()
          }
          .buttonStyle(BorderedProminentButtonStyle())
        }
      } else {
        List(viewModel.photos) { photo in
          PhotoView(photo: photo)
        }
        .listStyle(PlainListStyle())
      }
    }
  }
}

struct PhotoView: View {
  let photo: Photo

  var body: some View {
    HStack(spacing: 16) {
      AsyncImage(url: URL(string: photo.thumbnailUrl)) { image in
        image
          .resizable()
          .aspectRatio(contentMode: .fill)
      } placeholder: {
        Rectangle()
          .fill(Color.gray.opacity(0.3))
      }
      .frame(width: 80, height: 80)

      VStack {
        Text(String(photo.id))
          .font(.title)
          .frame(maxWidth: .infinity, alignment: .leading)

        Text(photo.title)
          .font(.headline)
          .frame(maxWidth: .infinity, alignment: .leading)
          .multilineTextAlignment(.leading)
          .lineLimit(2)
      }
    }
  }
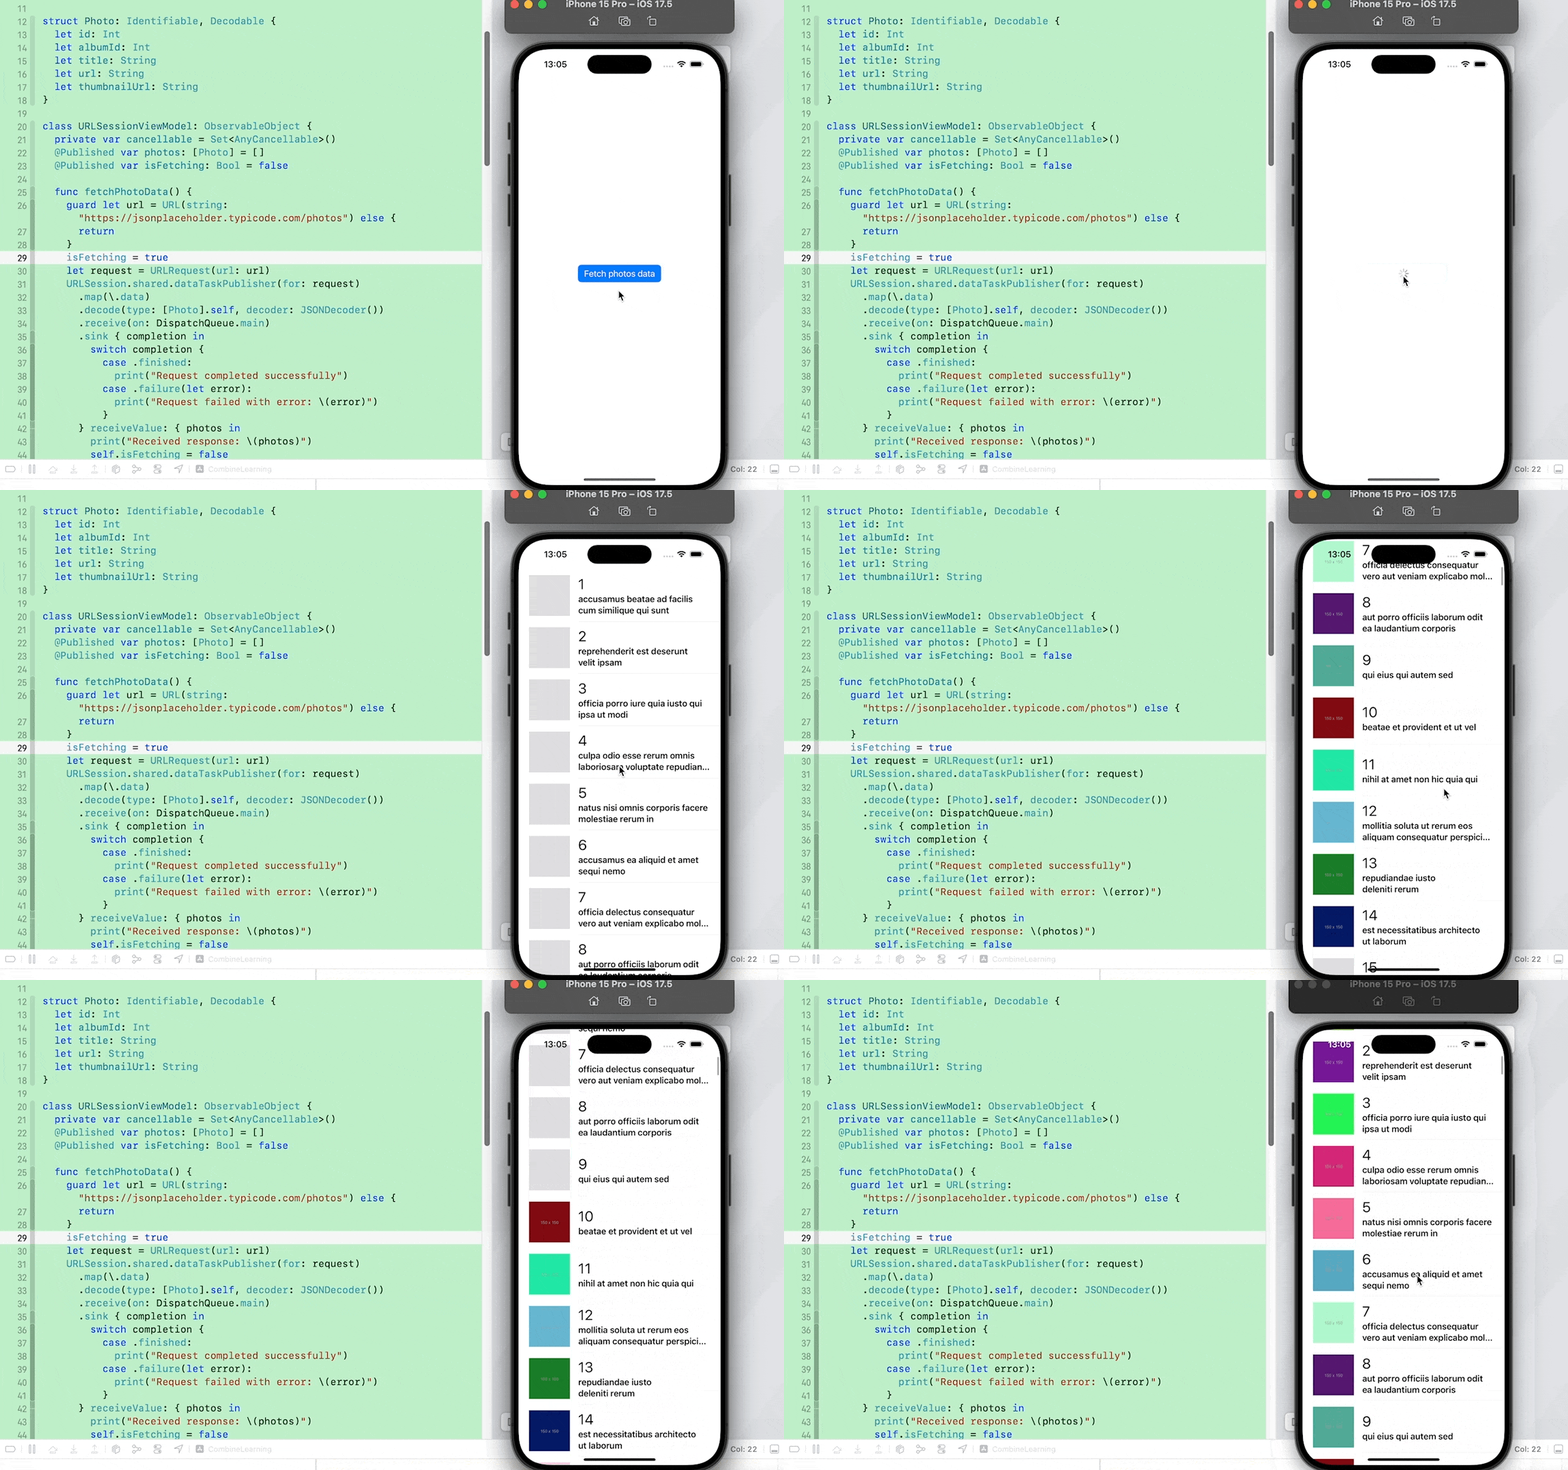
}上面代码中定义了一个Photo类型的数据,代码中采用了URLSession Publisher的方式请求数据,并在SwiftUI上显示,效果如下:

Timer Publisher
Timer 类型也提供了一个方法,来创建一个按照一定间隔发送事件的 Publisher。之前有一篇文章已经详细介绍过了,详见:SwiftUI中结合使用Timer和onReceive
写在最后
本文主要介绍了Combine中Notification、URLSession Publisher的使用,尤其是配合SwiftUI界面的使用。不管是Notification还是URLSession都大大简化了代码,将代码流程集中化,实现了链式处理方式。
最后,希望能够帮助到有需要的朋友,如果觉得有帮助,还望点个赞,添加个关注,笔者也会不断地努力,写出更多更好用的文章。