大家好我是牛牛,一名软件开发从业者,无意中接触到了鸿蒙移动端开发,对鸿蒙操作系统产生了极大的兴趣,作者将从无到有开发出一款鸿蒙原生APP。每天写一篇关于鸿蒙开发的技术文章。欢迎大家踊跃订阅➕关注,文章中有什么不妥之处可以在评论区中指出。
注意:最好是有开发经验的伙伴来阅读系列文章。零基础的同学可以先去了解一下TypeScript从最基本的开发语言进行学起
前言
上一章节《一百天挑战学会HarmanyOS------组件的样式》中介绍了ArkUI 中组件的样式的使用,让我们在应用程序开发中更好的控制组件的样式。如果没有查看到这一章节内容的同学可以先去了解并且实操一下上一章节的内容。有什么疑问的地方大家可以在评论区留言。
本章介绍
本章节主要介绍ArkUI 中图片资源访问的相关知识点。在之前的章节中,我们也是用过资源图片的访问,但是没有具体的说明,这些内容将在这一章节中展开。
图片资源的访问
项目开发中离不开图片,那么在 HarmanyOS 开发当中我们怎么去在应用程序中渲染图片呢?
使用 Image/ImageSpan/动画图片 组件
Image为图片组件,常用用于在应用中显示图片, Image 支持加载 String,PixelMap和Resource类型的数据源,支持 png,jpg,bmp,svg 和 gif 类型图片格式。那么使用 Image 组件的时候支持去访问图片资源呢?
使用本地图片
- 我们在项目的
ets目录下新建一个新的目录assets, 把一张本地图片放入assets目录下。
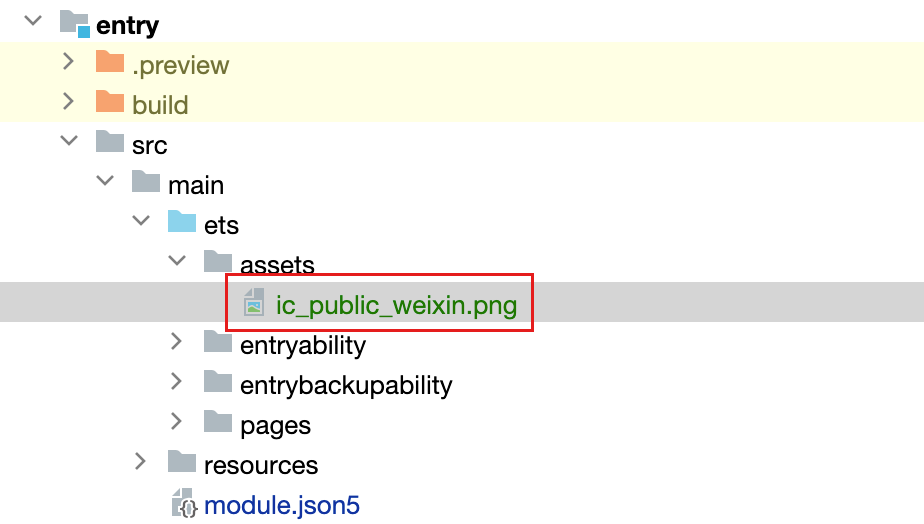
- 使用 Image 组件进行图片的访问
typescript
@Entry
@Component
struct ImageCasePage {
build() {
Column() {
// 使用 Image 组件本地项目资源访问
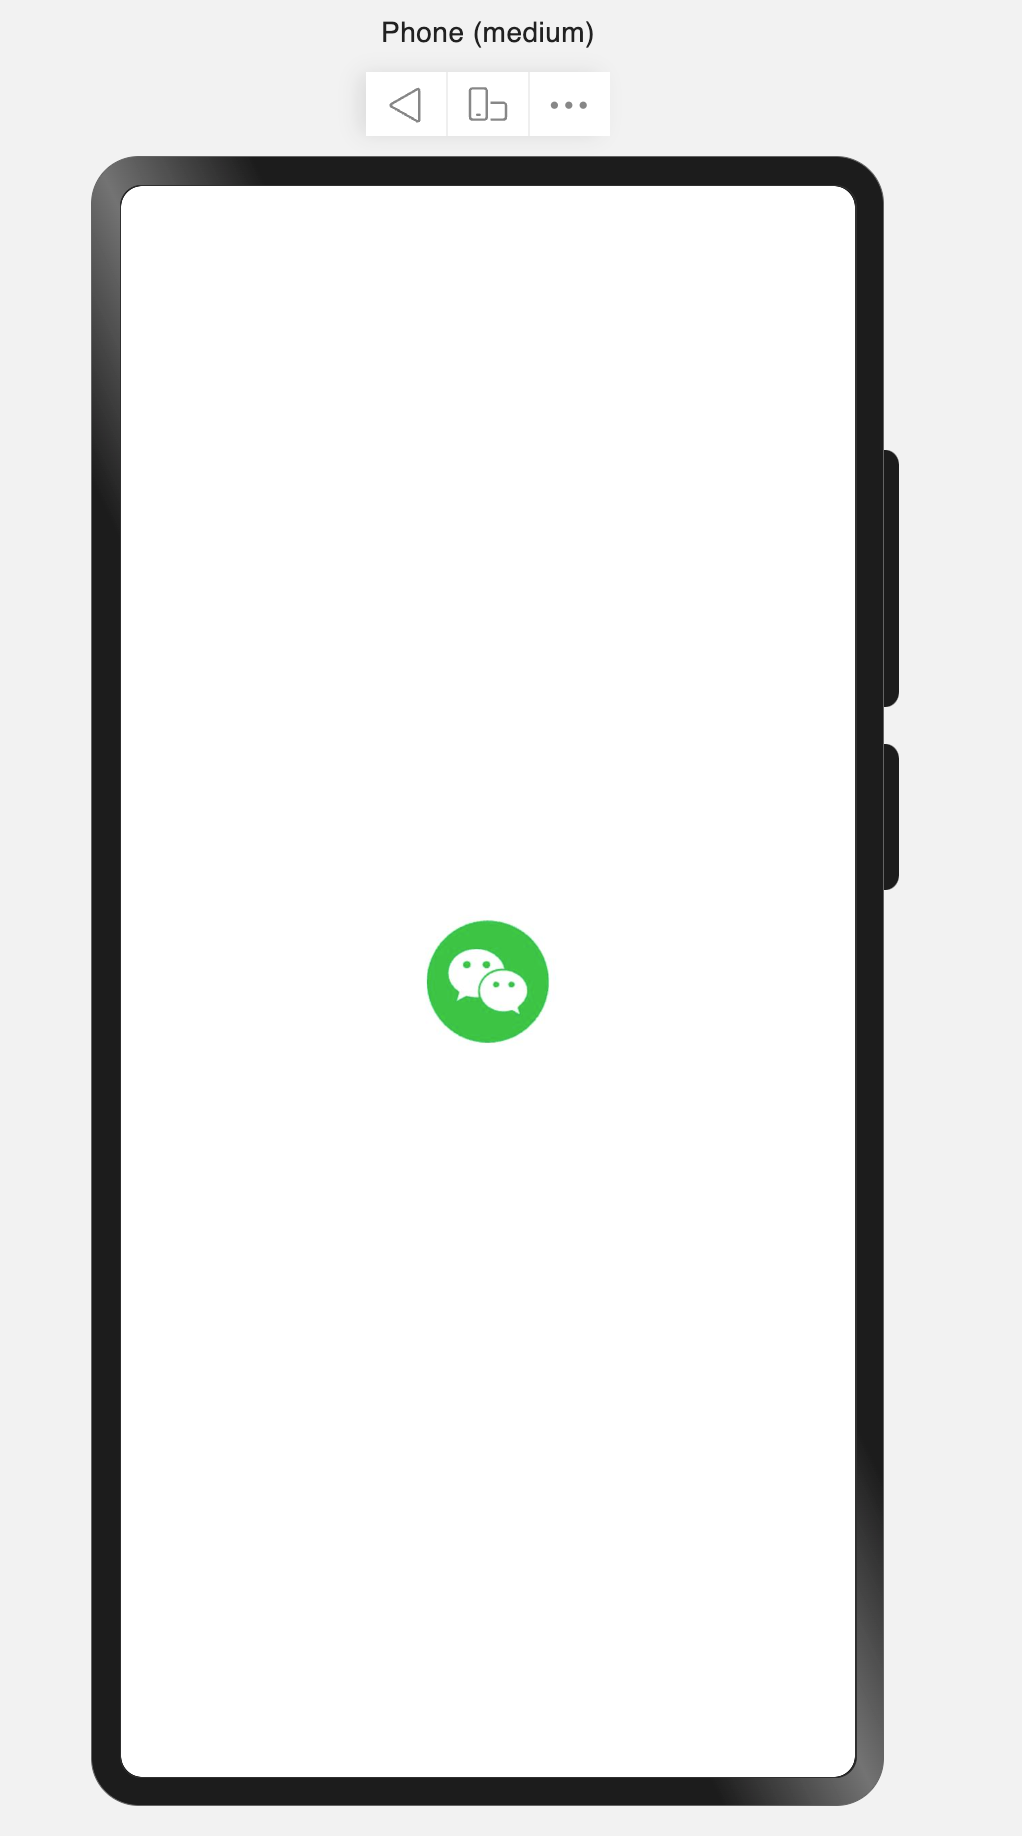
Image('/assets/ic_public_weixin.png').width(60).aspectRatio(1)
}
.justifyContent(FlexAlign.Center)
.height('100%')
.width('100%')
}
}- 效果
注意:在使用图片时,官方推荐的命名方式为 以
ic_public_为前缀➕图片名称的命名方式。
使用 Resource 下的图片
- media
- 在项目路径的
resources -> base -> media的文件夹放置一张图片
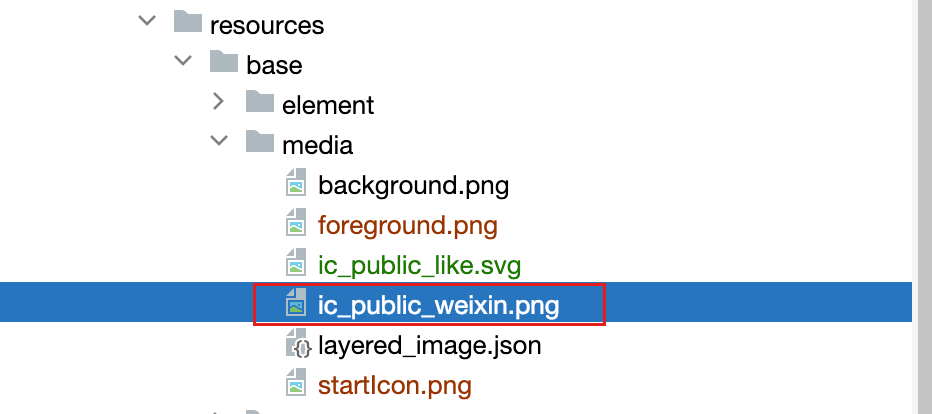
- 在 Image 组件中使用
$r()语法对 项目resources 中的图片资源进行访问。
$r('app.media.ic_public_weixin')
typescript
@Entry
@Component
struct ImageCasePage {
  build() {
    Column() {
      //  使用 Image 组件本地项目资源访问
      Image($r('app.media.ic_public_weixin')).width(60).aspectRatio(1)
    }
    .justifyContent(FlexAlign.Center)
    .height('100%')
    .width('100%')
  }
}- 效果

在上述代码中
app.media代表着访问项目的resources -> base -> media目录下的资源文件。
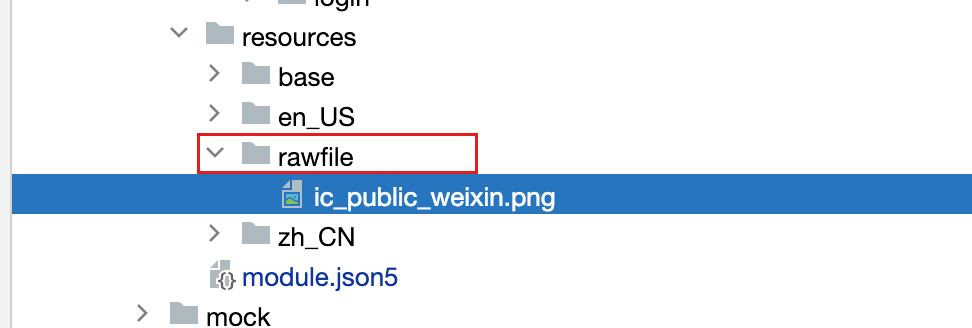
- rawfile
- 在项目还可以把资源文件放置在
resources ->rawfile文件夹下
-
在
Image组件中使用$rawfile()语法进行资源的访问。$rawfile('ic_public_weixin.png')
typescript
@Entry
@Component
struct ImageCasePage {
  build() {
    Column() {
      //  使用 Image 组件本地项目资源访问
      Image($rawfile('ic_public_weixin.png')).width(60).aspectRatio(1)
    }
    .justifyContent(FlexAlign.Center)
    .height('100%')
    .width('100%')
  }
}- 效果

使用网络图片
- 在
Image组件中还可以传入网络图片的地址
准备一张在线图片:nnbucket.oss-cn-beijing.aliyuncs.com/20240706131...

- 代码实现
Image("https://nnbucket.oss-cn-beijing.aliyuncs.com/202407061313532.jpg")
typescript
@Entry
@Component
struct ImageCasePage {
build() {
Column() {
// 使用 Image 组件本地项目资源访问
Image("https://nnbucket.oss-cn-beijing.aliyuncs.com/202407061313532.jpg").width(200)
}
.justifyContent(FlexAlign.Center)
.height('100%')
.width('100%')
}
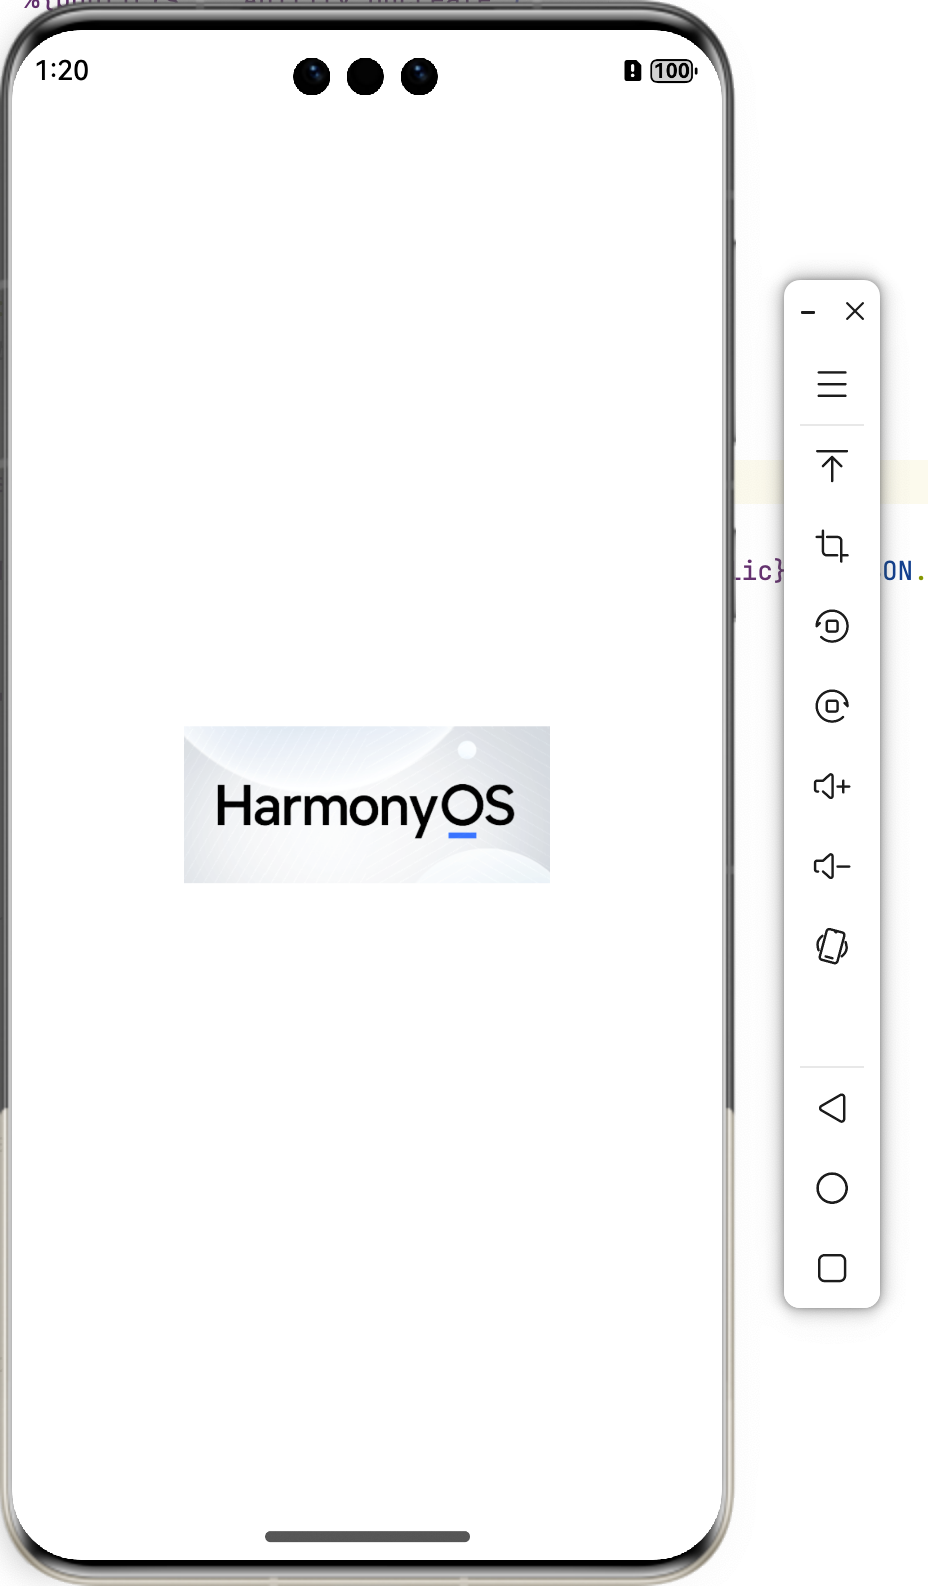
}注意: 在使用网络资源时,在代码预览中是可以直接查看预览的,但是在真机或者模拟器当中,需要为项目开通网络权限才能对图片的访问。
- 开通项目网络权限
在项目的entry/src/main/module.json5 文件中配置以下配置

json
"requestPermissions": [{
      "name":"ohos.permission.INTERNET"
}],- 调试器演示

- 模拟器演示
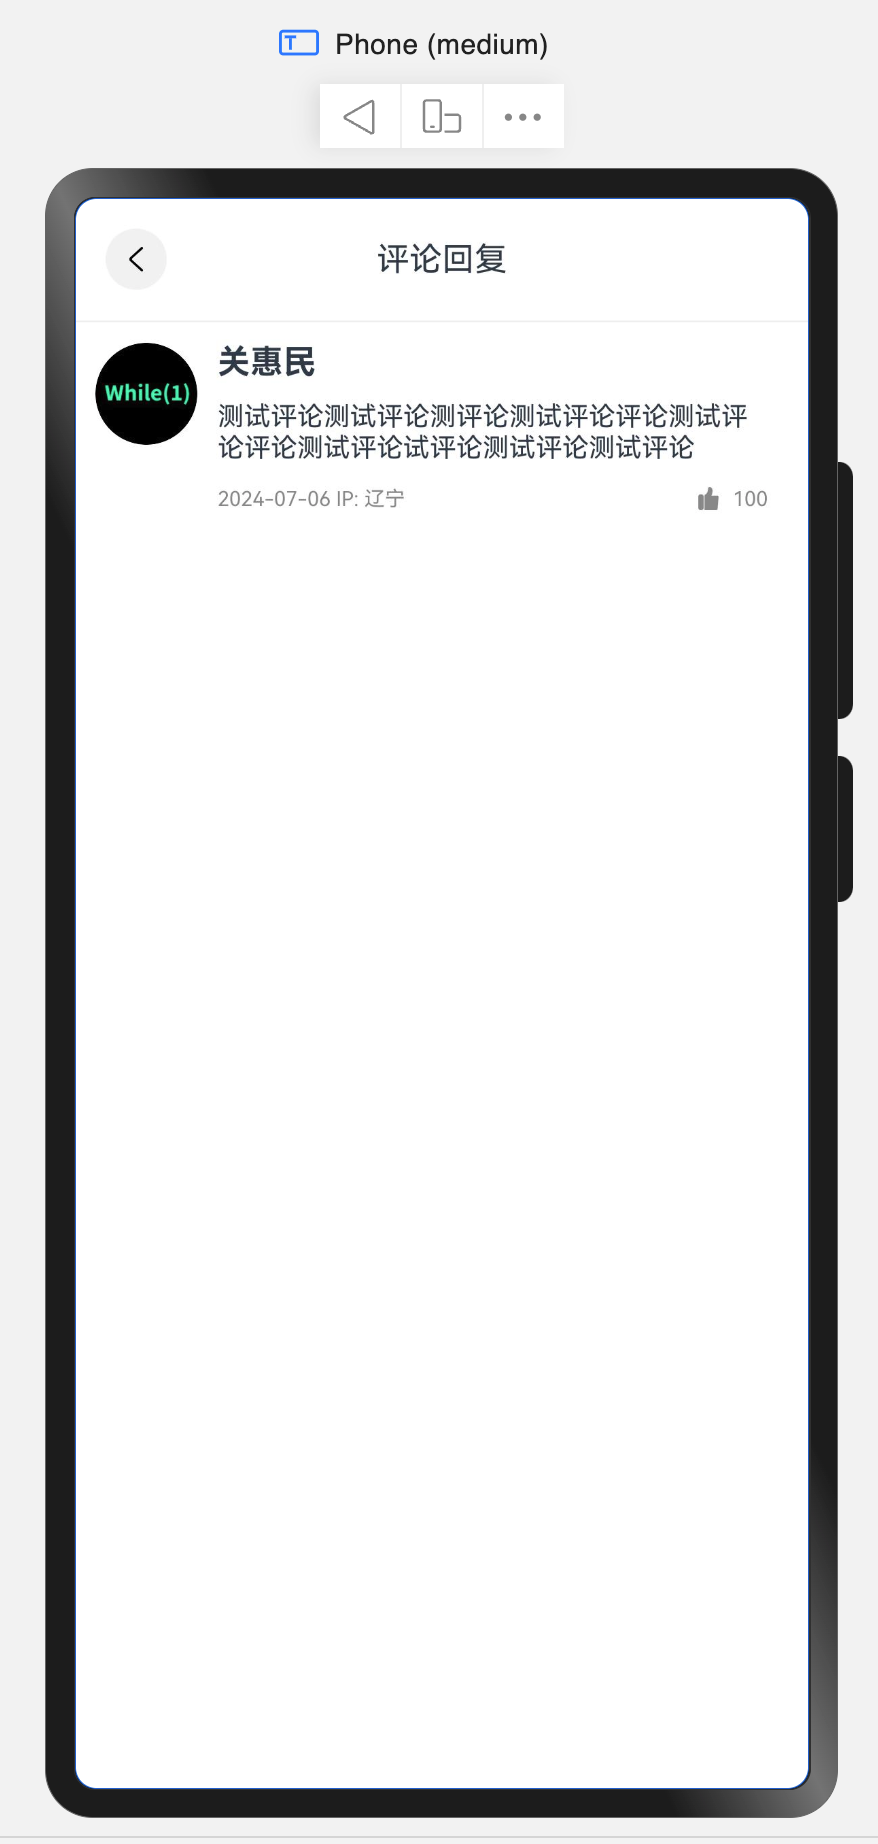
案例演示
下面让我们简单的实现一个评论回复页面。
实现以下效果:

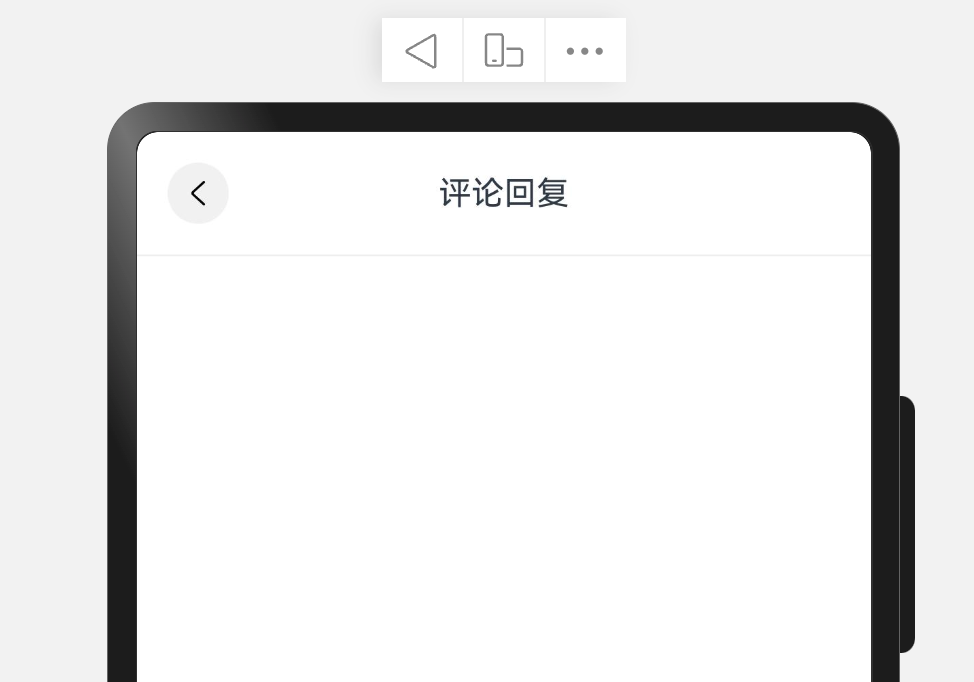
定义 Header 内容
这里简单的封装一个 CommentCaseHeader 组件用于 Header 的展示。其中 Header 的标题,使用titleText属性进行对外公开的属性。方便可以随便更改 Header 的标题。使用Image($r('sys.media.ohos_ic_compnent_titlebar_back'))进行返回图标的访问与显示。使用上一章内容所学的多态样式stateStyles给返回按钮一个返回压下的效果. 使用 Text组件给 Header 组件设置标题,再对整体样式做一下调优。
typescript
@Component
struct CommentCaseHeader {
  titleText: string = "评论回复";
  build() {
    // 导航栏
    Row() {
      // 图标
      Image($r('sys.media.ohos_ic_compnent_titlebar_back'))
        .width(30)
        .aspectRatio(1)
        .backgroundColor("#fff1f1f1")
        .borderRadius(15)
        .padding(6)
        .stateStyles({
          pressed: {
            .backgroundColor("#ffe3e3e3")
          }
        })
      // 标题
      Text(this.titleText)
        .layoutWeight(1)
        .textAlign(TextAlign.Center)
      // 使用空元素占位
      Blank()
        .width(30)
        .aspectRatio(1)
    }
    .border({
      width: {
        bottom: 1
      },
      color: "#fff1f1f1"
    })
    .padding(15)
    .width('100%')
  }
}
效果:
定义评论内容
同样我们可以把整个评论当做一个组件进行组件的抽取,在真实开发中,现在组件里面的内容可能还需要更详细的抽取。我们这里使用Image 组件进行评论区头像的显示。使用一个竖向布局进行评论区,名称,评论,时间,点赞数的显示。其中 Image 组件中有一个.fillColor("#ff888888")的属性方法,这个属性方法与backgroundColor 设置的内容是不一样的,fillColor更多用于svg图片颜色的填充,backgroundColor是更改整个图片 区域背景颜色。两者用法不同需要注意。
typescript
@Component
struct CommentCaseContent {
  build() {
    Row() {
      Image("https://foruda.gitee.com/avatar/1677053546945968437/5456947_javacse_1635487318.png")
        .width(50)
        .borderRadius(25)
      Column({ space: 10 }) {
        Text('关惠民').fontSize(16).fontWeight(FontWeight.Bold)
        Text('测试评论测试评论测评论测试评论评论测试评论评论测试评论试评论测试评论测试评论').fontSize(13)
        Row() {
          Text('2024-07-06 IP: 辽宁').fontSize(10).fontColor("#ff888888")
          Row({space:5}) {
            Image($r('app.media.ic_public_like'))
              .width(14)
              .aspectRatio(1)
              .fillColor("#ff888888")
            Text('100').fontSize(10).fontColor("#ff888888")
          }
        }
        .justifyContent(FlexAlign.SpaceBetween)
        .width('100%')
      }
      .padding({
        left:10,
        right:10
      })
      .alignItems(HorizontalAlign.Start)
      .layoutWeight(1)
    }
    .alignItems(VerticalAlign.Top)
    .padding(10)
    .width('100%')

  }
}
效果:

完整示例
typescript
@Entry
@Component
struct CommentPage {

  build() {
    Column() {
      CommentCaseHeader({
        titleText: '评论回复'
      })
      CommentCaseContent()
    }
    .height('100%')
    .width('100%')
  }
}

@Component
struct CommentCaseHeader {
  titleText: string = "评论回复";
  build() {
    // 导航栏
    Row() {
      // 图标
      Image($r('sys.media.ohos_ic_compnent_titlebar_back'))
        .width(30)
        .aspectRatio(1)
        .backgroundColor("#fff1f1f1")
        .borderRadius(15)
        .padding(6)
        .stateStyles({
          pressed: {
            .backgroundColor("#ffe3e3e3")
          }
        })
      // 标题
      Text(this.titleText)
        .layoutWeight(1)
        .textAlign(TextAlign.Center)
      // 使用空元素占位
      Blank()
        .width(30)
        .aspectRatio(1)
    }
    .border({
      width: {
        bottom: 1
      },
      color: "#fff1f1f1"
    })
    .padding(15)
    .width('100%')
  }
}

@Component
struct CommentCaseContent {
  build() {
    Row() {
      Image("https://foruda.gitee.com/avatar/1677053546945968437/5456947_javacse_1635487318.png")
        .width(50)
        .borderRadius(25)
      Column({ space: 10 }) {
        Text('关惠民').fontSize(16).fontWeight(FontWeight.Bold)
        Text('测试评论测试评论测评论测试评论评论测试评论评论测试评论试评论测试评论测试评论').fontSize(13)
        Row() {
          Text('2024-07-06 IP: 辽宁').fontSize(10).fontColor("#ff888888")
          Row({space:5}) {
            Image($r('app.media.ic_public_like'))
              .width(14)
              .aspectRatio(1)
              .fillColor("#ff888888")
            Text('100').fontSize(10).fontColor("#ff888888")
          }
        }
        .justifyContent(FlexAlign.SpaceBetween)
        .width('100%')
      }
      .padding({
        left:10,
        right:10
      })
      .alignItems(HorizontalAlign.Start)
      .layoutWeight(1)
    }
    .alignItems(VerticalAlign.Top)
    .padding(10)
    .width('100%')

  }
}
演示:
这一期就到这里啦!为了方便大家我这一期代码放到git仓库上,建议大家动起手实操起来。 项目代码git, 下一期为大家介绍页面渲染中的条件渲染 与循环渲染。大家记着关注➕点赞➕收藏呦!