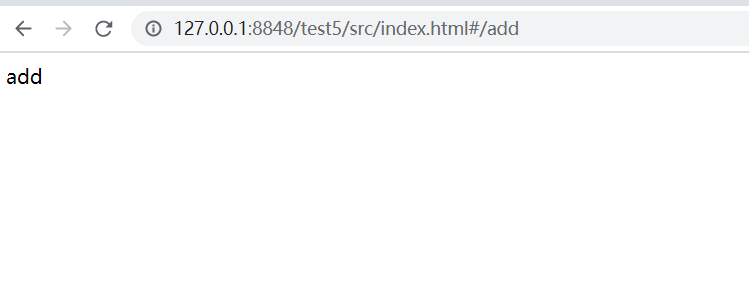
1.下载依赖:
npm install vue-router
在src目录下新建一个文件夹router,在router文件夹下新建一个文件router.js文件,在component目录下新建增加删除和修改的组件,引入router.js当中
此时的init组件为主页面((二、三)的app.vue),app.vue只用来写路由占位符
router.js:
javascript
import Vue from 'vue'
import Router from 'vue-router/dist/vue-router.js'
import init from '../components/init.vue'
import app from '../components/app.vue'
import add from '../components/add.vue'
import del from '../components/del.vue'
import update from '../components/update.vue'
//Vue对象挂载Router对象,所有的vue组件都能使用router当中的内容
Vue.use(Router);

export default new Router({
	routes: [
		{
			//访问根路径的时候重定向到init路径
			path: '/',
			redirect:'/init'
		},
		{
			path: '/init',
			component: init
		},
		{
			path: '/add',
			name:'add',
			component: add
		},
		{
			path: '/del',
			name:'del',
			component: del
		},
		{
			path: '/update',
			name:'update',
			component: update
		},
	]
})
index.js:
javascript
import Vue from 'vue'
import App from './components/App.vue'

import router from './router/router.js'

const vm = new Vue({
	el:'#app',
	render:h=>h(App),
	router:router
})
app.vue
javascript
<template>
	<div id="app">
		<router-view></router-view>
	</div>
</template>

<script>

</script>

<style scoped="scoped">

</style>
init.vue
javascript
<template>
	<div class="div1">
		<div class="div2">
			<div class="div21">学号</div>
			<div class="div21">姓名</div>
			<div class="div21">性别</div>
			<div class="div21">班级</div>
			<div class="div21"></div>
			<div class="div21"></div>
		</div>

		<div class="div3" v-for="item in people">
			<div class="div31">{{item.id}}</div>
			<div class="div31">{{item.name}}</div>
			<div class="div31">{{item.sex}}</div>
			<div class="div31">{{item.class}}</div>
			<div class="div31">
				<router-link to='/update'>更改</router-link>
			</div>
			<div class="div31">
				<button @click="del">删除</button>
			</div>
		</div>
		<div class="div4">
			<router-link to='/add'>增加</router-link>
		</div>
	</div>
</template>

<script>
	export default {
		data(){
			return{
				msg:'66',
				people:[

					]
			}
	    },
		mounted:function(){
			console.log('发送请求');
		    var xhr = new XMLHttpRequest();
		    xhr.open('POST','http://localhost:3000/init');
		    xhr.setRequestHeader('Content-Type','application/x-www-form-urlencoded');
		    xhr.send();
			var that = this;
		    xhr.onload = function(){

		    	that.people = JSON.parse(xhr.responseText);
		    }
		},
		methods:{

		}
	}
	console.log('结束')
	</script>
</script>

<style scoped="scoped">

	.div1{
		width: 800px;
		margin: auto;
		border: 1px solid transparent;

	}
	.div2{
		width: 100%;
		height: 50px;
		display: flex;

	}
	.div21{
		text-align: center;
		line-height: 50px;
		border: 1px solid aqua;
		flex: 1;
	}
	.div3{
		width: 100%;
		height: 50px;

		display: flex;
	}
	.div31{
		border: 1px solid aqua;
		text-align: center;
		line-height: 50px;
		flex: 1;
	}

</style>
页面效果:


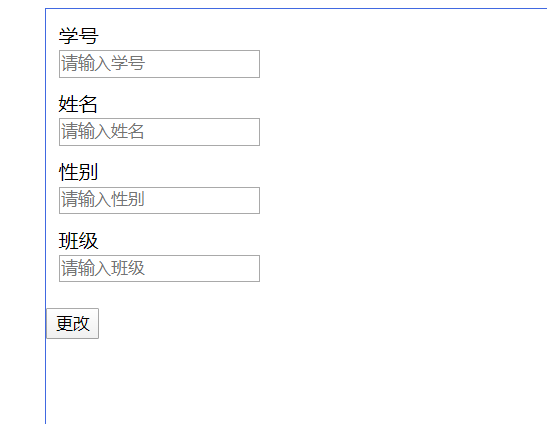
接下来完善一下增加、删除和更新的页面,源代码就不展示了,就是原生的HTML、css
