目录
windows下载安装pycharm

GPU租借网站
AutoDl
AutoDL:https://www.autodl.com/console/homepage/personal
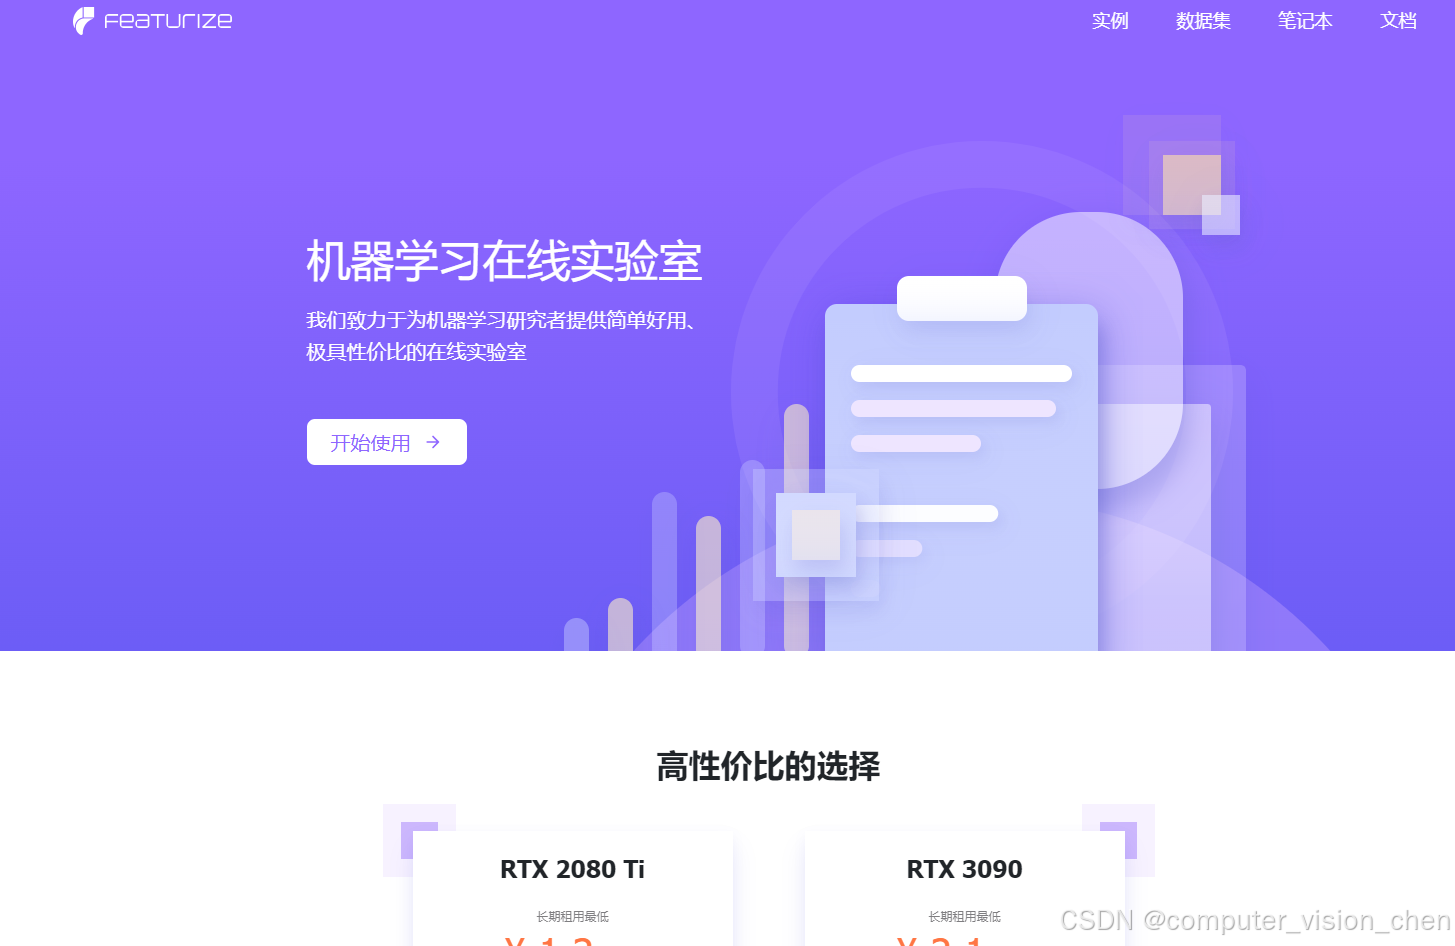
featurize
https://featurize.cn/vm/available
好易智算
好易智算:https://www.haoee.com/login
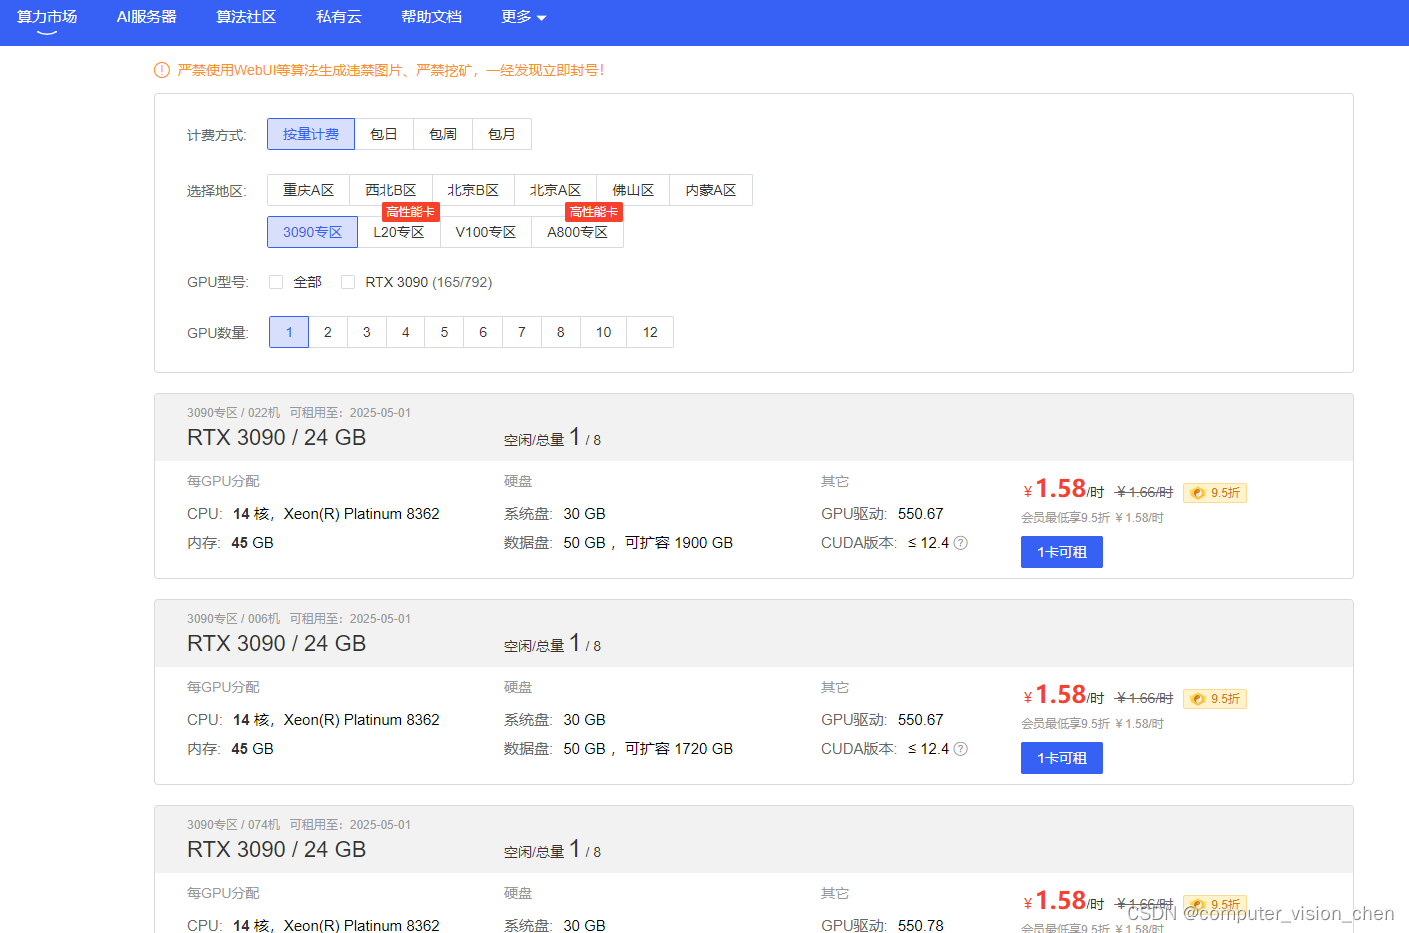
GPU租借
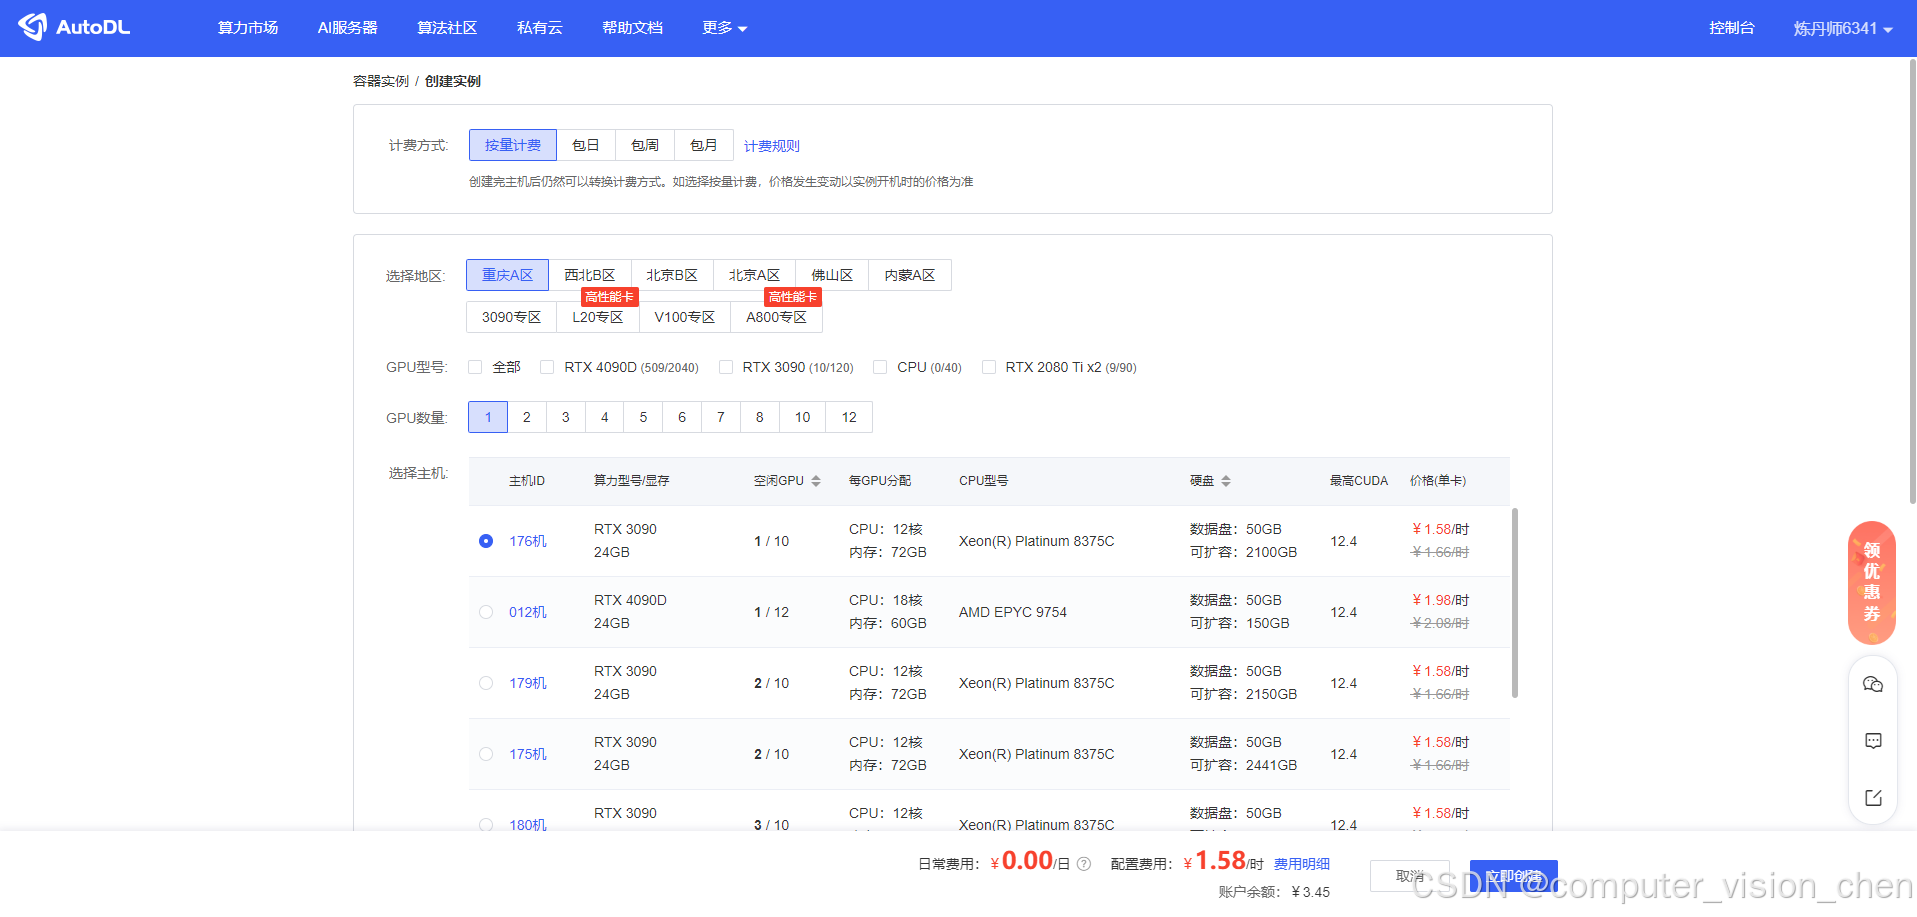
以autodl为例
GPU选择
https://www.autodl.com/market/list
选择一个点击立即租卡选择镜像
假如要用GPU跑yolov5模型,直接点击社区镜像、然后选择yolov5即可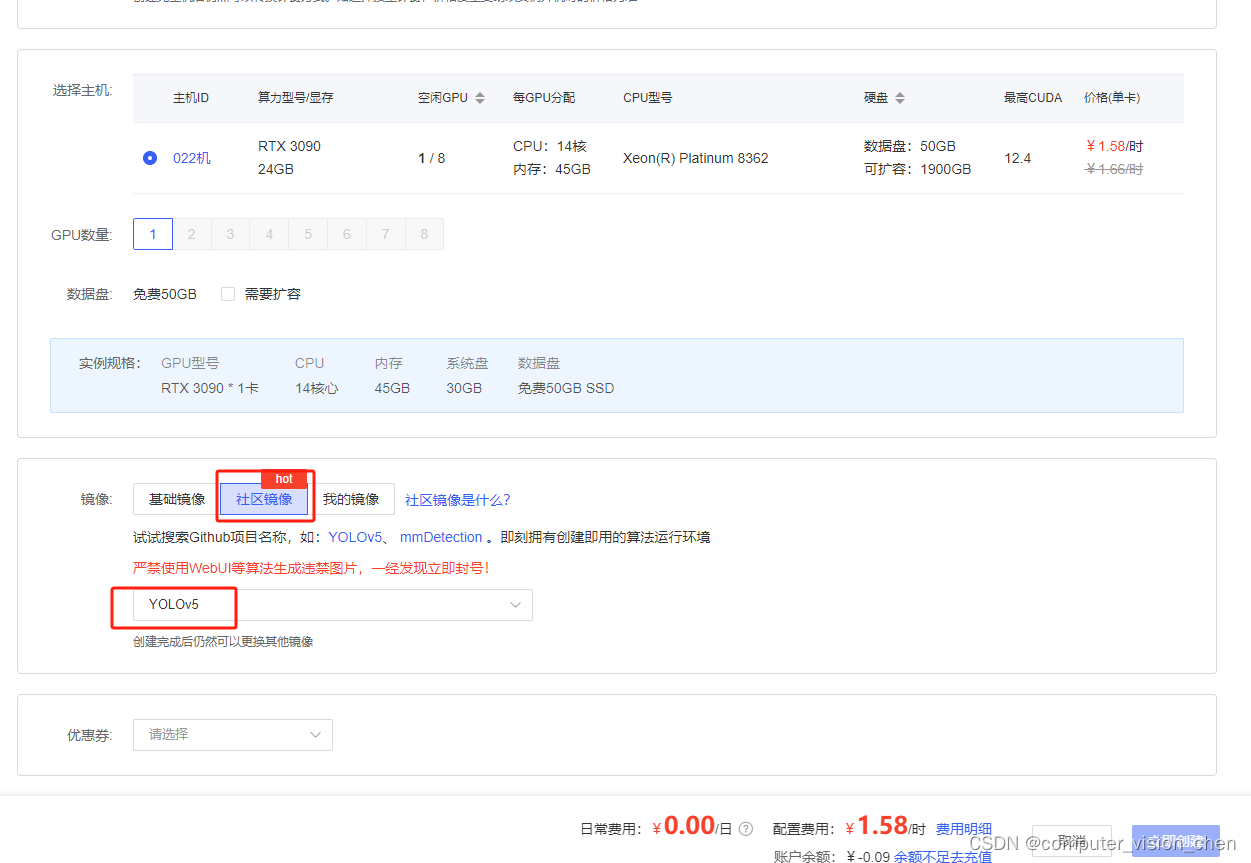
充值 然后创建镜像

创建成功 复制SSH登录信息 远程进入镜像

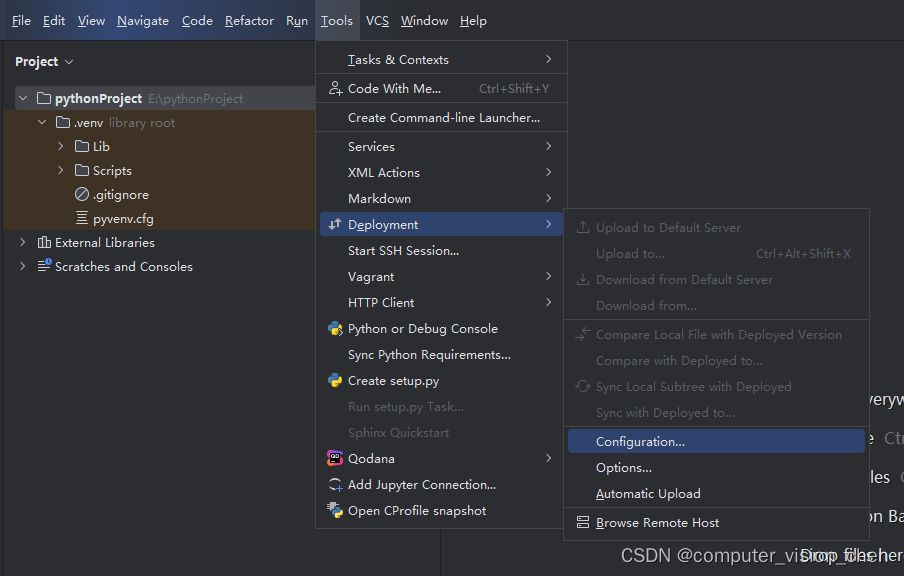
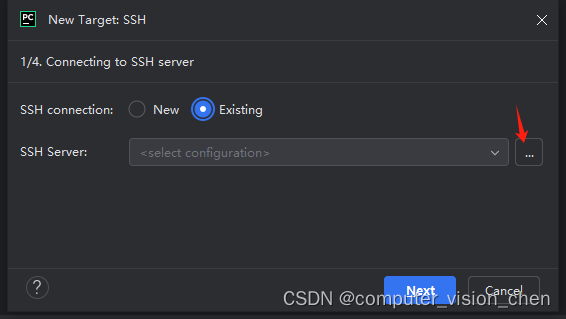
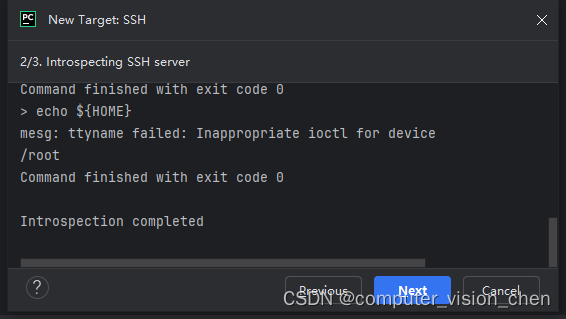
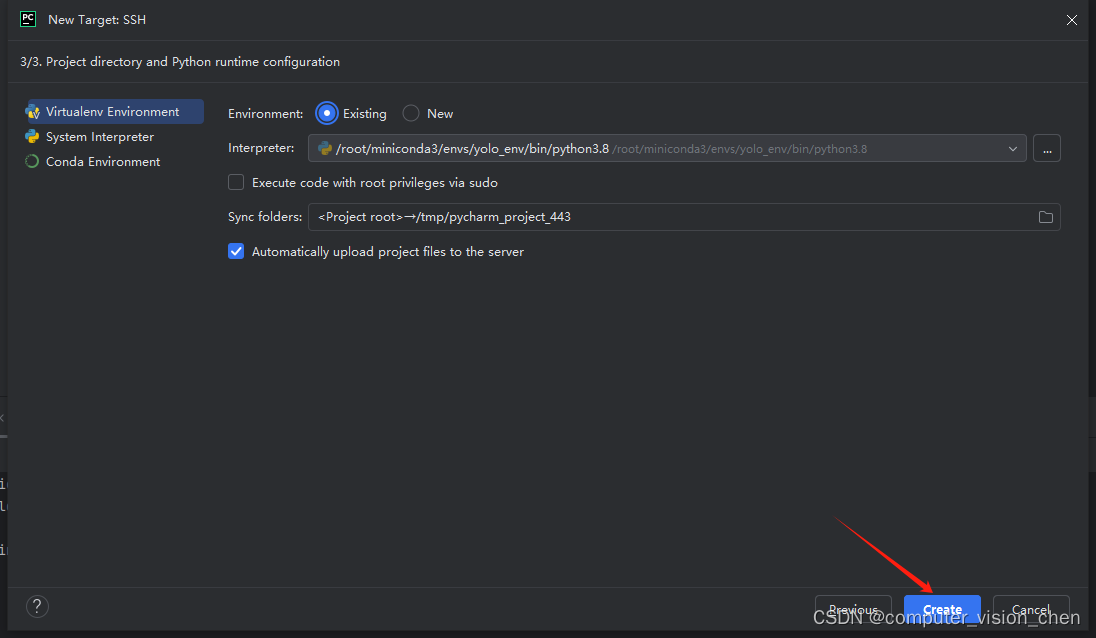
在Pycharm中进行ssh连接
新建SFTP
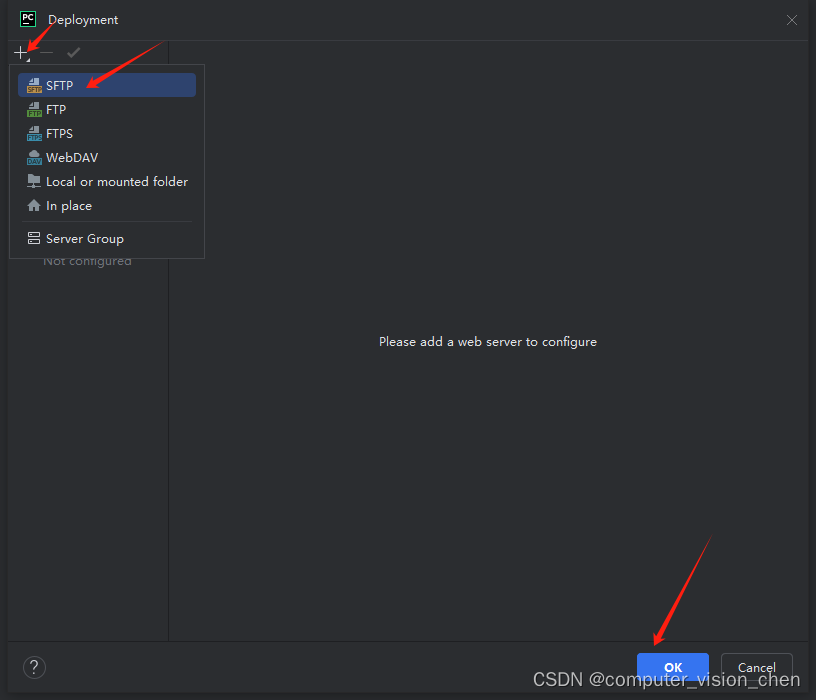
随便命个名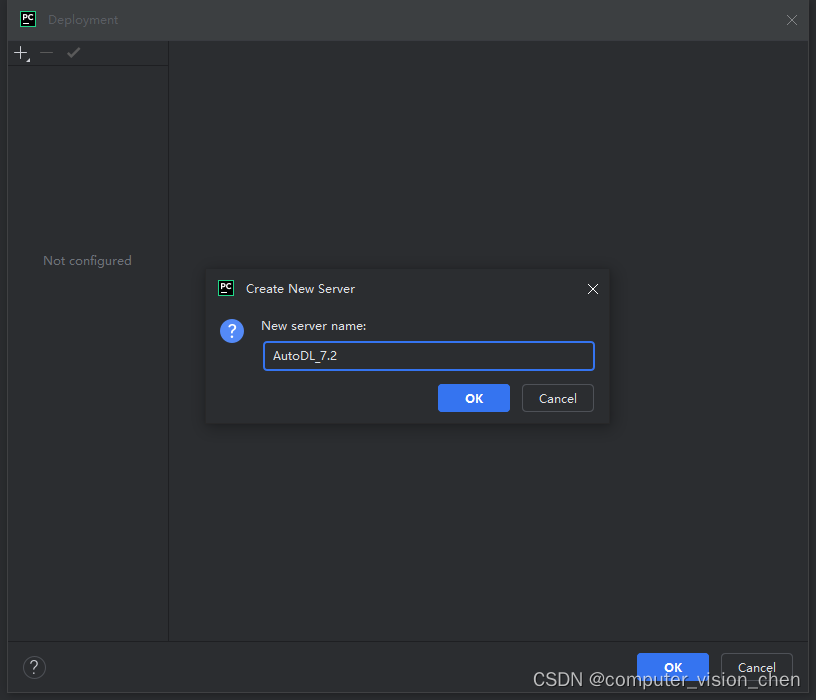
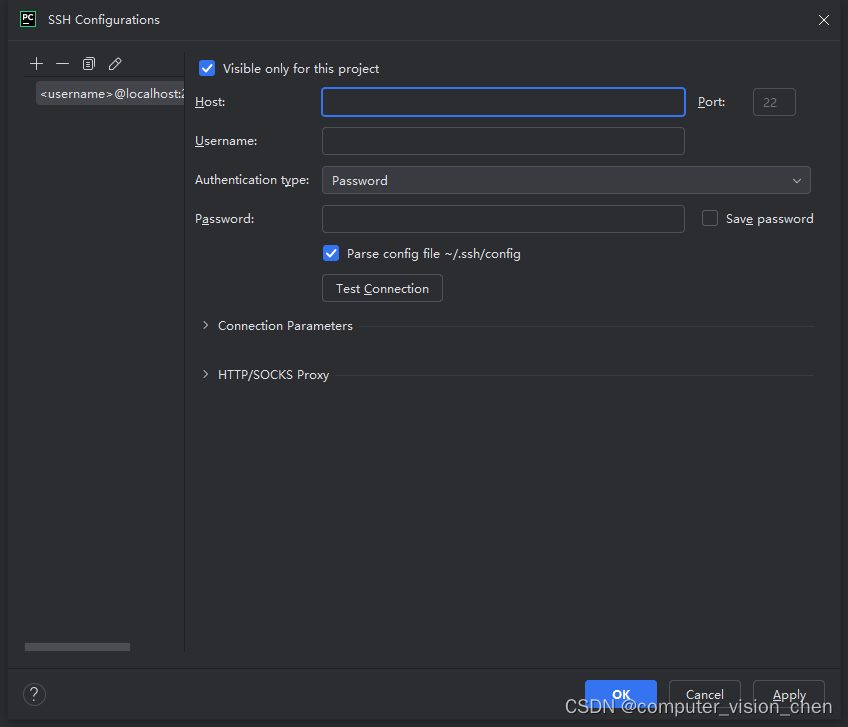
配置SSH
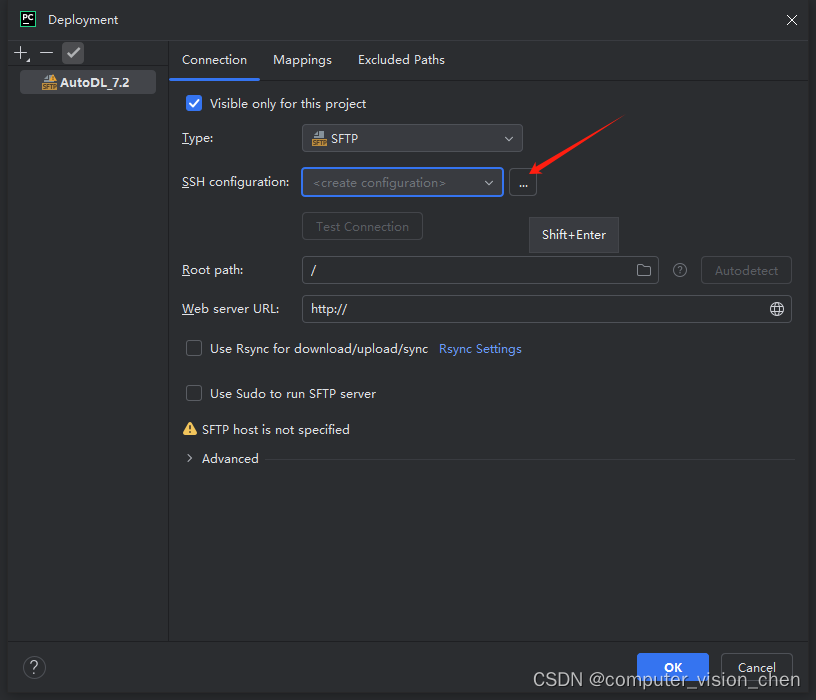
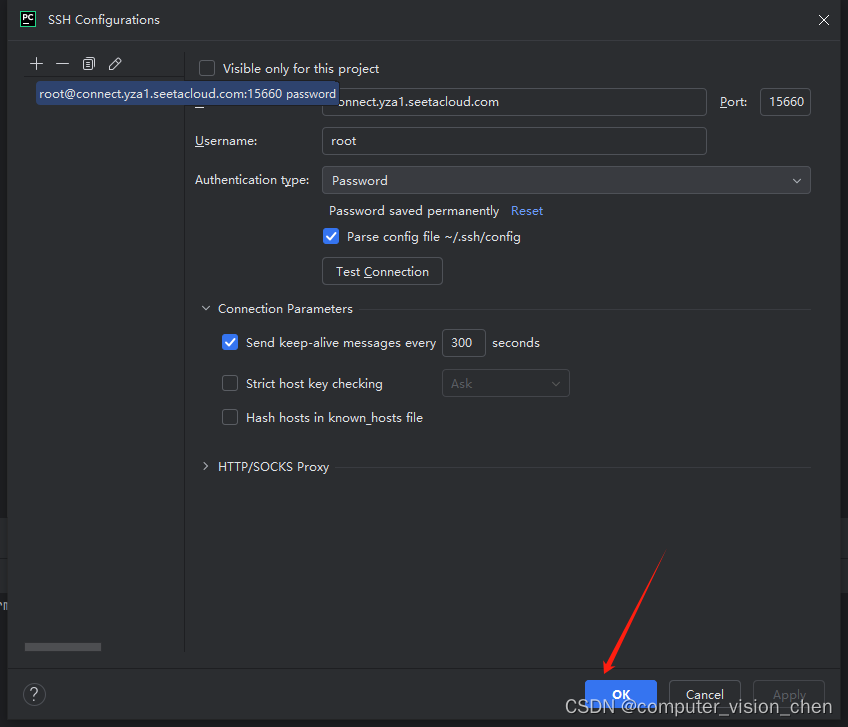
复制ssh

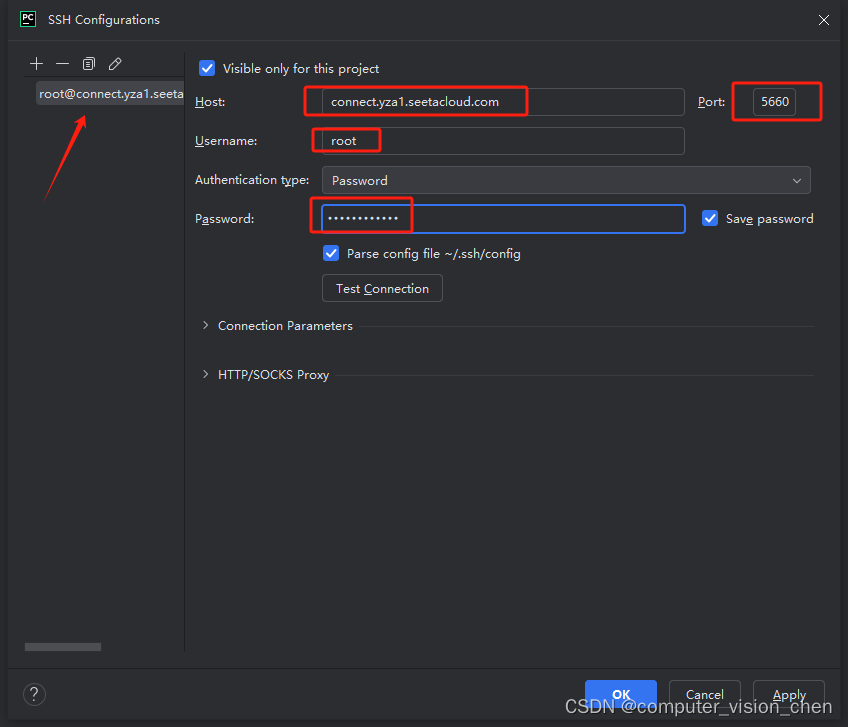
复制粘贴之后发现它的内容是:
ssh -p 15660 root@connect.yza1.seetacloud.com上面的命令中 -p是端口的意思
端口号:15660
用户名username: root
host: connect.yza1.seetacloud.com
根据复制的信息填写ssh配置
测试连接
点击测试连接 Test Connection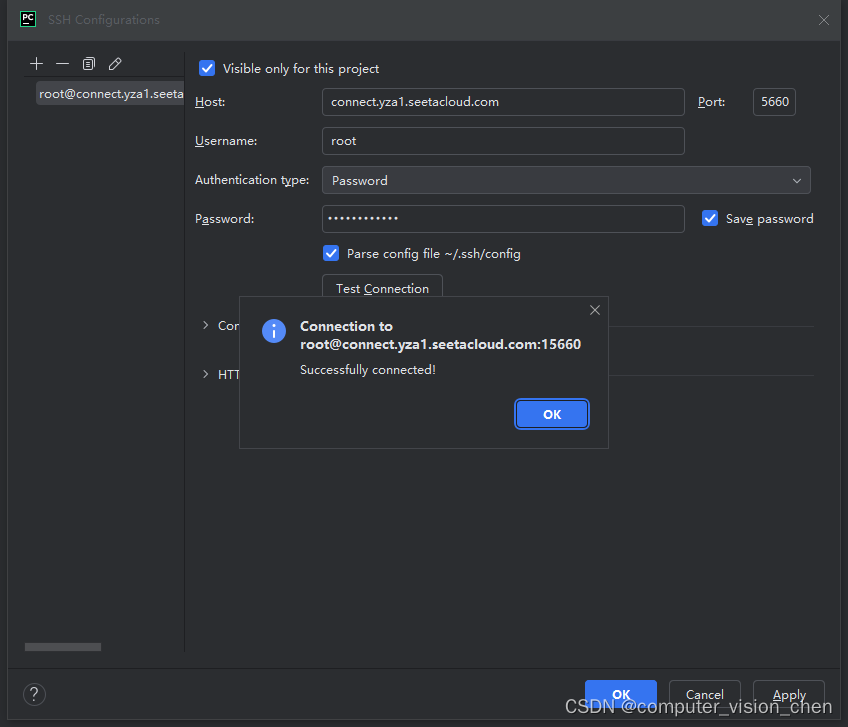
连接成功!
点击apply 然后点击ok
将代码同步到远程镜像上
设置mappings
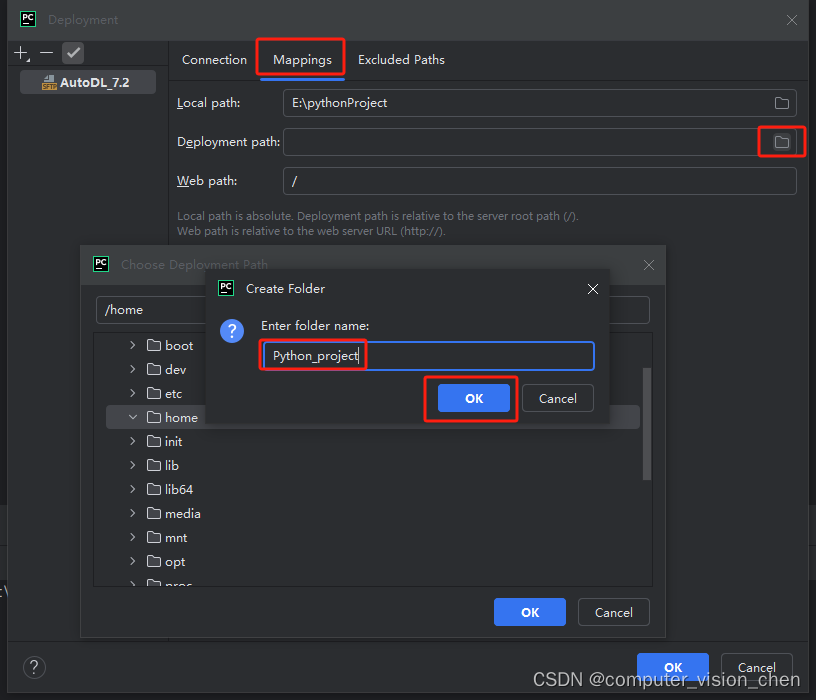
将本地代码上传到镜像
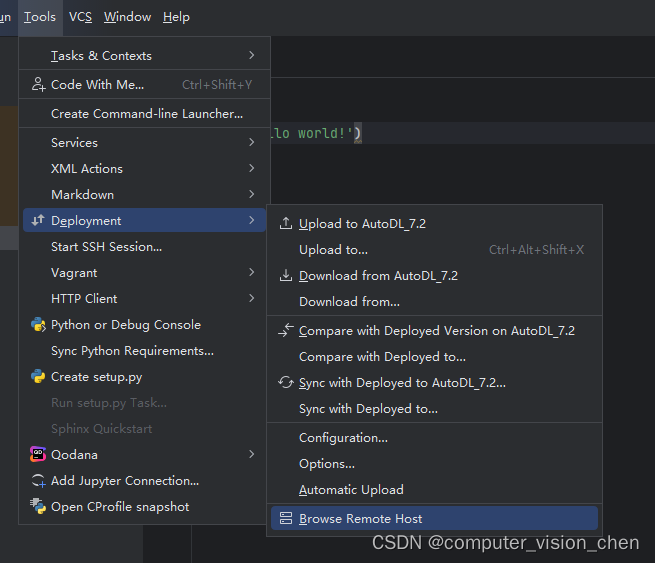
右键项目点击deployment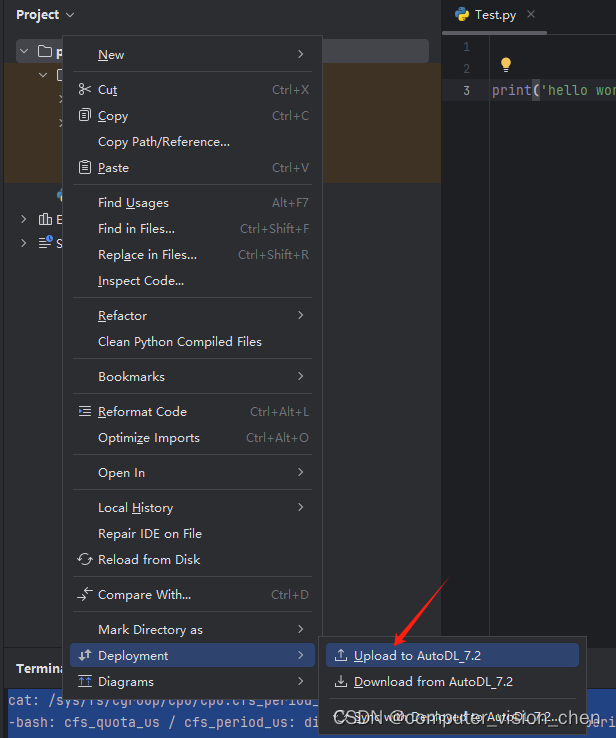
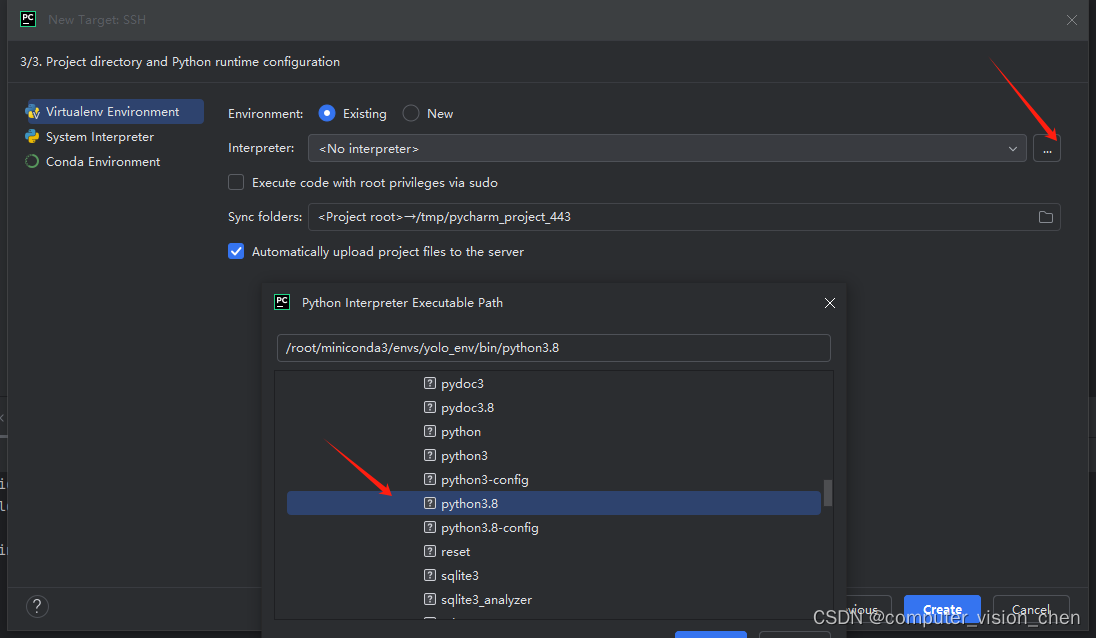
配置远程镜像的解释器运行代码
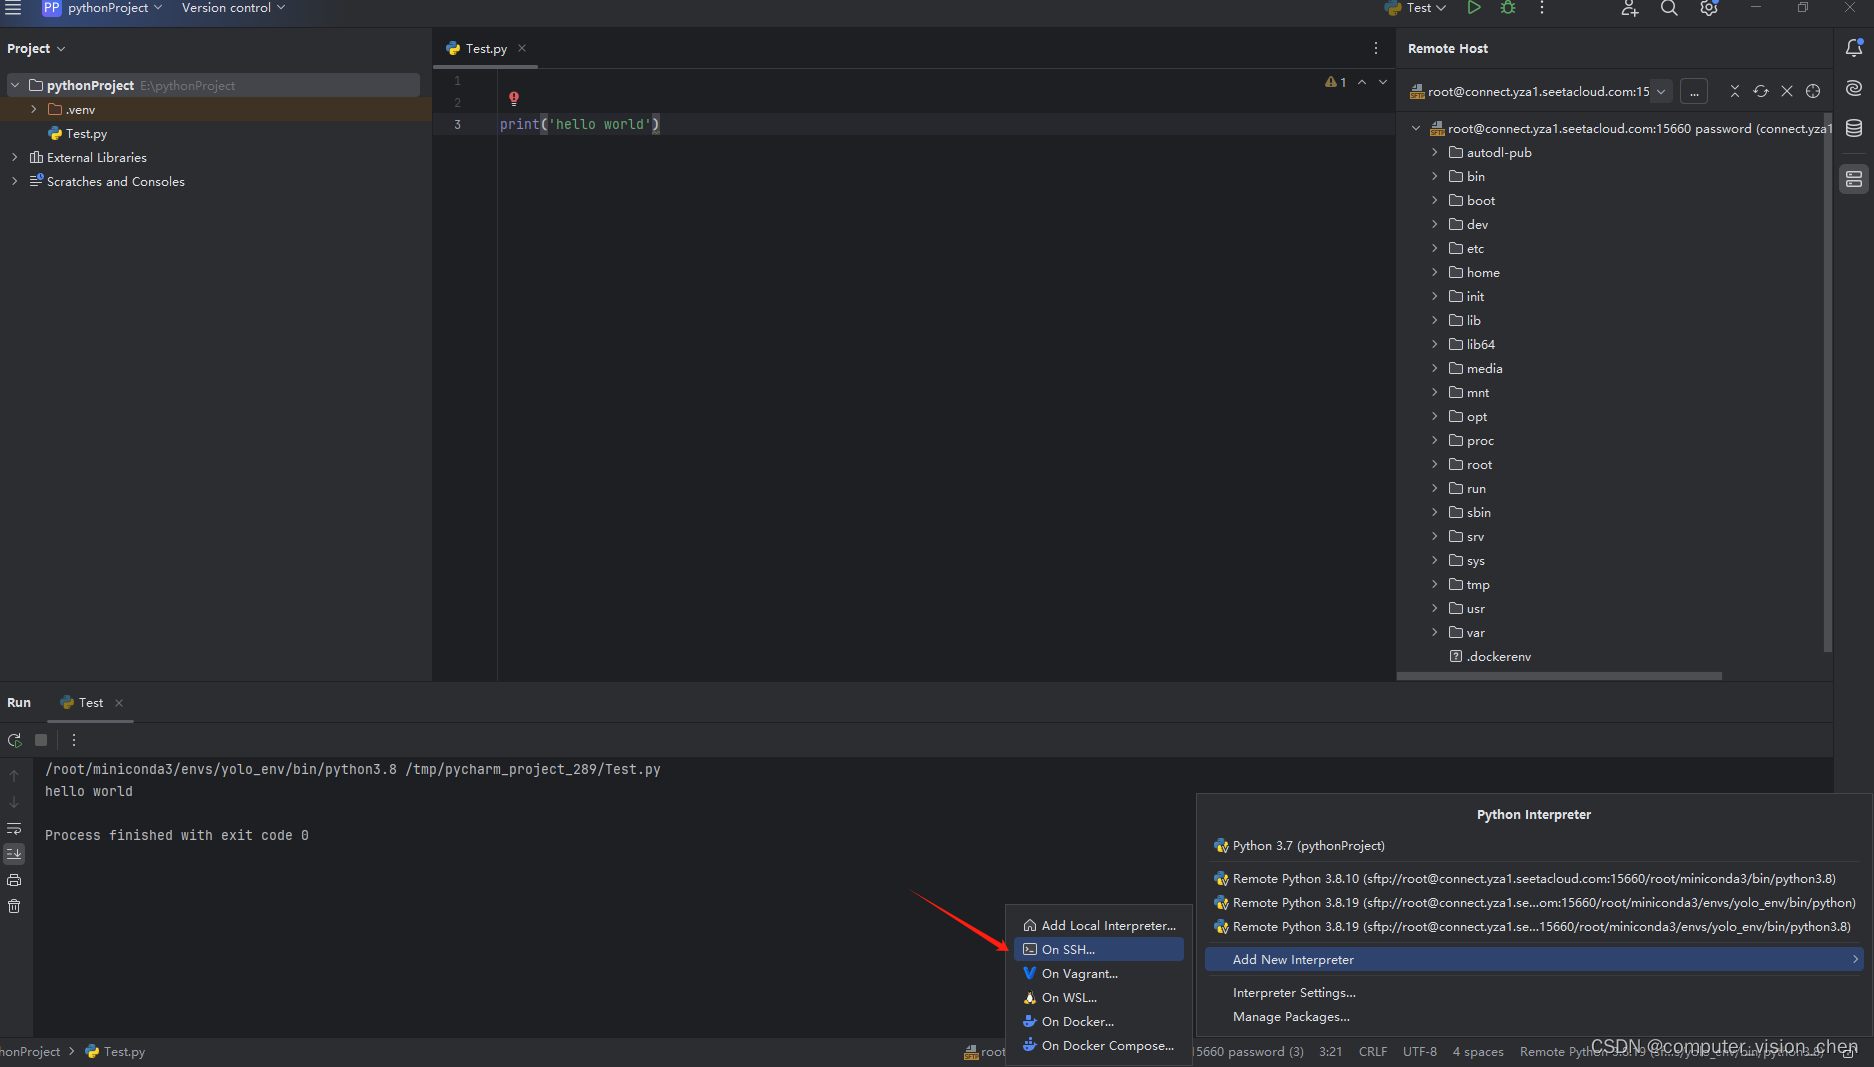
envs里面放的是虚拟环境
运行测试
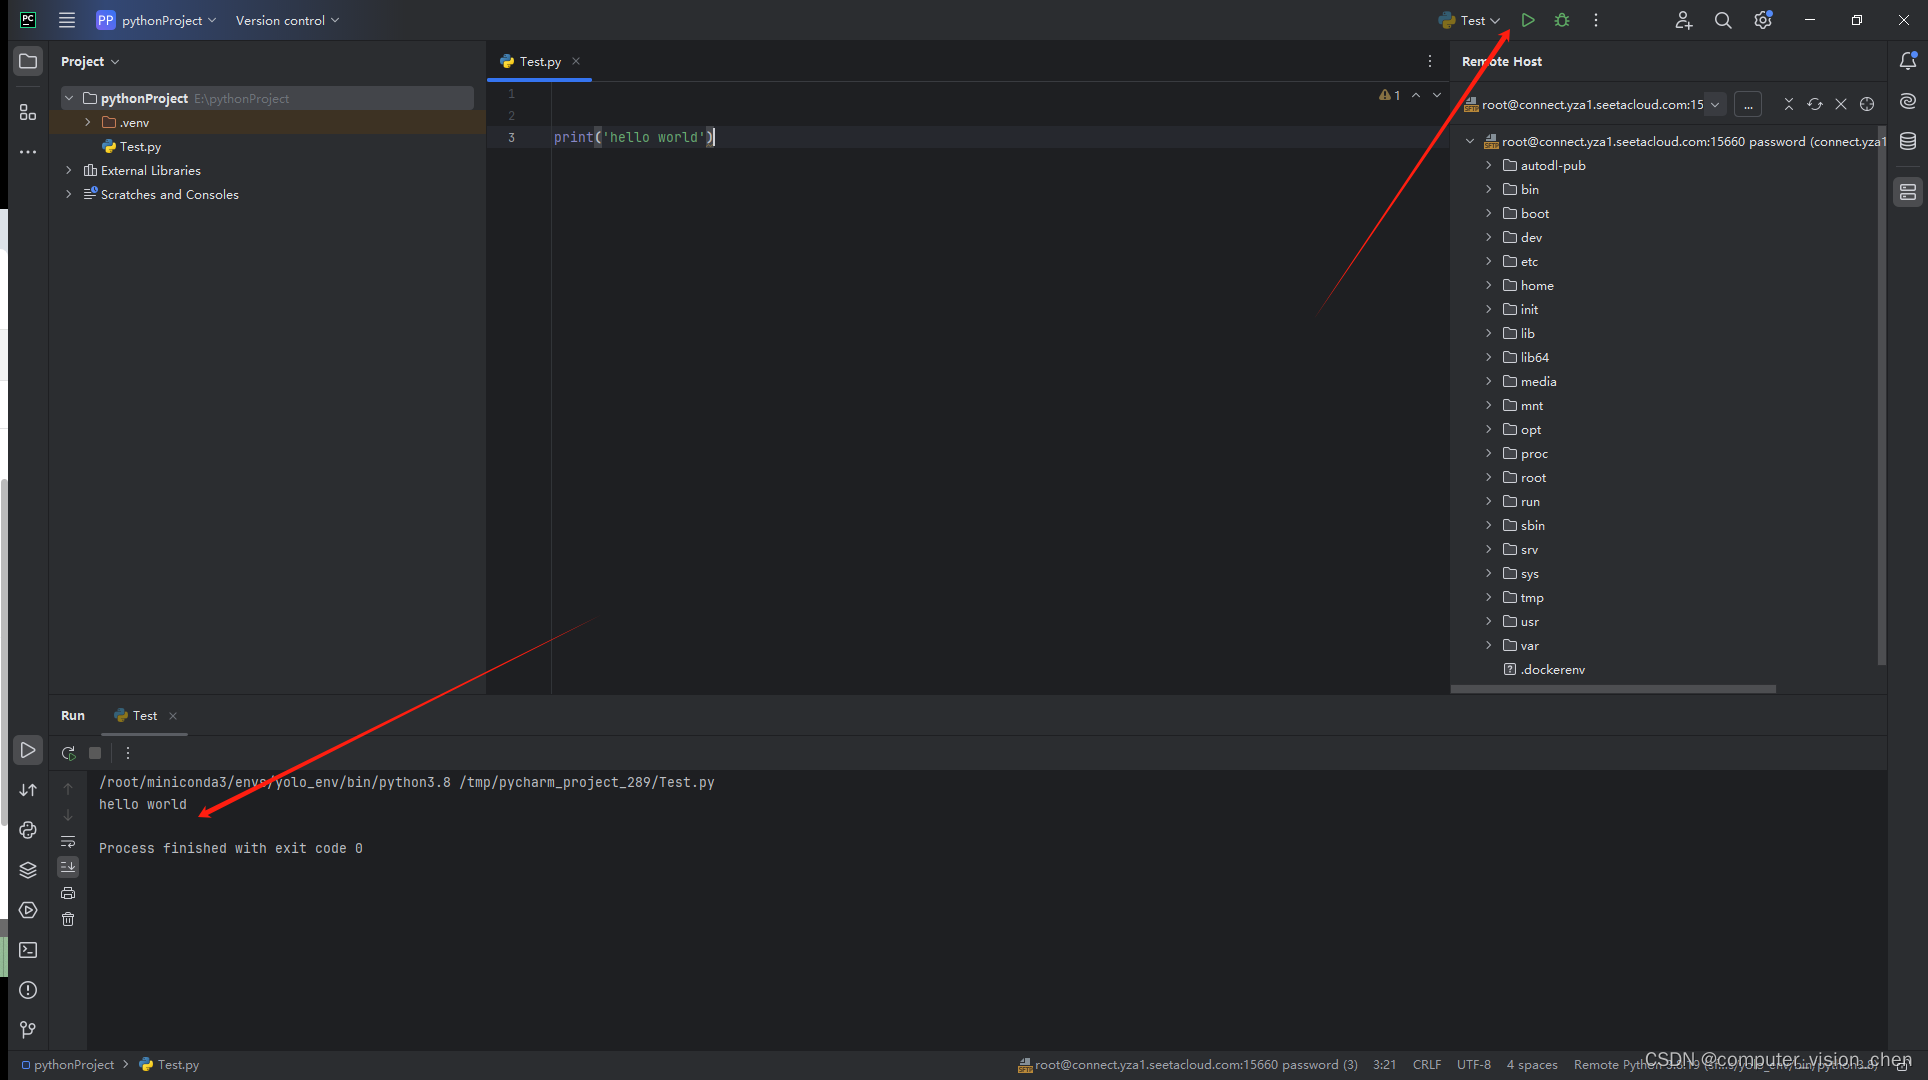
使用服务器的解释器运行成功。
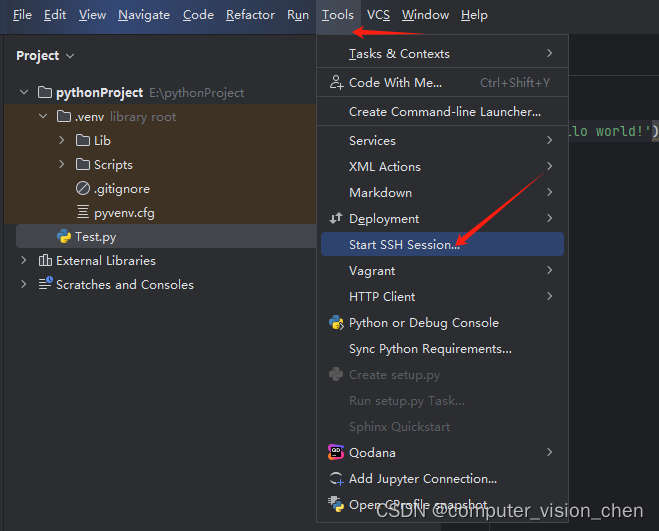
其它
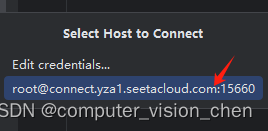
在命令行中操控远程镜像
https://blog.csdn.net/m0_48086806/article/details/135112106

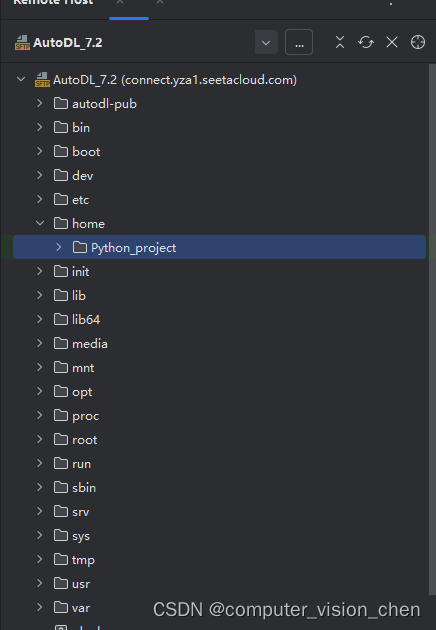
打开服务器文件列表