Element Plus 是一个基于Vue 3 的现代前端UI框架,它旨在提升开发体验,并为开发者提供高效、优雅的组件。如果你正在使用Vue 3 进行项目开发,那么安装和集成 Element Plus 是一个不错的选择。在本文中,博主将详细介绍如何在Vue 3 项目中安装 Element Plus。
1.创建一个Vue3项目
在本文中,博主已经创建好了一个Vue 3的项目,如果不知道如何创建Vue 3项目的小伙伴们,可以参考Vite 创建 Vue3 + TS 项目
2.安装依赖
定位到项目根路径下**(与src目录同级),**运行命令行:
javascript
# 安装 Element-Plus 组件库
# 使用 npm 包管理器
$ npm install element-plus --save

# 使用 yarn 包管理器
$ yarn add element-plus

# 使用 pnpm 包管理器
$ pnpm install element-plus
3.全局引入样式
Element Plus 提供了丰富的CSS 样式,你需要将其引入你的项目中。通常,你可以使用以下 CLI 命令将样式集直接引入你项目的 **main.js (或 main.ts)**文件中:
javascript
# 引入 CSS 样式
$ npm run el-get-style
其实,博主更推荐手动为 Vue3 项目引入 CSS样式:
javascript
/* main.js 或 main.ts文件中 */
import 'element-plus/dist/index.css'  // 引入全局 CSS 样式
4.全局组件注册
Element Plus 中的组件使用时需要首先注册。在项目入口文件**main.js (或 main.ts)** 中引入 Element Plus组件库:
javascript
/* main.js 或 main.ts 文件中 */

import { createApp } from 'vue'
引入 Element-Plus 依赖
import ElementPlus from 'element-plus'
// 引入全局 CSS 样式
import 'element-plus/dist/index.css'
import App from './App.vue'

const app = createApp(App)

// 挂载 Element-Plus
app.use(ElementPlus)
app.mount('#app')
5.使用Element-Plus组件
现在,你可以在 Vue 组件中使用Element-Plus 的UI 组件了:
javascript
<!-- index.vue -->

<template>
    <div>
        <h1>This is a Home Page.</h1>
        <el-button type="primary">Click On</el-button>
    </div>
</template>

<script>
</script>

<style>
</style>
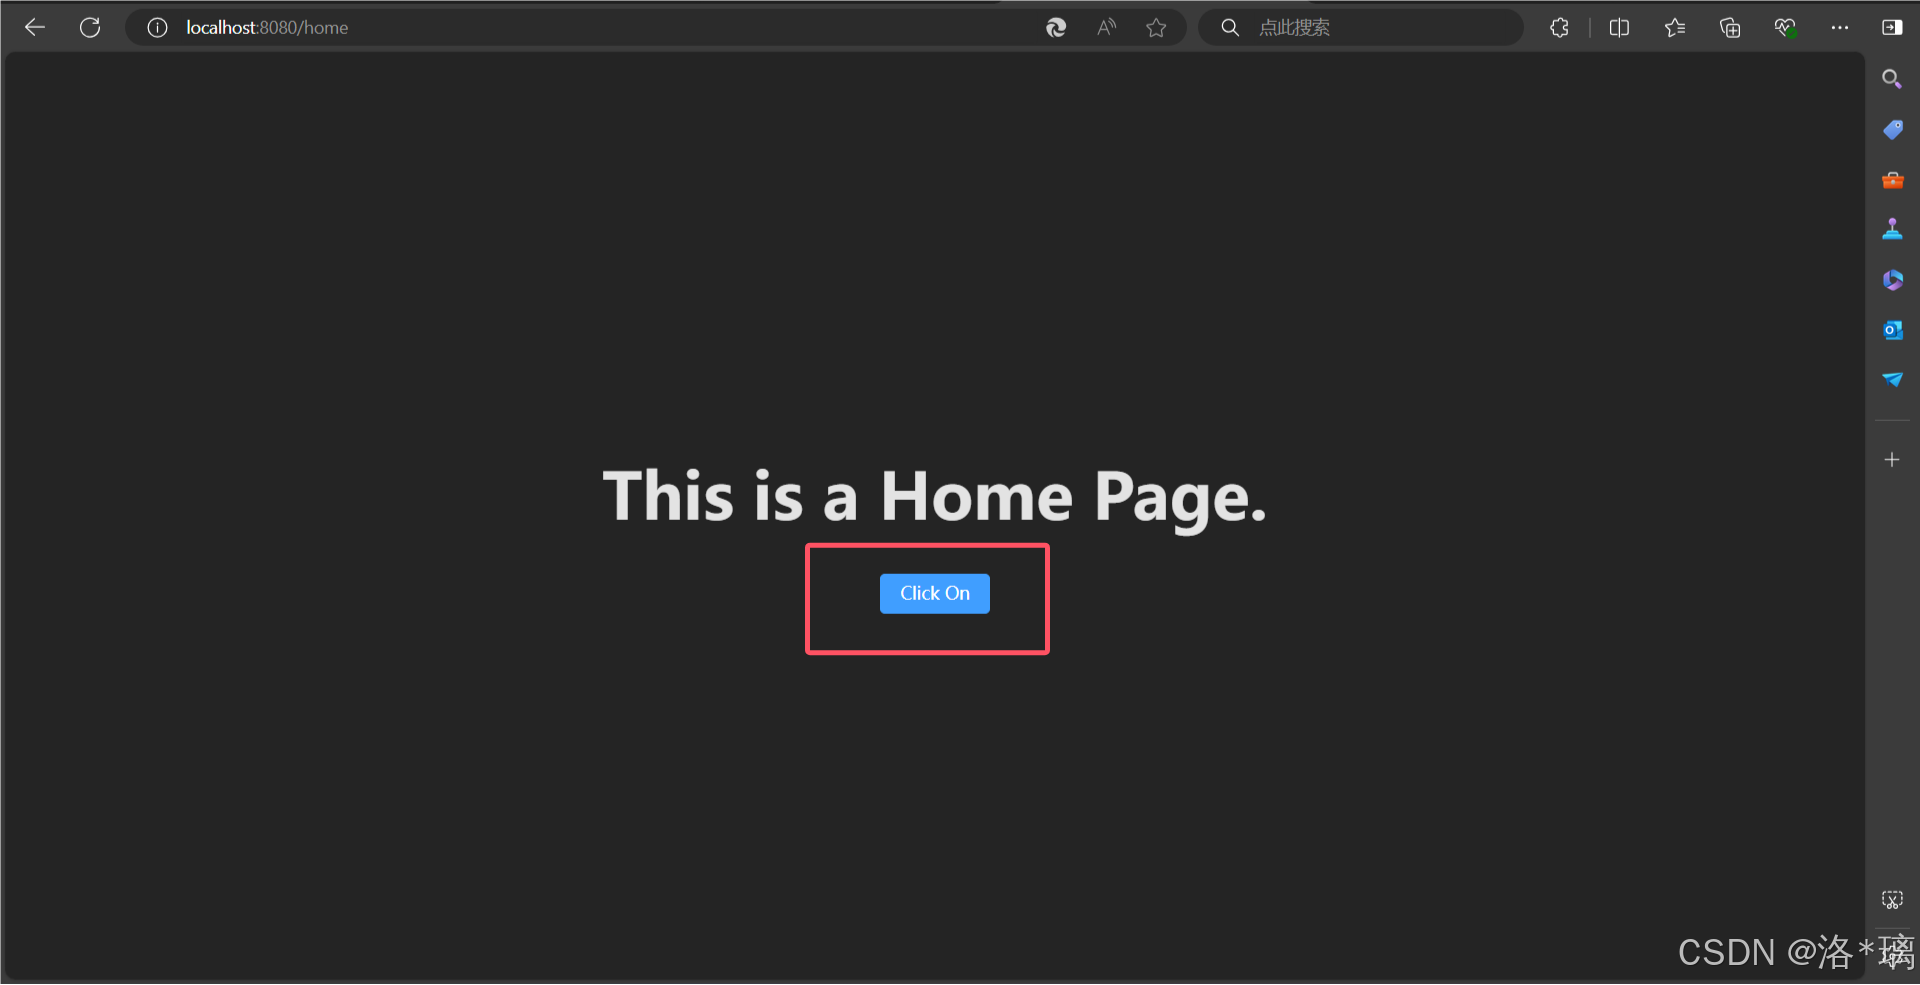
运行项目后,可以看到我们的**<el-button></el-button>**组件长这样:

6.安装图标
Element-Plus 跟 Element-UI 不同的是,在Element-Plus中,图标组件不再像Element-UI那样随依赖一起引入,而是需要自己在用到的时候去引入它:
定位到项目根路径下**(与src目录同级),**运行命令行:
javascript
# 使用 npm 包管理器
$ npm install @element-plus/icons-vue

# 使用 yarn 包管理器
$ yarn add @element-plus/icons-vue

# 使用 pnpm 包管理器
$ pnpm install @element-plus/icons-vue
你需要从 **@element-plus/icons-vue**中导入所有图标并进行全局注册。
javascript
/* main.js 或 main.ts 文件中 */

import { createApp } from 'vue'
import '/@/style.css'
import 'element-plus/dist/index.css'
import ElementPlus from 'element-plus'
// 引入 ElementPlus 图标库
import * as ElementPlusIconsVue from '@element-plus/icons-vue'
import App from '/@/App.vue'
import pinia from '/@/store'
import router from '/@/router'

const app = createApp(App)

// 注册 ElementPlus 图标组件
for (const [key, component] of Object.entries(ElementPlusIconsVue)) {
    app.component(key, component)
}

app.use(pinia)
// 挂载 路由器
app.use(router)
// 挂载 ElementPlus 组件库
app.use(ElementPlus)
app.mount('#app')
7.将图标应用到组件上
html
<!-- index.vue -->

<template>
    <div>
        <h1>This is a Home Page.</h1>
        <el-button type="primary">
            <!-- 如果直接使用SVG图标,则需要为它添加属性 -->
            <!-- 因为SVG图标默认不携带任何属性 -->
            <Edit style="width: 1em; height: 1em; margin-right: 8px" /> Click On
        </el-button>
    </div>
</template>

<script setup lang="ts">
import { Edit } from '@element-plus/icons-vue'

</script>

<style scoped>
</style>
如果不出意外的话,最后的效果应该是这样的:

注意事项:
- 在开发过程中,确保 Element Plus 版本与Vue 3兼容。
- 如果项目出现任何问题,查看 Element Plus 官方文档是一个很好的选择。
- 考虑使用按需引入以减少应用的体积,尤其是对于生产环境。
- 理解和阅读 Element Plus引入时提供的信息和代码示例。