文章目录
- [1 下载item2](#1 下载item2)
- [2 美化item2](#2 美化item2)
-
- [2.1 配置主题](#2.1 配置主题)
- [2.2 设置黑色的主题:](#2.2 设置黑色的主题:)
- [2.3 配置显示状态栏 status bar](#2.3 配置显示状态栏 status bar)
- [3 安装 Oh my zsh](#3 安装 Oh my zsh)
-
- [3.1 设置主题](#3.1 设置主题)
- [3.2 设置插件](#3.2 设置插件)
- [3.3 安装第三方插件](#3.3 安装第三方插件)
-
- [1 下载仓库解压](#1 下载仓库解压)
- [2 使用 git clone](#2 使用 git clone)
- 一些常用插件以及其作用
- 参考
1 下载item2
MacOS自带终端,但其提供的工具有限。为了更加方便的使用MacOS上的终端,推荐使用item2,帮助我们美化终端
下载官网: https://iterm2.com/downloads.html

2 美化item2
2.1 配置主题
在 settings -> appearence中选择
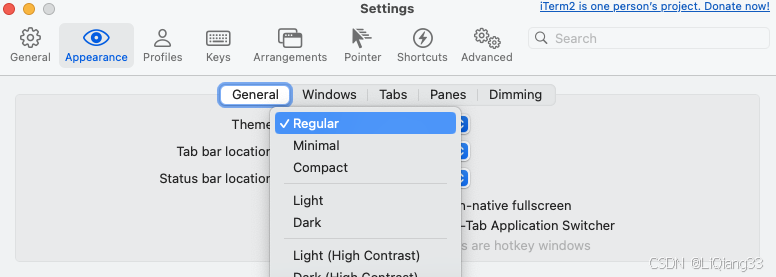
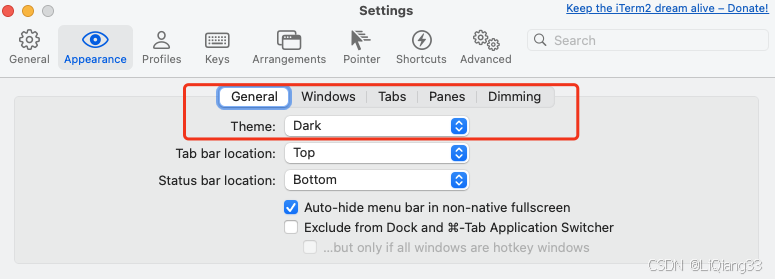
2.2 设置黑色的主题:
1 设置窗口主题 setting -> apperance -> Dark
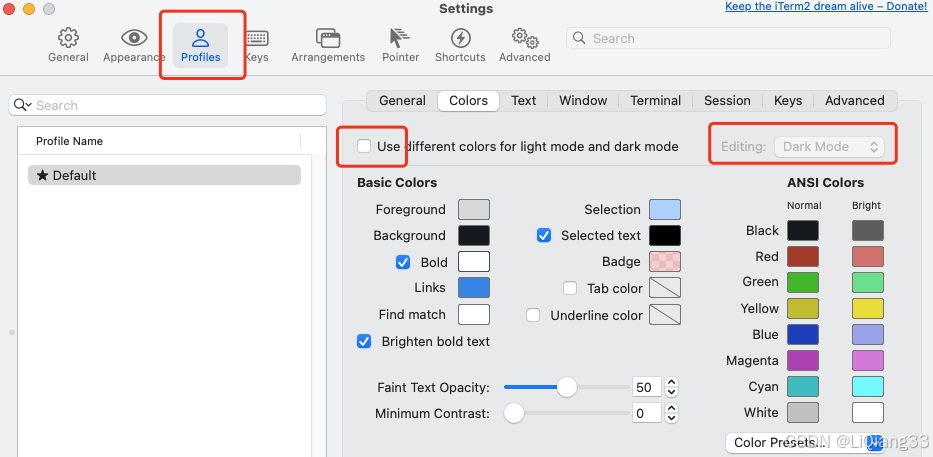
2 设置主题颜色 setting -> profile -> colors
首先设置为Dark模式,然后取消勾选
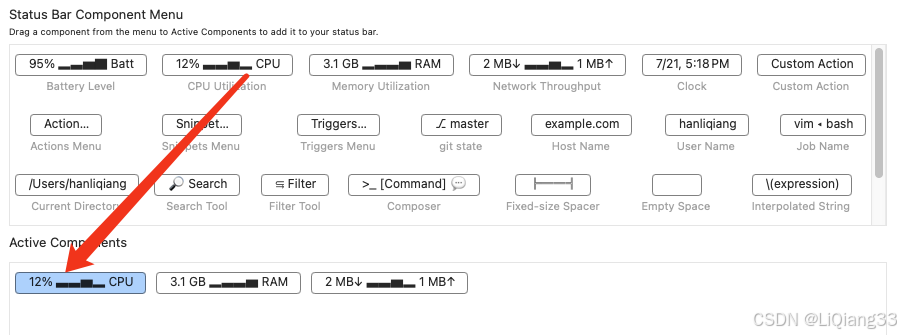
2.3 配置显示状态栏 status bar
位置 profile -> sesssion -> Status Bar enabled
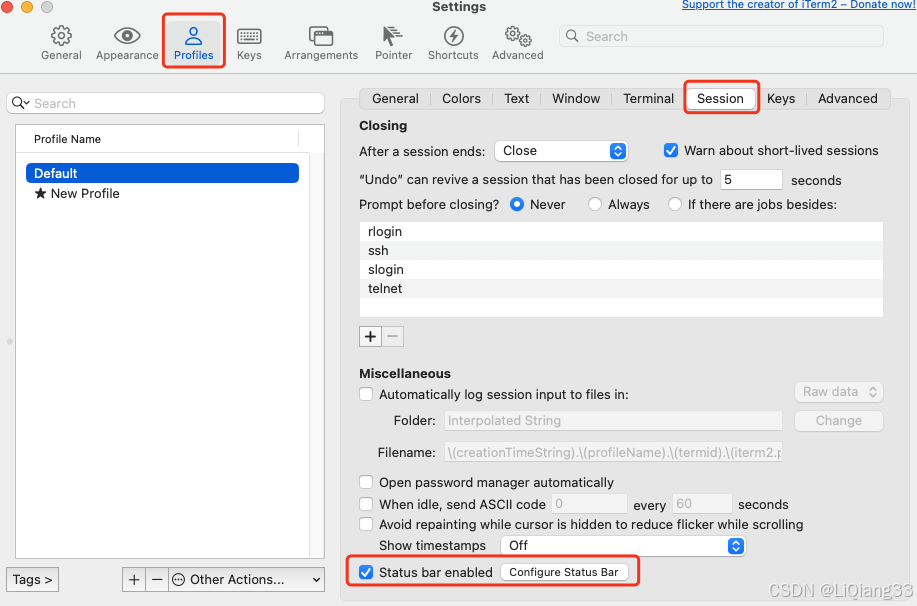
选择显示的内容,通过拖拽的方式即可
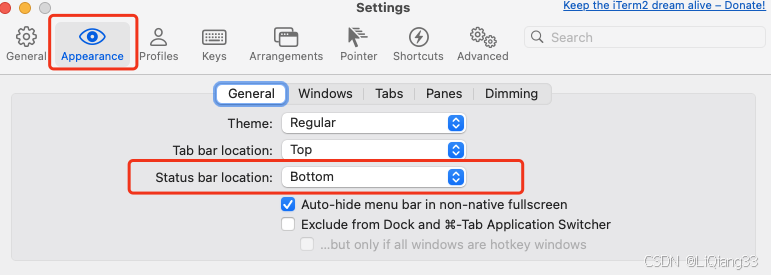
更改现实 bar 显示的位置 setting -> appearance -> Status Bar location
3 安装 Oh my zsh
使用命令行安装
shell
# via curl
sh -c "$(curl -fsSL https://raw.github.com/ohmyzsh/ohmyzsh/master/tools/install.sh)"
# via wget
sh -c "$(wget -O- https://raw.githubusercontent.com/ohmyzsh/ohmyzsh/master/tools/install.sh)"
网络原因不能下载的话,尝试手动安装
官方: https://github.com/ohmyzsh/ohmyzsh
下载 ohmyzsh-master.zip 后解压,并移动到默认安装位置
shell
cd 下载的位置
unzip ohmyzsh-master.zip
mv ohmyzsh-master ~/.oh-my-zsh   # 默认的安装地址
配置 zsh
注意: 词条命令会覆盖原有的配置,建议将原有的配置备份
shell
cp ~/.oh-my-zsh/templates/zshrc.zsh-template ~/.zshrc配置生效
shell
source ~/.zshrc3.1 设置主题
由于下载了整个项目,其中默认包含了很多主题,位置~/.oh-my-zsh/themes
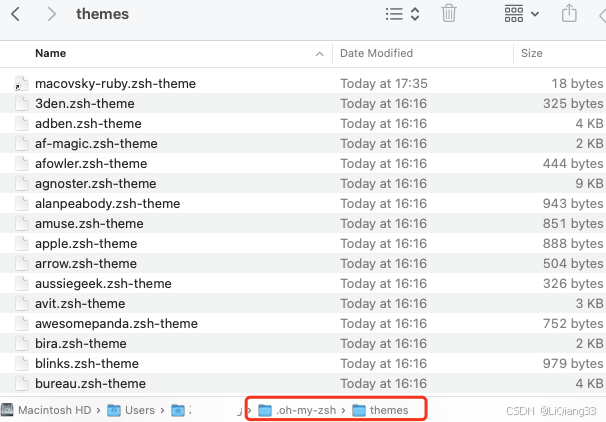
查看每个主题的样式: https://github.com/ohmyzsh/ohmyzsh/wiki/Themes
设置主题,输入文件名即可,修改后使用 source 命令使得修改生效

3.2 设置插件
与使用主题的逻辑类似,在指定文件目录安装,并在配置文件中指定即可
ohmyzsh自带了一些插件,位置~/.oh-my-zsh/plugins
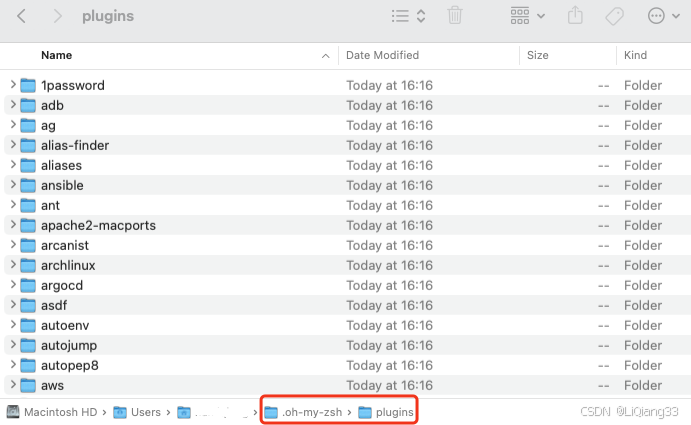
指定插件
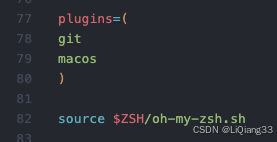
3.3 安装第三方插件
1 下载仓库解压
下载git仓库,解压后放到 ~/.oh-my-zsh/plugins 目录下
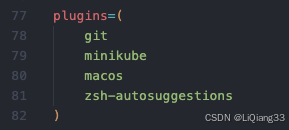
并修改名称为 zsh-autosuggestions

添加插件配置
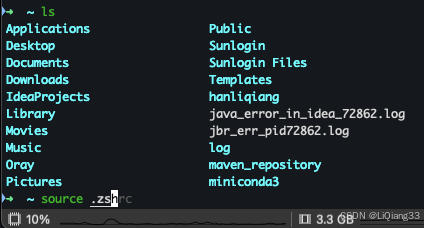
生效配置
shell
source .zshrc不可随意修改下载插件的名字,要与.zsh文件名对应

2 使用 git clone
进入.oh-my-zsh/plugins直接使用git clone <url>仓库
然后配置即可
一些常用插件以及其作用
- git: 对git分治进行提示
- minikube: 输入命令后使用
Tab对命令进行提示 - zsh-autosuggestions: 提示已经使用过的命令,使用
->填充 - zsh-syntax-highlighting: 语法高亮插件
效果:
参考
item2 https://blog.csdn.net/Xiang__Qian/article/details/139815664
WSL配置的 zsh https://blog.csdn.net/qq_44776065/article/details/128323162
安装第三方插件 https://github.com/zsh-users/zsh-autosuggestions/blob/master/INSTALL.md
ohmyzsh主题: https://github.com/ohmyzsh/ohmyzsh/wiki/Themes
iTerm2 + Oh My Zsh https://blog.csdn.net/qq_37486624/article/details/132188637
配置 zsh 和 oh my zsh https://blog.csdn.net/Xiang__Qian/article/details/139844908