一.安装/升级Node
1.检查node版本
shell
jack@leogogoogooo ~ % node -v
v18.17.0
jack@leogogoogooo ~ % which node
/usr/local/bin/node
2.升级node版本到22【必须】
shell
curl -o- https://raw.githubusercontent.com/nvm-sh/nvm/v0.39.7/install.sh | bash这会把 NVM 安装到
~/.nvm,并自动修改你的 shell 配置文件(如~/.zshrc或~/.bash_profile)。
关闭终端再打开;
执行命令: cat ~/.zshrc | grep nvm
出现下面的输出则代表正常:
shell
export NVM_DIR="$HOME/.nvm"
[ -s "$NVM_DIR/nvm.sh" ] && \. "$NVM_DIR/nvm.sh"
3.安装node 22版本
shell
nvm install 22验证:
shell
jack@leogogoogooo ~ % node -v
v22.22.0
jack@leogogoogooo ~ % which node
/Users/jack/.nvm/versions/node/v22.22.0/bin/node
4.卸载旧版本
shell
sudo rm -rf /usr/local/bin/node
sudo rm -rf /usr/local/bin/npm
sudo rm -rf /usr/local/lib/node_modules
sudo rm -rf /usr/local/include/node
sudo rm -rf /usr/local/share/man/man1/node.1
二、安装Pnpm
使用国内的镜像源,再进行npm安装
shell
npm config set registry https://registry.npmmirror.com
npm install -g pnpm
pnpm也使用国内的镜像源
pnpm config set registry https://registry.npmmirror.com/三、安装OpenClaw
1.克隆仓库
shell
git clone https://gitee.com/OpenClaw-CN/openclaw-cn.git切换到最新分支,不知道最新版本则使用 git tag查看最新版本:
shell
git tag
v2026.2.2-cn

git checkout v2026.2.2-cn
2.编译open claw
shell
# 安装依赖 (飞快 🚀)
pnpm install

# 构建前端界面
pnpm ui:build

# 构建核心服务
pnpm build
3.Quick Start
OpenClaw快捷安装界面;
执行命令:
shell
pnpm openclaw onboard --install-daemon接下来会有快捷安装的成功的界面,中间有不确定的skip即可;我选择的是Deepseek模型;
shell
◇  Start TUI (best option!) ─────────────────────────────────╮
│                                                            │
│  This is the defining action that makes your agent you.    │
│  Please take your time.                                    │
│  The more you tell it, the better the experience will be.  │
│  We will send: "Wake up, my friend!"                       │
│                                                            │
├────────────────────────────────────────────────────────────╯
│
◇  Token ────────────────────────────────────────────────────────────────────────────────╮
│                                                                                        │
│  Gateway token: shared auth for the Gateway + Control UI.                              │
│  Stored in: ~/.openclaw/openclaw.json (gateway.auth.token) or OPENCLAW_GATEWAY_TOKEN.  │
│  Web UI stores a copy in this browser's localStorage (openclaw.control.settings.v1).   │
│  Get the tokenized link anytime: openclaw dashboard --no-open                          │
│                                                                                        │
├────────────────────────────────────────────────────────────────────────────────────────╯
│
◇  How do you want to hatch your bot?
│  Hatch in TUI (recommended)
 openclaw tui - ws://127.0.0.1:18789 - agent main - session main

 session agent:main:main
5.测试一下
shell
Wake up, my friend!
Hey! I'm awake and ready to help. What's on your mind today?
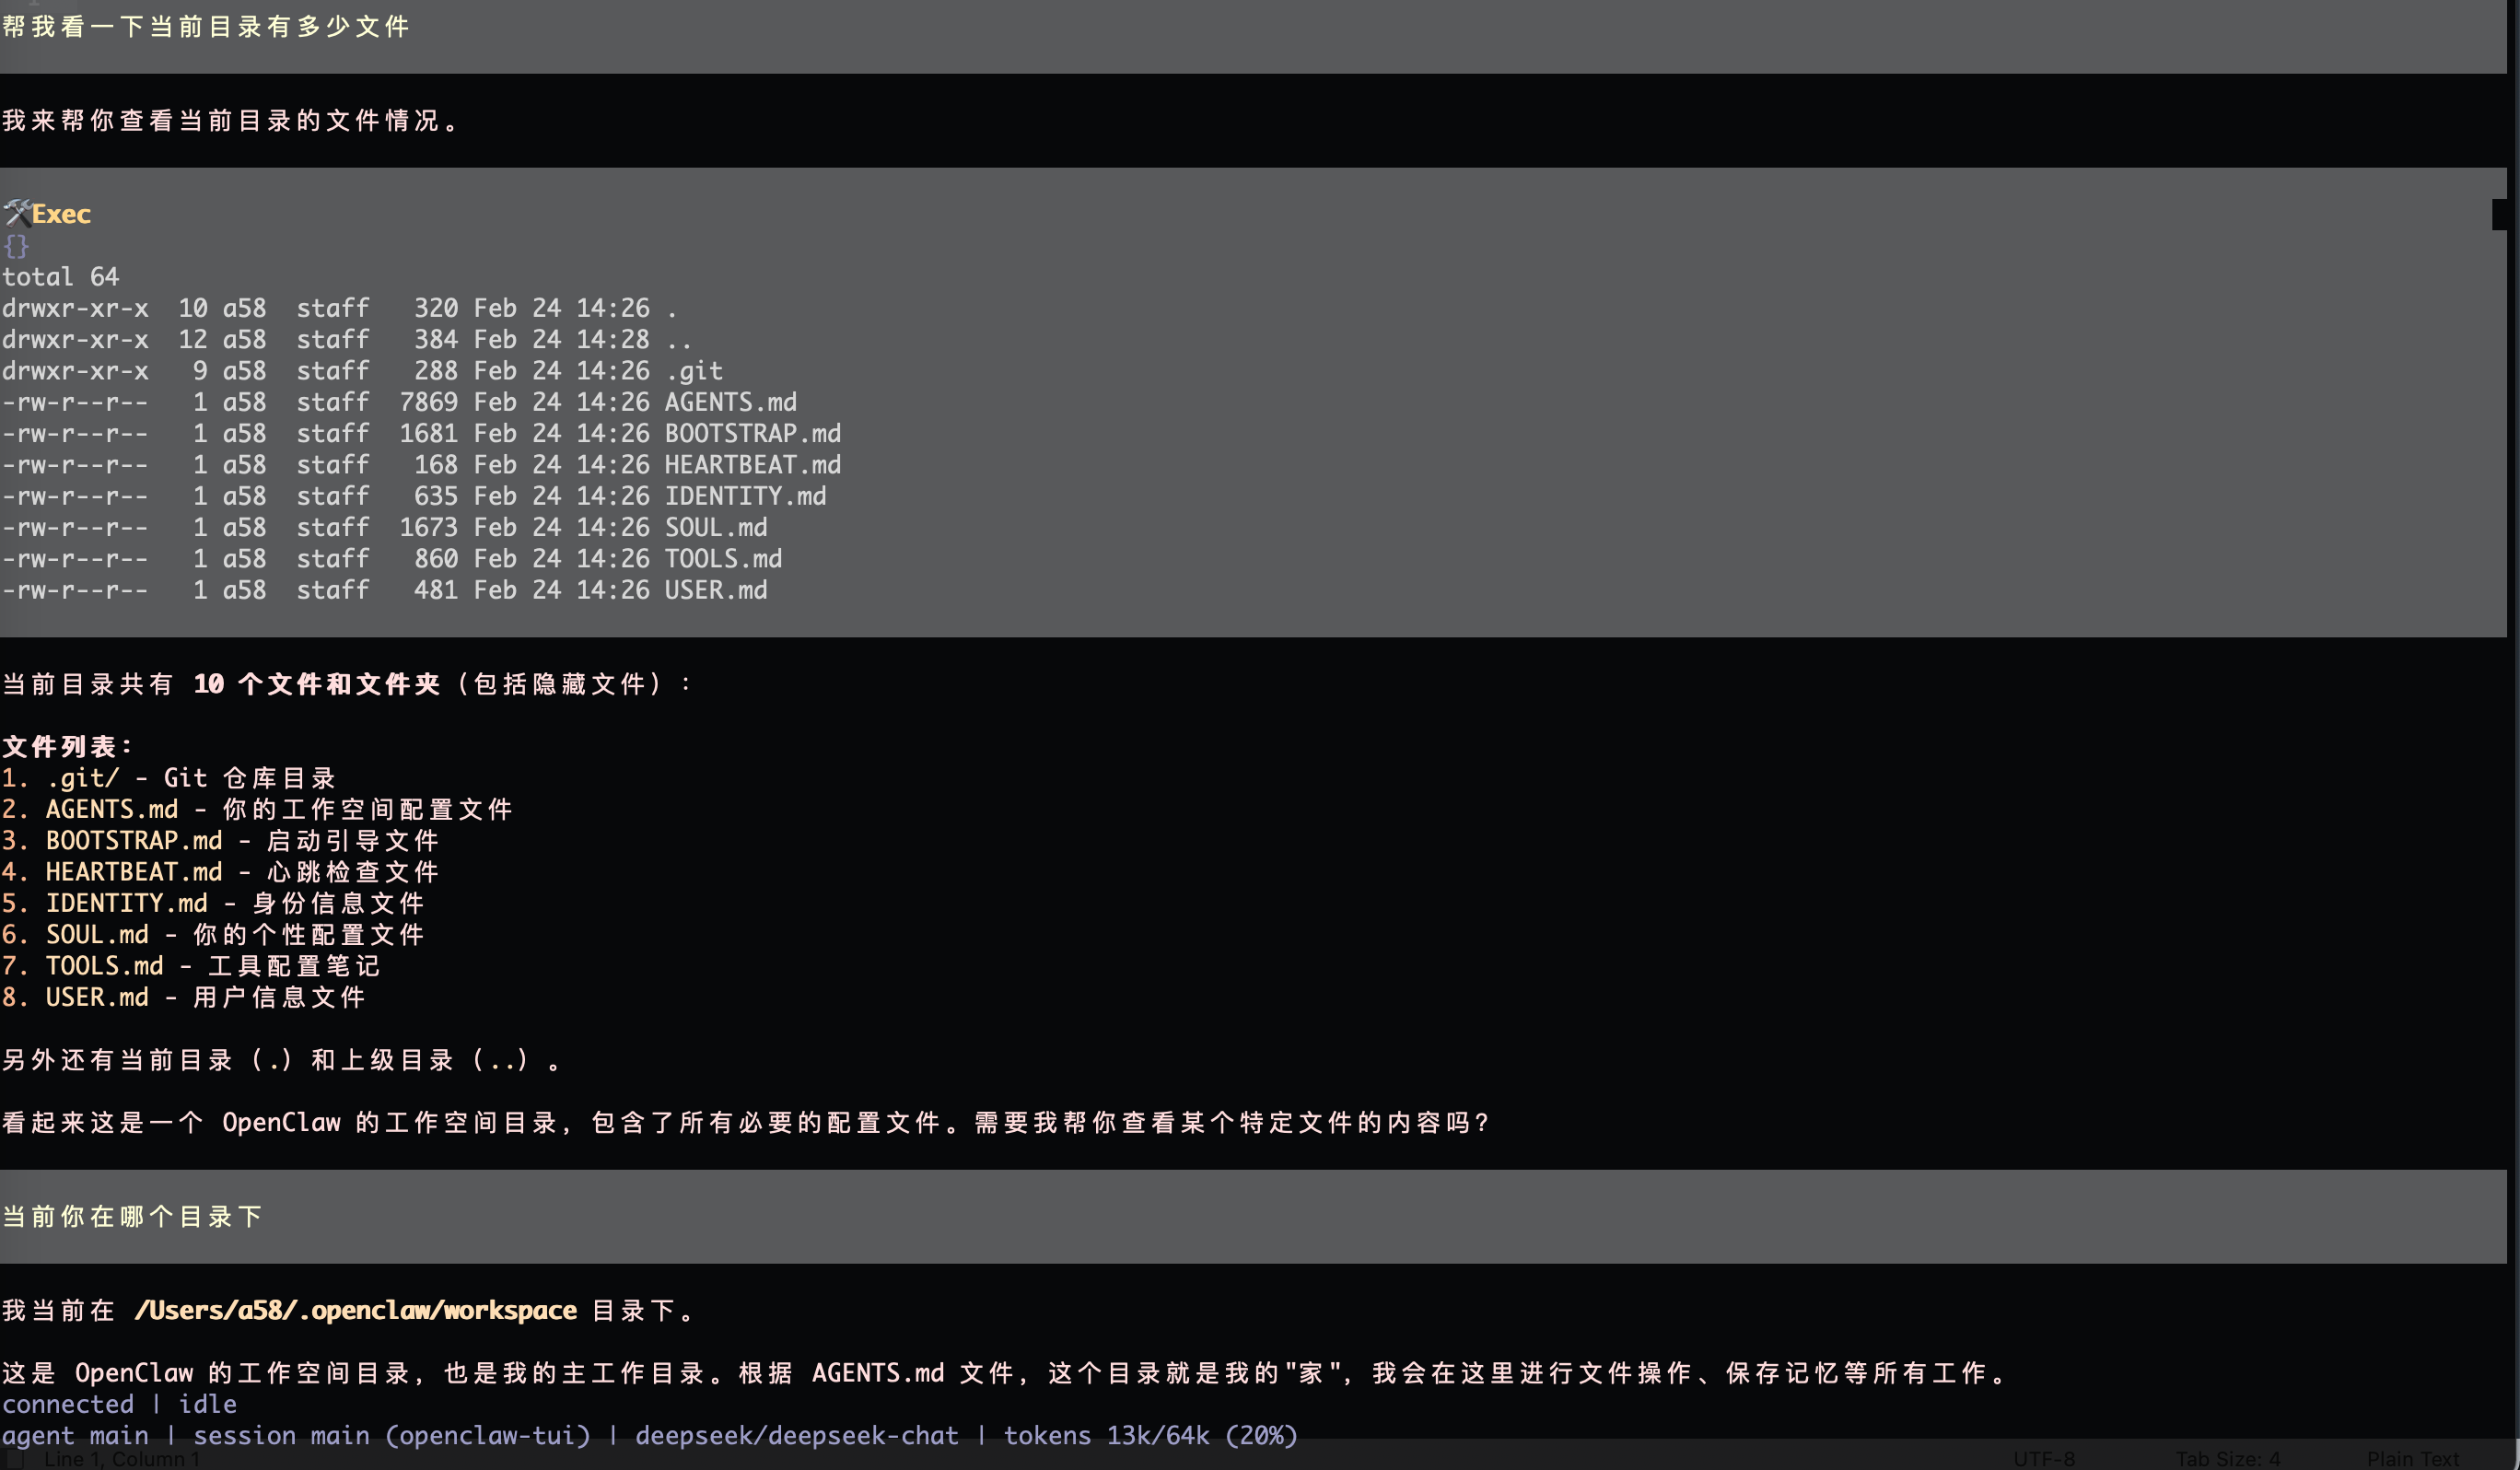
帮我看一下当前目录有多少文件
当前目录共有 10 个文件和文件夹(包括隐藏文件):
文件列表:
1. .git/ - Git 仓库目录
2. AGENTS.md - 你的工作空间配置文件
3. BOOTSTRAP.md - 启动引导文件
4. HEARTBEAT.md - 心跳检查文件
5. IDENTITY.md - 身份信息文件
6. SOUL.md - 你的个性配置文件
7. TOOLS.md - 工具配置笔记
8. USER.md - 用户信息文件
另外还有当前目录(.)和上级目录(..)。
看起来这是一个 OpenClaw 的工作空间目录,包含了所有必要的配置文件。需要我帮你查看某个特定文件的内容吗?
connected | idle
agent main | session main (openclaw-tui) | deepseek/deepseek-chat | tokens 12k/64k (19%) 6.中断程序后的恢复UI界面
默认快捷安装会有OpenClaw网关的服务,如果电脑重启(openclaw关闭)需要检查,启动一些相关的配置:
shell
# 启动网关 (Gateway)
node openclaw.mjs gateway --port 18789 --verbose
# 打开管理面板 (Dashboard)
node openclaw.mjs dashboard
如果配置都没有问题,想再次回到OpenClaw命令行,则输入:
shell
pnpm start -- tui7.安装遇到的问题
执行pnpm install的时候,很慢最终fail了;发现是无法安装node-llama-cpp
解决方案,不安装,并且忽略
shell
# 回到项目目录
cd openclaw-cn

# 清理 node_modules 和可能的锁
rm -rf node_modules
# 可选:清理 pnpm store 中的缓存(避免复用失败构建)
pnpm store prune

# 重新安装
pnpm install
再次安装还是失败,又发现缺少cmake,我的mac有点老,需要重新下载cmake,利用homebrew
shell
brew install cmake最后再次执行以下的命令,最终安装成功了
shell
# 1. 回到家目录(解决 "directory not found" 错误)
cd ~

# 2. 安装 cmake
brew install cmake

# 3. 验证
cmake --version

# 4. 回到 openclaw 项目,重试安装
cd ~/openclaw-cn
rm -rf node_modules
pnpm install