文章目录
- 前言
-
- Nginx简介
- Ubuntu安装Nginx
- ffmpeg生成HLS流媒体
-
- [1. 生成HLS流媒体](#1. 生成HLS流媒体)
- 配置Nginx
- ffplay播放m3u8
- 总结
前言
在数字内容传输和流媒体服务中,HLS(HTTP Live Streaming)已经成为一种流行的解决方案,特别是在视频直播和点播应用中。要实现高效的HLS流媒体服务,Nginx作为一个高性能的Web服务器和反向代理服务器,提供了强大的支持。通过安装和配置Nginx,可以轻松创建一个功能强大的HLS流媒体服务器。本文将介绍Nginx的基础知识以及如何通过它来搭建HLS流媒体服务器。
Nginx简介
Nginx是一个高性能的Web服务器和反向代理服务器,由Igor Sysoev于2002年开发。它以高效、稳定、灵活和低内存消耗著称,适用于处理大量并发连接。Nginx不仅可以作为HTTP服务器,还可以用于负载均衡、反向代理以及作为流媒体服务器。
因为我们的HLS服务器是HTTP协议的,所以我们需要使用Nginx
Ubuntu安装Nginx
打开终端输入下面的命令即可安装Nginx:
bash
sudo apt install nginxffmpeg生成HLS流媒体
FFmpeg是一个强大的多媒体处理工具,它不仅能够转换、录制和流式传输多种格式的音视频,还可以生成HLS流媒体。以下是如何使用FFmpeg配置HLS流媒体,并使用FFplay播放的步骤。
1. 生成HLS流媒体
要生成HLS流媒体,需要使用FFmpeg将视频文件转换为HLS格式。HLS格式包括一个或多个 .m3u8 播放列表文件和一系列 .ts 分段文件。下面是一个基本的FFmpeg命令,用于将视频文件转换为HLS格式:
bash
ffmpeg -i a.mp4 -codec:v libx264 -codec:a aac -b:v 1500k -b:a 128k -hls_time 10 -hls_list_size 0 -hls_segment_filename 'stream_%03d.ts' -hls_flags delete_segments output.m3u8命令说明
-i input.mp4:指定输入视频文件。-codec:v libx264:使用H.264视频编码器。-codec:a aac:使用AAC音频编码器。-b:v 1500k:设置视频比特率为1500kbps。-b:a 128k:设置音频比特率为128kbps。-hls_time 10:每个HLS分段文件的时长为10秒。-hls_list_size 0:设置HLS播放列表大小为0,表示不限制播放列表中条目的数量。-hls_segment_filename 'stream_%03d.ts':指定HLS分段文件的名称模式。-hls_flags delete_segments:在播放列表中删除旧的HLS分段文件。output.m3u8:指定输出的HLS播放列表文件名。
运行上述命令后,你会得到一个 output.m3u8 文件和若干个 .ts 分段文件。这些文件可以用于HLS流媒体播放。
配置Nginx
使用下面的命令打开nginx.conf:
bash
sudo nano /etc/nginx/nginx.conf把这个搞进去:
bash
user www-data;
worker_processes auto;
pid /run/nginx.pid;
include /etc/nginx/modules-enabled/*.conf;

events {
	worker_connections 768;
	# multi_accept on;
}

http {

	##
	# Basic Settings
	##

	sendfile on;
	tcp_nopush on;
	types_hash_max_size 2048;
	# server_tokens off;

	# server_names_hash_bucket_size 64;
	# server_name_in_redirect off;

	include /etc/nginx/mime.types;
	default_type application/octet-stream;

	##
	# SSL Settings
	##

	ssl_protocols TLSv1 TLSv1.1 TLSv1.2 TLSv1.3; # Dropping SSLv3, ref: POODLE
	ssl_prefer_server_ciphers on;

	##
	# Logging Settings
	##

	access_log /var/log/nginx/access.log;
	error_log /var/log/nginx/error.log;

	##
	# Gzip Settings
	##

	gzip on;

	# gzip_vary on;
	# gzip_proxied any;
	# gzip_comp_level 6;
	# gzip_buffers 16 8k;
	# gzip_http_version 1.1;
	# gzip_types text/plain text/css application/json application/javascript text/xml application/xml application/xml+rss text/javascript;

	##
	# Virtual Host Configs
	##

	include /etc/nginx/conf.d/*.conf;
	include /etc/nginx/sites-enabled/*;
}


#mail {
#	# See sample authentication script at:
#	# http://wiki.nginx.org/ImapAuthenticateWithApachePhpScript
#
#	# auth_http localhost/auth.php;
#	# pop3_capabilities "TOP" "USER";
#	# imap_capabilities "IMAP4rev1" "UIDPLUS";
#
#	server {
#		listen     localhost:110;
#		protocol   pop3;
#		proxy      on;
#	}
#
#	server {
#		listen     localhost:143;
#		protocol   imap;
#		proxy      on;
#	}
#}然后使用命令打开下面这个文件:sudo nano /etc/nginx/sites-available/default
bash
##
# You should look at the following URL's in order to grasp a solid understanding
# of Nginx configuration files in order to fully unleash the power of Nginx.
# https://www.nginx.com/resources/wiki/start/
# https://www.nginx.com/resources/wiki/start/topics/tutorials/config_pitfalls/
# https://wiki.debian.org/Nginx/DirectoryStructure
#
# In most cases, administrators will remove this file from sites-enabled/ and
# leave it as reference inside of sites-available where it will continue to be
# updated by the nginx packaging team.
#
# This file will automatically load configuration files provided by other
# applications, such as Drupal or Wordpress. These applications will be made
# available underneath a path with that package name, such as /drupal8.
#
# Please see /usr/share/doc/nginx-doc/examples/ for more detailed examples.
##

# Default server configuration
server {
    listen 80 default_server;
    listen [::]:80 default_server;
    # SSL configuration
    #
    # listen 443 ssl default_server;
    # listen [::]:443 ssl default_server;
    #
    # Note: You should disable gzip for SSL traffic.
    # See: https://bugs.debian.org/773332
    #
    # Read up on ssl_ciphers to ensure a secure configuration.
    # See: https://bugs.debian.org/765782
    #
    # Self signed certs generated by the ssl-cert package
    # Don't use them in a production server!
    #
    # include snippets/snakeoil.conf;

    root /var/www/html;

    # Add index.php to the list if you are using PHP
    index index.html index.htm index.nginx-debian.html;
    server_name _;

    location / {
        # First attempt to serve request as file, then
        # as directory, then fall back to displaying a 404.
        try_files $uri $uri/ =404;
    }

    # pass PHP scripts to FastCGI server
    #
    #location ~ \.php$ {
    #   include snippets/fastcgi-php.conf;
    #
    #   # With php-fpm (or other unix sockets):
    #   fastcgi_pass unix:/run/php/php7.4-fpm.sock;
    #   # With php-cgi (or other tcp sockets):
    #   fastcgi_pass 127.0.0.1:9000;
    #}
}

# HLS server configuration
server {
    listen 80;
    server_name localhost;

    location /hls/ {
        types {
            application/vnd.apple.mpegurl m3u8;
            video/mp2t ts;
        }
        alias /var/www/html/hls/;
        add_header Cache-Control no-cache;
        add_header Access-Control-Allow-Origin *;
    }

    location / {
        root /var/www/html;
        index index.html index.htm;
    }
}紧接着,我们需要把我们生成的ts和m3u8文件复制到/var/www/html/hls/这个路径下面:
bash
ubuntu@ubuntu-virtual-machine:~/HLS$ ls /var/www/html/hls/
output.m3u8  stream_000.ts  stream_001.ts  stream_002.ts  stream_003.ts
最后我们测试他即可:
bash
sudo nginx -t如果成功则:
bash
sudo systemctl reload nginx然后我们还需要确保文件的权限:
bash
sudo chown -R www-data:www-data /var/www/html/hls/
sudo chmod -R 755 /var/www/html/hls/
ffplay播放m3u8
我们使用本ubuntu的ffplay播放:
bash
ffplay http://127.0.0.1/hls/output.m3u8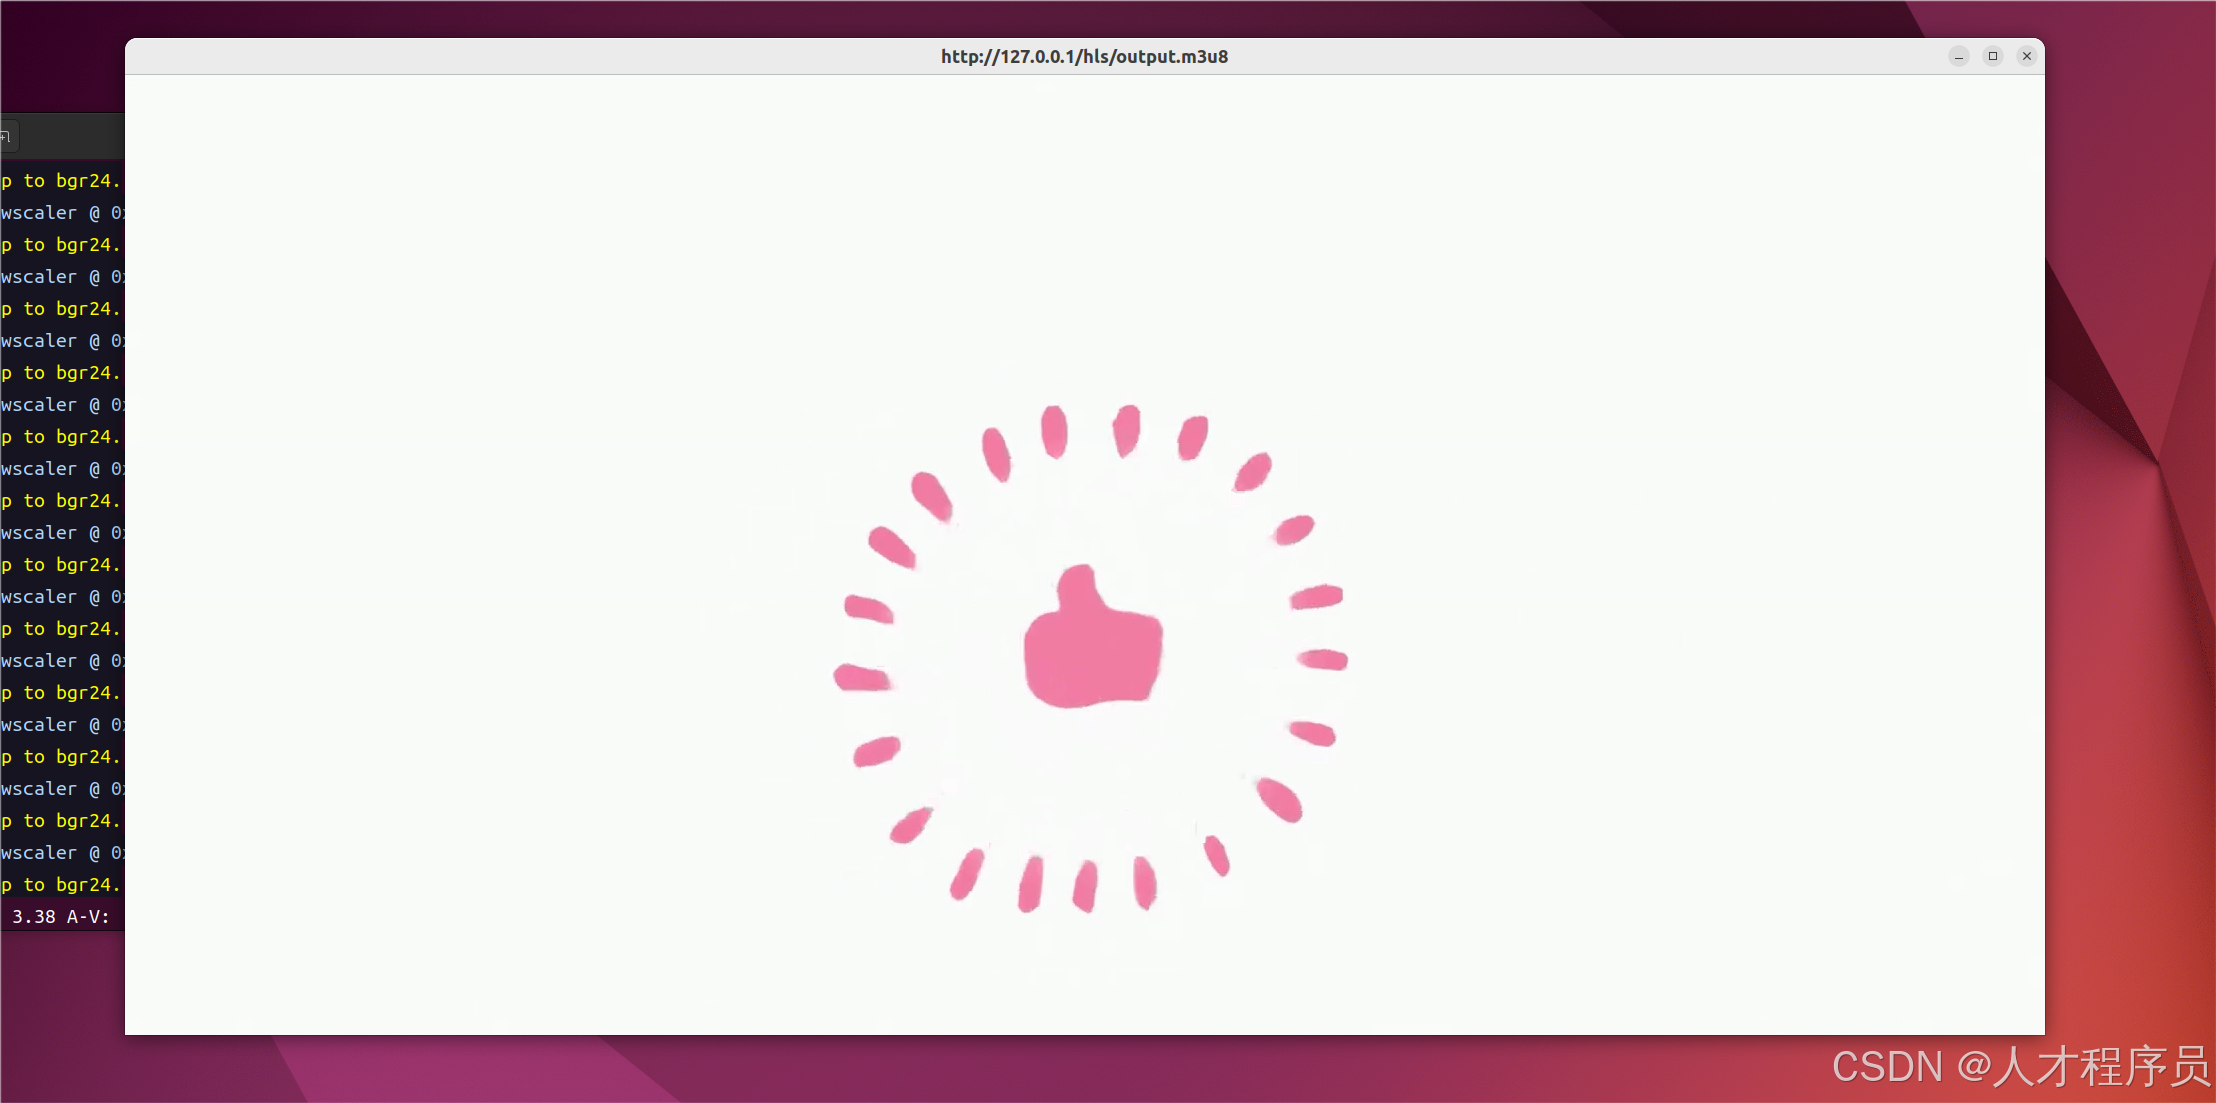
总结
通过Nginx配置HLS流媒体服务器,不仅能够提供高效的流媒体服务,还能够利用Nginx的高性能特性,处理大量并发请求。Nginx的灵活配置和强大功能使其成为流媒体应用的理想选择。本文介绍了Nginx的基本信息、安装过程及HLS配置,希望能为你的流媒体服务搭建提供帮助。