主要写前端页面,采用vue框架写页面的导航栏!!!
前言
主要写前端页面,采用vue框架写页面的导航栏!!!
Vue项目配置环境
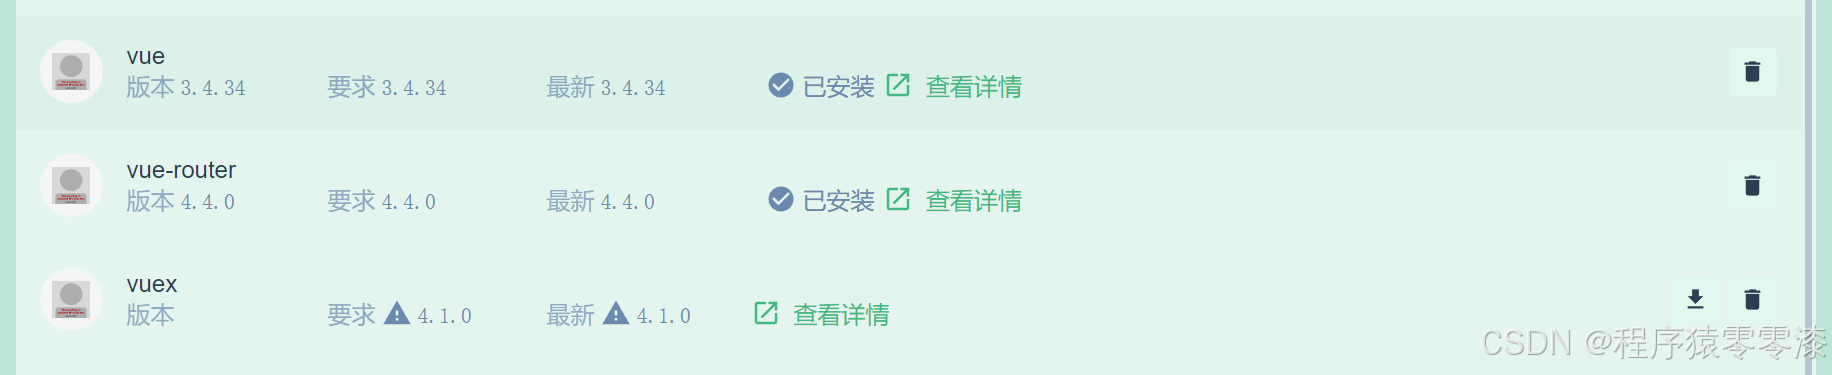
安装依赖
安装vue-router和vuex
jquery
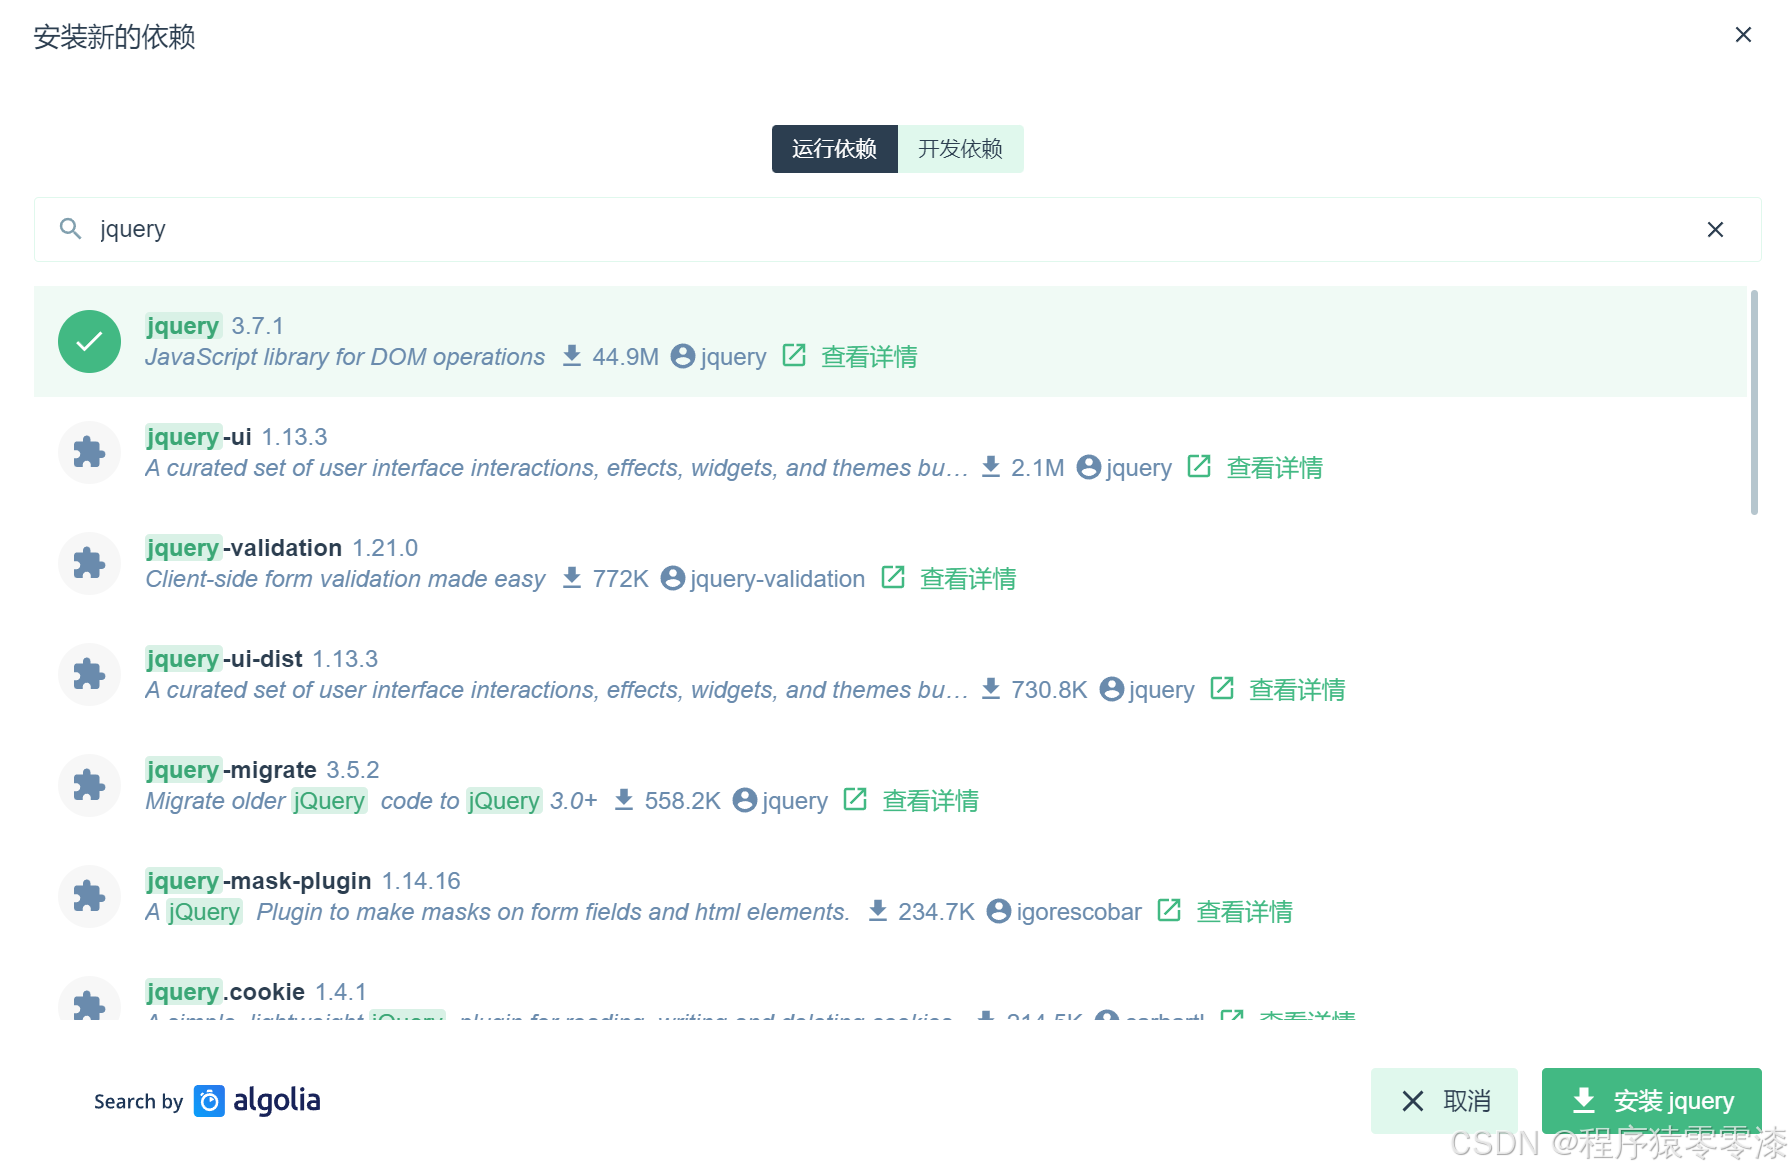
bootstrap
 运行
运行
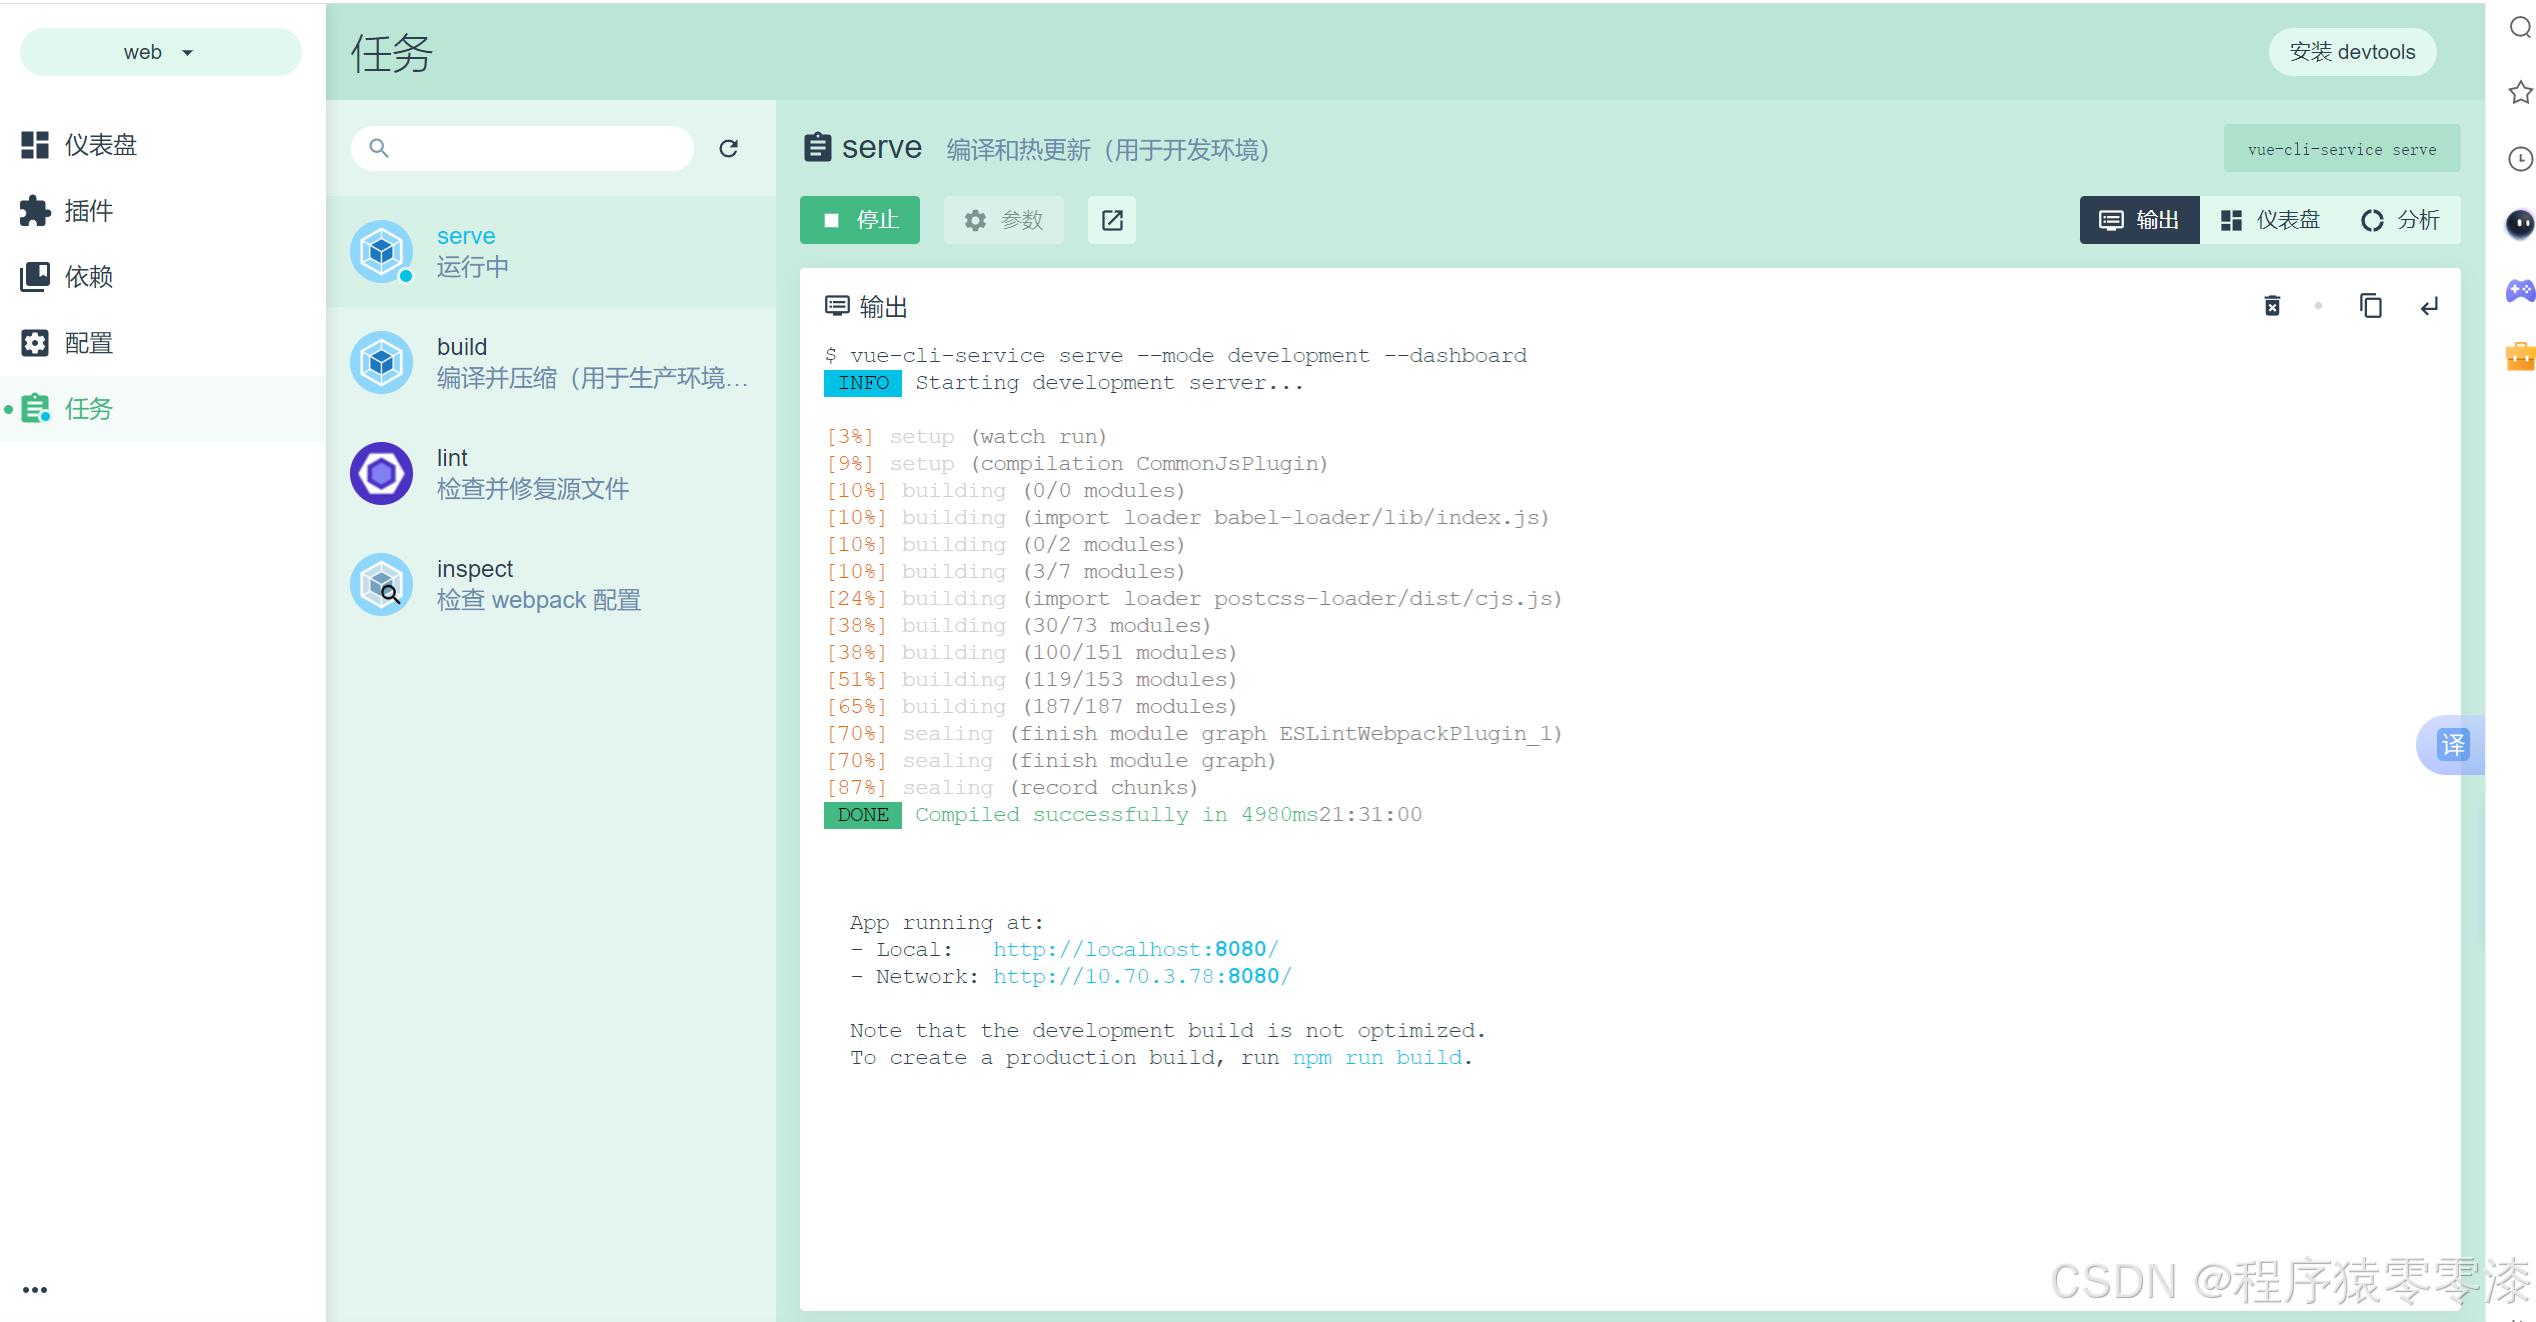
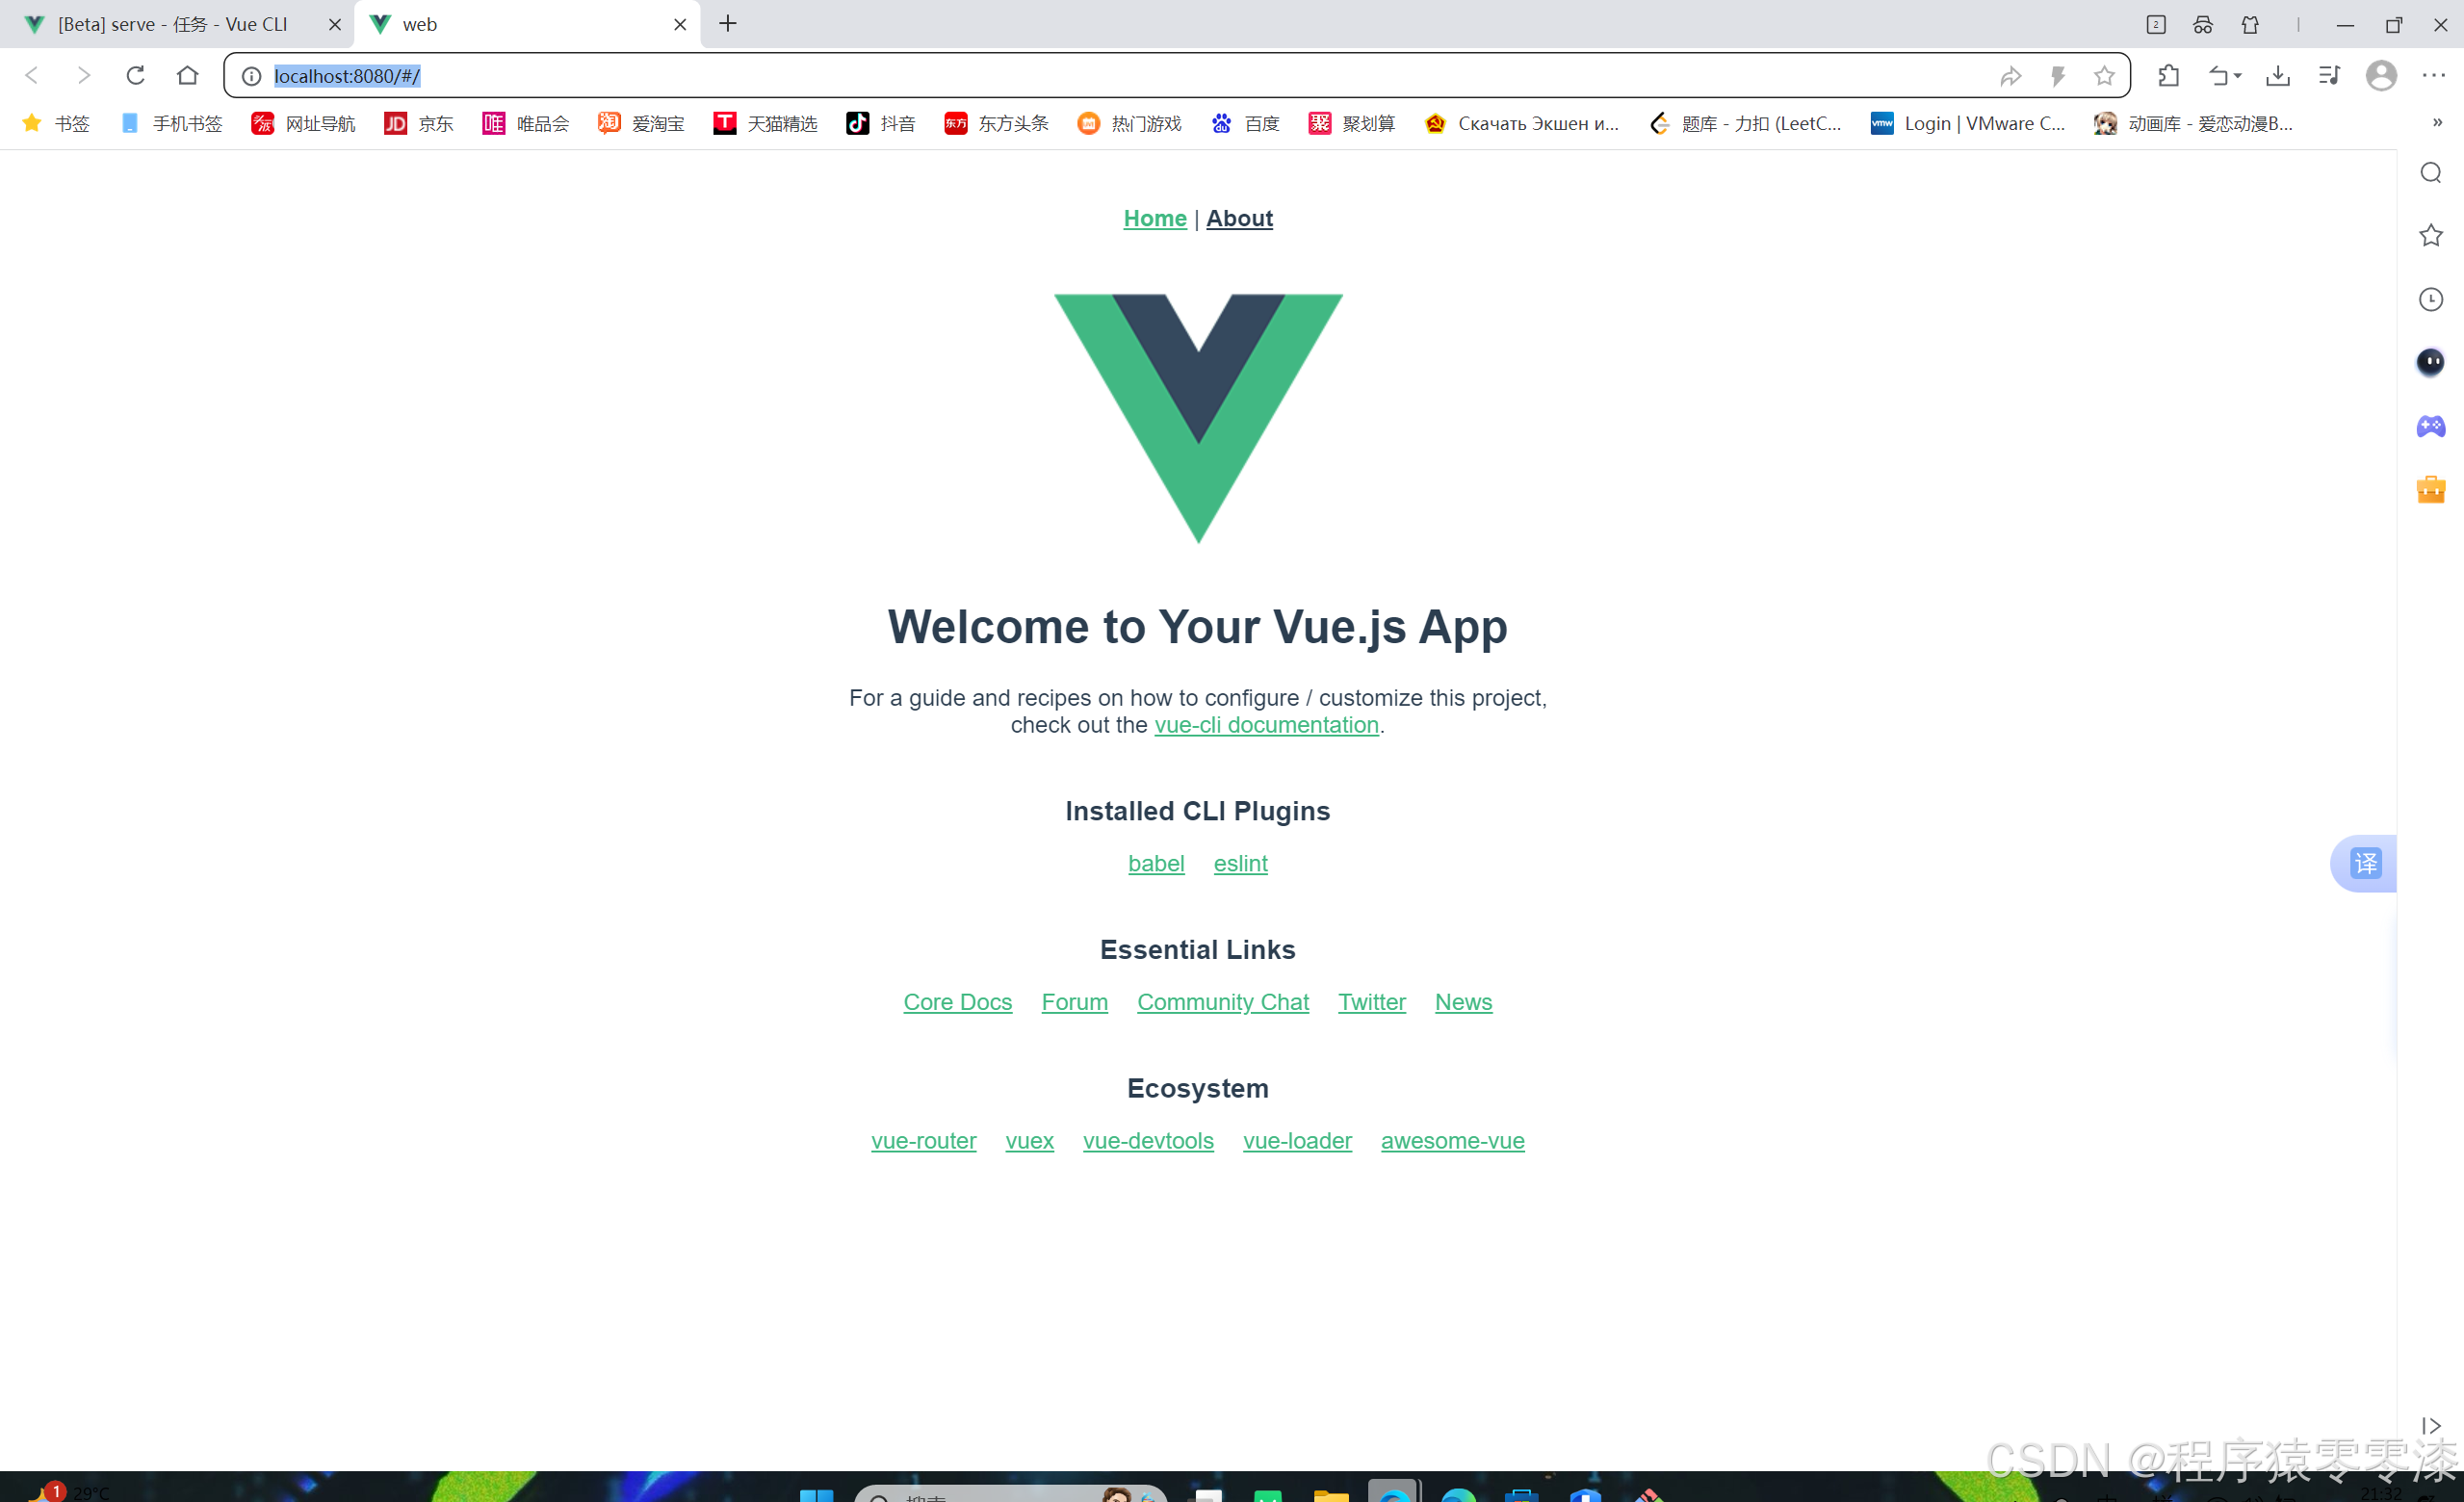
此时代表项目启动成功。
通过vue框架来访问后端的数据。
html
<template>
  <div>
    <div>Bot昵称:{{ bot_name }}</div>
    <div>Bot版本:{{ bot_verson }}</div>
  </div>
  <router-view/>
</template>
<script>
import $ from 'jquery';
import {ref} from 'vue';

  export default {
    name: "App",
    setup: () =>{
      let bot_name = ref("");
      let bot_verson = ref("");

      $.ajax({
        url: "http://localhost:3000/pk/getbotinfo",
        type: "get",
        success: resp => {
          bot_name.value = resp.name;
          bot_verson.value = resp.version;
        }
      });
      return {
        bot_name,
        bot_verson
      }
    }

  }
</script>

<style>

</style>
java
package org.example.backend.controller.pk;

import org.springframework.web.bind.annotation.RequestMapping;
import org.springframework.web.bind.annotation.RestController;

import java.util.*;

@RestController
@RequestMapping("/pk")
public class BotInfoController {
    @RequestMapping("/getbotinfo")
    public Map<String,String> getBotInfo(){
        Map<String,String> map = new HashMap<>();
        map.put("name","tiger");
        map.put("version","1.0.0");
        return map;
    }
}前端vue框架通过ajax异步发送"http://localhost:3000/pk/getbotinfo"来访问后端的函数,后端函数返回了一个集合{
"name": "tiger",
"version": "1.0.0"
}
到前端浏览器,然后前端在渲染到页面即可。
注:如果显示报错需要解决跨域问题可在【SpringBoot教程:从入门到精通】掌握Springboot开发技巧和窍门(三)博客中找到跨域问题配置的代码复制到配置类中即可。
创建菜单
到Bootstrap网站中寻找对应的前端样式进行修改
注:如果前端报以下错误
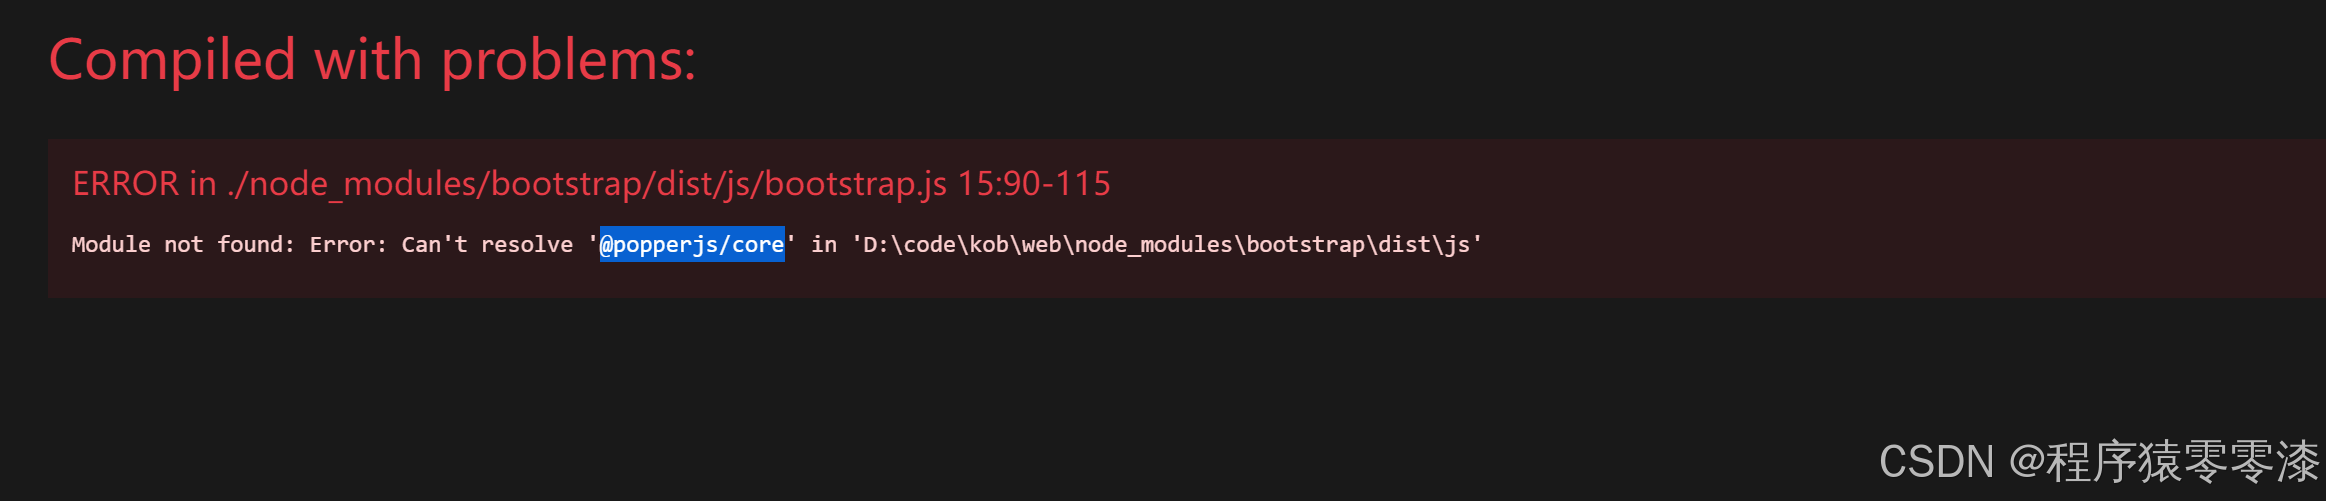
那么去vue的可视化界面依赖中下载@popperjs/core即可
 因为每一个页面都有导航栏,所以我们将导航栏直接写成一个组件,这样便于其它页面共同使用该导航栏

想让点击导航栏让页面跳转到另一个页面主要十通过App.vue的<router-view/>所对应的router文件夹下的index.js来实现
javascript
import { createRouter, createWebHistory } from 'vue-router';

import RecordIndexView from '@/views/record/RecordIndexView.vue';
import RankListIndexView from '@/views/ranklist/RankListIndexView.vue';
import UserBotIndexView from '@/views/user/bot/UserBotIndexView.vue';
import NotFoundIndexView from '@/views/error/NotFoundIndexView.vue';
import PkIndexView from '@/views/pk/PkIndexView.vue';

const routes = [
  {
    path: "/",
    name: "home",
    redirect: "/pk"
  },
  {
    path: "/pk",
    name: "pk_index",
    component: PkIndexView
  },
  {
    path: "/ranklist",
    name: "ranklist_index",
    component: RankListIndexView
  },
  {
    path: "/record",
    name: "record_index",
    component: RecordIndexView
  },
  {
    path: "/user/bot",
    name: "user_bot_index",
    component: UserBotIndexView
  },
  {
    path: "/404",
    name: "not_found_index",
    component: NotFoundIndexView
  },
  {
    path: "/:catchAll(.*)",
    name: "404",
    redirect: "/404"
  },
]

const router = createRouter({
  history: createWebHistory(),
  routes
})

export default router
前端导航栏里面的代码如下:
javascript
<template>
<nav class="navbar navbar-expand-lg bg-body-tertiary">
  <div class="container">
    <a class="navbar-brand" href="#">Kob of Bots</a>
    <button class="navbar-toggler" type="button" data-bs-toggle="collapse" data-bs-target="#navbarText" aria-controls="navbarText" aria-expanded="false" aria-label="Toggle navigation">
      <span class="navbar-toggler-icon"></span>
    </button>
    <div class="collapse navbar-collapse" id="navbarText">
      <ul class="navbar-nav me-auto mb-2 mb-lg-0">
        <li class="nav-item">

          <router-link class="nav-link active" aria-current="page" :to="{name: 'home'}">对局</router-link>
        </li>
        <li class="nav-item">
          <router-link class="nav-link" :to="{name: 'record_index'}">对局列表</router-link>
        </li>
        <li class="nav-item">
          <router-link class="nav-link" :to="{name: 'ranklist_index'}">排行榜</router-link>
        </li>
      </ul>
      <span class="navbar-text">
        <ui class="nav-item dropdown">
          <a class="nav-link dropdown-toggle" href="#" role="button" data-bs-toggle="dropdown" aria-expanded="false">
            hgq
          </a>
          <ul class="dropdown-menu">
            <!-- 这样就不会刷新页面-->
            <router-link class="dropdown-item" :to="{name: 'user_bot_index'}">我的Bot</router-link>
            <li><a class="dropdown-item" href="#">退出</a></li>
          </ul>
        </ui>
      </span>
    </div>
  </div>
</nav>
</template>

<script>

</script>

<style scoped>


</style>
模板部分
- 导航栏(<nav>):使用了Bootstrap的样式(class="navbar navbar-expand-lg bg-body-tertiary"),背景色为body的第三级背景色。
- 容器(<div class="container">):包裹整个导航栏内容,保证内容在页面中居中显示。
- 品牌链接(<a class="navbar-brand">):显示为"Kob of Bots",点击链接回到页面顶部(href="#")。
- 折叠按钮(<button class="navbar-toggler">):用于在小屏幕上折叠导航栏内容,触发类名为"navbarText"的折叠内容区域。
- 折叠内容区域(<div class="collapse navbar-collapse" id="navbarText">):包含了导航链接和用户下拉菜单。
- 导航链接(<ul class="navbar-nav">):列出了三个项目,分别链接到不同的路由(通过Vue Router实现):
- "对局"链接(active状态):链接到路由名称为'home'。
- "对局列表"链接:链接到路由名称为'record_index'。
- "排行榜"链接:链接到路由名称为'ranklist_index'。
- 用户下拉菜单(<span class="navbar-text">):包含了一个下拉式菜单,显示当前用户的名称hgq。
- 点击用户名时,显示一个下拉菜单(class="dropdown-menu"),包含两个选项:"我的Bot":链接到路由名称为'user_bot_index'。"退出":一个静态链接,暂未指定功能。
写一个公共盒子组件,每一个页面里面具体内容都写到盒子里面
javascript
<template>
    <div class="container">
        <div class="card">
            <div class="card-body">
                <slot></slot>
            </div>
        </div>
    </div>
</template>

<script>
</script>
<style scoped>

</style>
对局页面
javascript
<template>
    <ContentField>
        对战
    </ContentField>
</template>

<script>
import ContentField from "@/components/ContentField.vue";

export default{
    components: {
        ContentField
    }
}
</script>
<style scoped>

</style>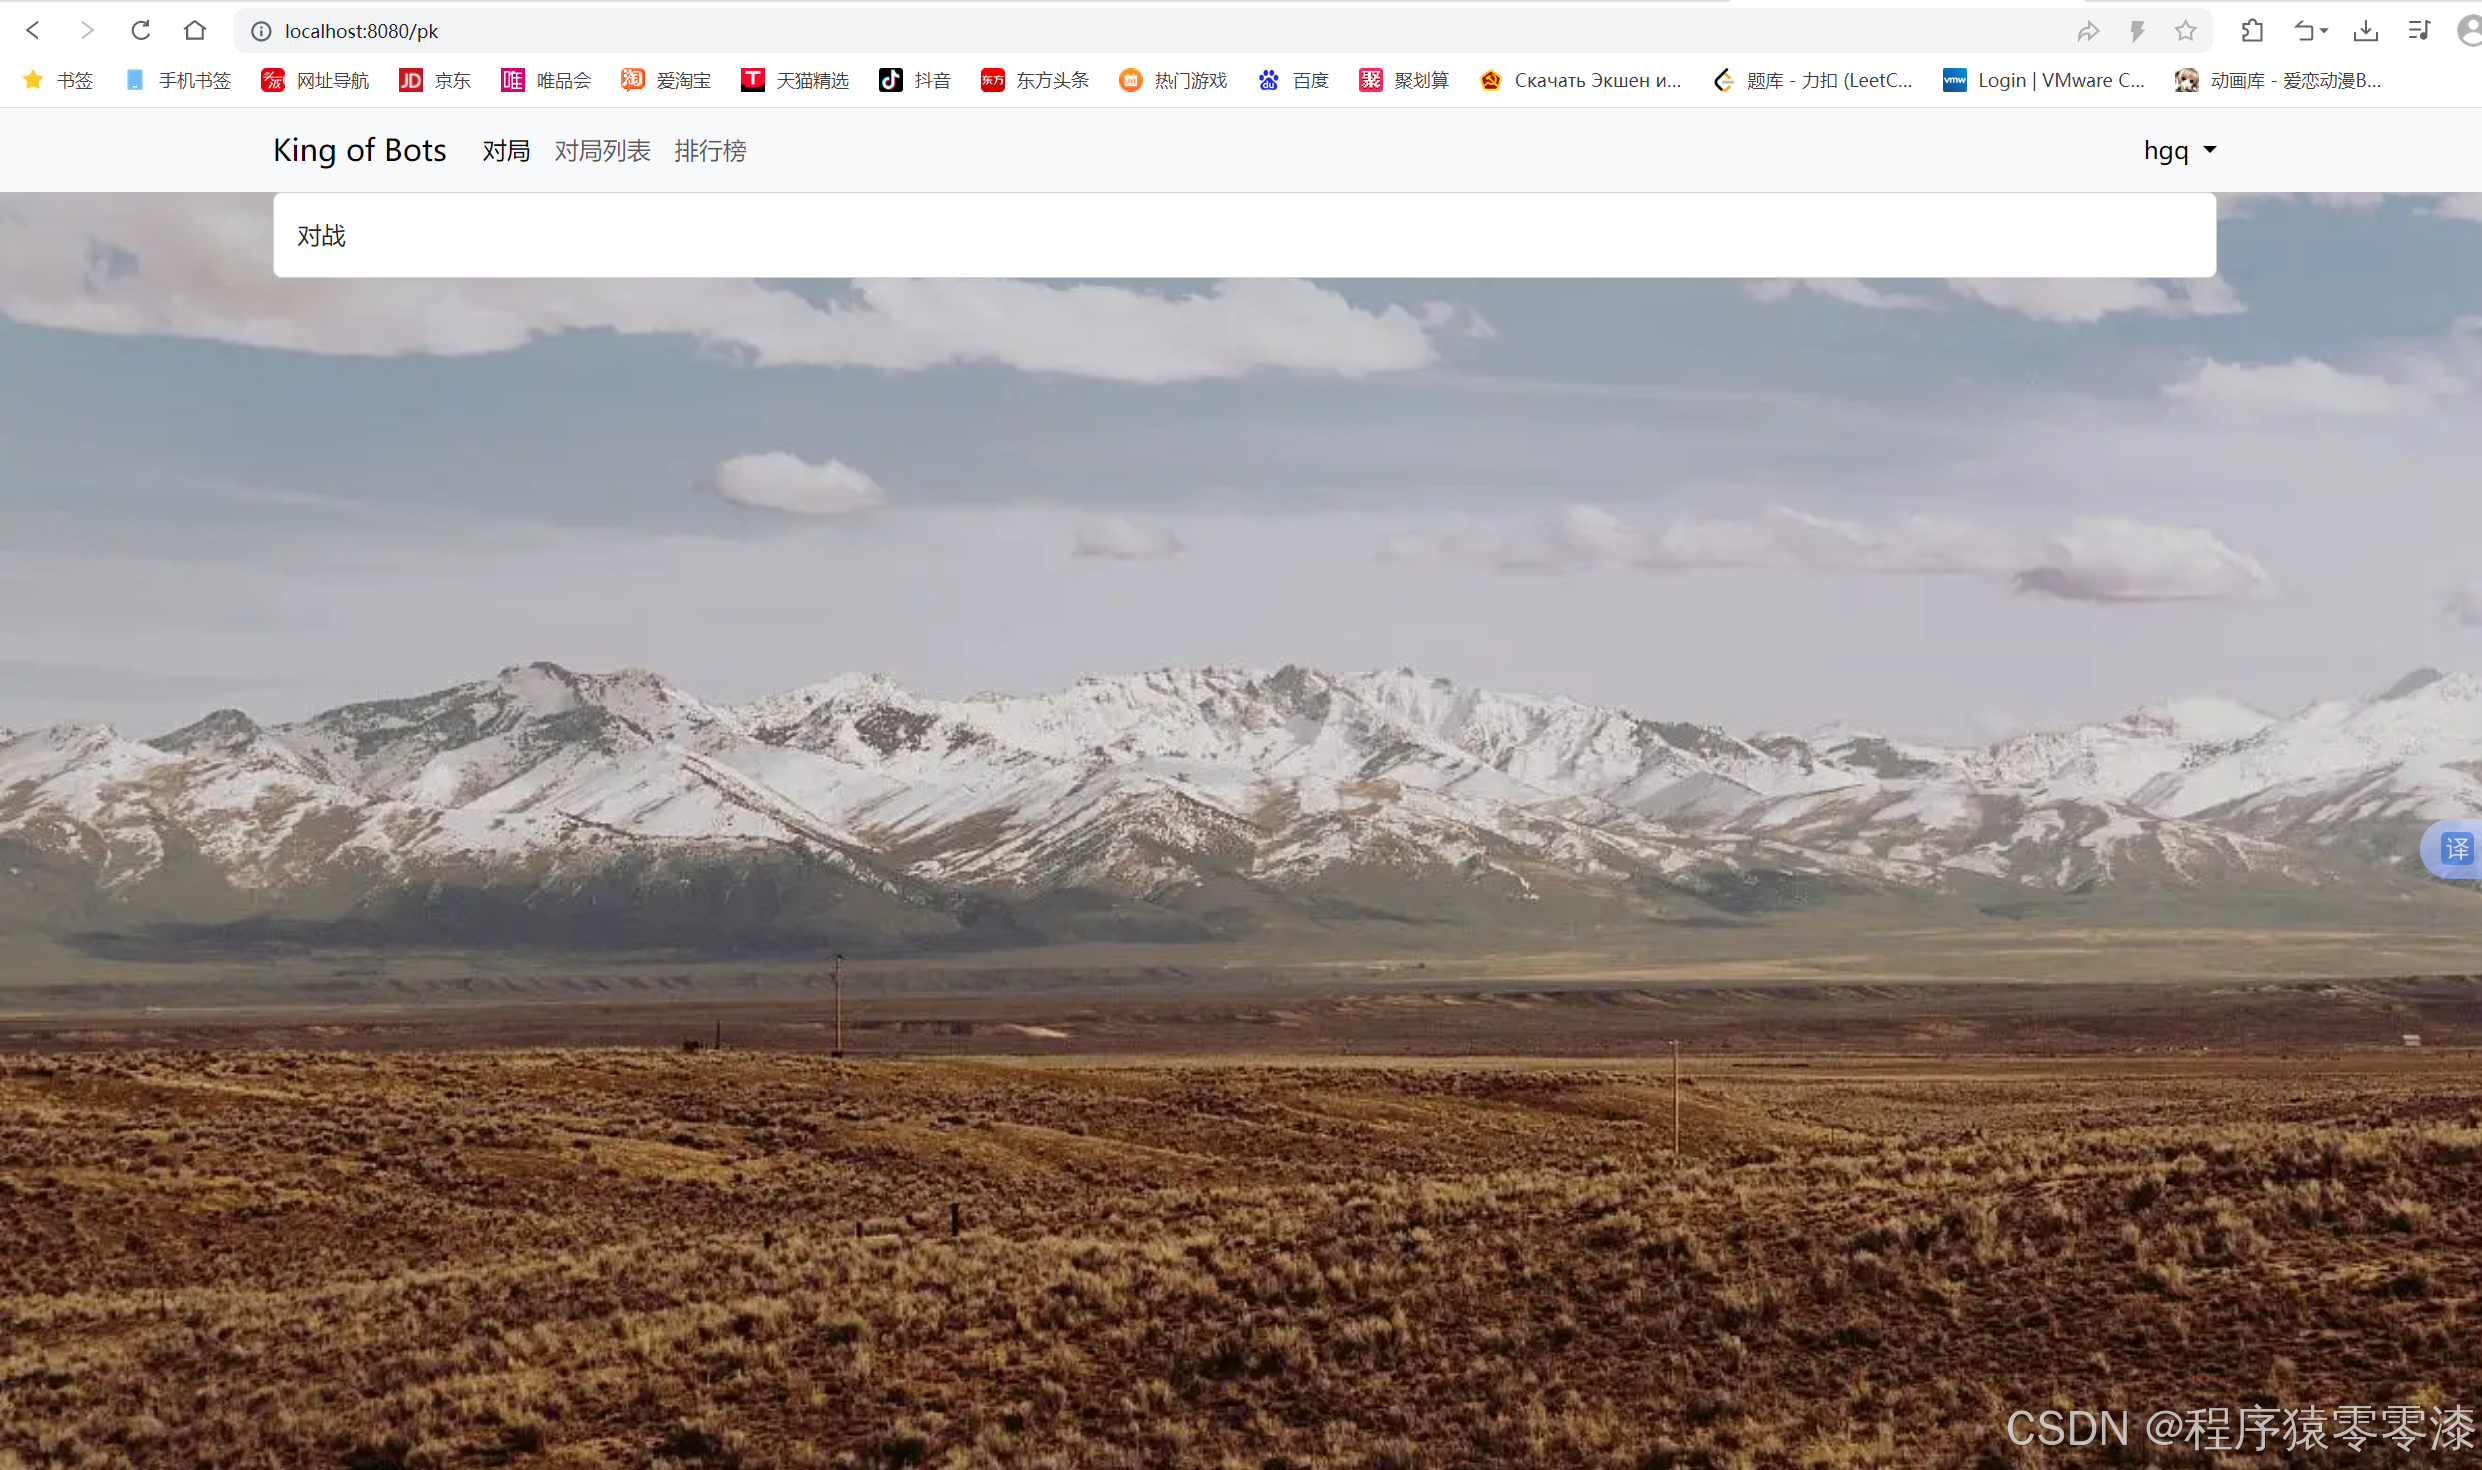
javascript
<div>
    <li class="nav-item">
          <router-link :class= "route_name == 'home'? 'nav-link active' : 'nav-link' " aria-current="page" :to="{name: 'home'}">对局</router-link>
        </li>
        <li class="nav-item">
          <router-link :class= "route_name == 'record_index'? 'nav-link active' : 'nav-link' " :to="{name: 'record_index'}">对局列表</router-link>
        </li>
        <li class="nav-item">
          <router-link :class= "route_name == 'ranklist_index'? 'nav-link active' : 'nav-link' " :to="{name: 'ranklist_index'}">排行榜</router-link>
        </li>
</div>

<script>

import { useRoute } from 'vue-router';
import { computed } from 'vue';

export default{
  setup(){
    const route = useRoute();
    let route_name = computed(() => route.name);
    return{
      route_name
    }
  }
}

</script>
<router-link> 组件 :这是Vue Router提供的组件,用于创建导航链接。它会根据配置的to属性指定的路由路径来生成实际的 <a> 标签。
:class绑定:根据当前路由的名称(route_name),决定是否添加active类,以高亮显示当前活动页面的链接。:to属性:指定了路由的目标名称,这样当用户点击链接时,Vue Router会根据路由配置加载对应的组件和页面。
setup() 函数:这是Vue 3中用于设置组件逻辑的新方式,使用 Composition API。
useRoute():从 Vue Router 中导入的函数,用于获取当前路由的信息。computed(() => route.name):通过computed函数创建一个计算属性route_name,它会根据route.name的变化而自动更新。
这个组件的主要功能是显示一个导航栏,其中每个导航项都是通过 <router-link> 组件创建的动态路由链接。根据当前页面的路由名称,会自动添加 active 类来高亮显示当前选中的页面链接。
总结
主要写前端页面,采用vue框架写页面的导航栏!!!