背景需求:
前期制作2024年第一学期校历制作,
我这里希望日期是年月日样式
但是改成年月日,总是报错


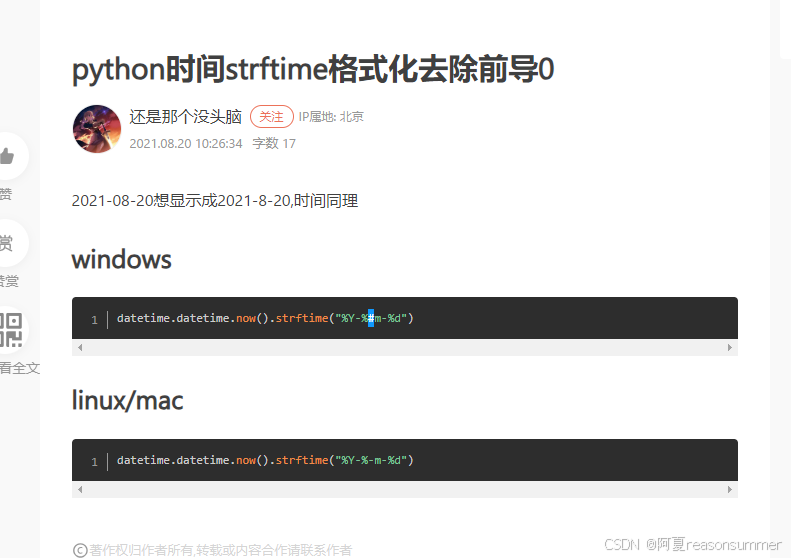
星火讯飞没有解决这个问题,百度上找到了解决方案
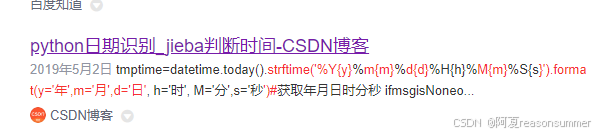
百度也解决了月、日前面去掉前置0的问题
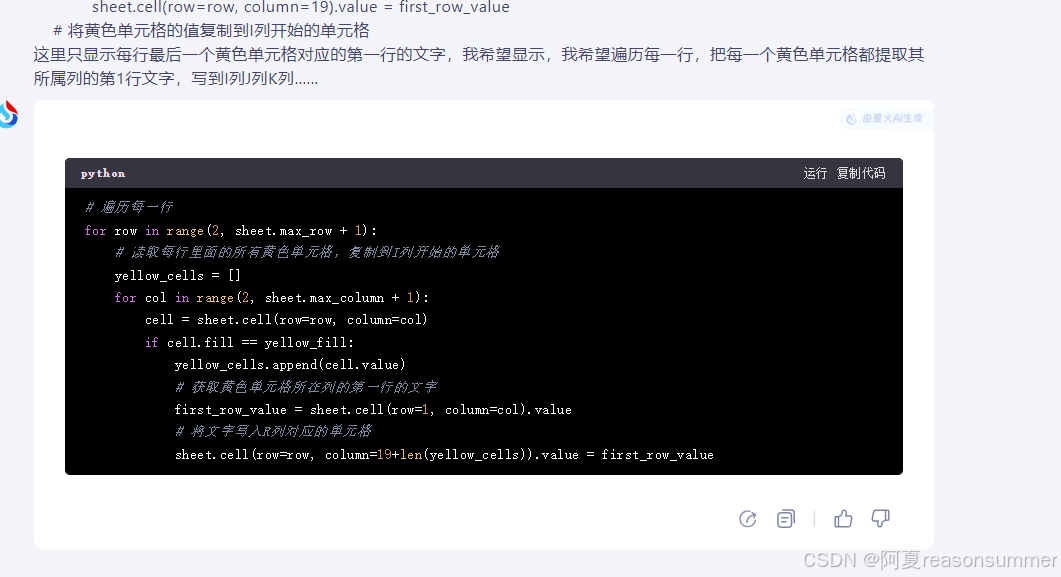
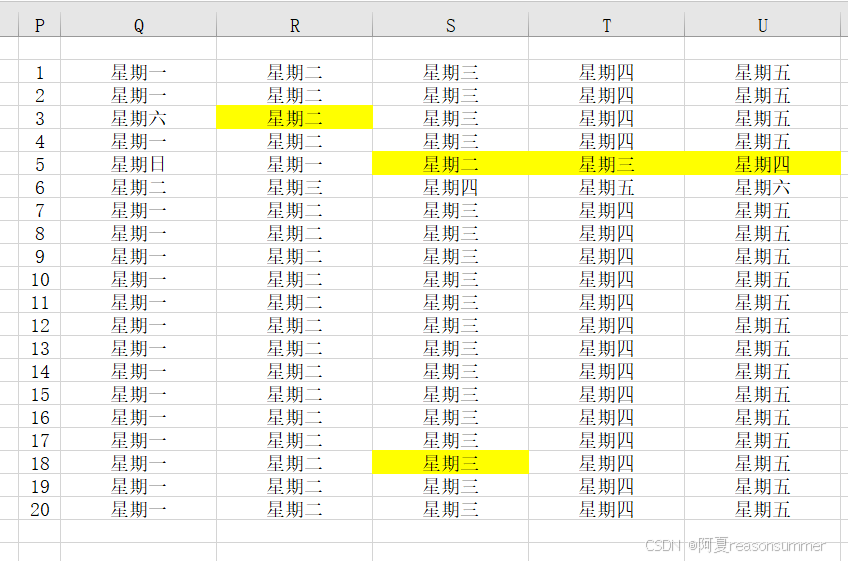
用星火讯飞实现了读取黄色单元格,提取它所在列第一行的单元格里的"星期"文字,
代码展示
python
'''
2024学年第一学期校历,制作教案用日期
星火讯飞 阿夏
2024年7月31日
'''
# -*- coding: utf-8 -*-
import datetime
import openpyxl
from openpyxl.styles import Alignment, PatternFill
import time
# for
# 创建一个新的Excel工作簿
workbook = openpyxl.Workbook()
sheet = workbook.active
# 设置标题行
title_row = ["周次", "星期一", "星期二", "星期三", "星期四", "星期五", "星期六", "星期日"]
sheet.append(title_row)
# 设置日期范围
start_date = datetime.date(2024, 9, 2)
end_date = datetime.date(2025, 1, 17)
# 计算周数和日期
current_week = 1
current_day = start_date
while current_day <= end_date:
# 获取当前周的第一天(星期一)
week_start = current_day - datetime.timedelta(days=current_day.weekday())
# 如果当前日期是新的一周,添加新行并更新周数
if current_day == week_start:
sheet.append([f"第{current_week:02d}周"])
current_week += 1
# 在正确的单元格中添加日期
column_index = current_day.weekday() + 2 # 从B列开始,所以加2
cell = sheet.cell(row=current_week, column=column_index)
# 不同的表示方法
# cell.value = current_day.strftime("%Y-%m-%d") # 2024-09-01
# cell.value = current_day.strftime("%Y-%#m-%#d") # 2024-9-1
# cell.value = current_day.strftime("%m/%d") # 09-01
# cell.value = current_day.strftime("%#m/%#d") # 9-1
# cell.value = current_day.strftime('%Y{y}%m{m}%d{d}').format(y='年', m='月', d='日') # 2024年09月01日
cell.value = current_day.strftime('%Y{y}%#m{m}%#d{d}').format(y='年', m='月', d='日') # 2024年9月1日
cell.alignment = Alignment(horizontal='center', vertical='center')
# 如果日期不等于周六和周日,就把这个单元格填充为浅黄色
if current_day.weekday() not in (5, 6):
light_yellow_fill = PatternFill(start_color="FFFF00", end_color="FFFF00", fill_type="solid")
cell.fill = light_yellow_fill
# 如果日期等于2024-09-14、2024-10-12、9月16日、9月17日、10月1日到10月8日、2025年1月1日,单元格填充为白色
special_dates = [datetime.date(2024, 9, 14), datetime.date(2024, 10, 12), datetime.date(2024, 9, 16), datetime.date(2024, 9, 17)]
for i in range(1, 8):
special_dates.append(datetime.date(2024, 10, i))
special_dates.append(datetime.date(2025, 1, 1))
if current_day in special_dates:
white_fill = PatternFill(start_color="FFFFFF", end_color="FFFFFF", fill_type="solid")
cell.fill = white_fill
# 如果日期等于2024-09-14或2024-10-12,单元格填充为黄色
if current_day == datetime.date(2024, 9, 14) or current_day == datetime.date(2024, 9, 29) or current_day == datetime.date(2024, 10, 12):
yellow_fill = PatternFill(start_color="FFFF00", end_color="FFFF00", fill_type="solid")
cell.fill = yellow_fill
# 移动到下一天
current_day += datetime.timedelta(days=1)
path=r'C:\Users\jg2yXRZ\OneDrive\桌面\校历'
# 保存工作簿
workbook.save(path+r"\2024学年第一学期校历.xlsx")
time.sleep(2)
import openpyxl
from openpyxl.styles import PatternFill
# 打开已存在的Excel文件
workbook = openpyxl.load_workbook(path+r"\2024学年第一学期校历.xlsx")
sheet = workbook.active
# 设置黄色填充样式
yellow_fill = PatternFill(start_color="FFFF00", end_color="FFFF00", fill_type="solid")
# 提取单独的第一个黄、最后一个黄
# 遍历每一行
for row in range(2, sheet.max_row + 1):
# 读取每行里面的所有黄色单元格,复制到I列开始的单元格
yellow_cells = []
for col in range(2, sheet.max_column + 1):
cell = sheet.cell(row=row, column=col)
if cell.fill == yellow_fill:
yellow_cells.append(cell.value)
for index, value in enumerate(yellow_cells):
sheet.cell(row=row, column=10+index).value = value
# 定义黄色填充样式
yellow_fill = PatternFill(start_color="FFFF00", end_color="FFFF00", fill_type="solid")
for row in range(2, sheet.max_row + 1):
# 读取每行里面的所有黄色单元格,复制到I列开始的单元格
yellow_cells = []
for col in range(2, sheet.max_column + 1):
cell = sheet.cell(row=row, column=col)
if cell.fill == yellow_fill:
yellow_cells.append(cell.value)
# 获取黄色单元格所在列的第一行的文字
first_row_value = sheet.cell(row=1, column=col).value
# 将文字写入R列对应的单元格
sheet.cell(row=row, column=16+len(yellow_cells)).value = first_row_value
# 将黄色单元格的值复制到I列开始的单元格
# for index, value in enumerate(yellow_cells):
# sheet.cell(row=row, column=9+index).value = value
# 设置列宽
for col in range(1, 30):
sheet.column_dimensions[openpyxl.utils.get_column_letter(col)].width = 15
# for col in range(9, 12):
# sheet.column_dimensions[openpyxl.utils.get_column_letter(col)].width = 35
# 设置单元格文字居中
for row in sheet.iter_rows():
for cell in row:
cell.alignment = openpyxl.styles.Alignment(horizontal='center', vertical='center')
workbook.save(path+r"\2024学年第一学期校历.xlsx")
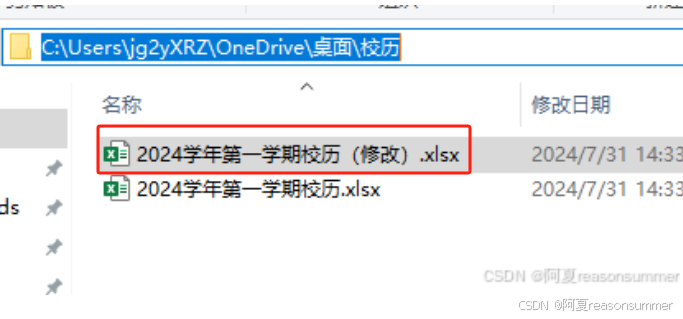
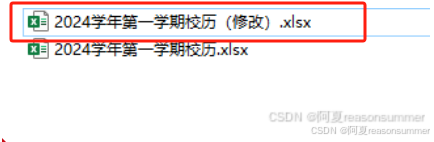
workbook.save(path+r"\2024学年第一学期校历(修改).xlsx")生成两份一模一样的EXCEL,在"修改""里面修改5天一周
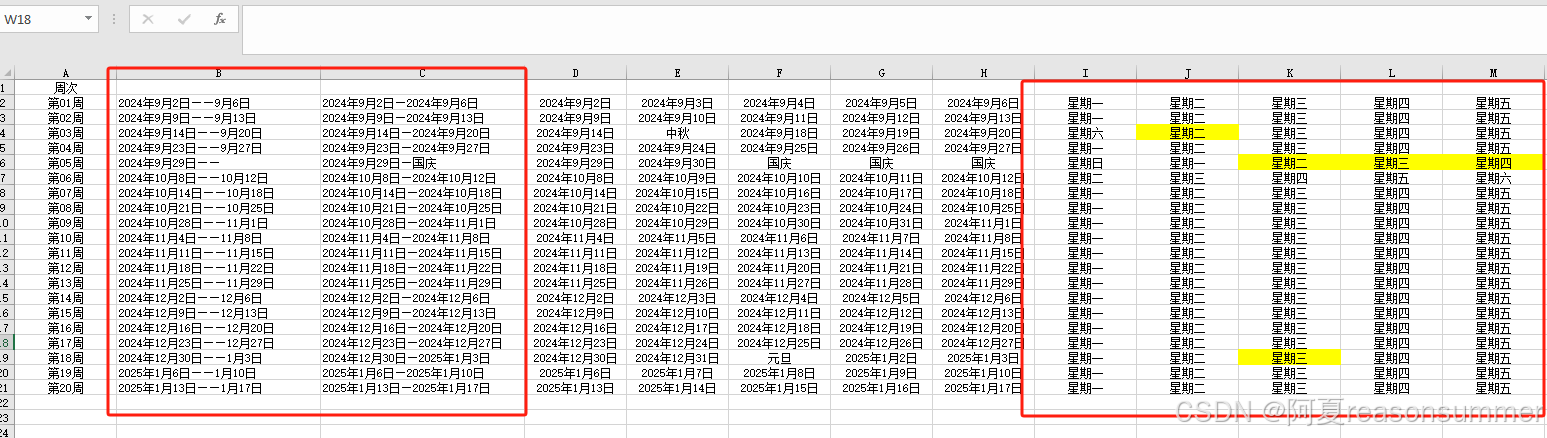
这是年月日版,去掉前置0


把黄色单元格的日期(实际工作日)提取出来
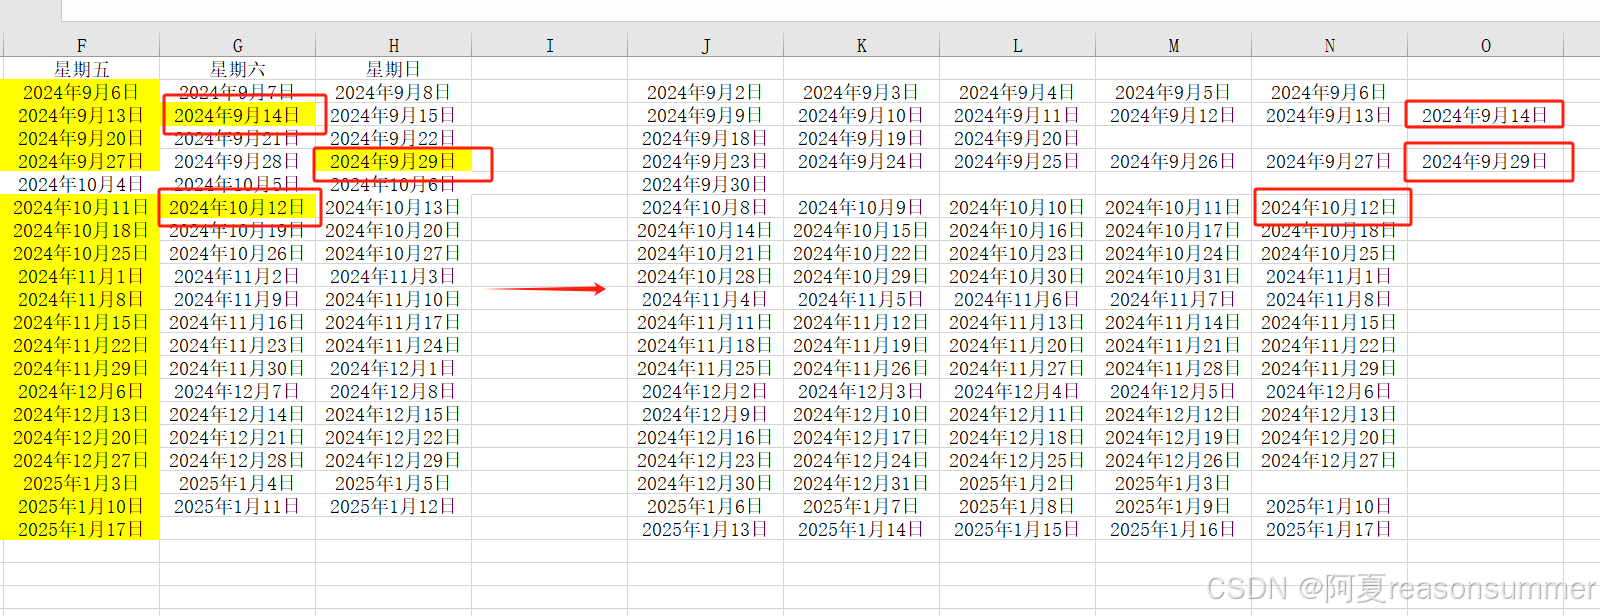
把黄色单元格日期(实际工作日)所属的星期提取出来
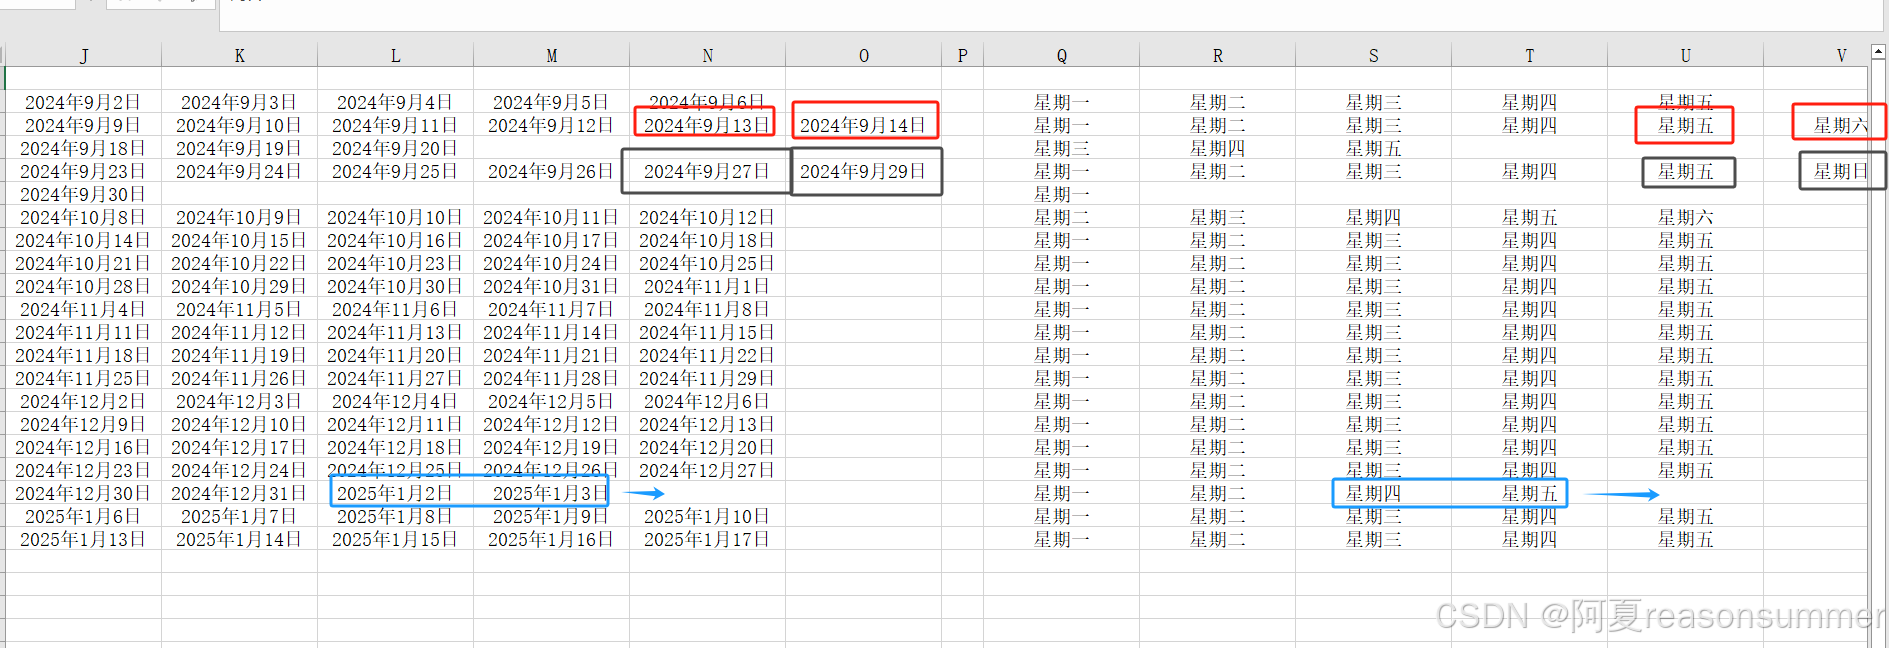


虽然提取出来了,
但是还是需要手动调整。


日期样式还会调整,但星期不会调整了
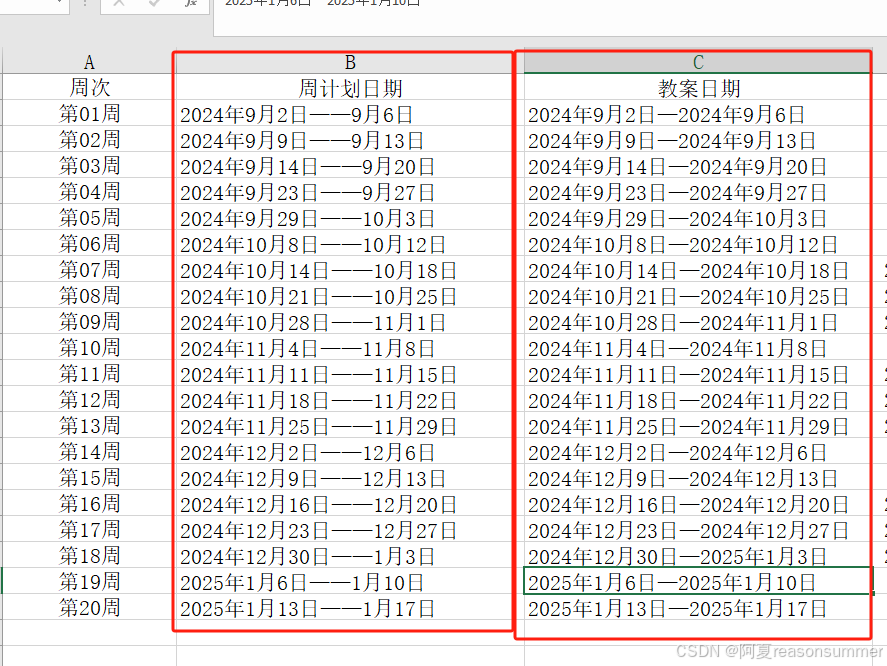
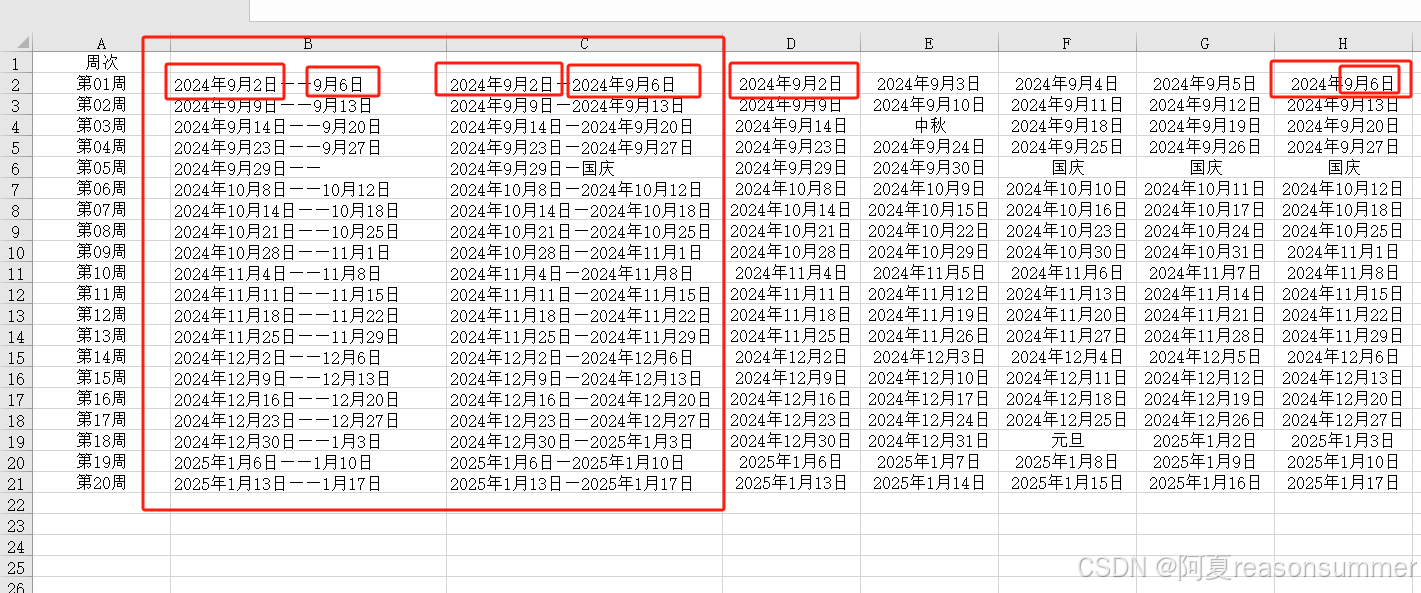
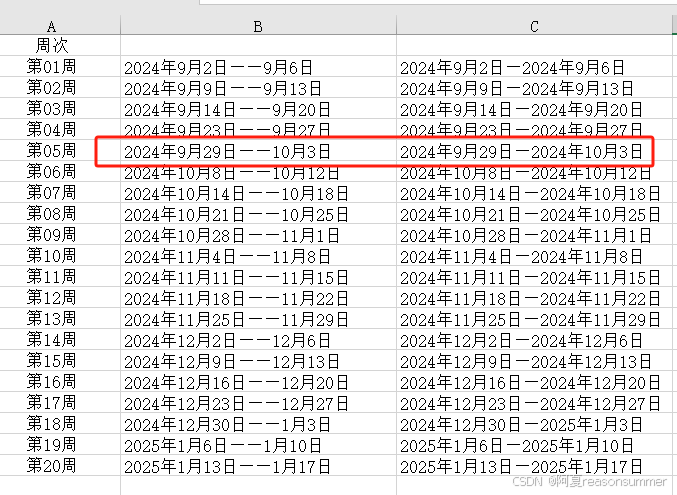
周计划有两种日期格式
1、每周安排上的"年月日--- ---月日"
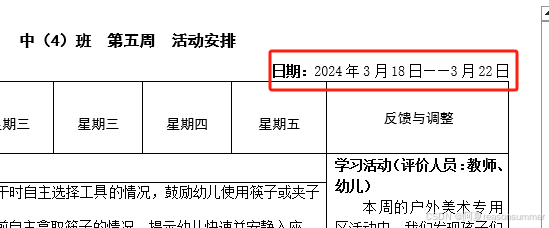
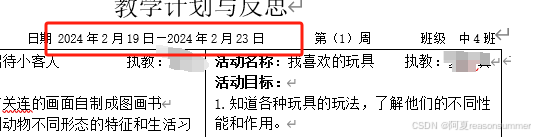
2、教案安排上的"年月日--- 年月日"
对修改EXCEL的内容进行代码修改
代码展示
python
'''
2024学年第一学期校历,制作教案用日期 提取长日期和短日期
星火讯飞 阿夏
2024年7月31日
'''

import openpyxl

path=r'C:\Users\jg2yXRZ\OneDrive\桌面\校历'

# 打开Excel文件
file_path = path+r"\2024学年第一学期校历(修改).xlsx"
workbook = openpyxl.load_workbook(file_path)
sheet = workbook.active

# 删除B列到I列 反复删除第2列
for x in range(8):
    for col in range(2,3):  # B列是第2列,I列是第9列,所以范围是2到9
        sheet.delete_cols(col)

# 在A列后面插入两个空列
sheet.insert_cols(2, 2)

import openpyxl


# 遍历每一行,读取D列和H列的值,组合后写入B列
for row in range(2, sheet.max_row + 1):
    d_value = sheet.cell(row=row, column=4).value  # D列的值
    h_value = sheet.cell(row=row, column=8).value  # H列的值
    if h_value is not None:  # 检查h_value是否为None
        combined_value = f"{d_value}------{h_value[5:]}"  # 组合值,只保留H列单元格内容的[5:]部分
        sheet.cell(row=row, column=2).value = combined_value  # 写入B列
    else:
        print(f"Row {row} has a None value in column H")

for row in range(2, sheet.max_row + 1):
    d_value = sheet.cell(row=row, column=4).value  # D列的值
    h_value = sheet.cell(row=row, column=8).value  # H列的值
    combined_value = f"{d_value}---{h_value}"  # 组合值
    sheet.cell(row=row, column=3).value = combined_value  # 写入B列

for col in range(2, 4):
    sheet.column_dimensions[openpyxl.utils.get_column_letter(col)].width = 30

# 删除IJ列
for x in range(2):
    for col in range(9,10):  # B列是第2列,I列是第9列,所以范围是2到9
        sheet.delete_cols(col)


# 保存修改后的Excel文件
workbook.save(path+r"\2024学年第一学期校历(最终修改).xlsx")
形成三部分
第一部分:
B列是"年月日------月日"
C列是"年月日---年月日"
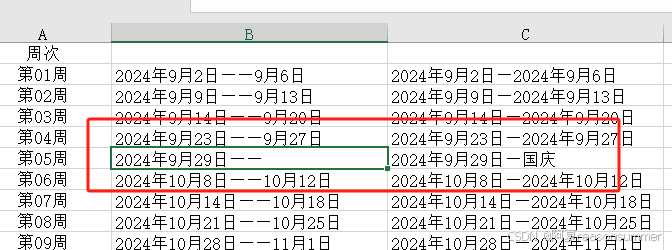
 手动改一下
手动改一下
、
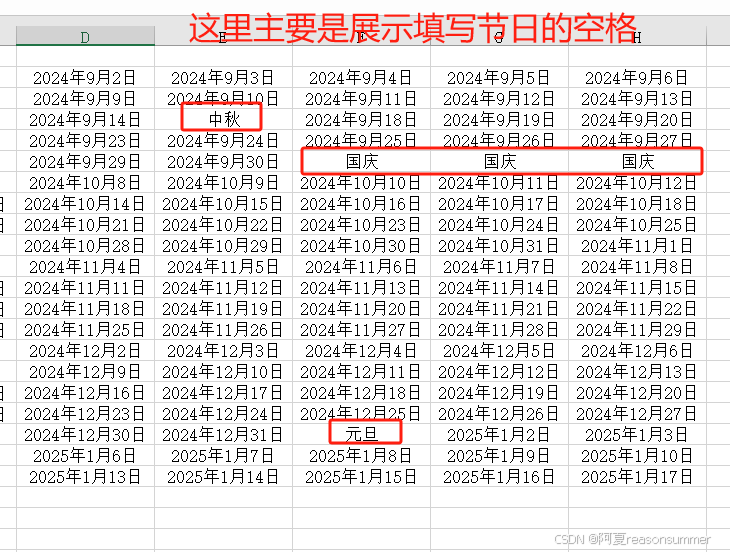
第二部分:
这里是周计划和教案里的"节日空格------明确节日的格子要填上"节日名",而不是各类活动名称
第三部分


本次一共有两个代码,两次手动修改