准备工作
Ubuntu20(WSL)
略
安装依赖
sudo apt update sudo apt-get install build-essential git lib32stdc++-9-dev libc6-dev-i386 -y
nodejs
去官网[1]下载nodejs,版本的话我就选的20.15.1:
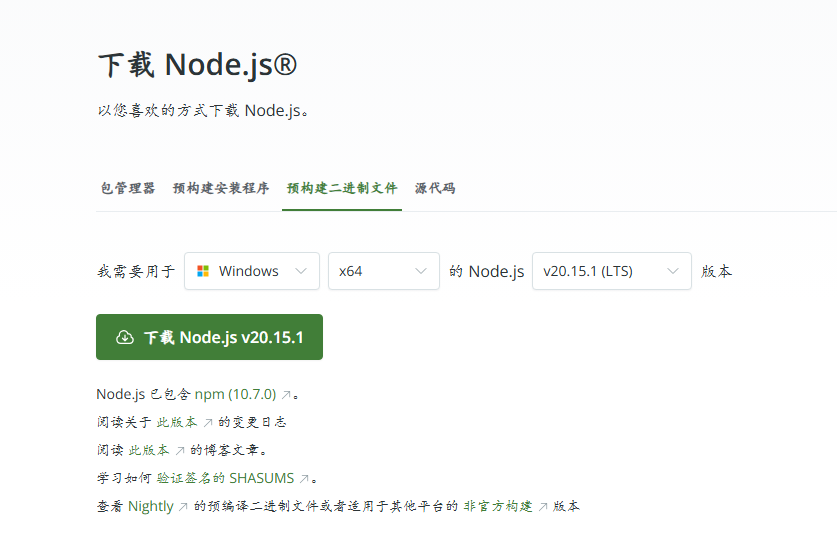
tar -xf node-v20.15.1-linux-x64.tar.xz
下载源码
git clone -b 15.1.28 --recurse-submodules https://github.com/frida/frida
cd frida
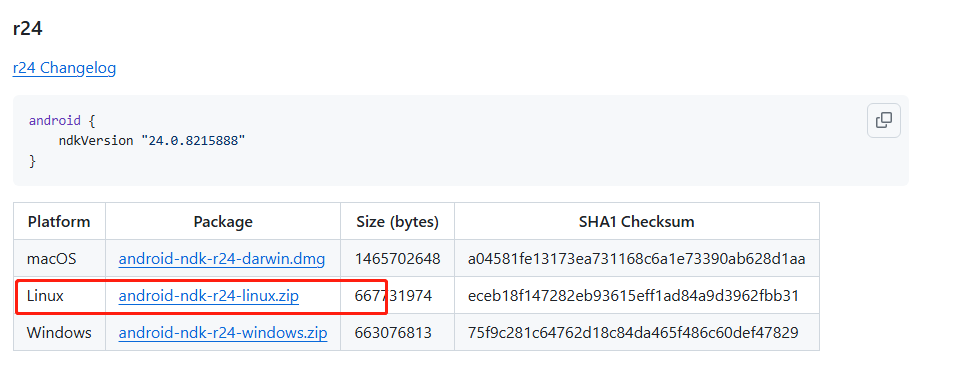
ndk
frida各个版本需要的ndk版本都不一样,可以通过cat releng/setup-env.sh |grep ndk查看

https://github.com/android/ndk/wiki/Unsupported-Downloads
开始编译
为了方便先写个env15.sh的脚本,然后执行source env15.sh,这样不会污染全局环境,如果你想编译frida16的话,再写个env16.sh。
shell
export ANDROID_NDK_ROOT=/home/kanade/android-ndk-r24
export NODE_HOME=/home/kanade/node-v20.15.1-linux-x64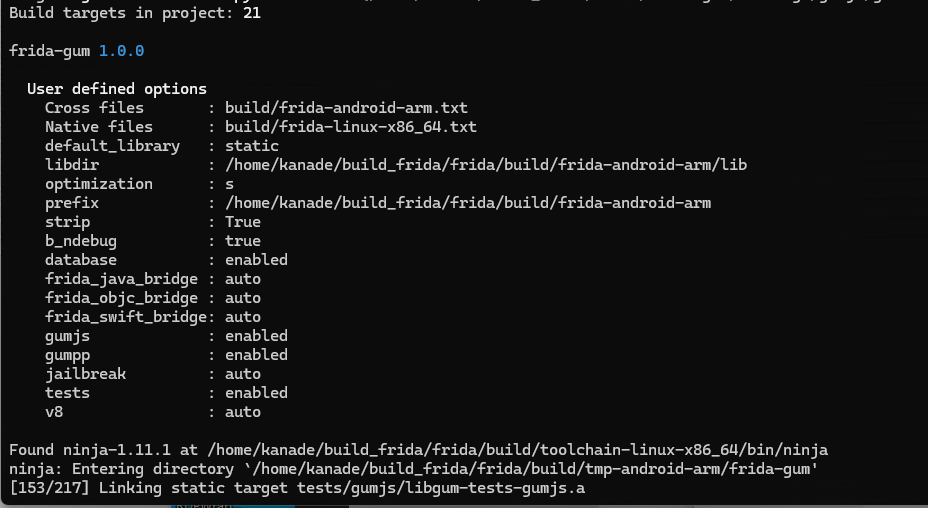
export PATH=${NODE_HOME}/bin:$ANDROID_NDK_ROOT:$PATH开始编译:make core-android-arm64,会先下载toolchain和sdk。

然后就一直卡在这里,这种没有占用CPU的卡住一般都是网络原因
所以在env15.sh加个设置代理的命令:
shell
export https_proxy="http://192.168.31.25:7890"
export http_proxy="http://192.168.31.25:7890"重新编译:make core-android-arm64,等待个两三分钟就编译完成了:
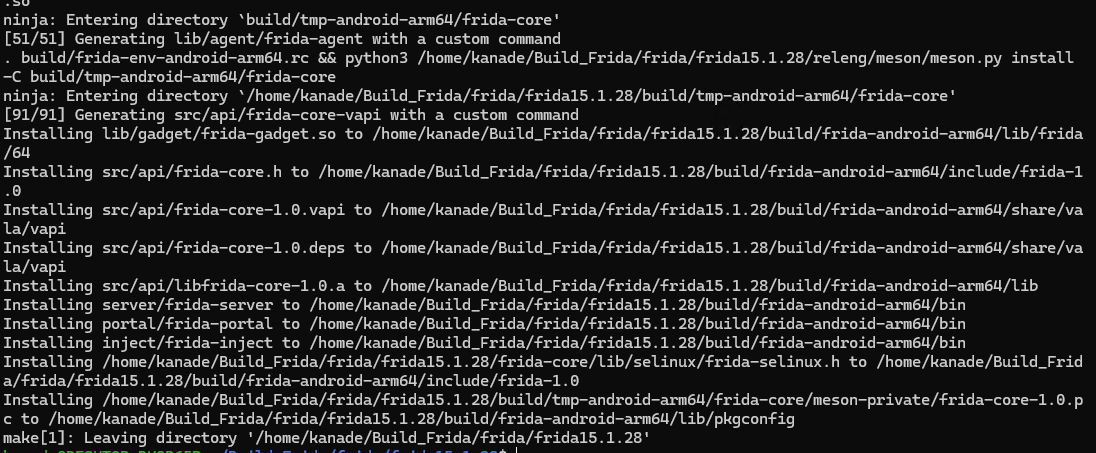
构建好的文件在build/frida-android-arm64/bin

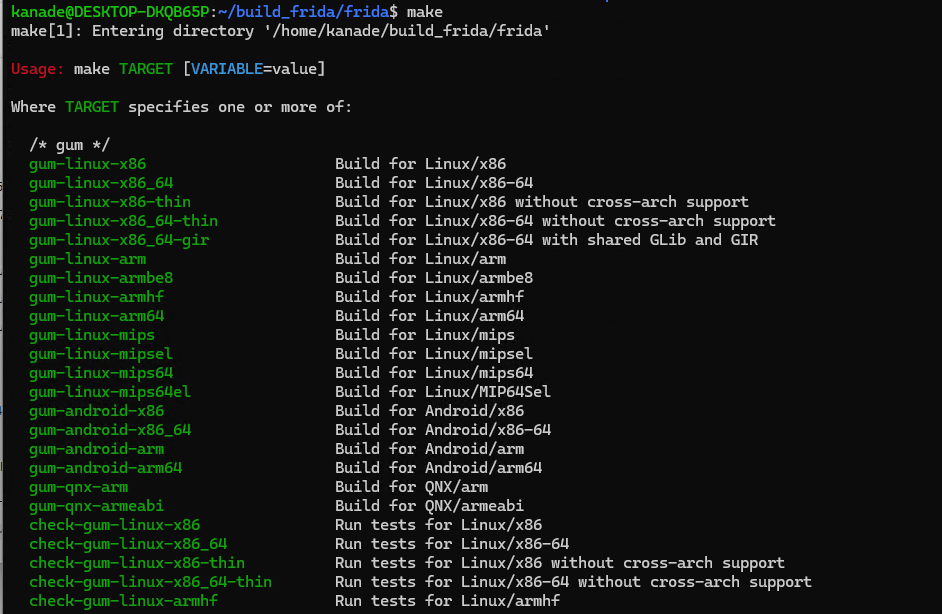
想编译其他平台的话,可以输入make先查看所有的平台,选择需要编译的平台
测试
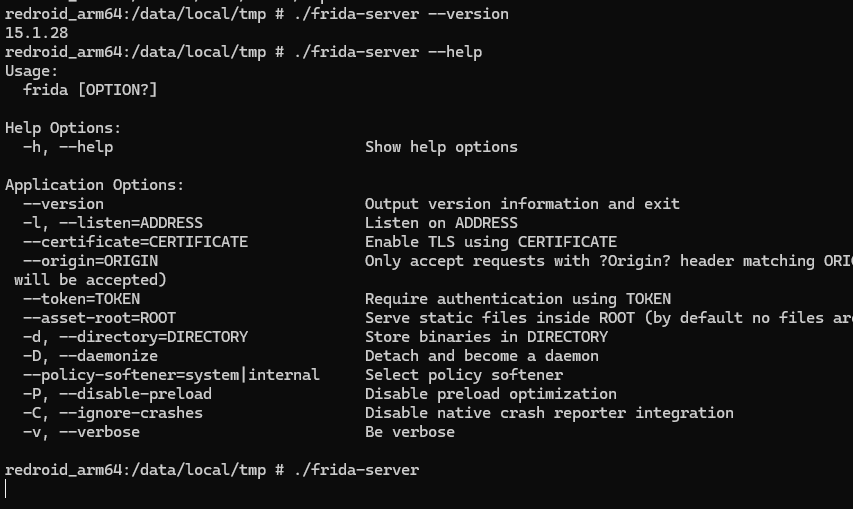
将frida-server推送到手机试试,运行没问题就不测试脚本了
编译toolchain和sdk
这个一般不用操作,当你使用make编译时,如果不存在默认会下载编译好的,这里就只是提一下。
编译toolchain:proxychains make -f Makefile.toolchain.mk

解决方法[2]: sudo apt install m4 -y
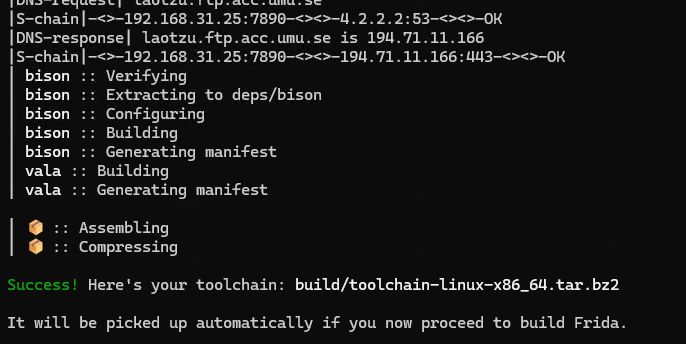
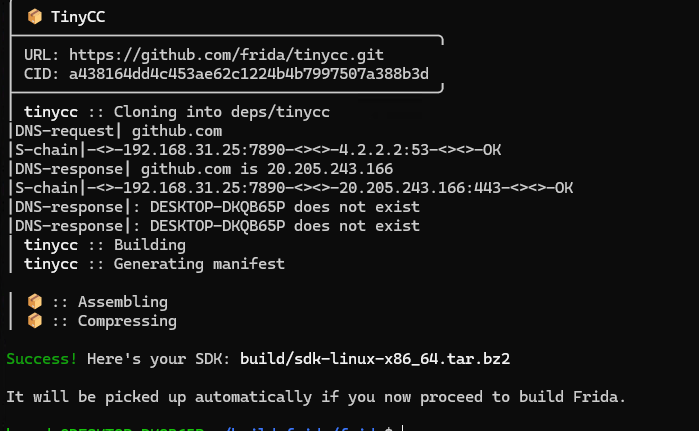
编译sdk:proxychains make -f Makefile.sdk.mk FRIDA_HOST=linux-x86_64 
这个不显示具体的错误,看Makefile.sdk.mk的282行也看不出什么猫腻,但可以知道的是在构建gn的时间出错的。所以可以看一下gn的构建日志,先找一下日志所在路径,tree -NCfhl |grep build.log
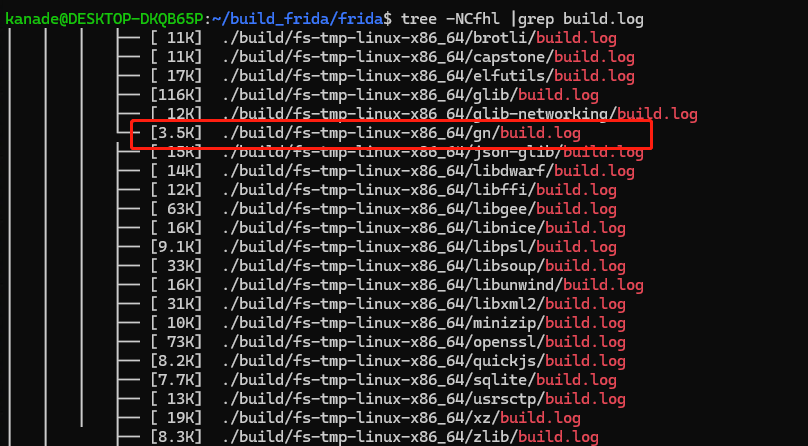
查看这个文件发现是python命令没找到,看了下确实没有,因为现在Ubuntu自带的是python3,之前从Makefile.sdk.mk里看到执行的是deps/gn/build/gen.py这个python代码,打开文件确认下是支持python3的语法,所以做个软链接应该就可以: sudo ln -s /usr/bin/python3 /usr/bin/python。
运行sudo releng/setup-env.sh加载编译好的toolchain和sdk

编译其他版本
git checkout 16.1.4 git submodule update
然后将ndk版本切换到25,接着就可以开始编译了。
make clean make core-android-arm64
编译低版本
编译更低版本时(14.2.2),除了上面的操作,还需要创建一个build/frida-version.h文件,写入以下内容
#ifndef __FRIDA_VERSION_H__
#define __FRIDA_VERSION_H__

#define FRIDA_VERSION "14.2.2"

#define FRIDA_MAJOR_VERSION 14
#define FRIDA_MINOR_VERSION 2
#define FRIDA_MICRO_VERSION 2
#define FRIDA_NANO_VERSION 0

#endif
不然会出现下面的错误:

其实还是一个版本一个目录文件比较好,不然每次编译都要删除toolchain和sdk重新下载。
下一篇文章说一下怎么魔改frida去特征,不过现在很多APP和壳的检测都比较严格了,去特征的frida也可能过不了检测,还得自己能会找监测点去过检测。
引用链接
- 1
https://nodejs.org/zh-cn/download/prebuilt-binaries - 2
https://github.com/conan-io/conan-center-index/issues/8639
参考链接
https://mp.weixin.qq.com/s/4MOTfYm-GMpZQFsLKOOHwQ