1、运行环境
开发工具为 HBuilder X 4.23, 操作系统为 Windows 11。Vue.js 版本为 3.
2、操作步骤
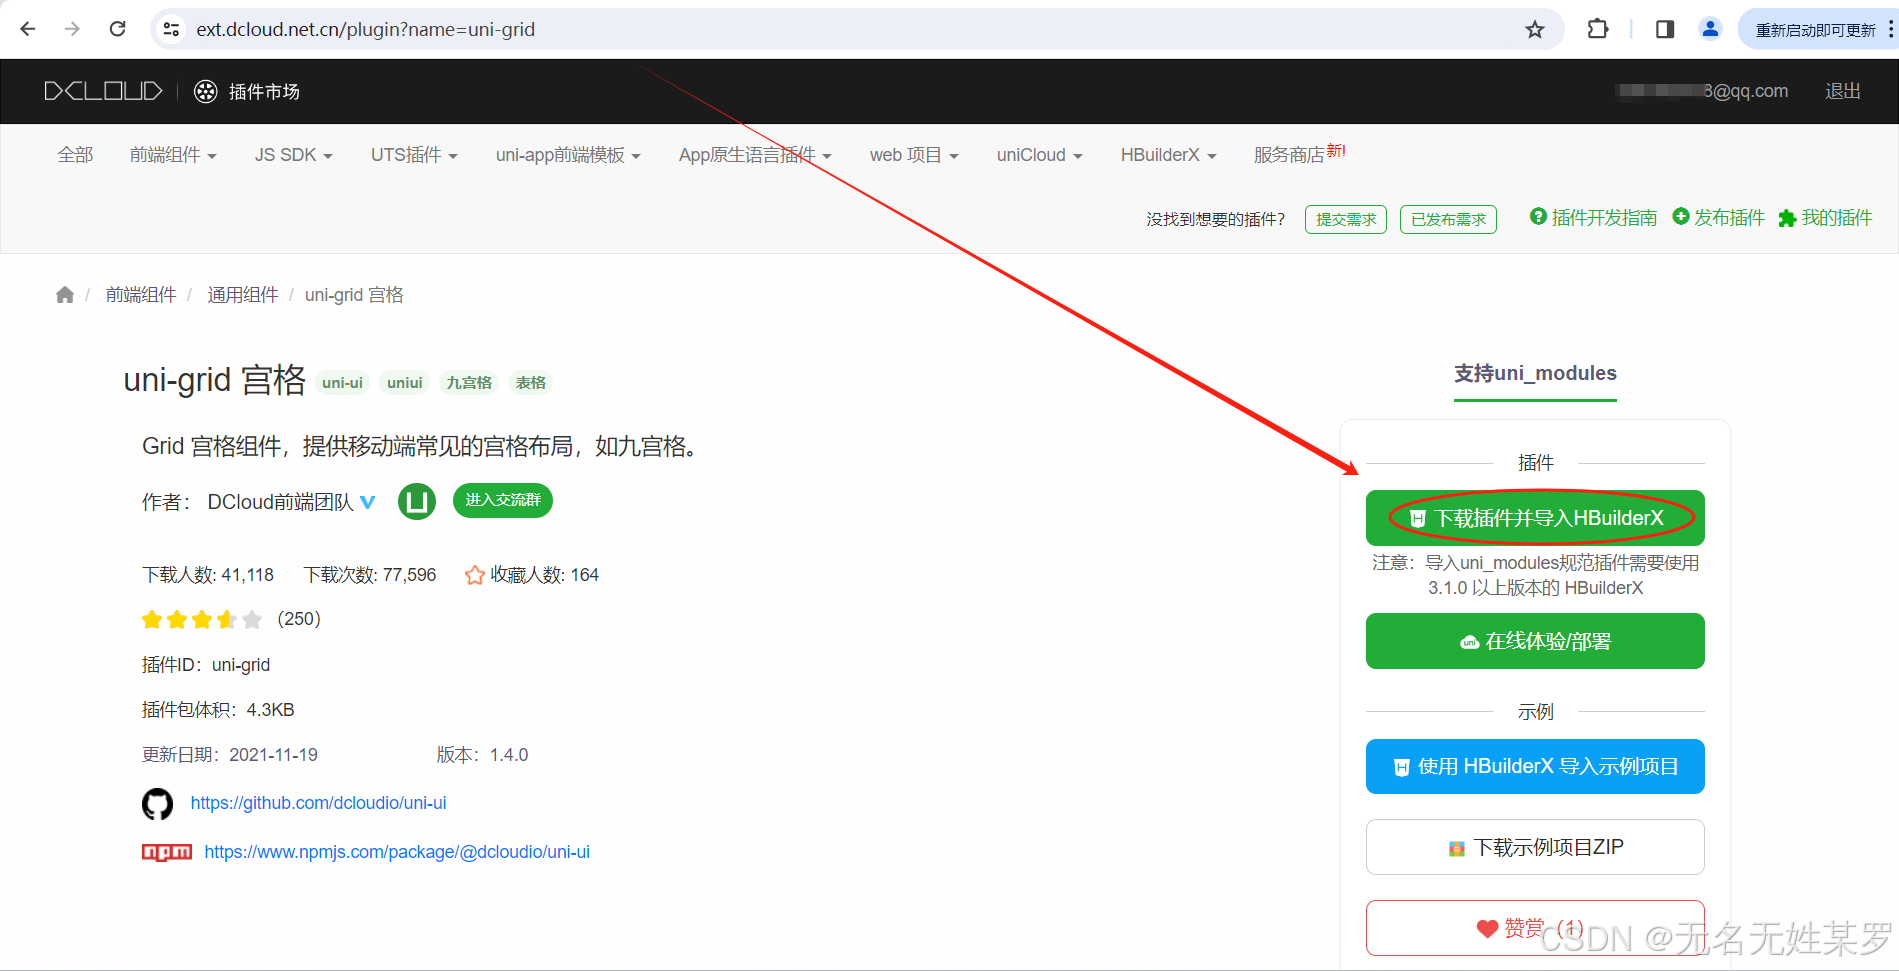
首先,登录 HBuilder X。然后用桌面浏览器,访问官网组件网址。
https://ext.dcloud.net.cn/plugin?name=uni-grid
在组件网址右上角、点击"下载插件并导入 Hbuilder X"。

此时网址有可能提示再次登录 HBuilder X 账号。完成登录后、在浏览器弹窗点击"打开 HBuilder X"。
此时 HBuilder X 会弹窗供选择将该组件导入到哪个项目。完成选择并确认后、下方的控制台会输出内容、此时便是完成组件注册。

3、代码示例
我们的代码在一个 .vue 文件中,以 menu.vue 为例。
javascript
<template>
	<view class="warp">
		<!-- 宫格 -->
		<view class="example-body">
			<uni-grid :column="3" :highlight="true" @change="onClickChange">
				<uni-grid-item :index="i" :key="i" v-for="(menuStub,i) in gridList">
					<view class="grid-item-box" style="background-color: #fff;">
						<!-- <image :src="'/static/grid/c'+(i+1)+'.png'" class="image" mode="aspectFill" /> -->
						<!--text class="big-number">{{i+1}}</text-->
						<text class="text">{{menuStub.mName}}</text>
					</view>
				</uni-grid-item>
			</uni-grid>
		</view>
	</view>
</template>

<script>
	export default {
		data() {
			return {
				// 固定的菜单示例
				gridList: [{mName:'点检填报'},{mName:'保养填报'},{mName:'点检记录'},{mName:'保养记录'},{mName:'e'},{mName:'f'}]
			}
		},
		methods: {
			onClickChange(e){
				console.log("点击的位置为:",e.detail.index);
				//begin 判断跳转

				//end 判断跳转
			}
		}
	}
</script>

<style>
	page {
		display: flex;
		flex-direction: column;
		box-sizing: border-box;
		background-color: #fff;
		min-height: 100%;
		height: auto;
	}
	view {
		font-size: 14px;
		line-height: inherit;
	}
	.example-body {
		display: flex;
		flex-direction: row;
		flex-wrap: wrap;
		justify-content: center;
		padding: 0;
		font-size: 14px;
		background-color: #ffffff;
		flex-wrap: wrap; /* add 240813 */
	}

	.section-box{
		display: flex;
		flex-direction: row;
		align-items: center;
		padding: 20rpx;
	}
	.decoration{
		width: 4px;
		height: 12px;
		border-radius: 10px;
		background-color: #2979ff;
	}
	.section-text{
		color: #333;
		margin-left: 15rpx;
	}

	.warp {
		background-color: #fff;
	}

	.example-body {
		flex-direction: column;
		padding: 15px;
		background-color: #ffffff;
	}

	.image {
		width: 50rpx;
		height: 50rpx;
	}

	.big-number{
		font-size: 50rpx;
		font-weight: 700;
		font-stretch: condensed;
		font-style:oblique;
	}

	.text {
		text-align: center;
		font-size: 26rpx;
		margin-top: 10rpx;
	}

	.example-body {
		display: block;
	}

	.grid-item-box {
		flex: 1;
		display: flex;
		flex-direction: column;
		align-items: center;
		justify-content: center;
		padding: 15px 0;
	}

	.grid-item-box-row {
		flex: 1;
		flex-direction: row;
		align-items: center;
		justify-content: center;
		padding: 15px 0;
	}

	.banner-image {
		width: 750rpx;
		height: 400rpx;
	}

	.swiper-box {
		height: 400rpx;
	}

	.search-icons {
		padding: 16rpx;
	}

	.search-container-bar {
		display: flex;
		flex-direction: row;
		justify-content: center;
		align-items: center;
		position: fixed;
		left: 0;
		right: 0;
		z-index: 10;
		background-color: #fff;
	}

	::v-deep
	.uni-searchbar__box {
		border-width: 0;
	}

	::v-deep
	.uni-input-placeholder {
		font-size: 28rpx;
	}
</style>
4、总结
记得先在 HBuilder X 导入组件、再开始开发。(完)