解决centos7本地服务器刚安装之后yum install -y wget出现问题情况
首先网络能ping得通,然后就是yum命令会出问题,网上很多方法都是用wget命令来解决的,但是本身就没有wget,我怎么解决😅。还有就是改/etc/sysconfig/network-scripts/ifcfg-ens33中的ONBOOT=YES,但是都不行。
这里提供一个方法,在根目录下执行命令:
cd /etc/yum.repos.d然后执行命令:ll
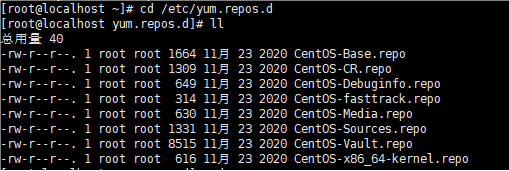
将CentOS-Base.repo 进行备份。执行命令:
cp CentOS-Base.repo CentOS-Base.repo.backup
在根目录下执行命令:
curl -o /etc/yum.repos.d/CentOS-Base.repo http://mirrors.aliyun.com/repo/Centos-7.repo
之后运行命令:
yum clean all
yum makecache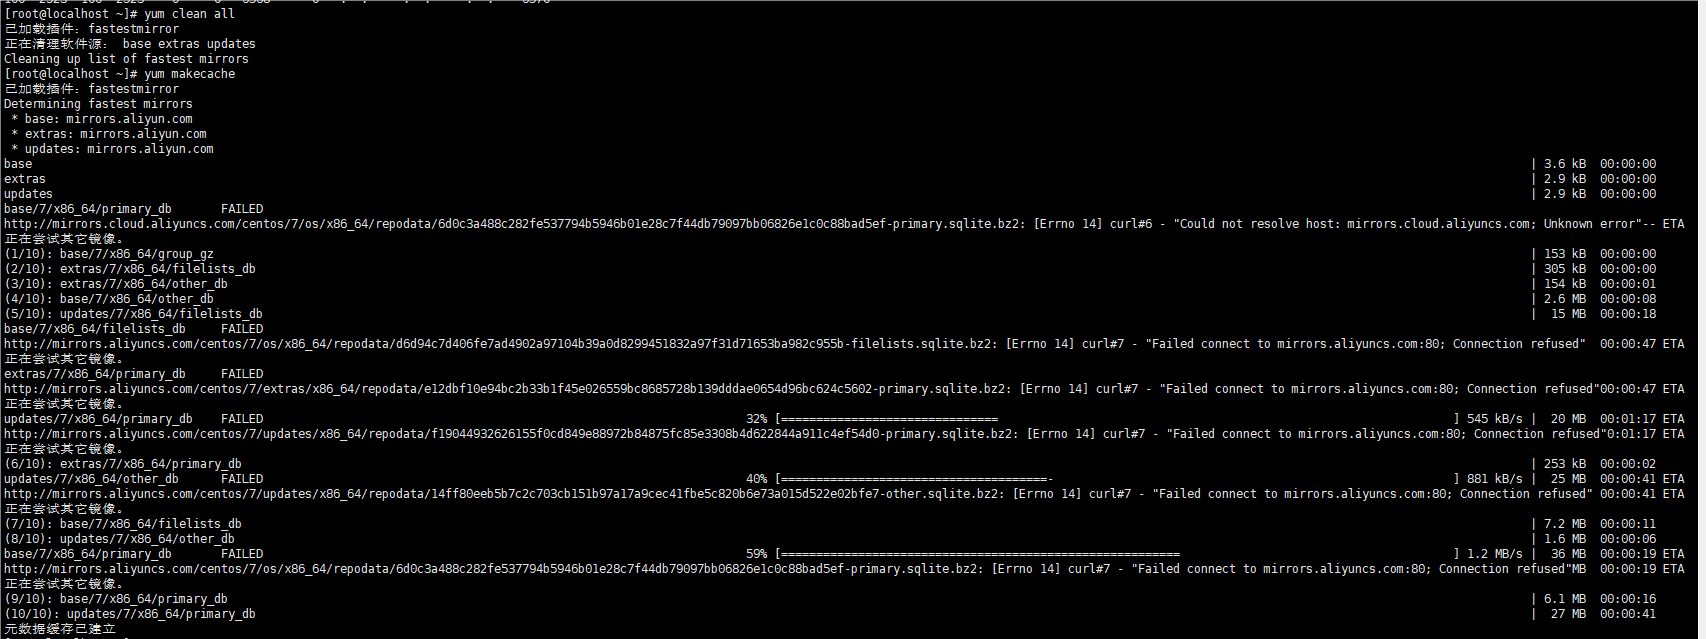
数据加载完之后运行:
yum update -y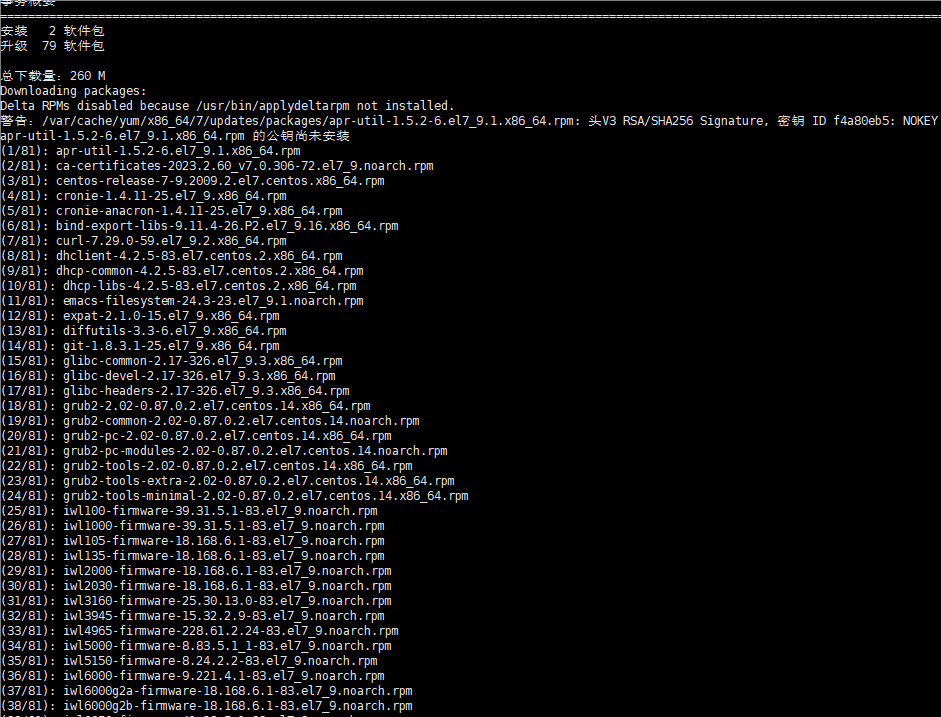
之后就可以正常使用yum了。
宝塔官网:https://www.bt.cn/
宝塔Linux面板命令大全:https://www.bt.cn/btcode.html
安装宝塔面板:
yum install -y wget && wget -O install.sh http://download.bt.cn/install/install_6.0.sh && sh install.sh右键随意复制粘贴,Xshell工具的好处(佛主https://www.kancloud.cn/jiangguowu/kfjsdkfjskd/1076752)😍😍😍
进去之后选择推荐的LNMP极速安装(看个人喜好)。
NPS的使用
NPS工具是一款使用go语言编写的轻量级、功能强大的内网穿透工具。支持TCP、UDP流量转发,支持内网HTTP、SOCKS5代理,同时支持snappy压缩(节省带宽和流量)、站点保护、加密传输、多路复用、header修改等。此外还 支持内网 http 代理、内网 socks5 代理、p2p 等,并带有功能强大的 web 管理端。
nps下载地址:https://github.com/ehang-io/nps/releases
工具说明文档:https://ehang-io.github.io/nps/#/?id=nps
服务端安装
下载服务器对应版本的 NPS。上传到服务器,解压,安装
tar -xvf linux_amd64_server.tar
./nps install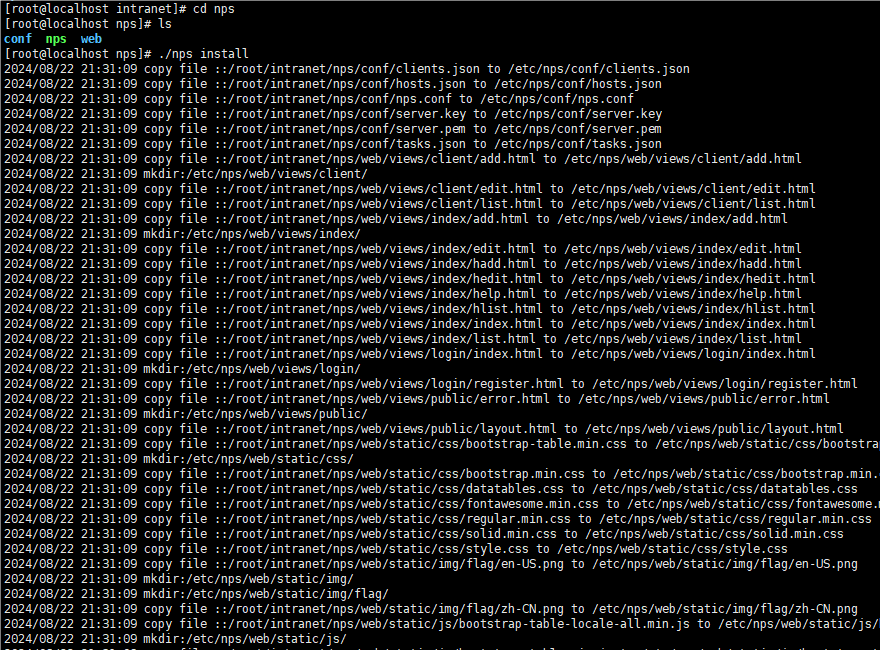
查看nps的版本
./nps -version
配置文件
默认配置文件如下 nps/conf/nps.conf。下面nps的配置文件:
appname = nps
#Boot mode(dev|pro)
runmode = dev

#HTTP(S) proxy port, no startup if empty
http_proxy_ip=0.0.0.0
http_proxy_port=80
https_proxy_port=443
https_just_proxy=true
#default https certificate setting
https_default_cert_file=conf/server.pem
https_default_key_file=conf/server.key

##bridge
bridge_type=tcp
bridge_port=8024				#这个端口是客户端连接的端口
bridge_ip=0.0.0.0

# Public password, which clients can use to connect to the server
# After the connection, the server will be able to open relevant ports and parse related domain names according to its own configuration file.
public_vkey=123

#Traffic data persistence interval(minute)
#Ignorance means no persistence
#flow_store_interval=1

# log level LevelEmergency->0  LevelAlert->1 LevelCritical->2 LevelError->3 LevelWarning->4 LevelNotice->5 LevelInformational->6 LevelDebug->7
log_level=7
#log_path=nps.log

#Whether to restrict IP access, true or false or ignore
#ip_limit=true

#p2p
#p2p_ip=127.0.0.1
#p2p_port=6000

#web
web_host=a.o.com
web_username=admin			#web控制台用户名
web_password=123				#web控制台密码
web_port = 8080					#web控制台端口
web_ip=0.0.0.0
web_base_url=
web_open_ssl=false
web_cert_file=conf/server.pem
web_key_file=conf/server.key
# if web under proxy use sub path. like http://host/nps need this.
#web_base_url=/nps

#Web API unauthenticated IP address(the len of auth_crypt_key must be 16)
#Remove comments if needed
#auth_key=test
auth_crypt_key =1234567812345678

#allow_ports=9001-9009,10001,11000-12000

#Web management multi-user login
allow_user_login=false
allow_user_register=false
allow_user_change_username=false


#extension
allow_flow_limit=false
allow_rate_limit=false
allow_tunnel_num_limit=false
allow_local_proxy=false
allow_connection_num_limit=false
allow_multi_ip=false
system_info_display=false

#cache
http_cache=false
http_cache_length=100

#get origin ip
http_add_origin_header=false

#pprof debug options
#pprof_ip=0.0.0.0
#pprof_port=9999

#client disconnect timeout
disconnect_timeout=60
上面配置文件中有几个参数比较重要,需要根据实际情况进行修改,防止端口被占用;
- http_proxy_port:80
- https_proxy_port:443
- bridge_port :8024
- web_port :8080
参数讲解:
真正配置文件位置: /etc/nps/conf/nps.conf
| 名称 | 含义 |
|---|---|
| web_port | web 管理端口 |
| web_password | web 界面管理密码 |
| web_username | web 界面管理账号 |
| web_base_url | web 管理主路径,用于将 web 管理置于代理子路径后面 |
| bridge_port | 服务端客户端通信端口 |
| https_proxy_port | 域名代理 https 代理监听端口 |
| http_proxy_port | 域名代理 http 代理监听端口 |
| auth_key | web api 密钥 |
| bridge_type | 客户端与服务端连接方式 kcp 或 tcp |
| public_vkey | 客户端以配置文件模式启动时的密钥,设置为空表示关闭客户端配置文件连接模式 |
| ip_limit | 是否限制 ip 访问,true 或 false 或忽略 |
| flow_store_interval | 服务端流量数据持久化间隔,单位分钟,忽略表示不持久化 |
| log_level | 日志输出级别 |
| auth_crypt_key | 获取服务端 authKey 时的 aes 加密密钥,16 位 |
| p2p_ip | 服务端 Ip,使用 p2p 模式必填 |
| p2p_port | p2p 模式开启的 udp 端口 |
| pprof_ip | debug pprof 服务端 ip |
| pprof_port | debug pprof 端口 |
| disconnect_timeout | 客户端连接超时,单位 5s,默认值 60,即 300s =5mins |
nps启动
./nps start	#启动
./nps stop	#停止
./nps restart	#重启
./nps reload	#配置文件重载
nps-u pdate update	#更新 nps
这里我发现我修改nps配置文件之后启动不了,端口还是处于被占用状态。原因是nps的真正配置文件在/etc/nps/conf/nps.conf。前面只是个模版,重新修改。

成功启动。
我这里被耽误了很久,发现宝塔的防火墙没开8080端口的入站规则😭。改了之后
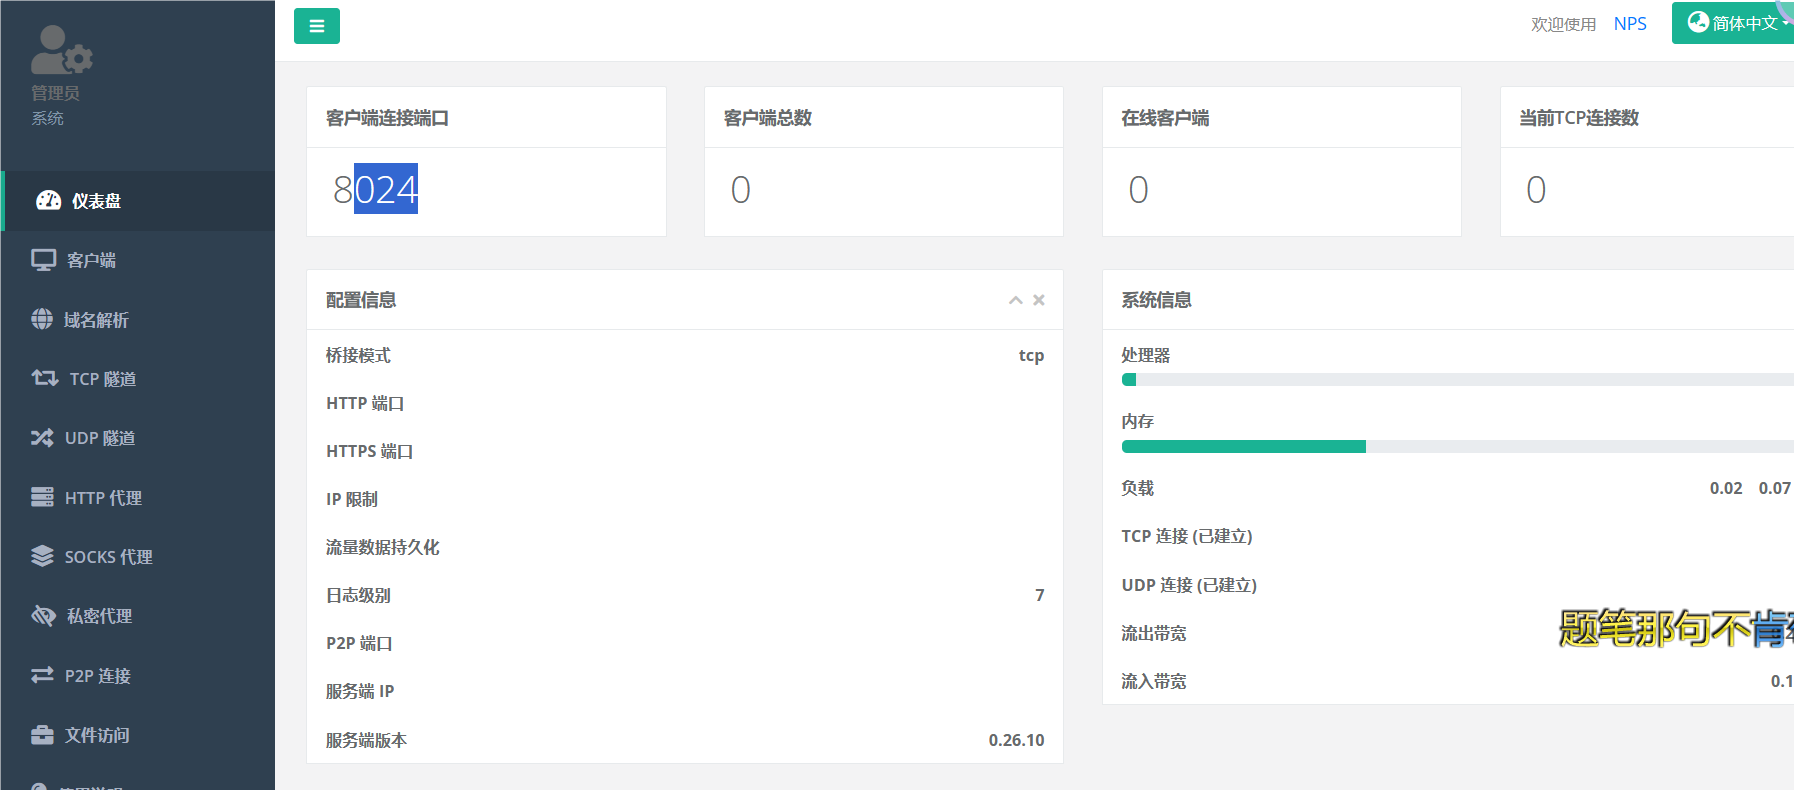 成功进入nps面板,nps的管理面板比frp的管理面板精致。
新建一个客户端
Basic 认证用户名:admin
Basic 认证密码:123456
唯一验证密钥:6k64j43s


客户端连接
执行以下命令进行客户端连接:
npc.exe -server=192.168.5.168:8024 -vkey=6k64j43s