ThinkPHP 6 + PHP7.4.3nts +nginx 使用mysql和oracle数据库.
前言
业务需求,之前使用的php 7.3.4nts ,mysql自己写的代码,需要对接第三方系统,第三方使用的oracle数据库。之前也是各种的网查,稀里糊涂的成功了。上周五又需要对接,这次用的是php7.4.3nts,各种试了两三天不行,昨晚就突然可以了,今天赶紧保存一下!!!
一、环境
1、phpstudy V8.1(nginx + mysql + php 7.4.3nts)
2、windows server 2012 R2
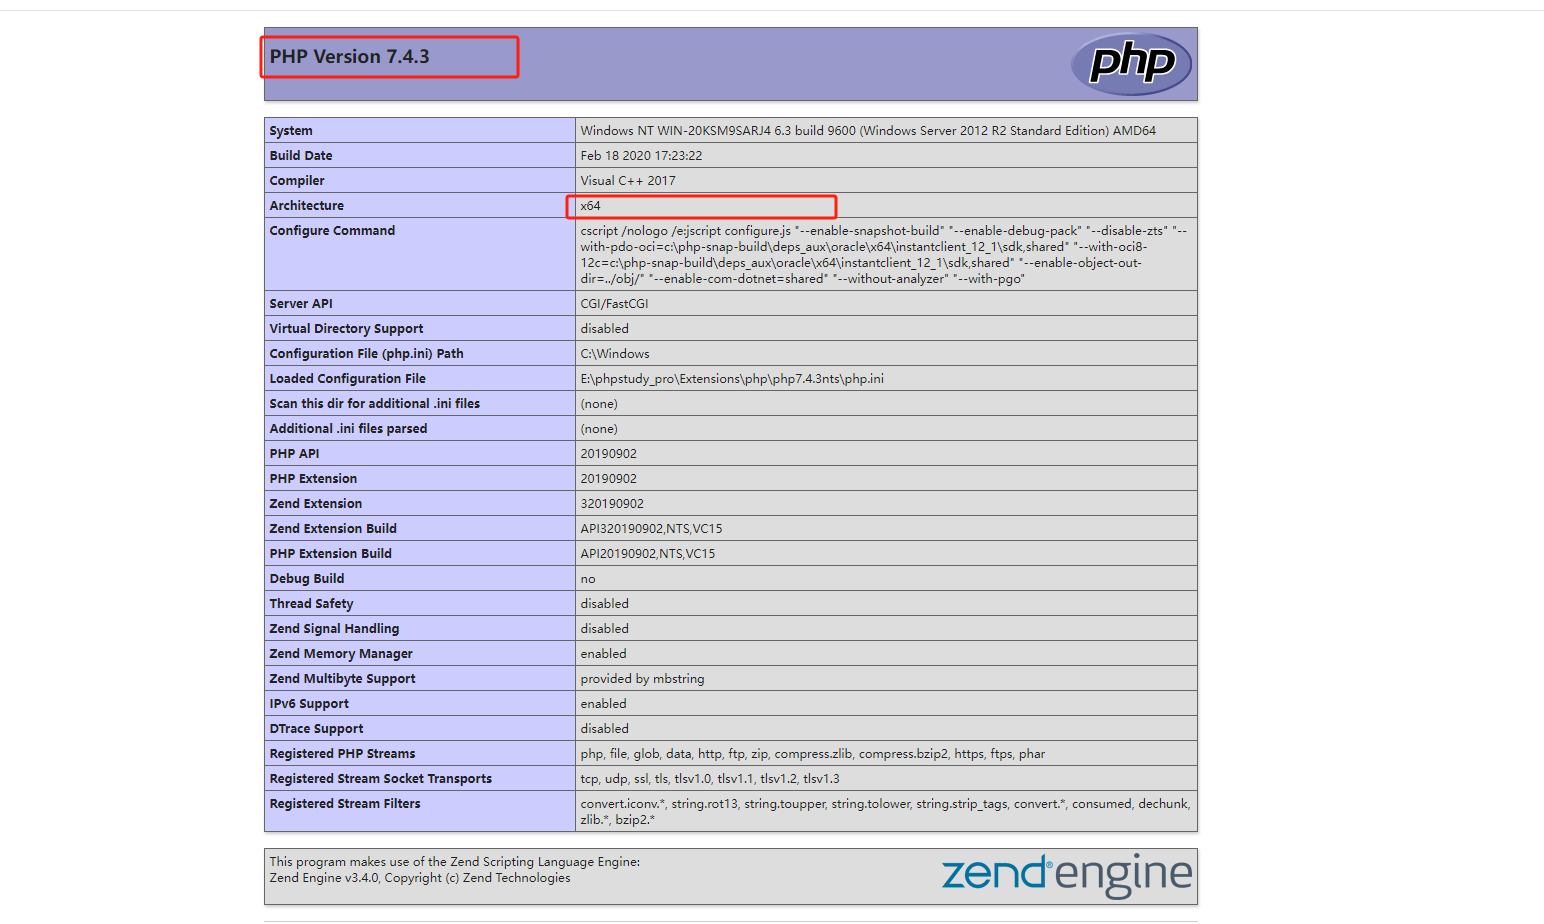
二、根据phpinfo();查看php版本以及当前服务器的位数(64位或32位)。
二、安装oracle数据库
我现有的oracle是10,第三方业务逻辑的也是10,顾选此安装。路劲会自动加入到系统环境变量中。设置tnsnames.ora
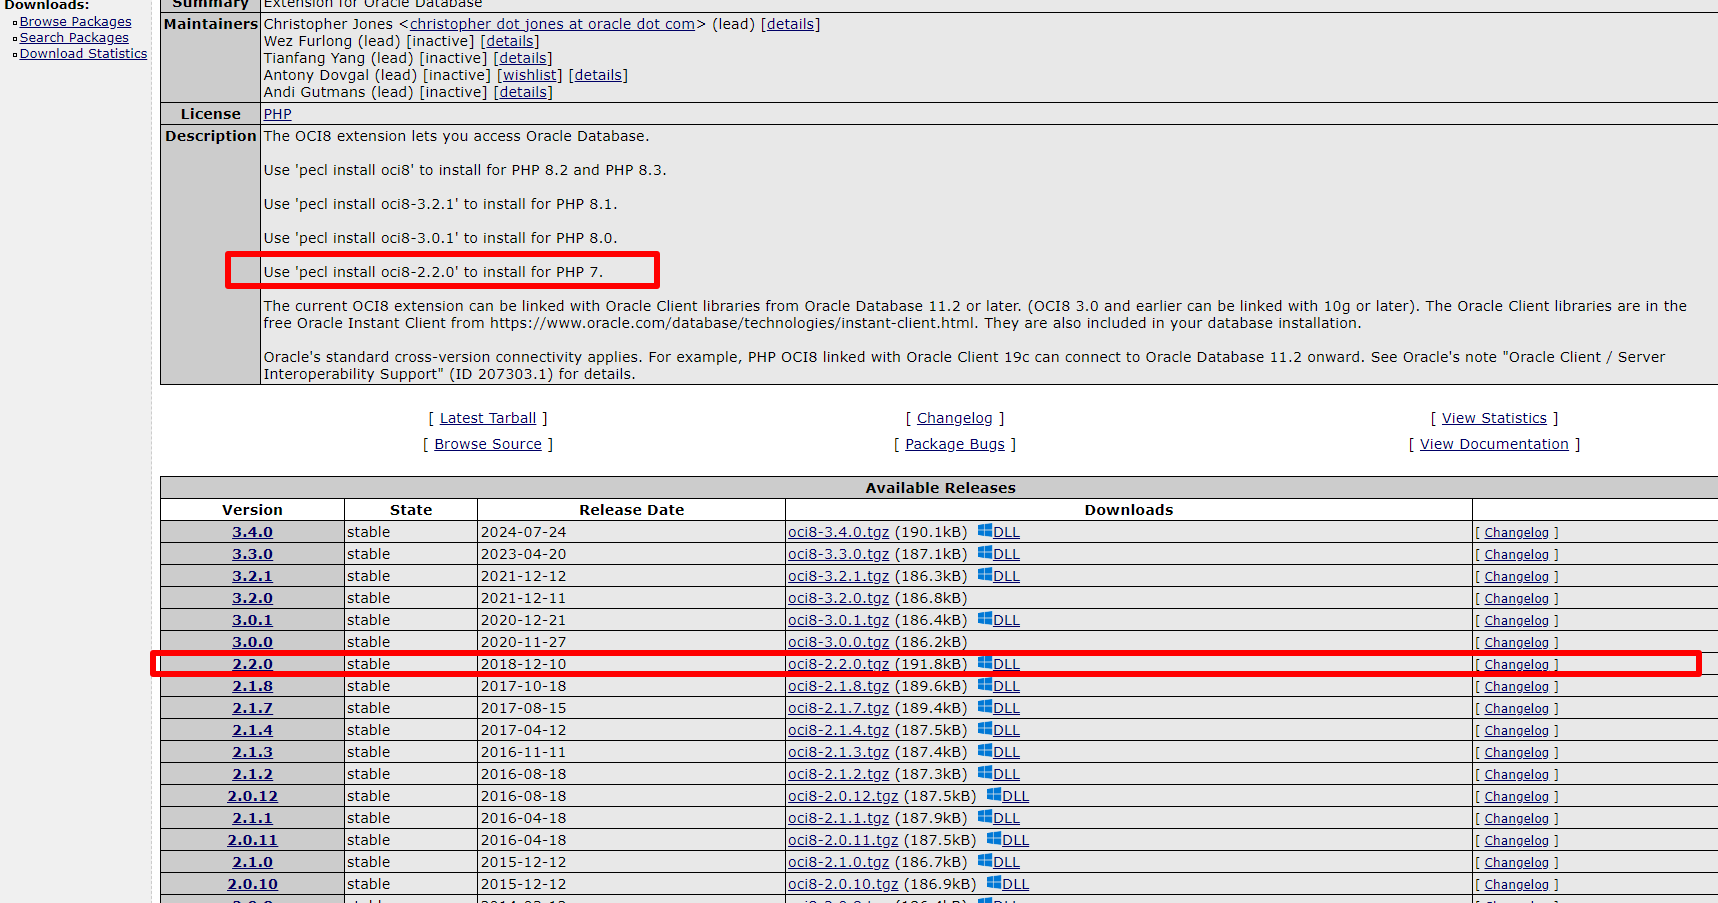
三、下载oci8插件(下载链接 :https://pecl.php.net/package/oci8)
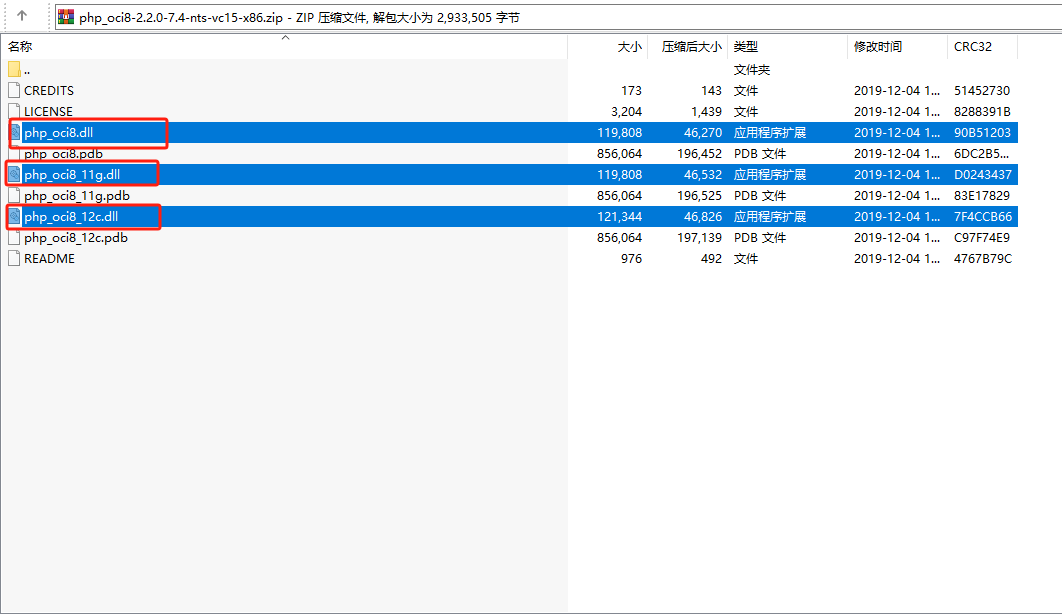
下载成功后 复制下面三个东西放到 小皮安装路径下的php版本下的ext 中 (E:\phpstudy_pro\Extensions\php\php7.4.3nts\ext)

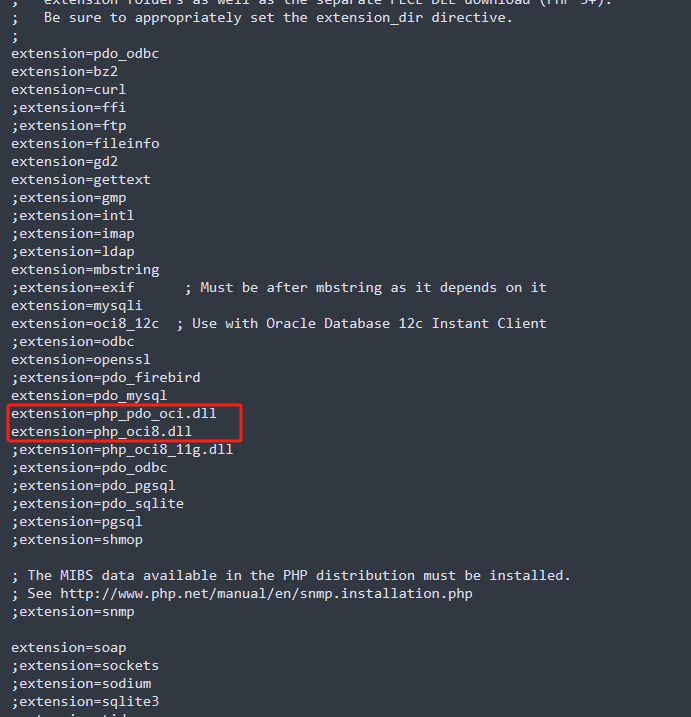
三、php.ini 中开启插件。最好带上.dll (
extension=oci8_12c
extension=php_pdo_oci.dll
extension=php_oci8.dll
)
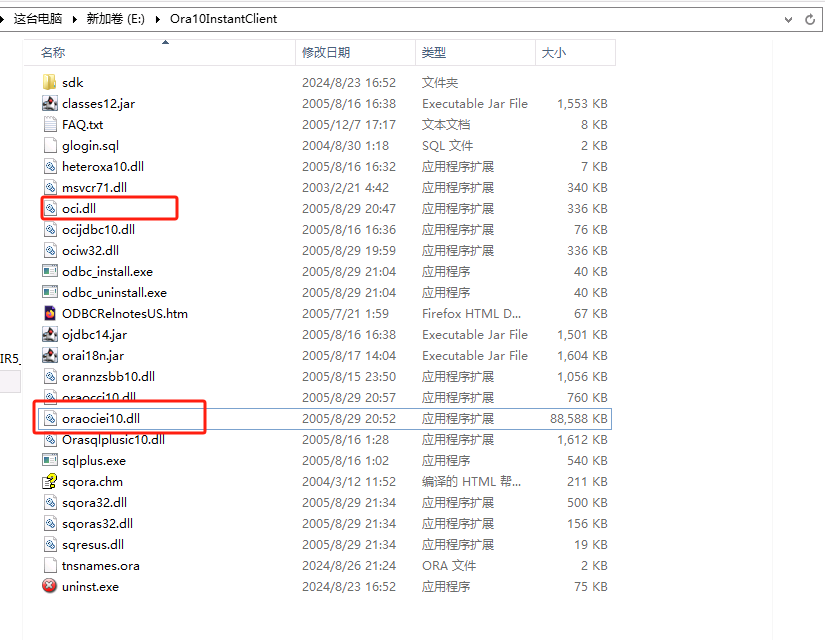
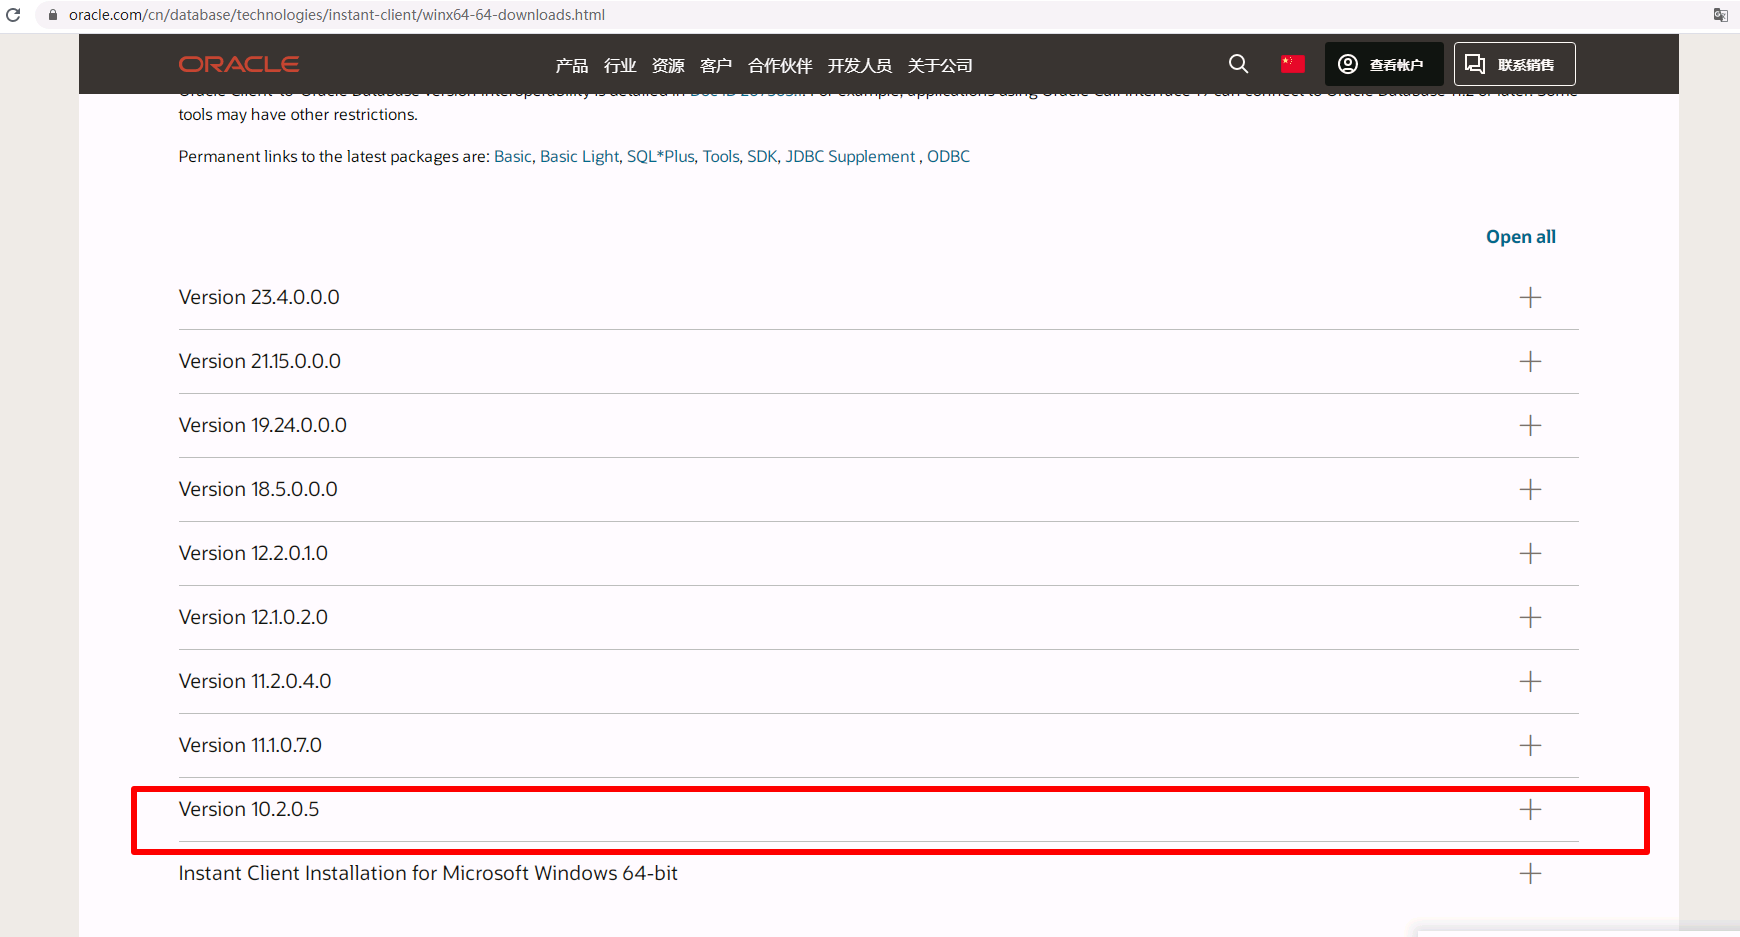
三、下载 Oracle Instant Client 下载链接: https://www.oracle.com/database/technologies/instant-client/winx64-64-downloads.html (需要注册账户)
注意:这里选择比较讲究。别听网上其他人的在phpinfo()里面看到的下载对应的。都是扯蛋。选择这个跟你安装的oracle要一样10就下载10.2.0.5

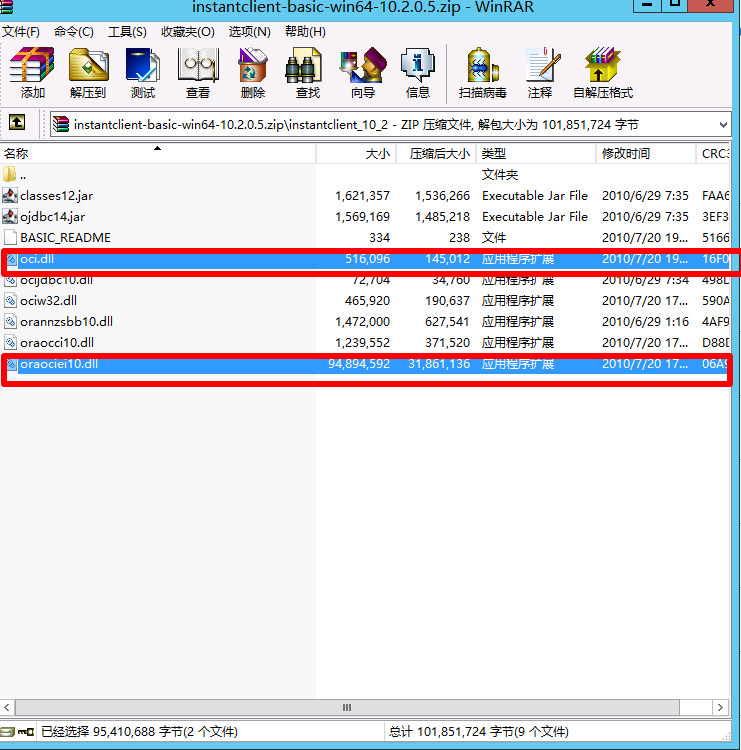
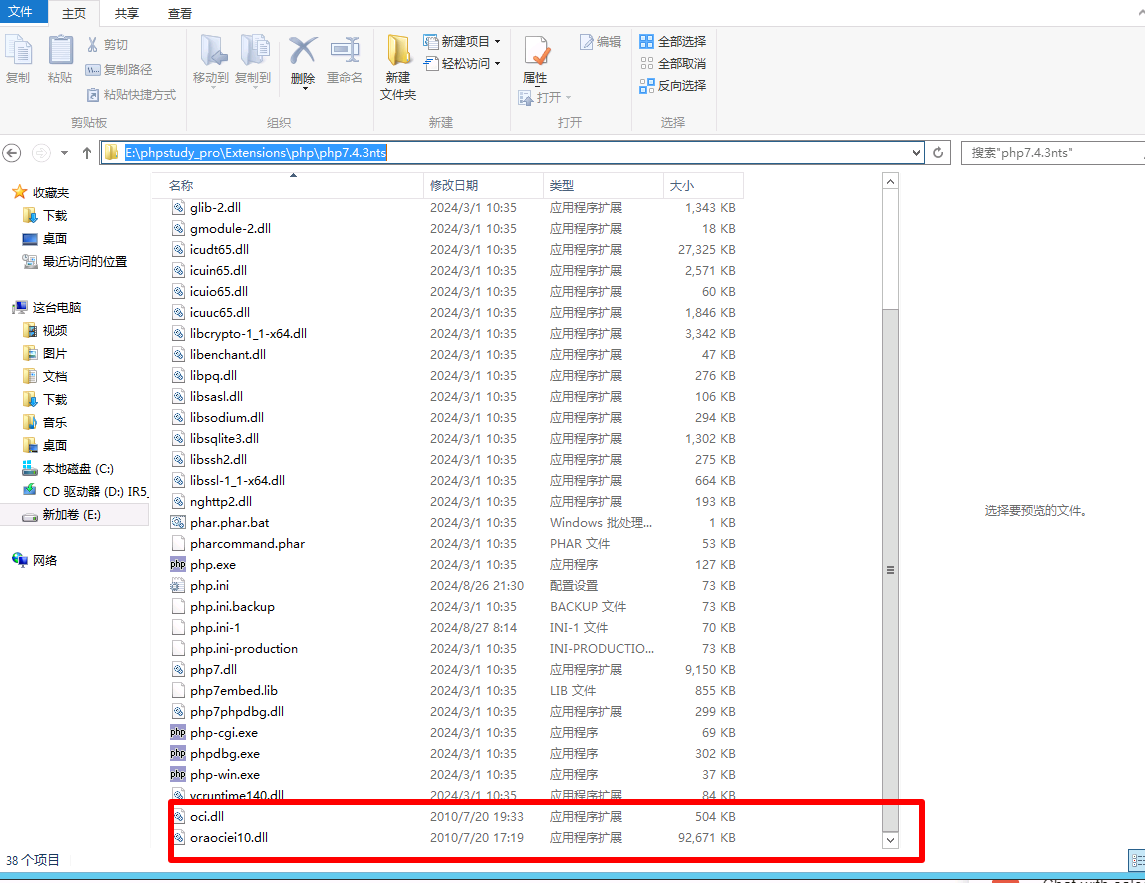
然后把下载的包解压拷贝文件放到 E:\phpstudy_pro\Extensions\php\php7.4.3nts
五、重启nginx,查看phpinfo()
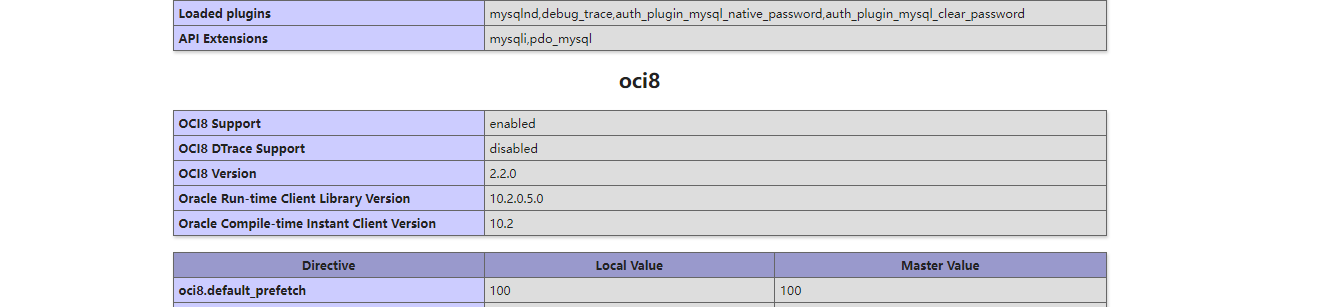

完美解决!!!!!!!!!!!