增强软硬件交互
为了更好的解决师生生活中的实际问题,开发蓝牙小程序加强了和校区硬件的交互。
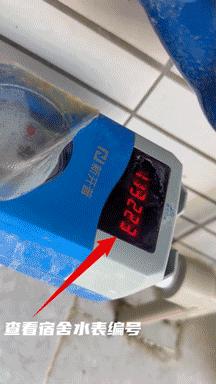
比如通过蓝牙连接控制水电表,减少实体卡片的使用。添加人脸活体检测功能,提高本人认证效率,减少师生等待时间。
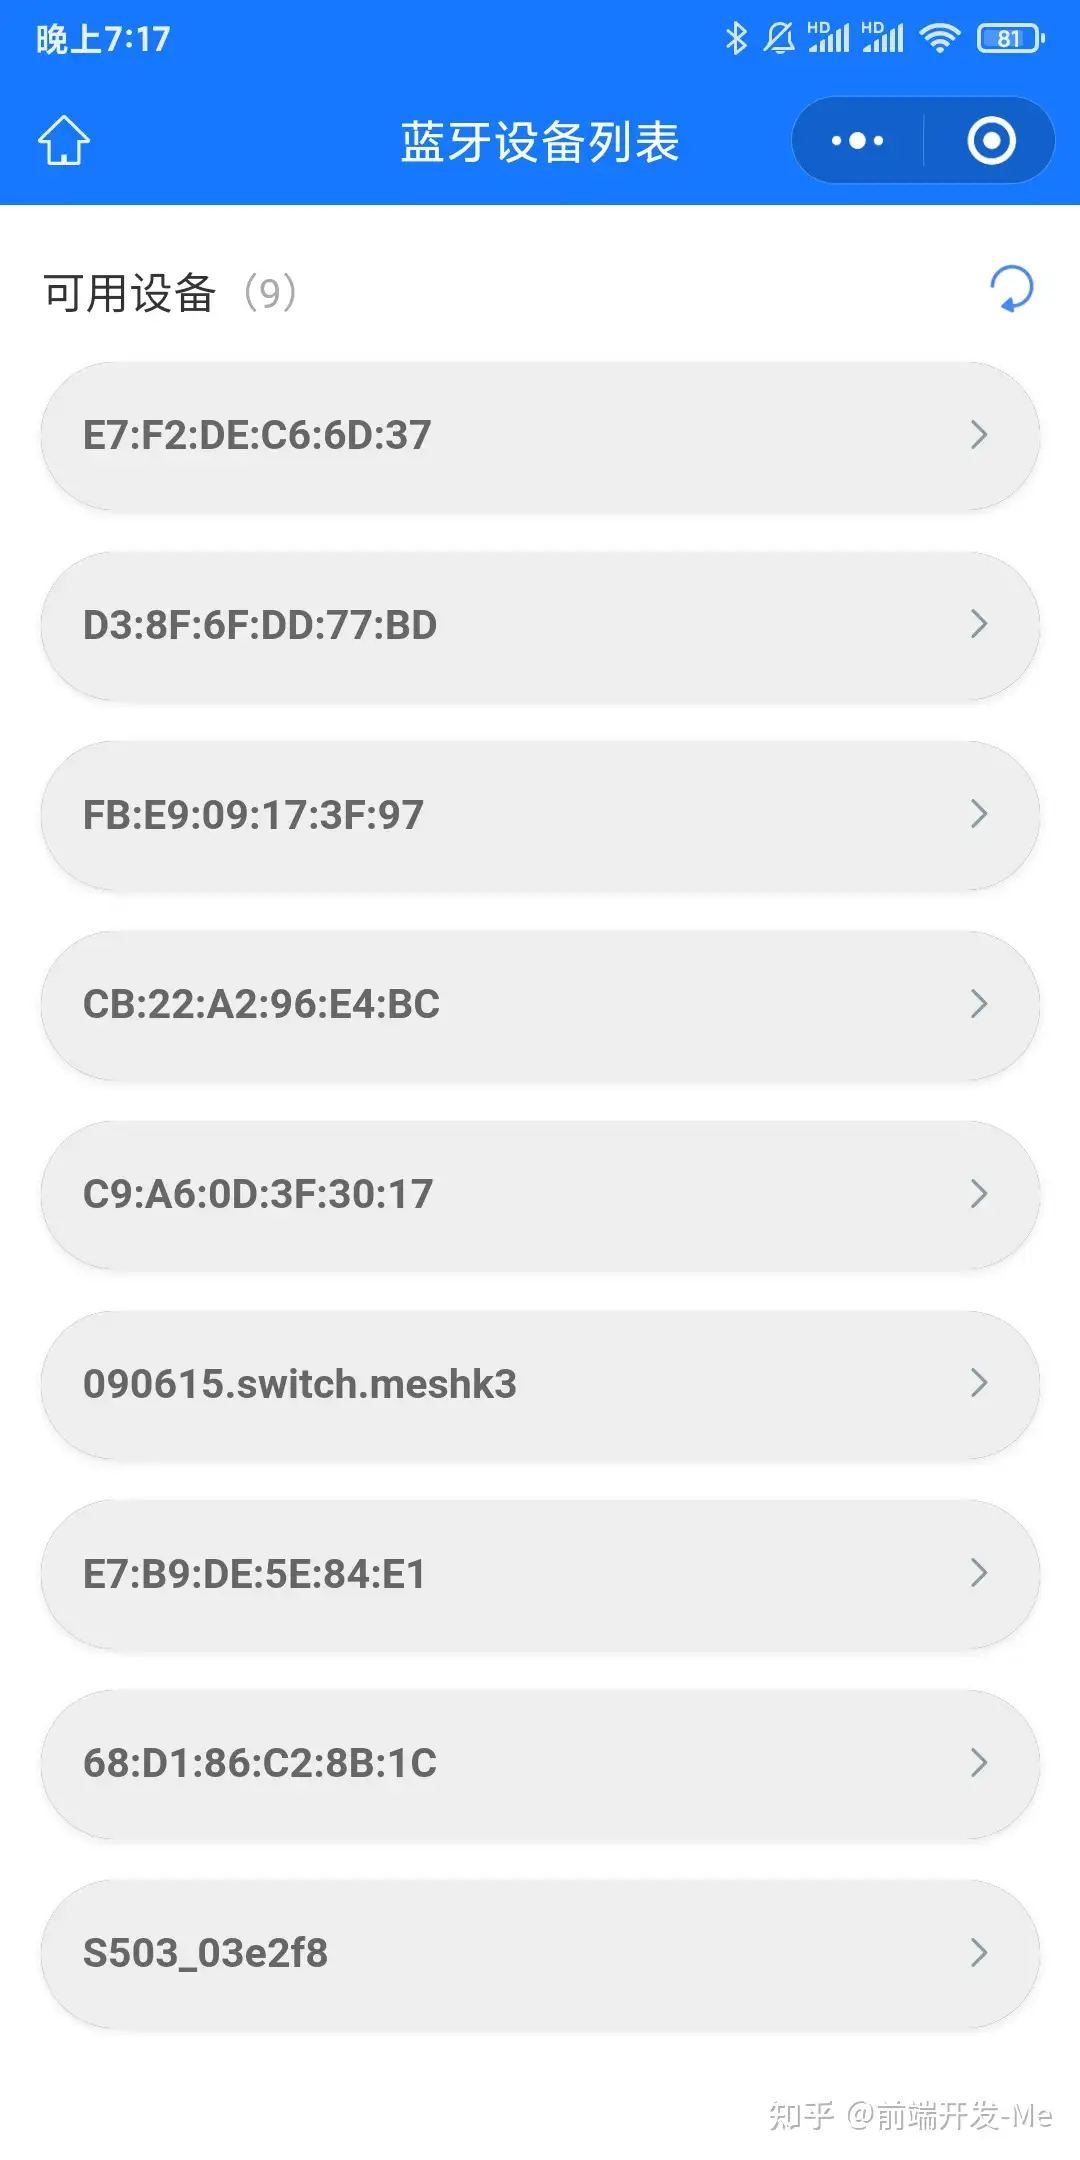
蓝牙水电控展示

蓝牙水电控展示
微信小程序实现蓝牙BLE:
步骤:
1、wx.openBluetoothAdapter//蓝牙初始化
2、 wx.onBluetoothDeviceFound //监听寻找到新设备的事件
3、 wx.startBluetoothDevicesDiscovery //开始搜寻附近的蓝牙外围设备
4、 wx.getBluetoothDevices//获取在蓝牙模块生效期间所有已发现的蓝牙设备。包括已经和本机处于连接状态的设备。
5、wx.stopBluetoothDevicesDiscovery//停止搜寻附近的蓝牙外围设备。搜索到需要设备时或者连接时候停止搜索
6、wx.createBLEConnection //连接设备
7、 wx.getBLEDeviceServices //获取所有服务列表
8、wx.getBLEDeviceCharacteristics//获取蓝牙设备某个服务中的所有特征值
9、wx.onBLEConnectionStateChange //监听设备连接状态(本人用小米2手环测试经常断)
10、 wx.notifyBLECharacteristicValueChange // 启用低功耗蓝牙设备特征值变化是的notify功能
11、 wx.onBLECharacteristicValueChange//开始监听特征值的变化
12、 wx.writeBLECharacteristicValue//写入特征值
13、wx.readBLECharacteristicValue//读取特征值

基本使用流程:
1、 初始化蓝牙模块
在使用蓝牙接口前,必须首先调用 wx.openBluetoothAdapter 初始化蓝牙适配器模块,其他接口必须在初始化后成功方可调用。
当蓝牙开关未开启或手机不支持蓝牙时,会返回错误 (errCode=10001)。此时小程序蓝牙模块已经初始化完成,可通过 wx.onBluetoothAdapterStateChange 监听手机蓝牙状态的改变,也可以调用蓝牙模块的所有API。开发者在开发中应该考虑兼容用户在使用小程序过程中打开/关闭蓝牙开关的情况,并给出必要的提示,提高可用性。
2、 扫描并发现蓝牙外围设备
蓝牙模块初始化成功后,一般需要通过 wx.startBluetoothDevicesDiscovery 扫描外围设备。当蓝牙外围设备被扫描到时,会回调 wx.onBluetoothDeviceFound 事件,返回扫描到的设备。扫描设备比较耗费系统资源,请在搜索到需要的设备后及时调用 wx.stopBluetoothDevicesDiscovery 停止搜索。
若之前已连接过某个设备,获取到了 deviceId,可跳过扫描步骤。
// 监听扫描到新设备事件
wx.onBluetoothDeviceFound((res) => {
  res.devices.forEach((device) => {
    // 这里可以做一些过滤
    console.log('Device Found', device)
  })
  // 找到要搜索的设备后,及时停止扫描
  wx.stopBluetoothDevicesDiscovery()
})

// 初始化蓝牙模块
wx.openBluetoothAdapter({
  mode: 'central',
  success: (res) => {
    // 开始搜索附近的蓝牙外围设备
    wx.startBluetoothDevicesDiscovery({
      allowDuplicatesKey: false,
    })
  },
  fail: (res) => {
    if (res.errCode !== 10001) return
    wx.onBluetoothAdapterStateChange((res) => {
      if (!res.available) return
      // 开始搜寻附近的蓝牙外围设备
      wx.startBluetoothDevicesDiscovery({
        allowDuplicatesKey: false,
      })
    })
  }
})
3、 连接设备
蓝牙低功耗设备间要进行通信,必须首先建立连接。
wx.createBLEConnection({
  deviceId, // 搜索到设备的 deviceId
  success: () => {
    // 连接成功,获取服务
    wx.getBLEDeviceServices({
      deviceId,
    })
  }
})
4、 获取蓝牙外围设备的服务
wx.getBLEDeviceServices({
  deviceId, // 搜索到设备的 deviceId
  success: (res) => {
    for (let i = 0; i < res.services.length; i++) {
      if (res.services[i].isPrimary) {
        // 可根据具体业务需要,选择一个主服务进行通信
      }
    }
  }
})
5、 读写服务的特征值
wx.getBLEDeviceCharacteristics({
  deviceId, // 搜索到设备的 deviceId
  serviceId, // 上一步中找到的某个服务
  success: (res) => {
    for (let i = 0; i < res.characteristics.length; i++) {
      let item = res.characteristics[i]
      if (item.properties.write) { // 该特征值可写
        // 本示例是向蓝牙设备发送一个 0x00 的 16 进制数据
        // 实际使用时,应根据具体设备协议发送数据
        let buffer = new ArrayBuffer(1)
        let dataView = new DataView(buffer)
        dataView.setUint8(0, 0)
        wx.writeBLECharacteristicValue({
          deviceId,
          serviceId,
          characteristicId: item.uuid,
          value: buffer,
        })
      }
      if (item.properties.read) { // 该特征值可读
        wx.readBLECharacteristicValue({
          deviceId,
          serviceId,
          characteristicId: item.uuid,
        })
      }
      if (item.properties.notify || item.properties.indicate) {
        // 必须先启用 wx.notifyBLECharacteristicValueChange 才能监听到设备 onBLECharacteristicValueChange 事件
        wx.notifyBLECharacteristicValueChange({
          deviceId,
          serviceId,
          characteristicId: item.uuid,
          state: true,
        })
      }
    }
  }
})
// 操作之前先监听,保证第一时间获取数据
wx.onBLECharacteristicValueChange((result) => {
  // 使用完成后在合适的时机断开连接和关闭蓝牙适配器
  wx.closeBLEConnection({
    deviceId,
  })
  wx.closeBluetoothAdapter({})
})
6、 断开连接和关闭蓝牙适配器
使用完成后,应该在合适的时机断开连接,并关闭蓝牙适配器。