GitHub图床
文章目录
图床介绍
- 图床
- 存放图片的地方
- 为什么设置图床呢
- 在我认识图床之前, 有一个问题 \^放在typora上面的图片, 其实是一个链接, 并且将图片存放在本地, 如果你本地的图片挪动了位置或者把图片删除, 那么这个链接也就没用了. 而且想要把自己写的博客发给别人或者上传到博客站点上, 其他人通过这个本地链接是无法访问的, 因为这些图片都存放在了本地 让我苦恼了很久, 但是我就是找不到什么妙招, 突然有一天, 我无意间看到了一篇博客, 里面正是讲的图床, 后来我搜了一下, 这个东东果然很好用.
- 图床就刚好是解决这个问题的, 原本图片是存放在本地的\^只能自己访问, 而配置了图床之后, 图片就会存放在互联网上\^公共的
- 图床分类
- GitHub\^此博客采用的图床
- 阿里云
- 腾讯云
- 七牛云
- ...
- 配置图床要使用到的工具
- GitHub
- 图床
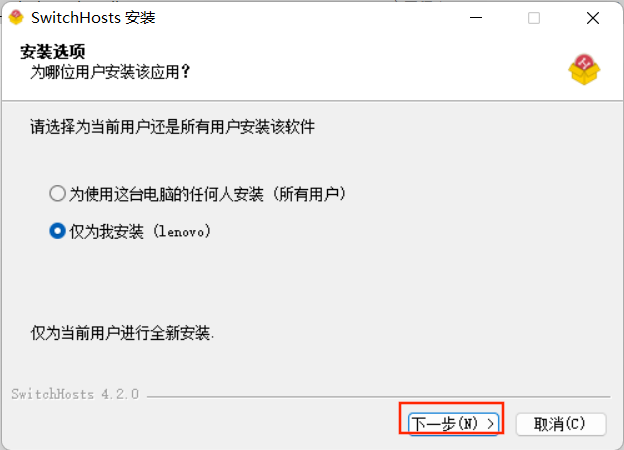
- SwitchHosts
- 为了能够访问GitHub
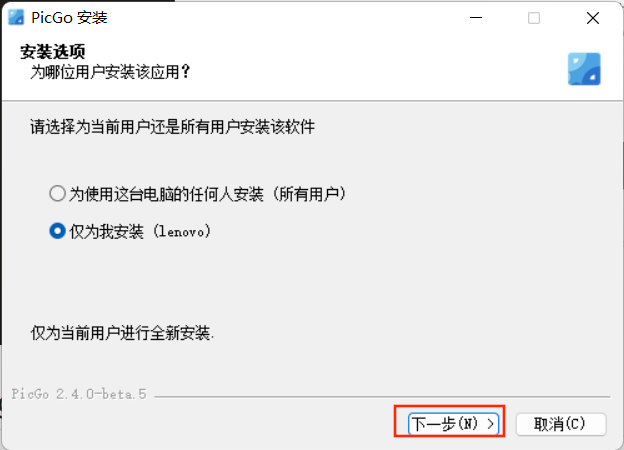
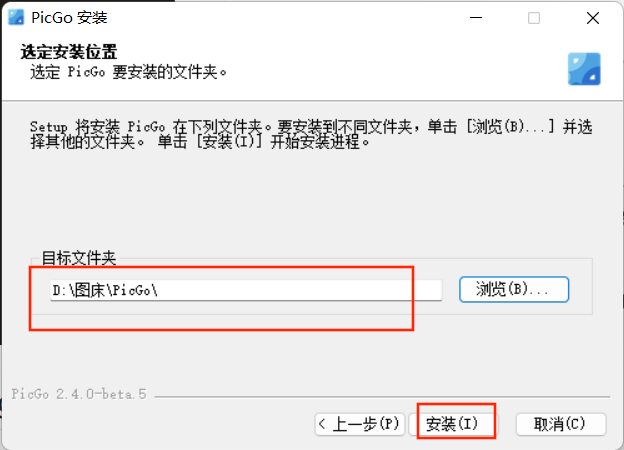
- PicGo
- 抓手
- Typora
- 写博客
- GitHub
Github
访问GitHub
手动修改hosts
-
使用**ip查询工具\^直接在浏览器上搜索**获取github网站的真实地址

-
先找到 hosts 文件的位置,不同操作系统,hosts 文件的存储位置也不同:
- Windows 系统:
C:\Windows\System32\drivers\etc\hosts - Linux 系统:
/etc/hosts - Mac(苹果电脑)系统:
/etc/hosts - Android(安卓)系统:
/system/etc/hosts - iPhone(iOS)系统:
/etc/hosts
- Windows 系统:
-
打开 hosts 文件,添加一行,将 xx 替换为你查询到的解析地址即可:
xx.xx.xx.xx www.github.com
github520
- 在访问这个项目前, 必须得先能访问github才行, 所以得先把第一种方法配好, 确保能够访问github.
- github520(ctrl+鼠标左键进入)是一个帮助我们访问github的项目, 本质上也是通过修改hosts来实现的
- 使用SwitchHosts定时自动更新hosts, 配置一次, 高枕无忧.


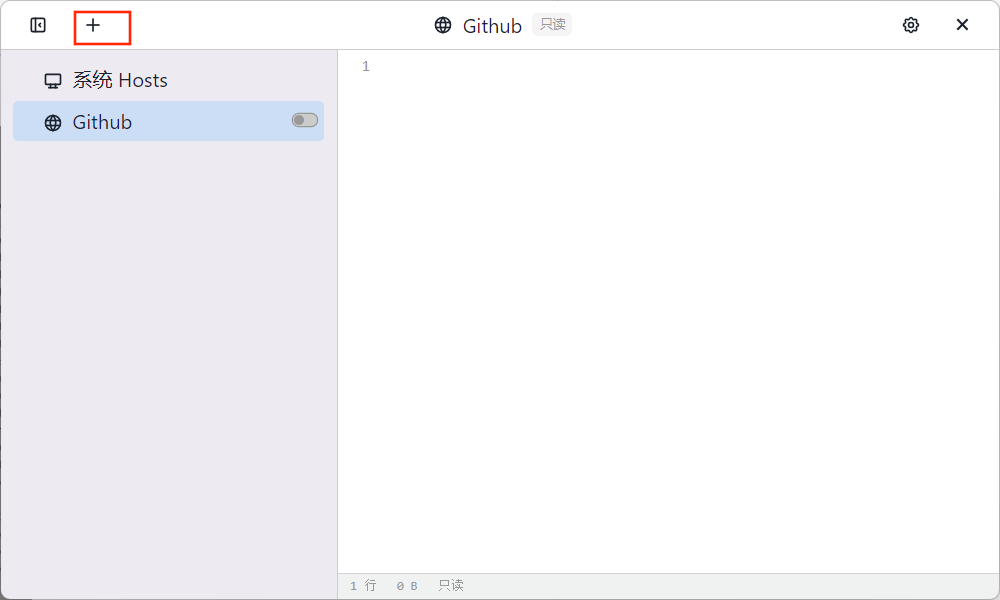
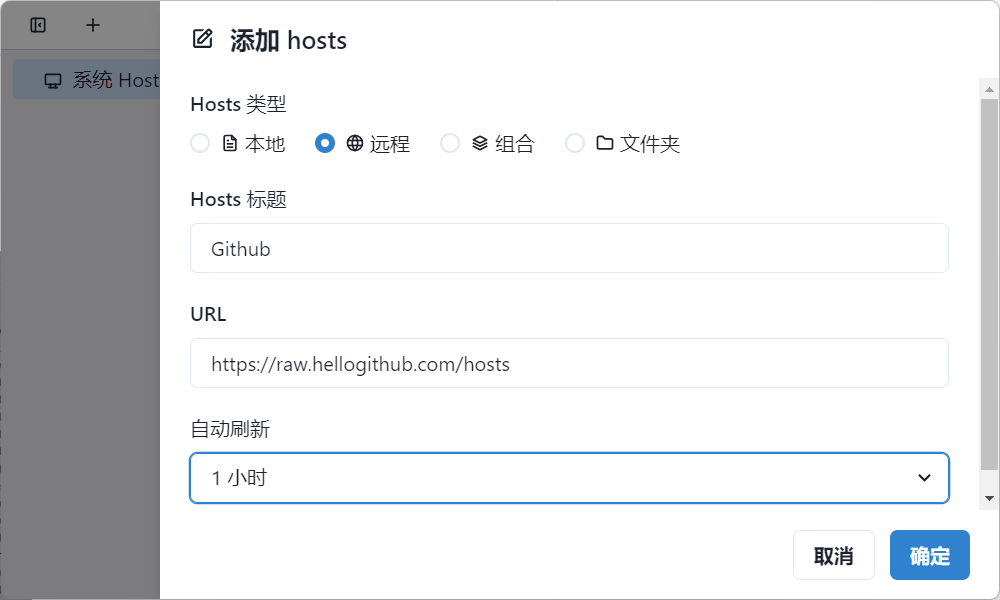
https://raw.hellogithub.com/hosts

这样每次 hosts 有更新都能及时进行更新,免去手动更新。
加速器
- 也可以使用加速器访问github, 直接下载一个软件 \^我用过steam++ , 然后点击加速即可, 这里不多赘述
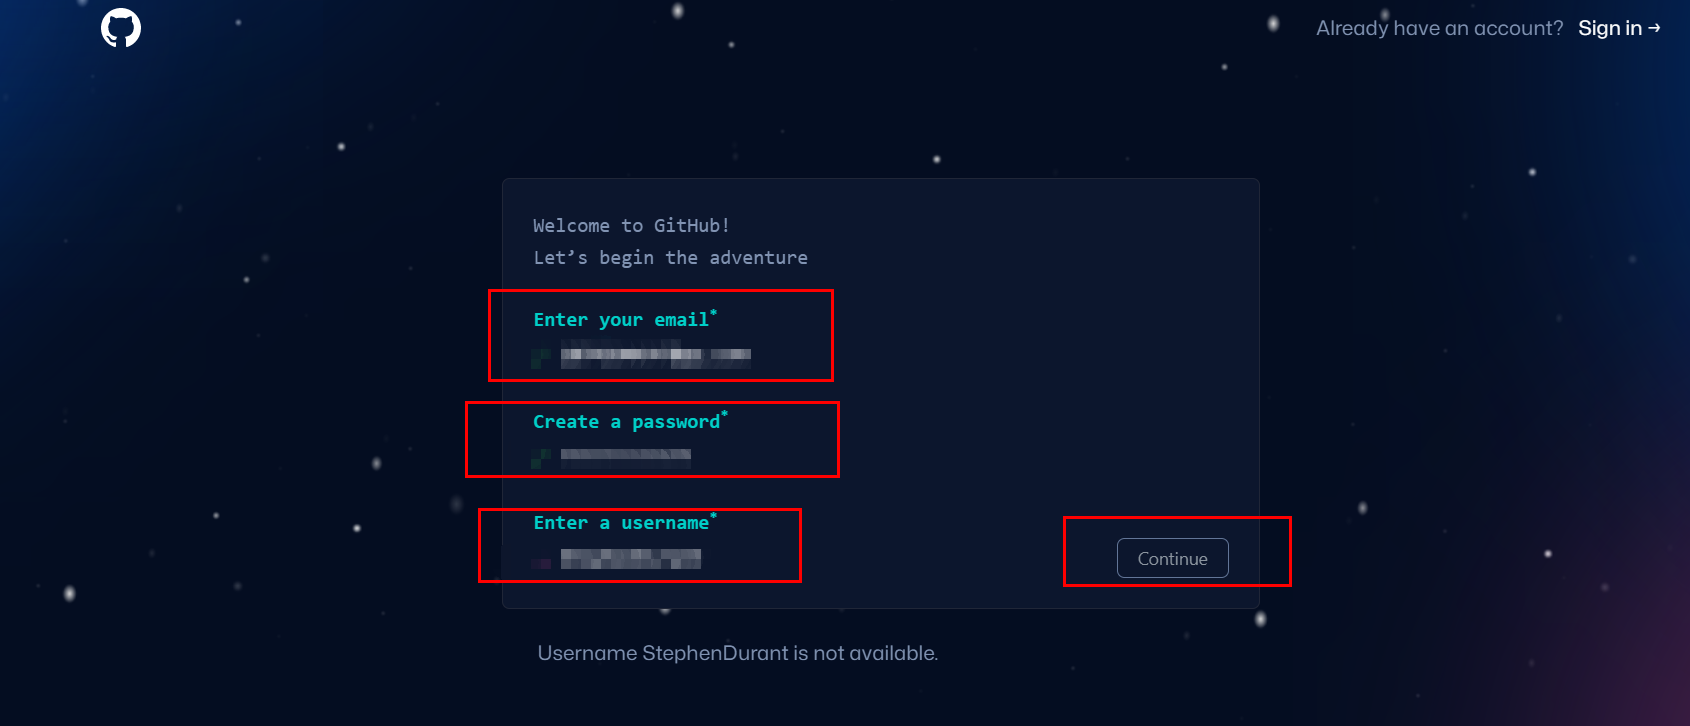
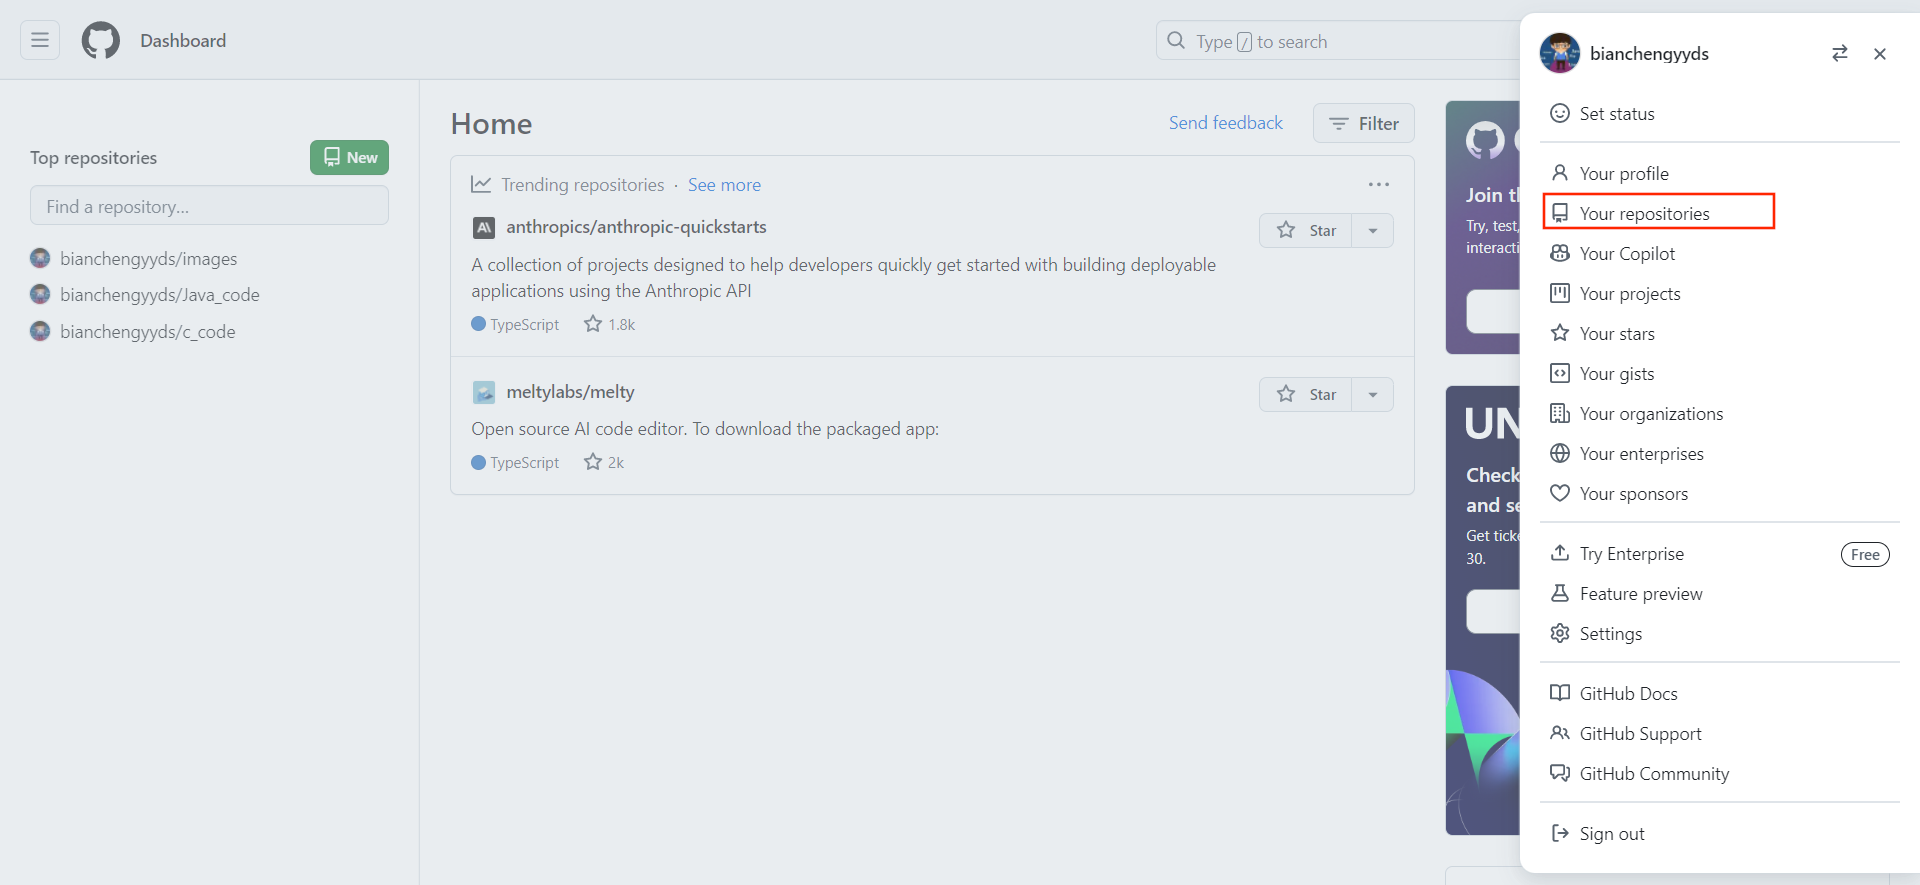
创建账户
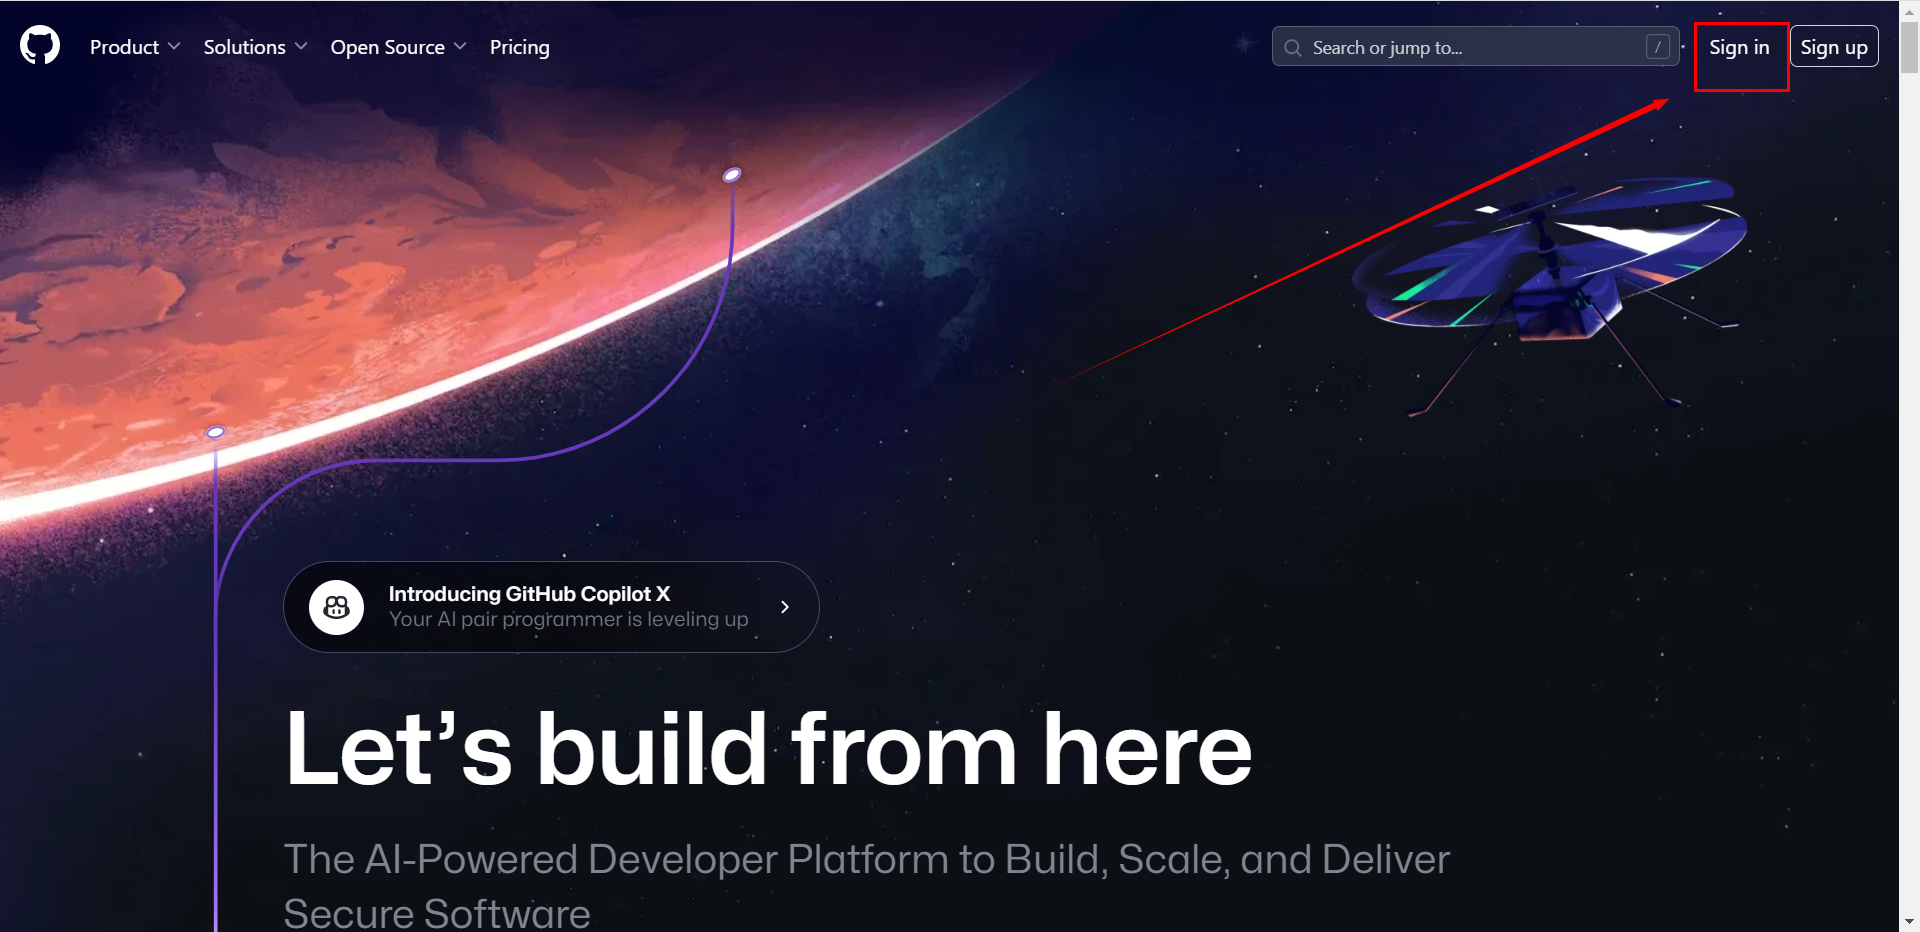
输入邮箱, 密码, 用户名, 输入邮箱内收到的验证码, 即可创建成功
登录, 填写用户名和密码, 点击登录.
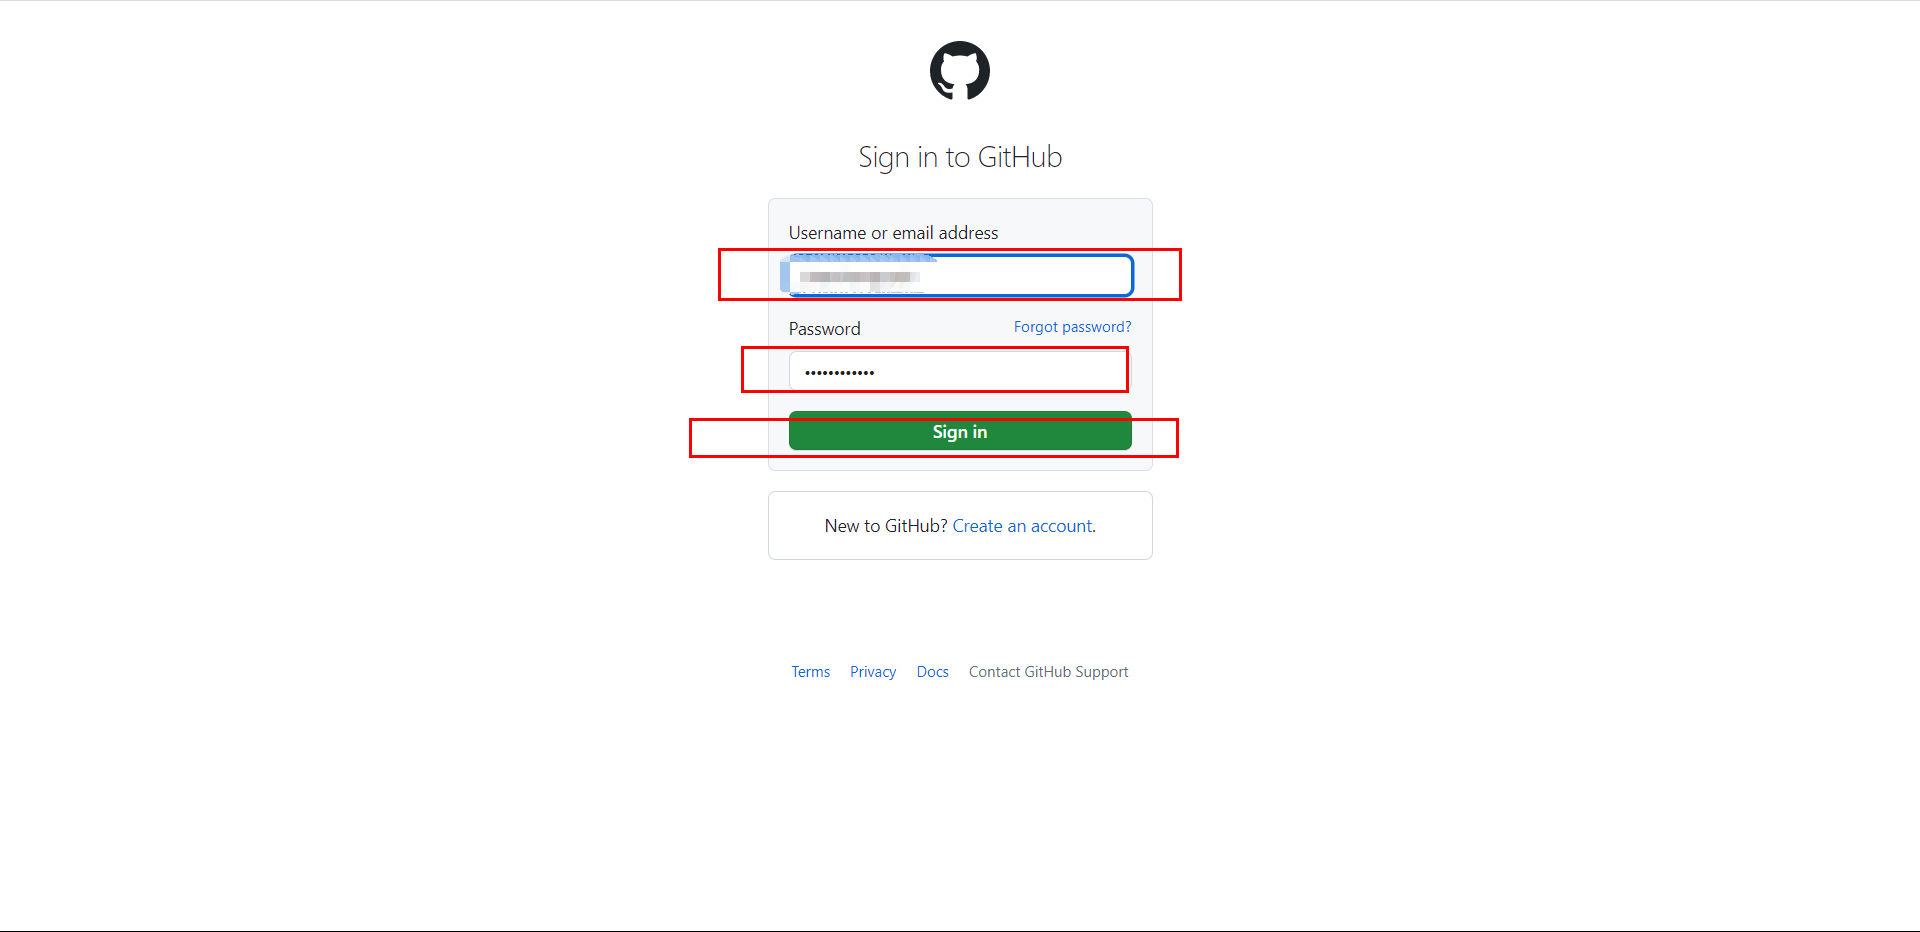
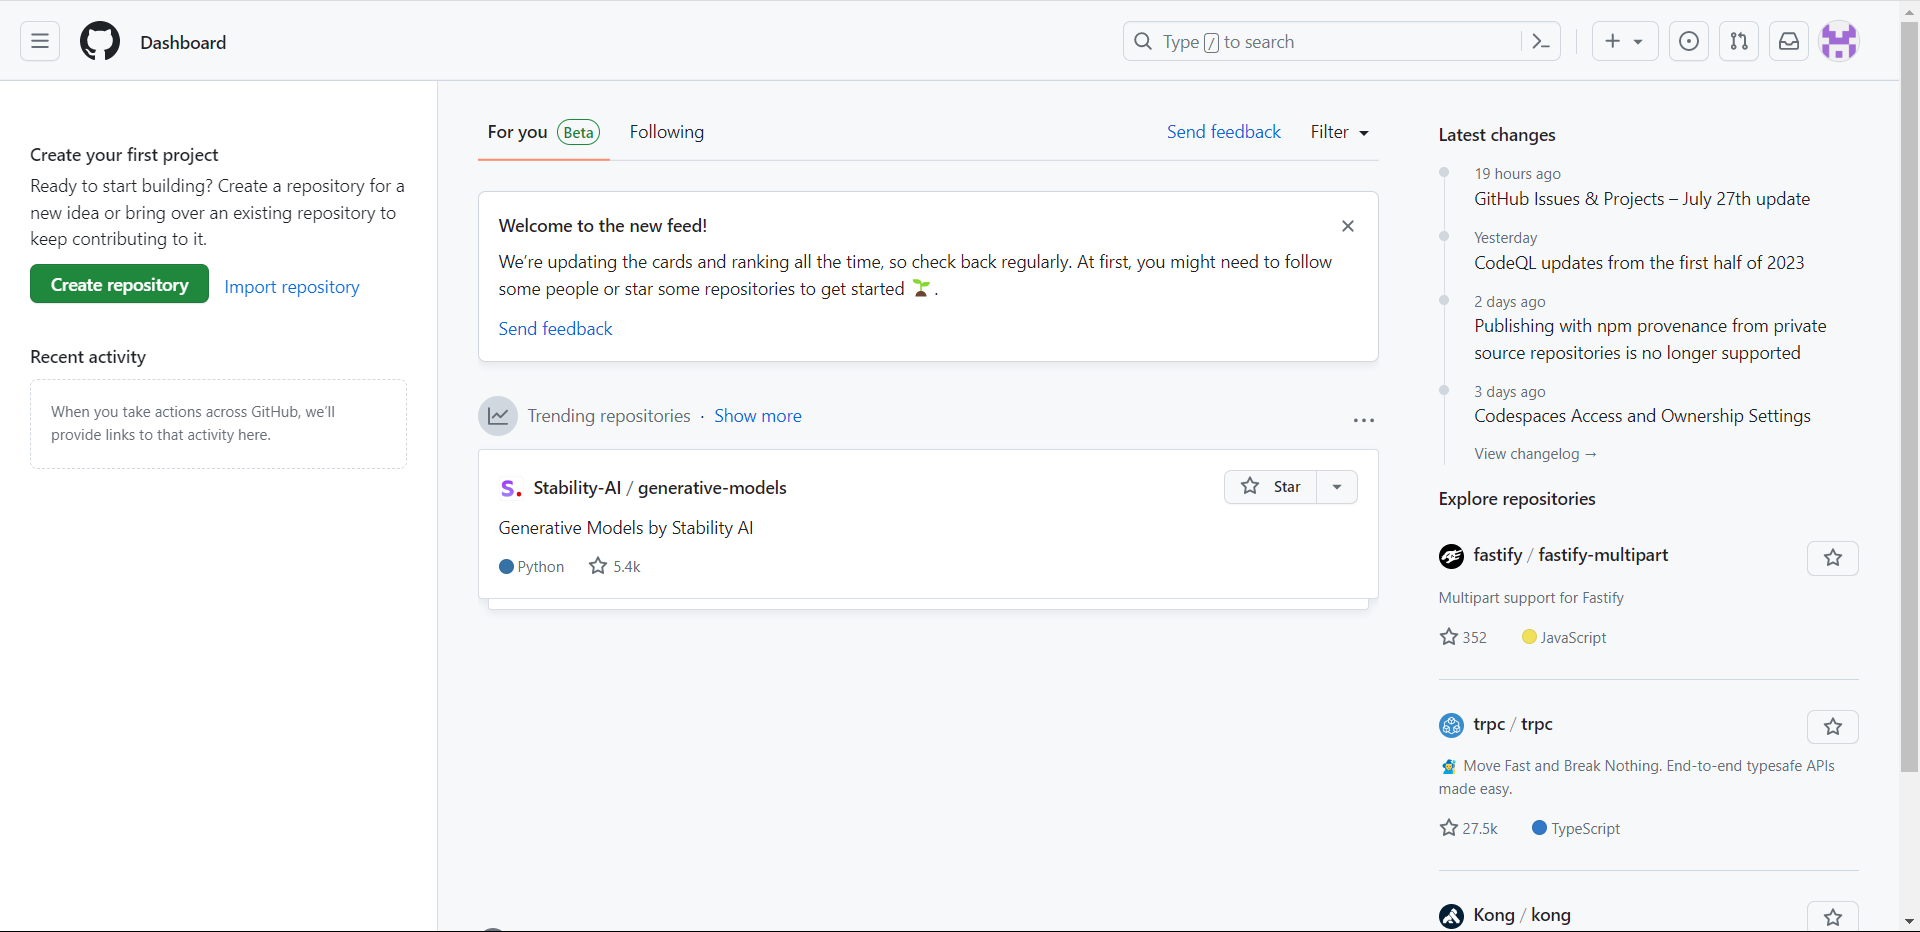
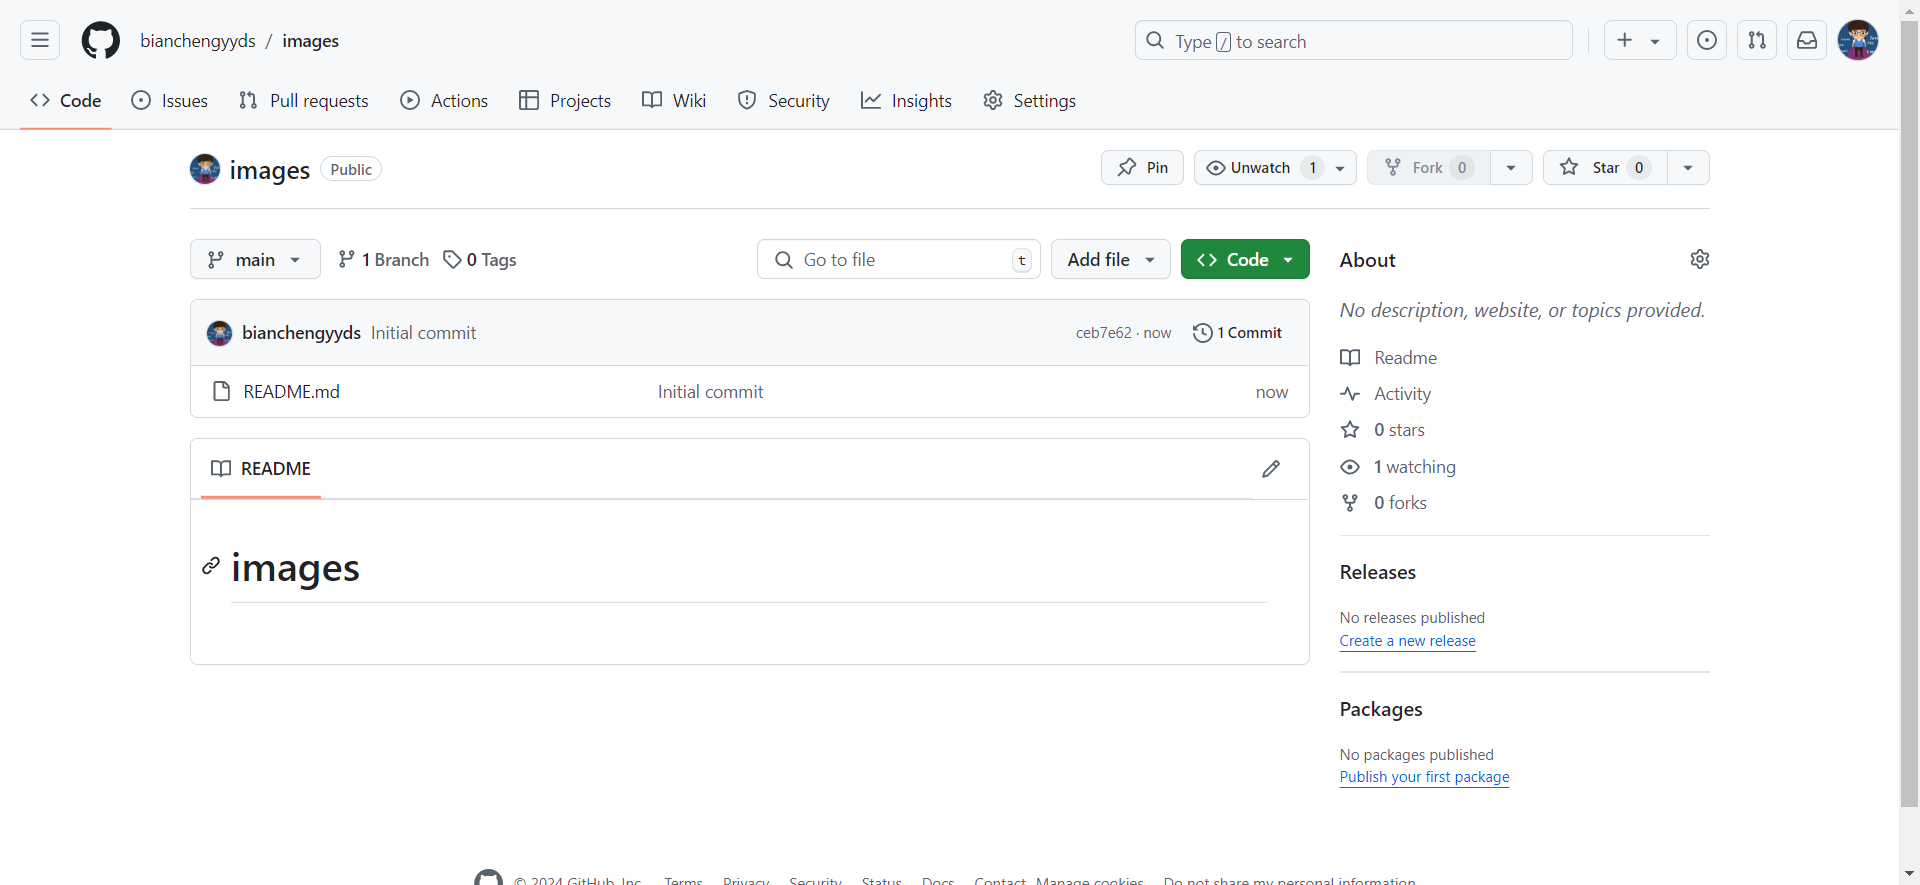
登录完成界面如下:
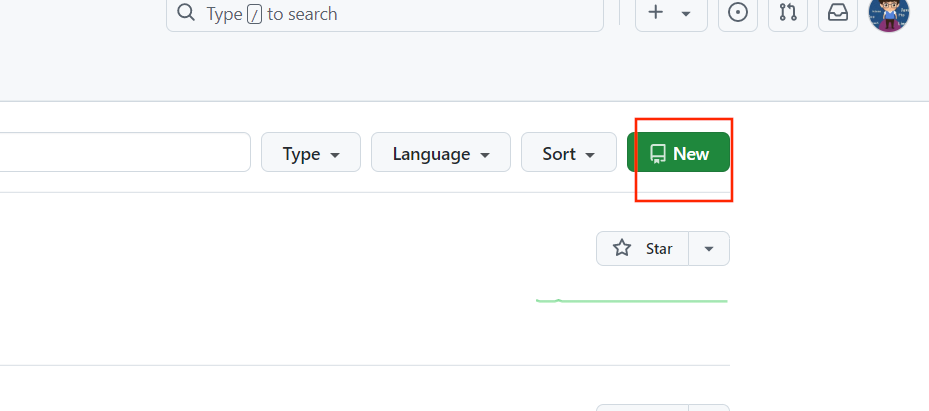
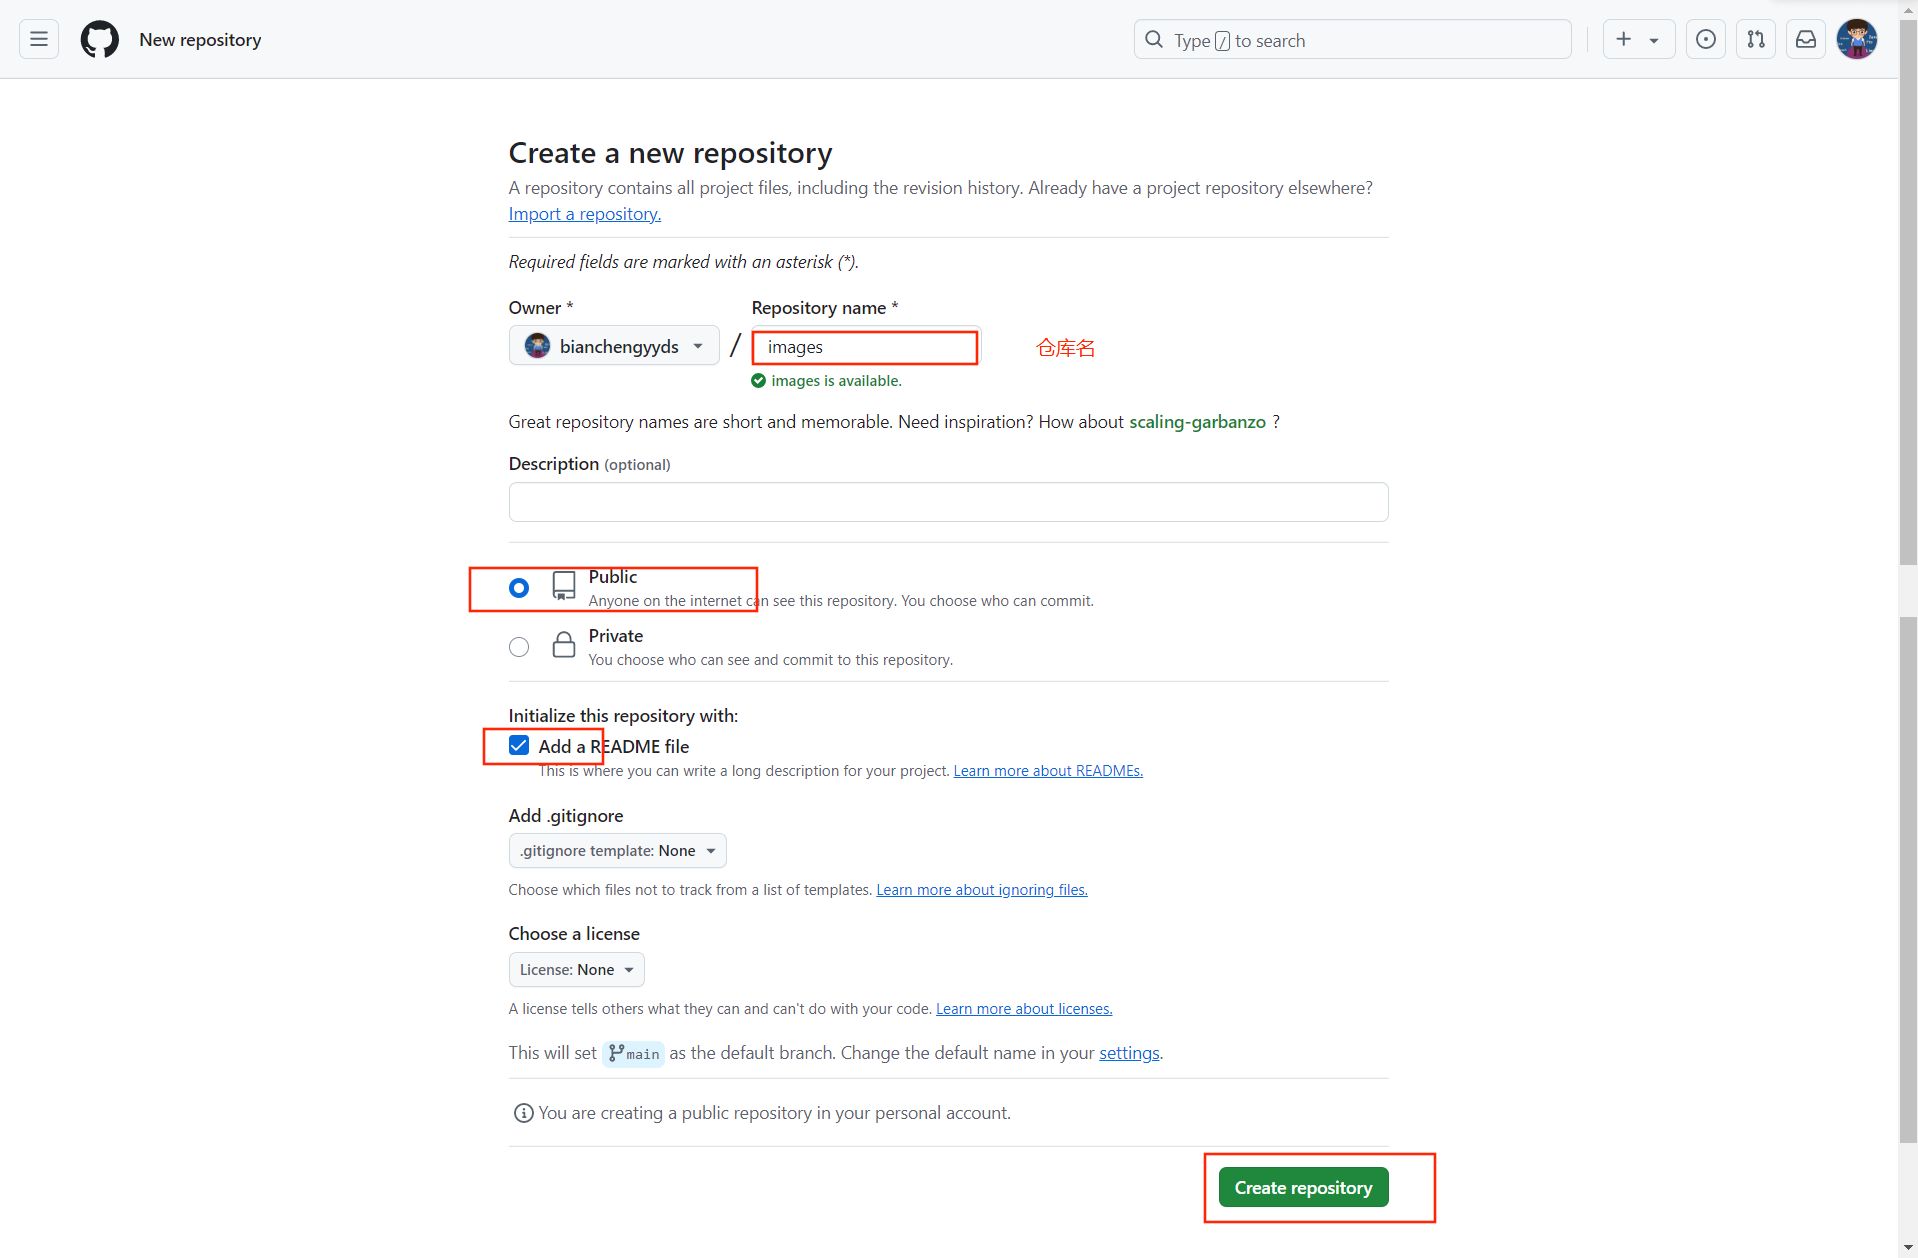
创建仓库
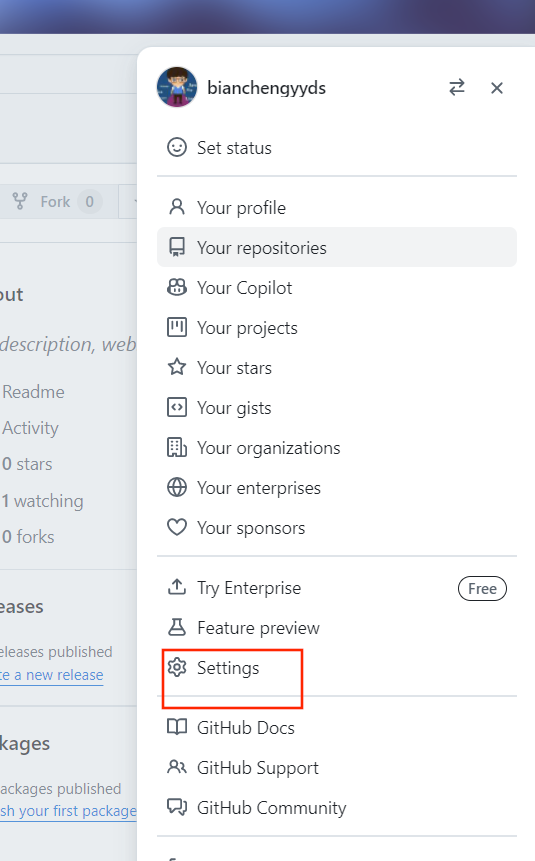
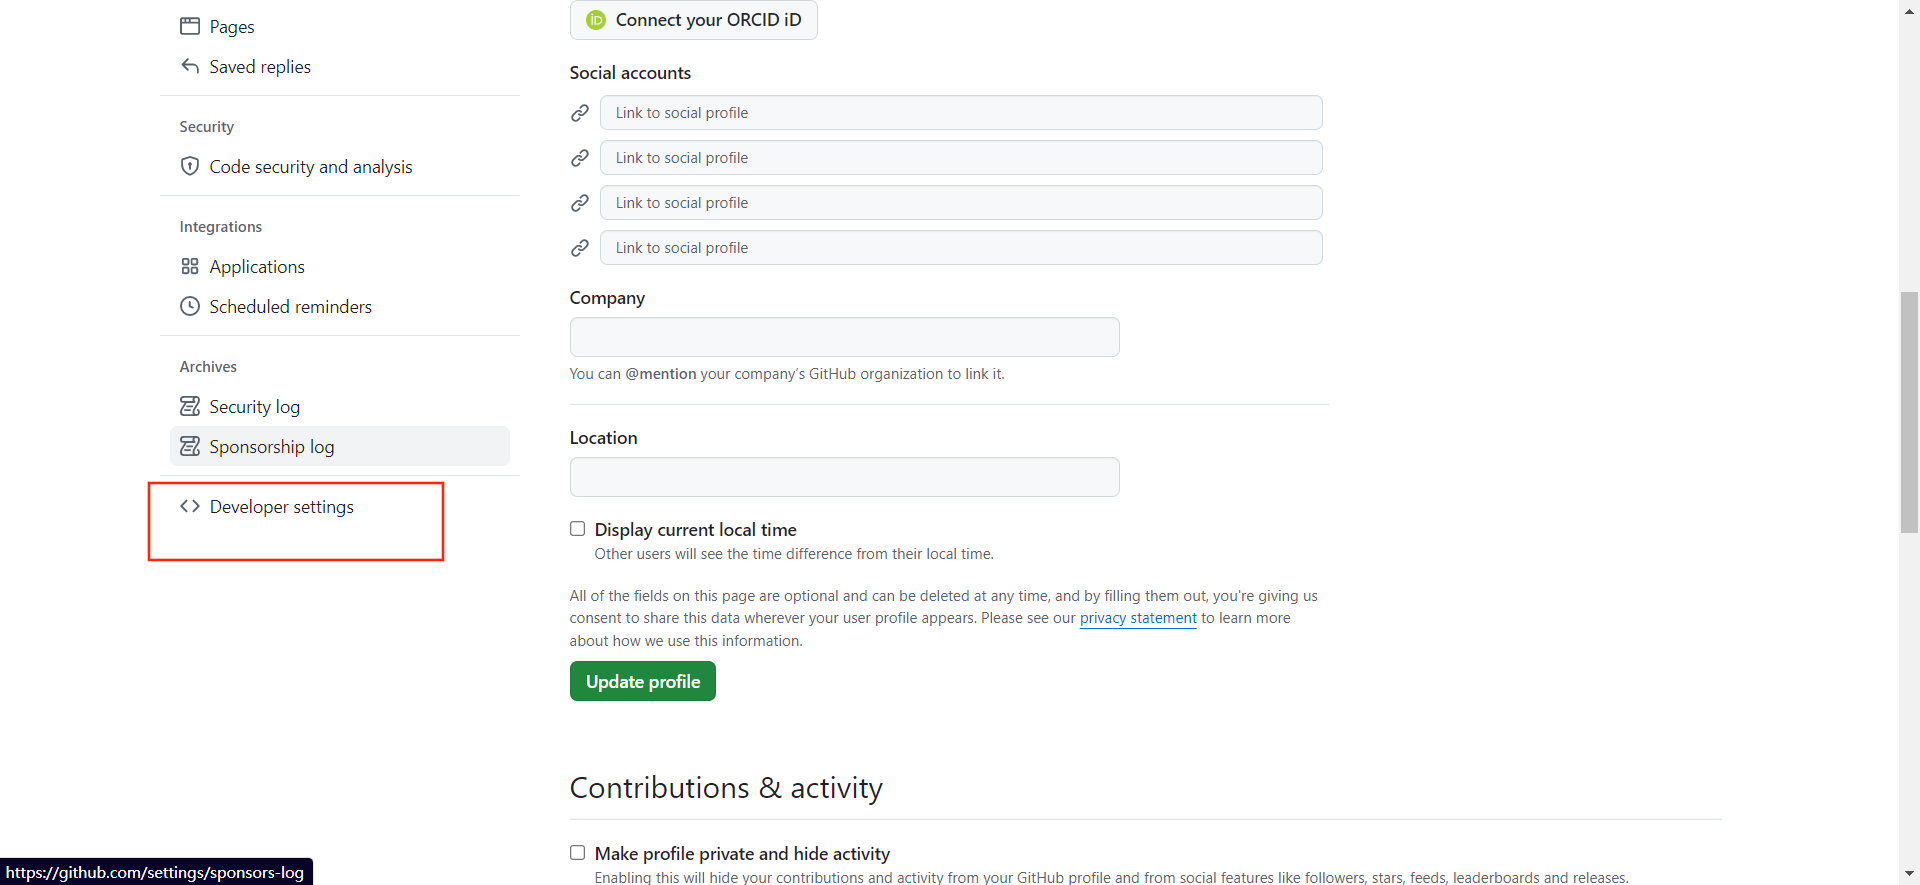
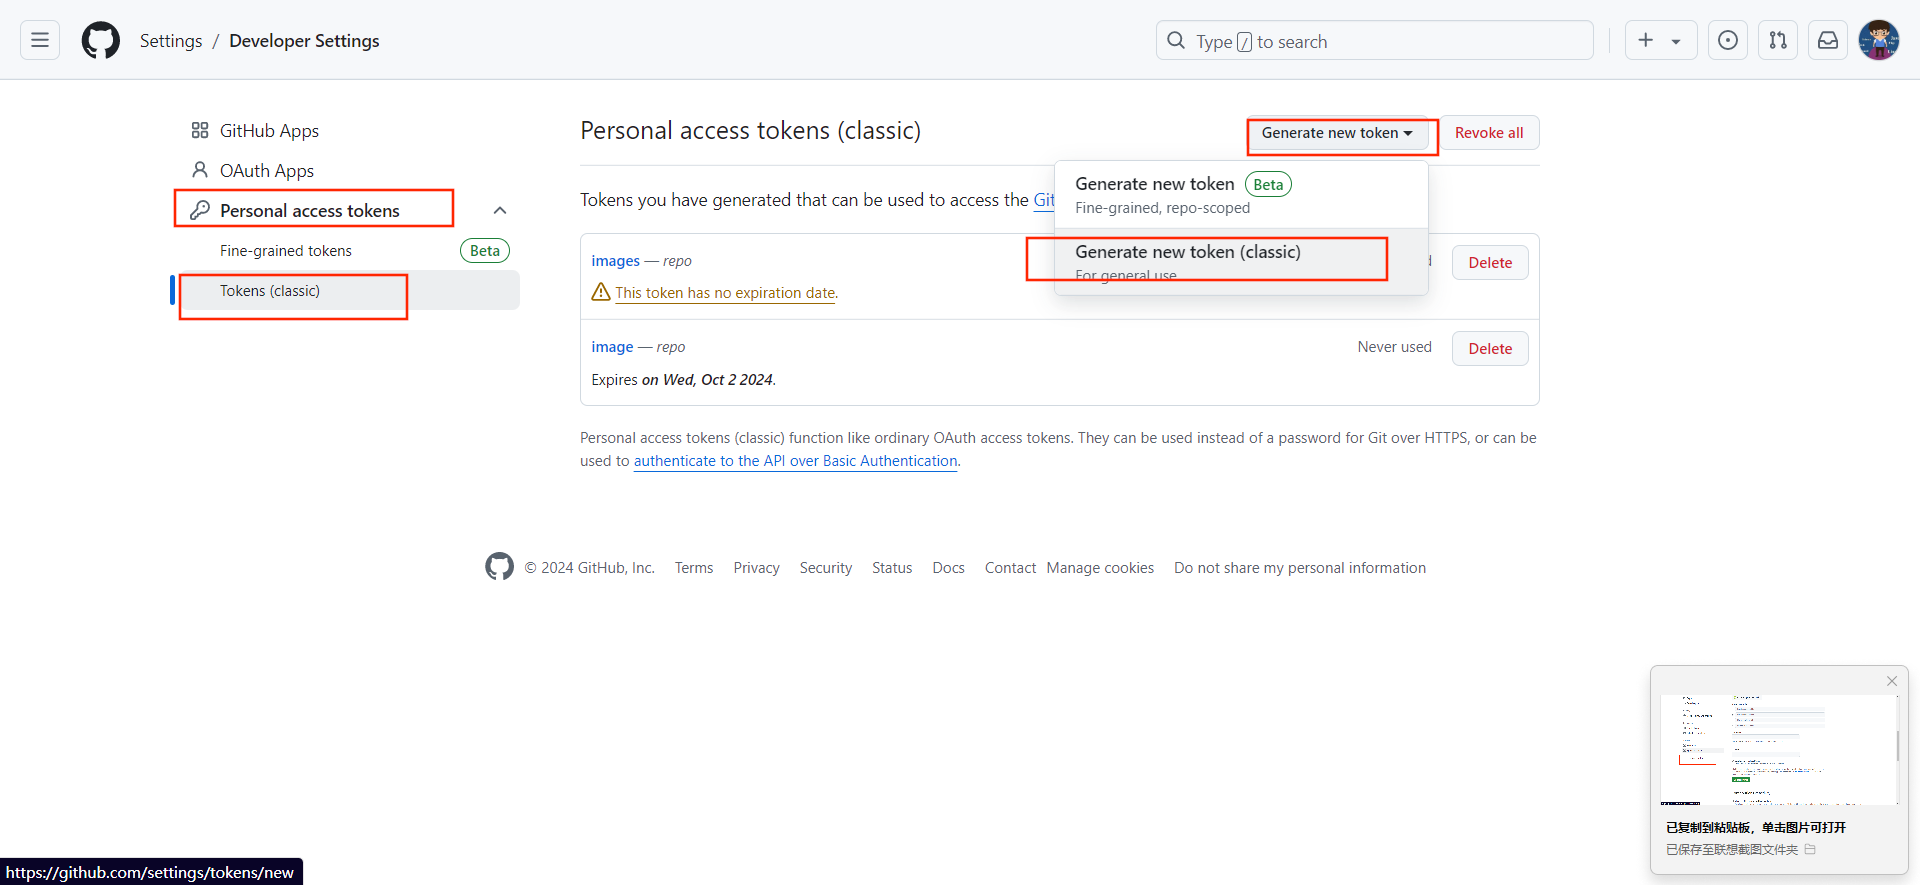
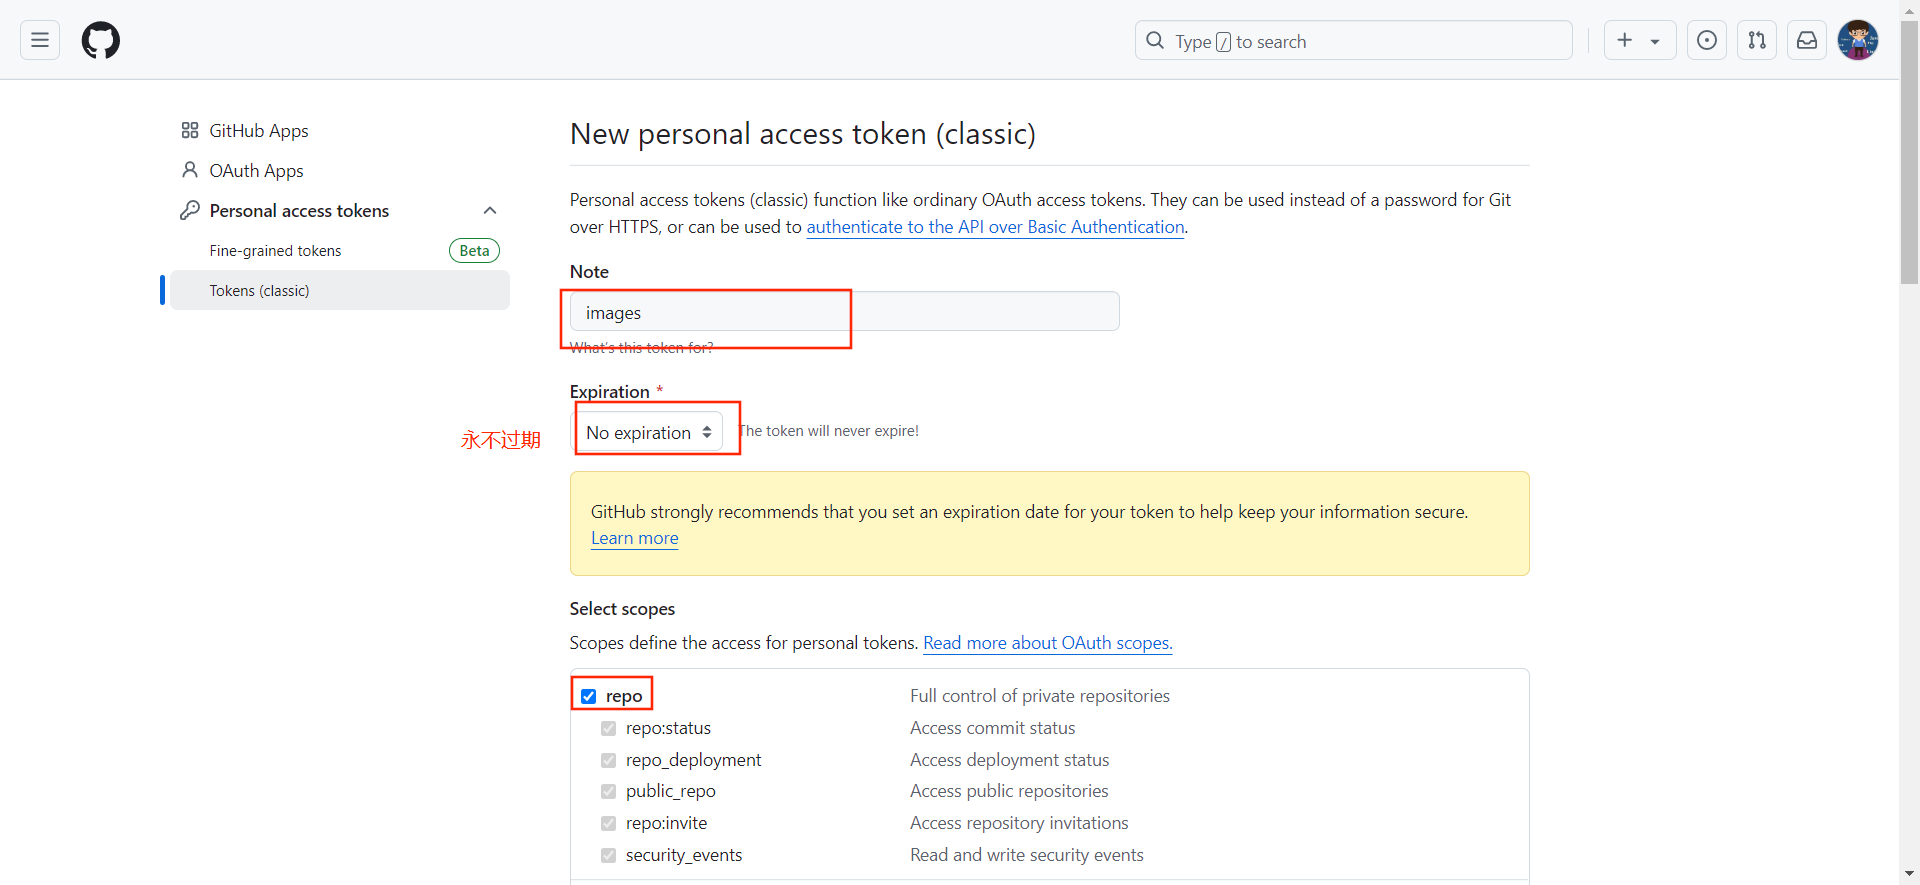
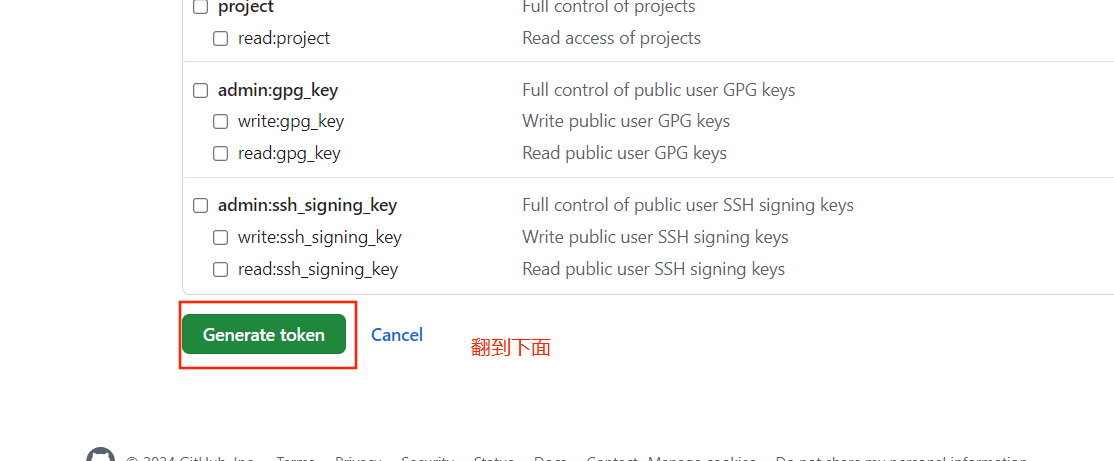
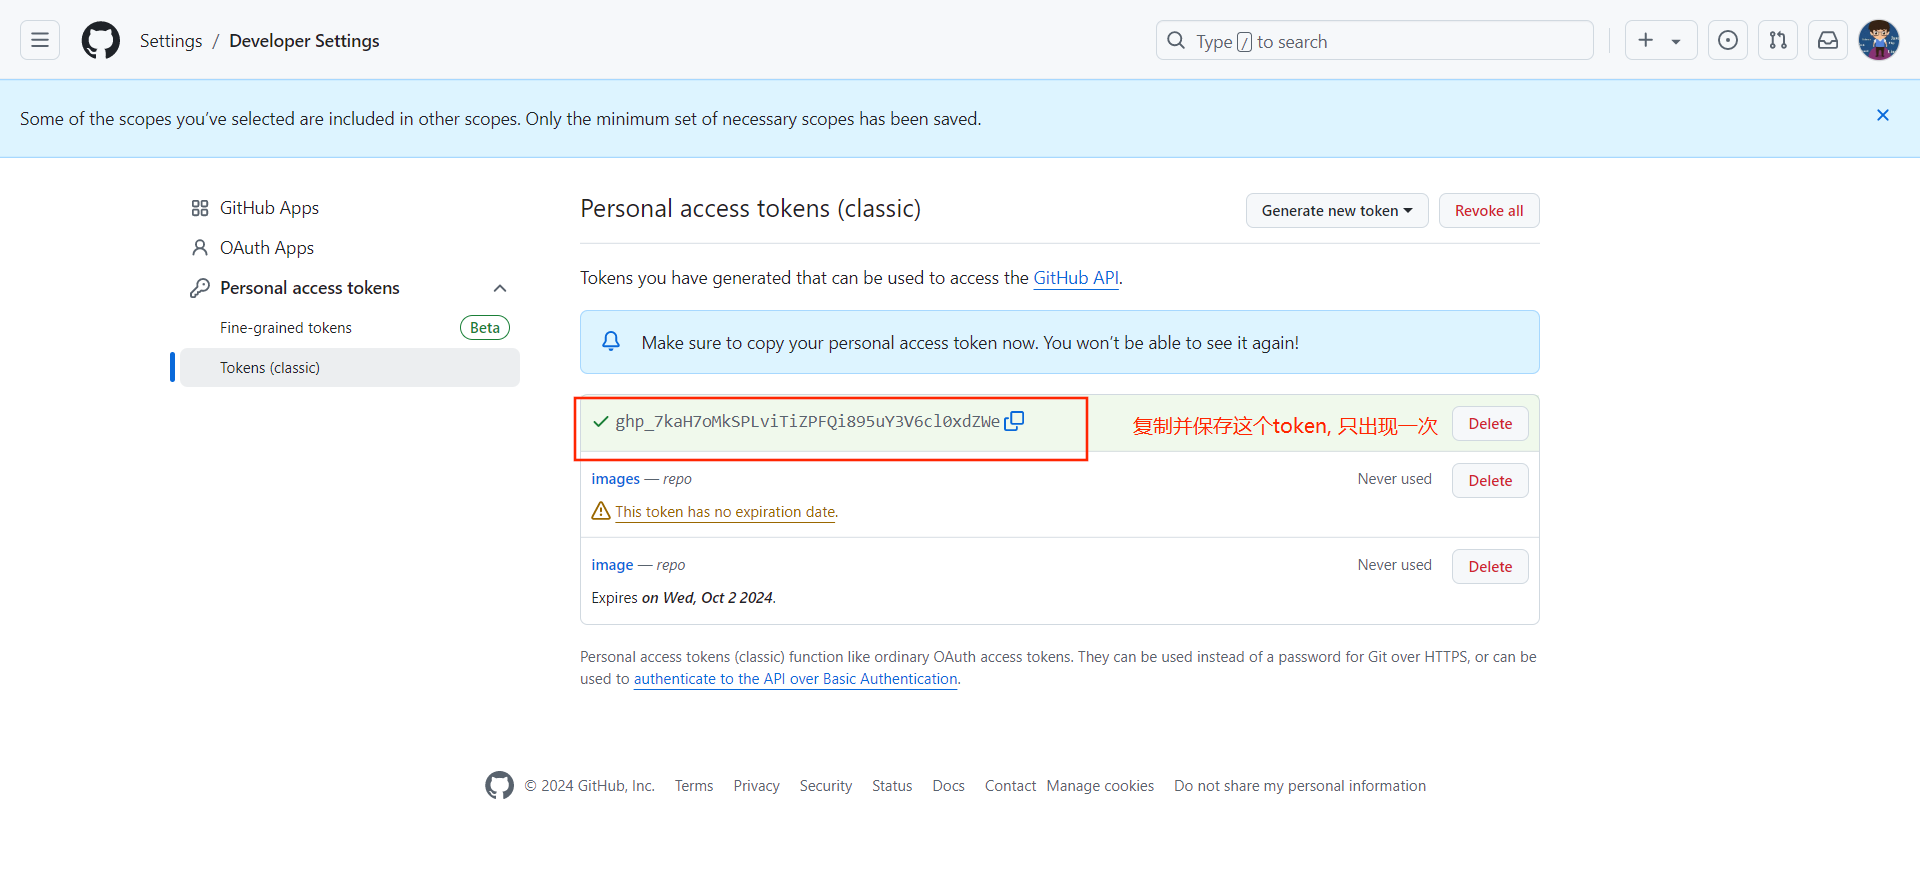
创建token
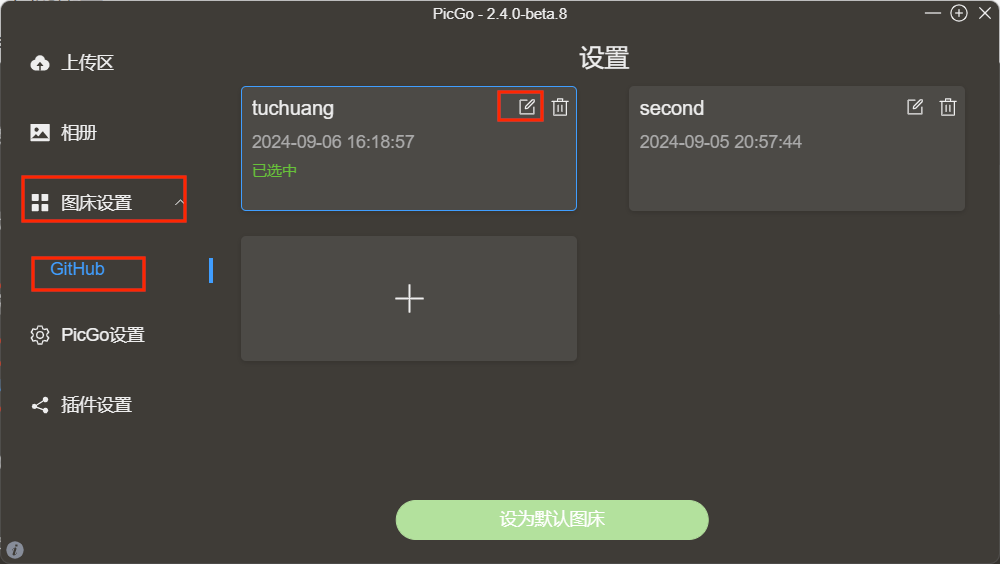
PicGo
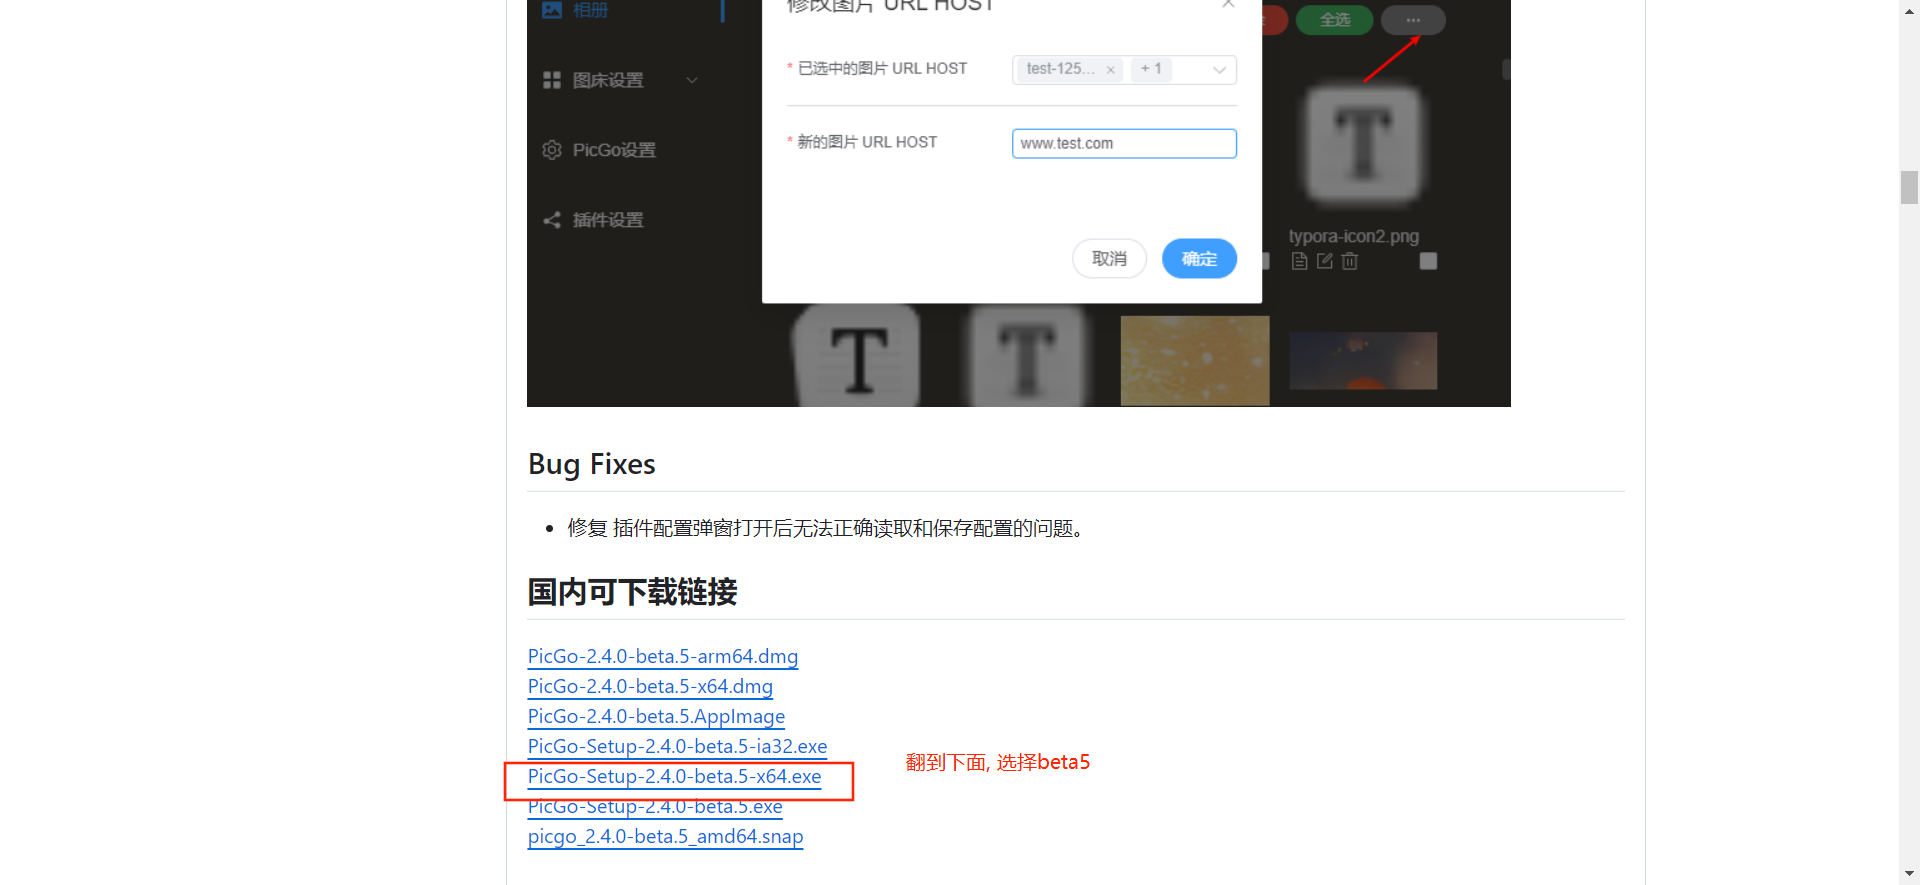
- PicGo上面的配置
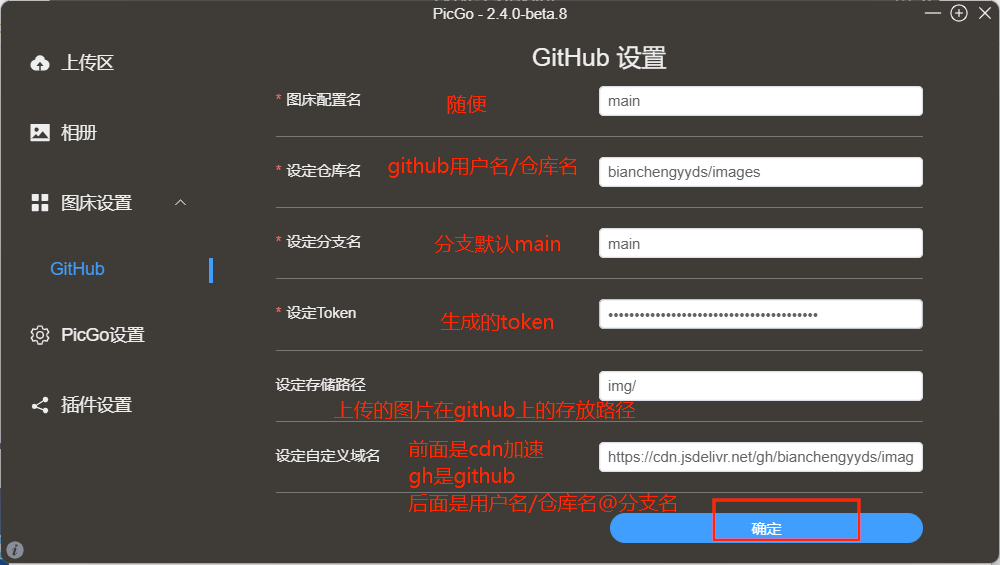
https://cdn.jsdelivr.net/gh/bianchengyyds/images@main
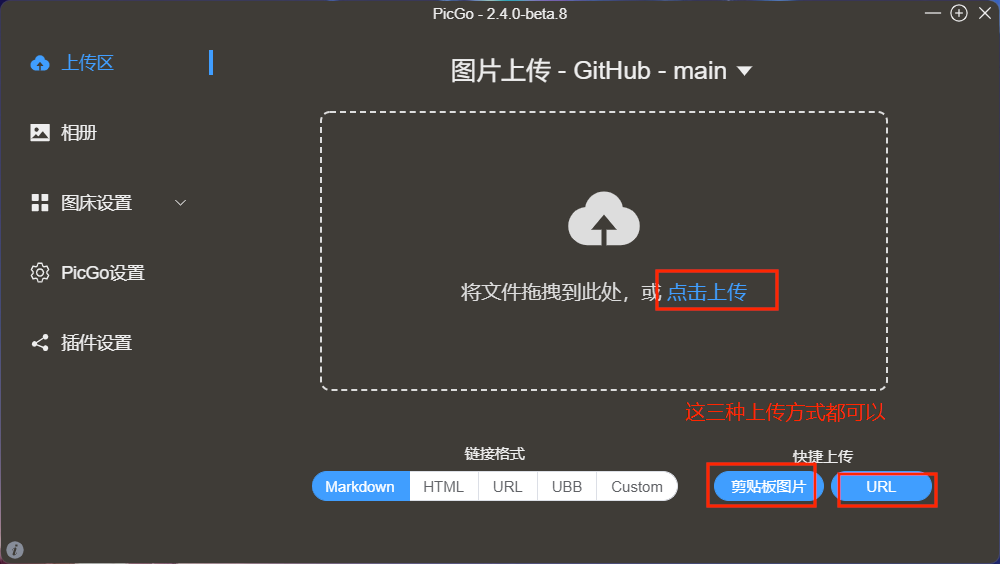
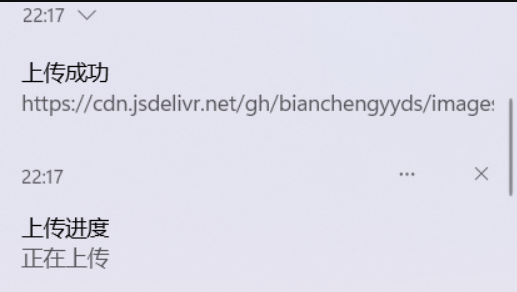
上传图片的时候要确保网络通畅, 并且保证PicGo能访问到github\^我当时就是卡在了这里很长时间, 因为我一直用的是加速器steam++访问的github, 我本身可以访问到, 但是PicGo就不一定了, 所以我就修改了一下访问github时的手段, 我把hosts改了一下, 还真的是这样, 所以还是建议使用SwitchHosts修改hosts的方式来访问github
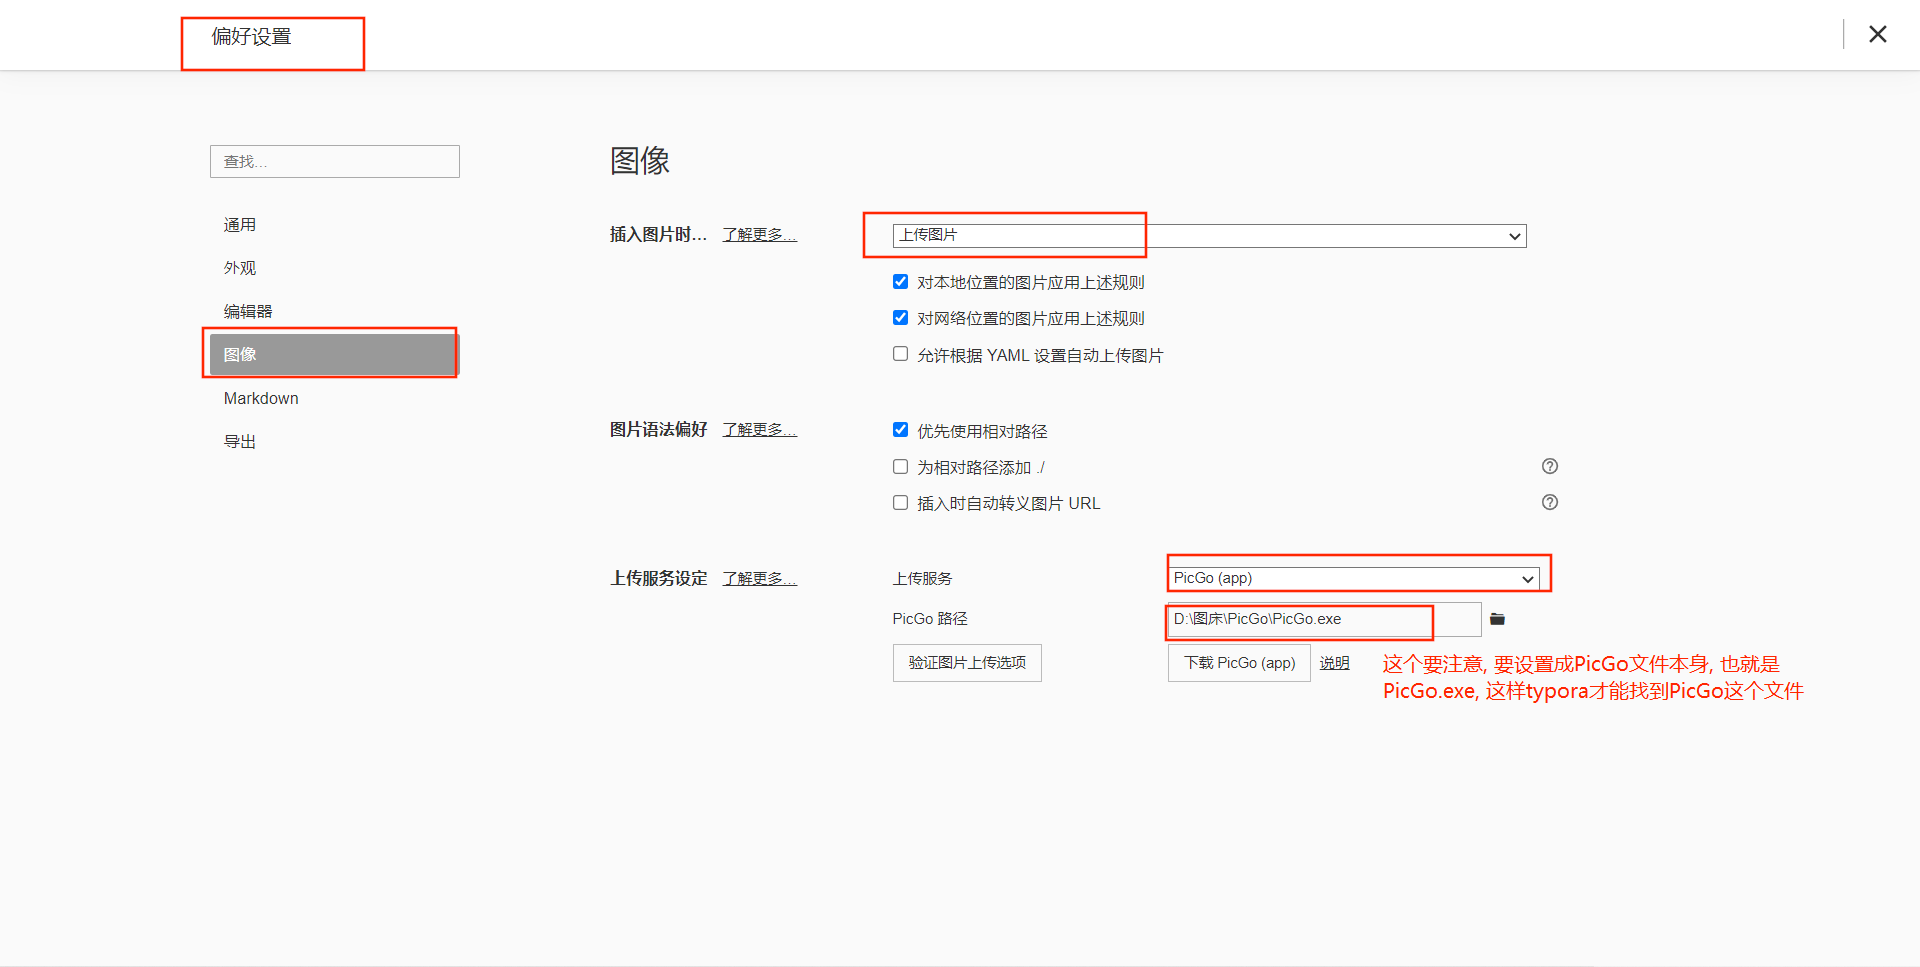
Typora
-
快捷键
ctrl+,或者在左上角文件中点击偏好设置- 点击
图像
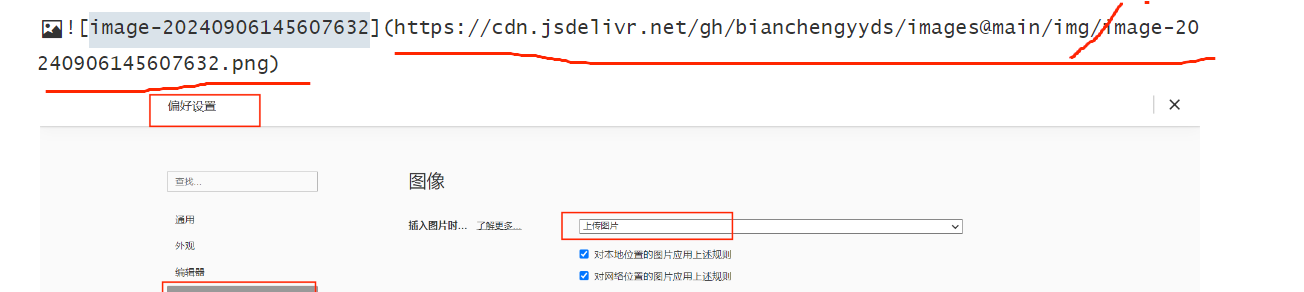
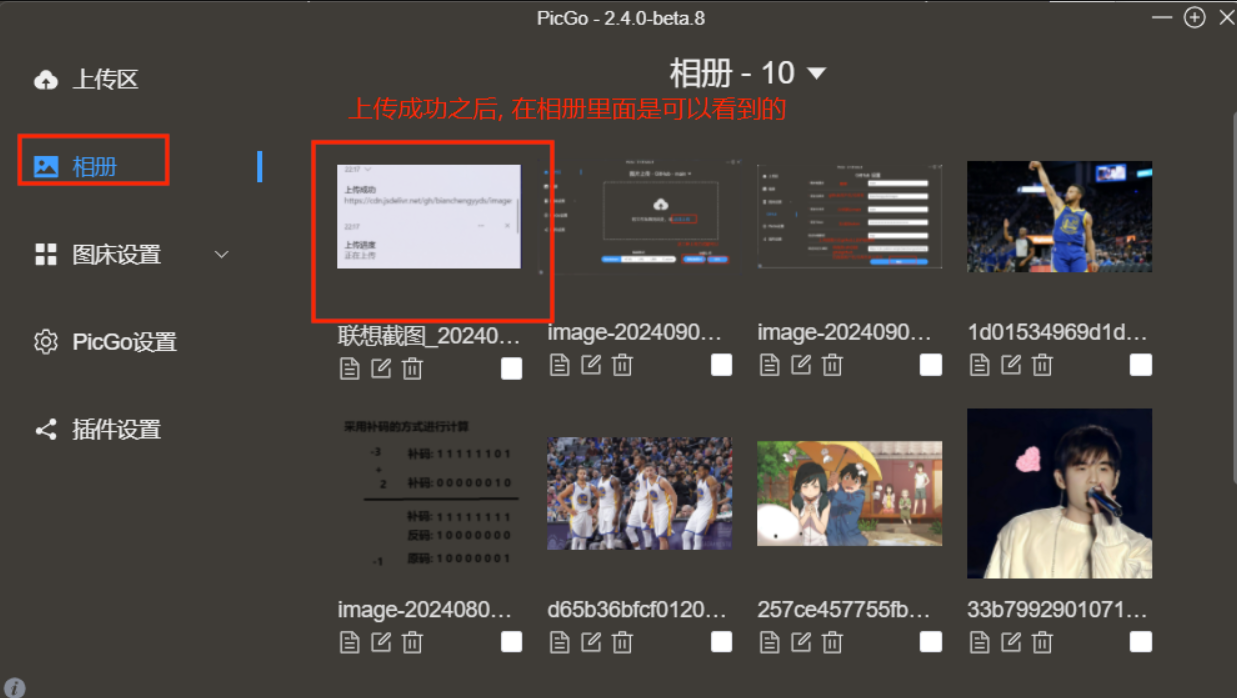
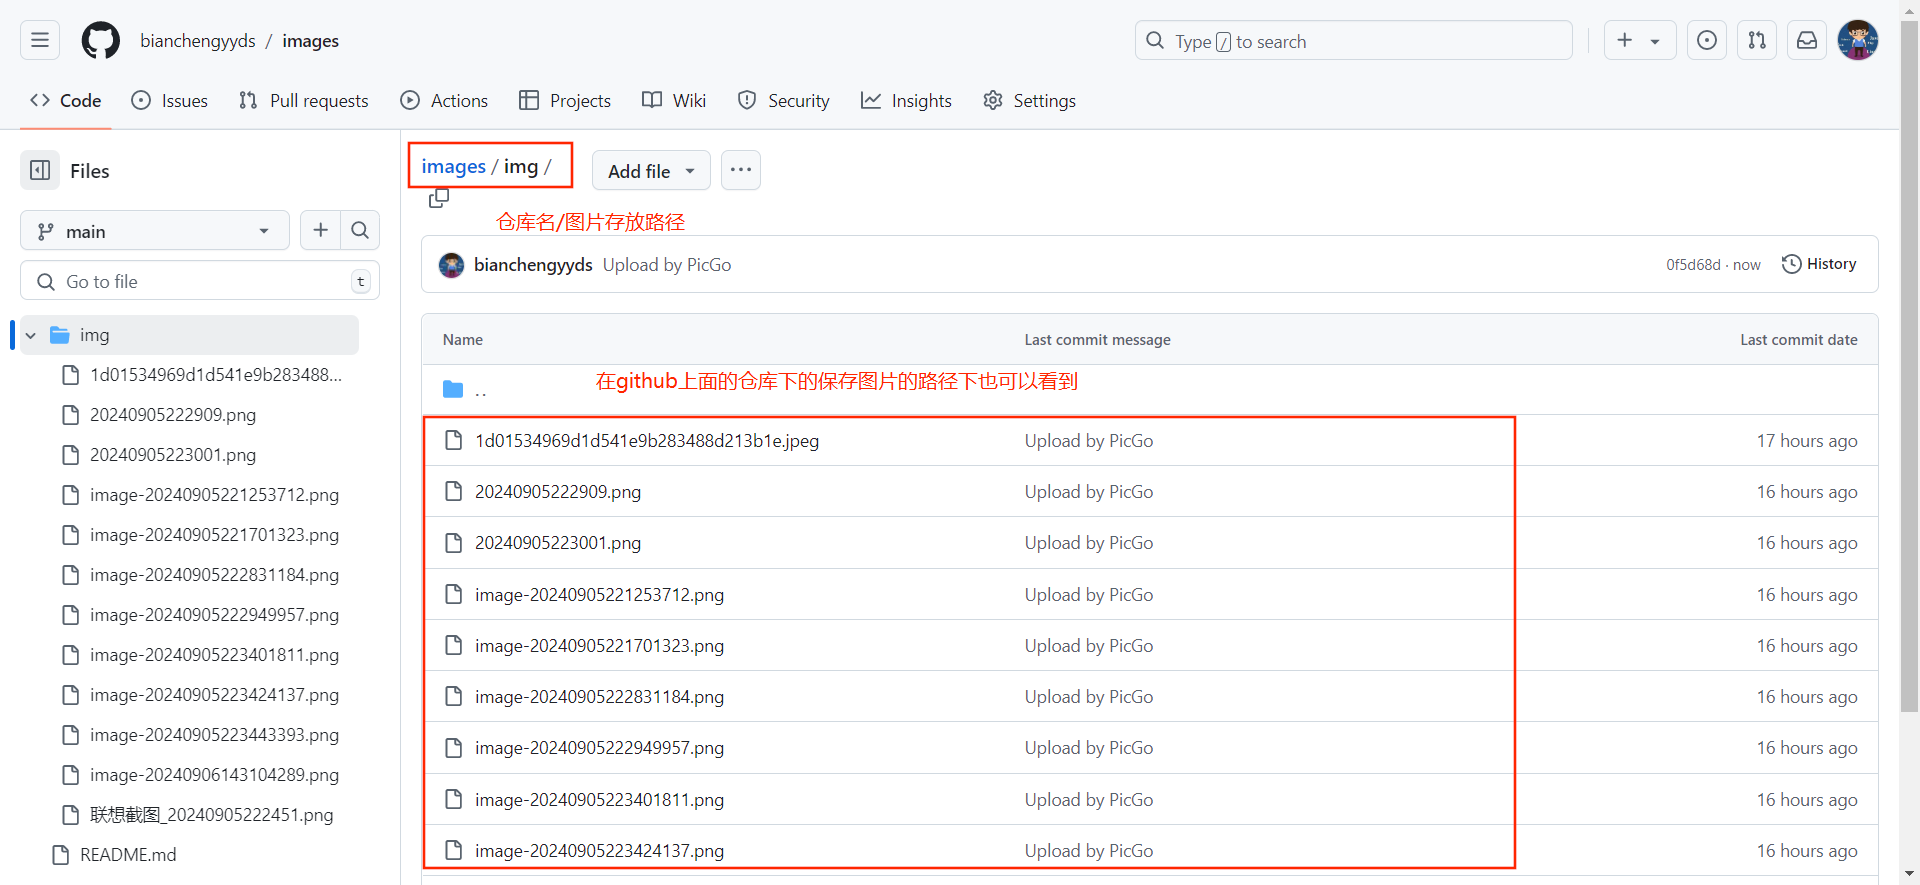
- 将想要使用在Typora上的图片粘贴上来, PicGo就会通过那个cdn加速自动帮你把图片上传到git-hub仓库里面, 这样就可以避免只能在本地看到图片的问题. 这个链接的前半部分就是刚才设置的访问链接, 后面是图片的名称
- 注意: 粘贴上来的图片Typora会根据设置自动上传, 这个期间可能会卡顿 \^有的图片可能先是显示的链接, 图片不是马上就呈现出来了, 需要耐心的等待
- 点击