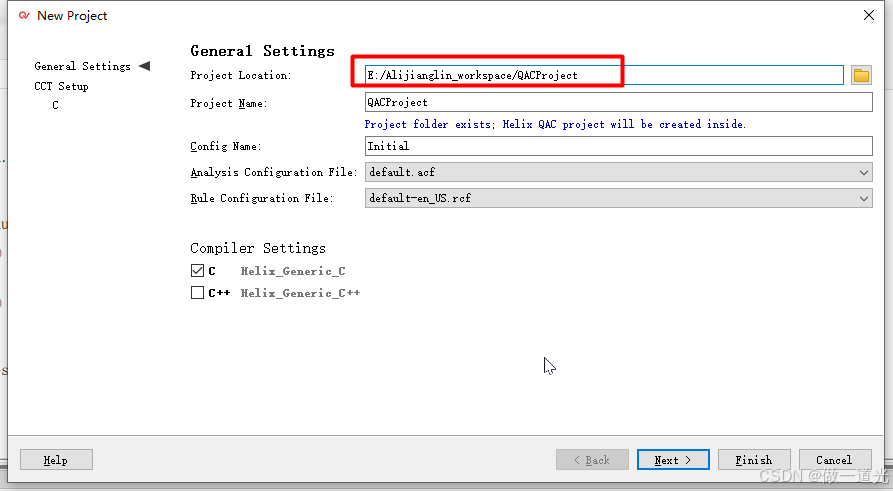
1、点击new project,新建工程。
选择工程保存的目录,其他保持默认即可。
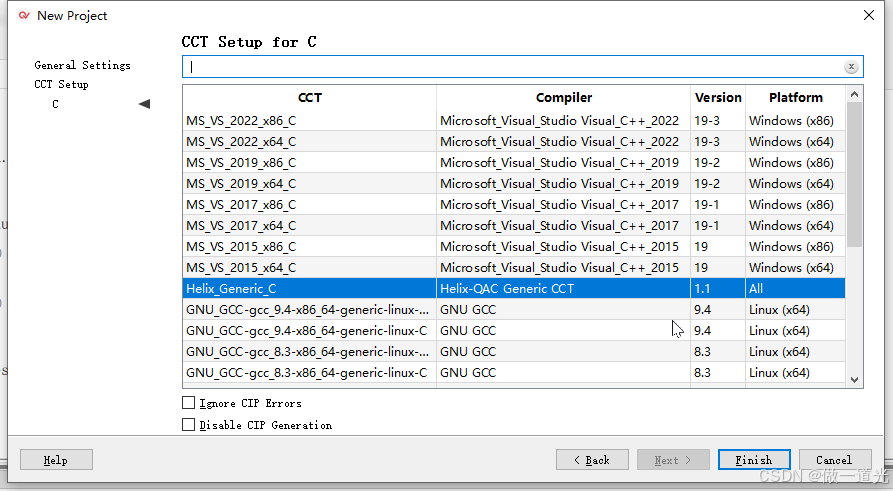
2、配置编译器
根据工程选择相应的编译器配置文件,此处该示例选择的QAC通用平台的C语言配置文件
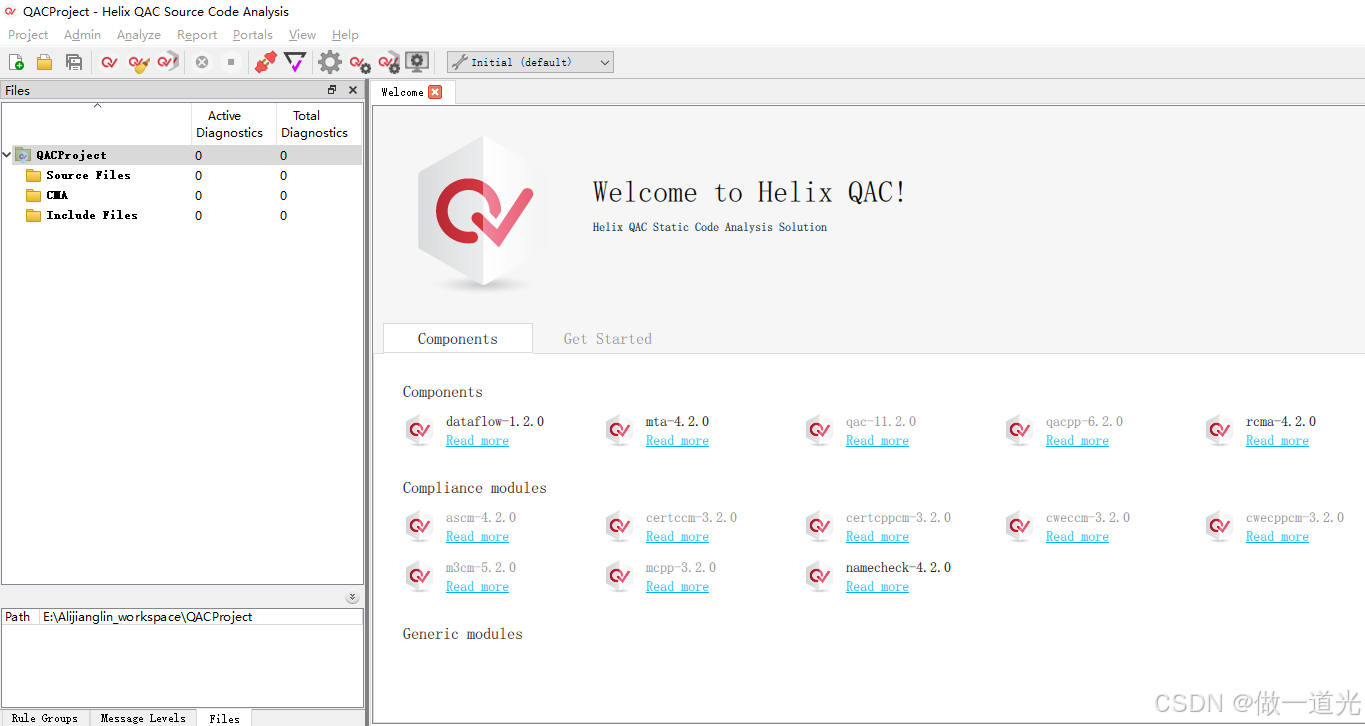
3、生成工程文件
点击finish完成编译器配置后,自动生成工程文件
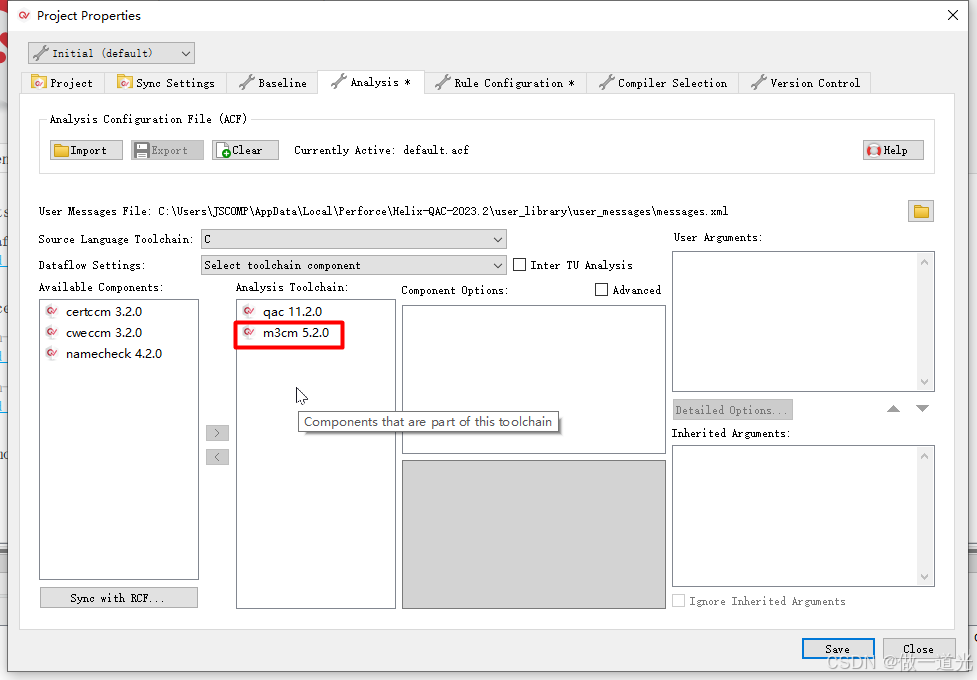
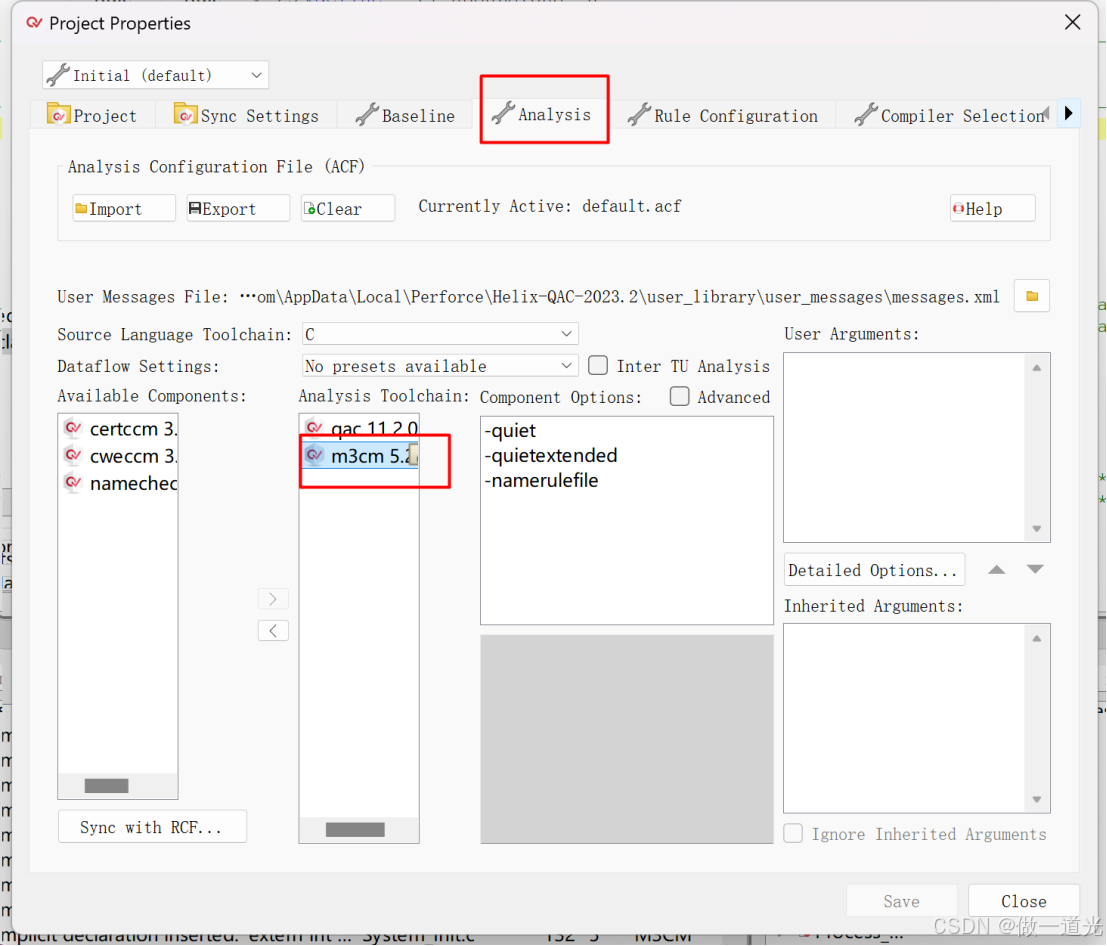
4、配置工程特性
点击project,选择打开工程特性

将MISRA C 2012规范添加进来,也就是把m3cm添加进analysis toolchain。
available components里面保存的是各个编码规范的合规模块
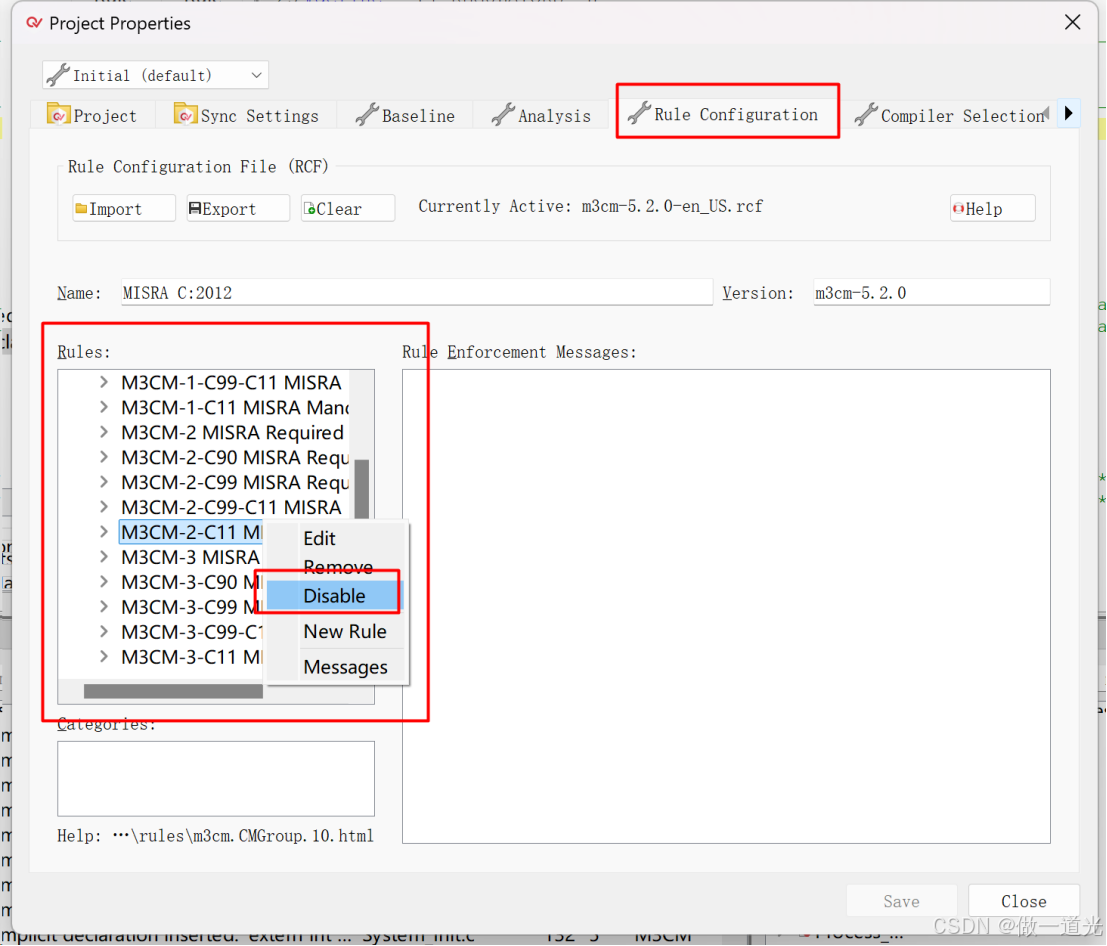
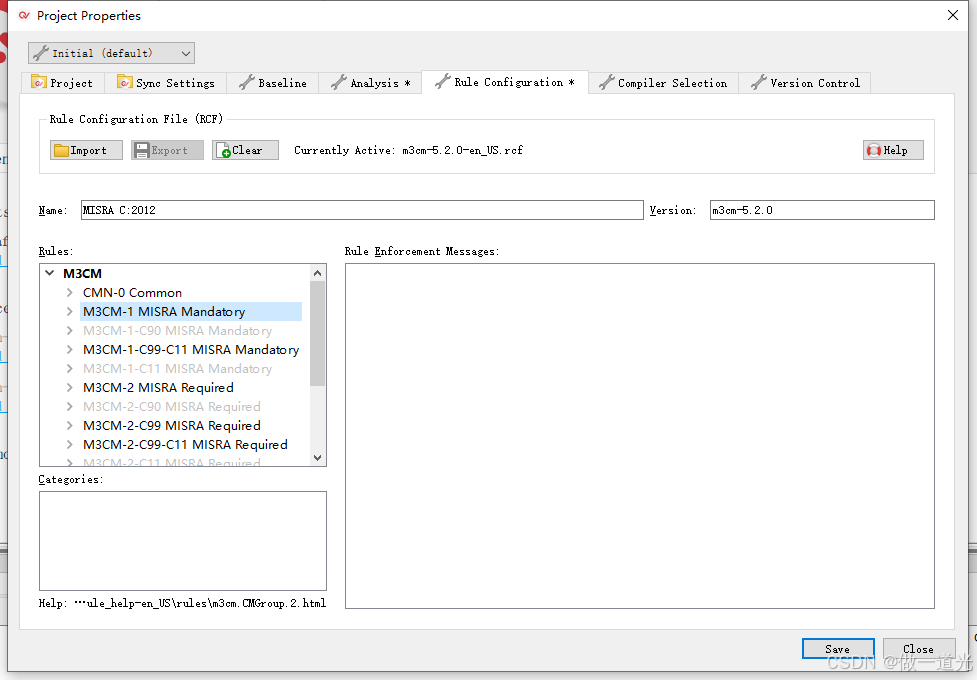
点击rule configuration,可以打开或关闭MISRA的某些规则,也可以自定义制定规则。一般使用它默认的规则,不去做变更。
里面有MISRA的3类规则,分别是mandatory(强制遵循),required(违反规则需要制定流程去规避),advisory(违反规则做出记录即可)。
5、通过同步的方式添加被测源码
点击主页面project,选择synchronize
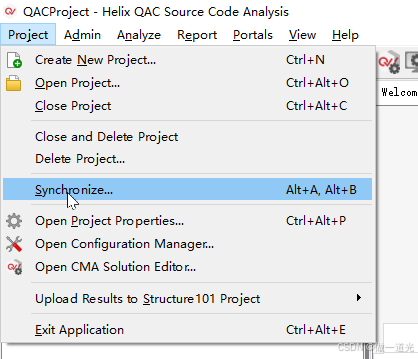
同步的原理:监测编译的过程,把编译过程中所调用的源码,头文件,宏定义都是同步添加到这个QAC工程里面。
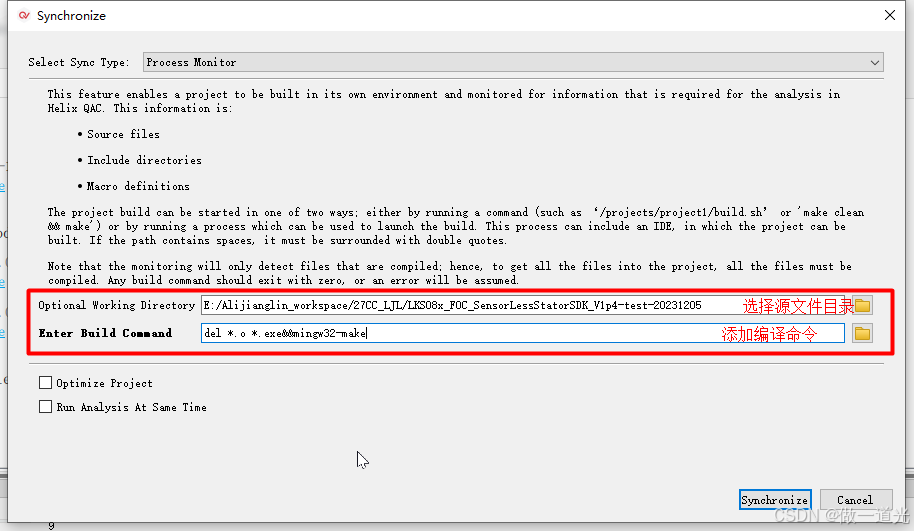
点击同步按钮 ,此处我没有添加成功
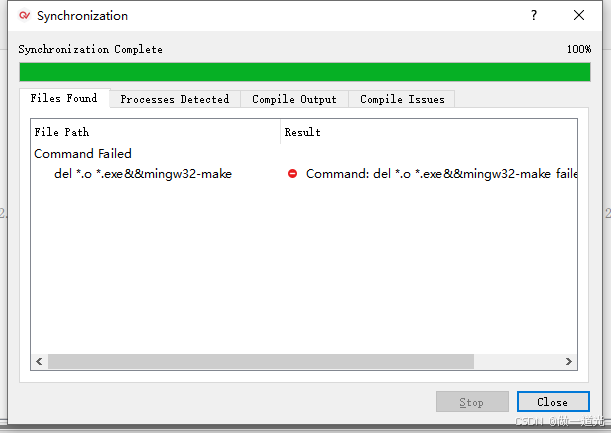
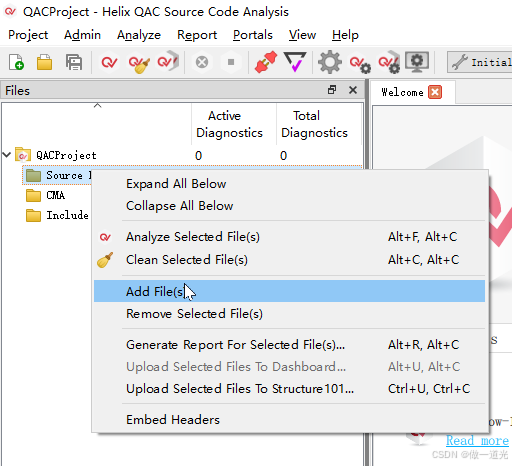
选择点击QAC工程中的source files,直接添加被测源码所在目录,才添加成功。
6、分析工程
点击左上角的分析按钮
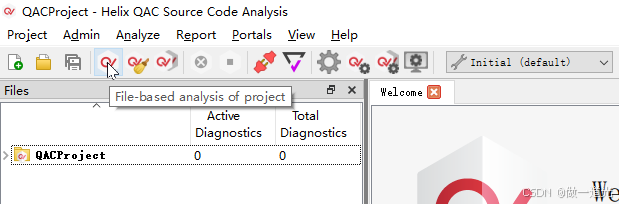
分析过程中,此时如果没有软件授权会导致分析失败。
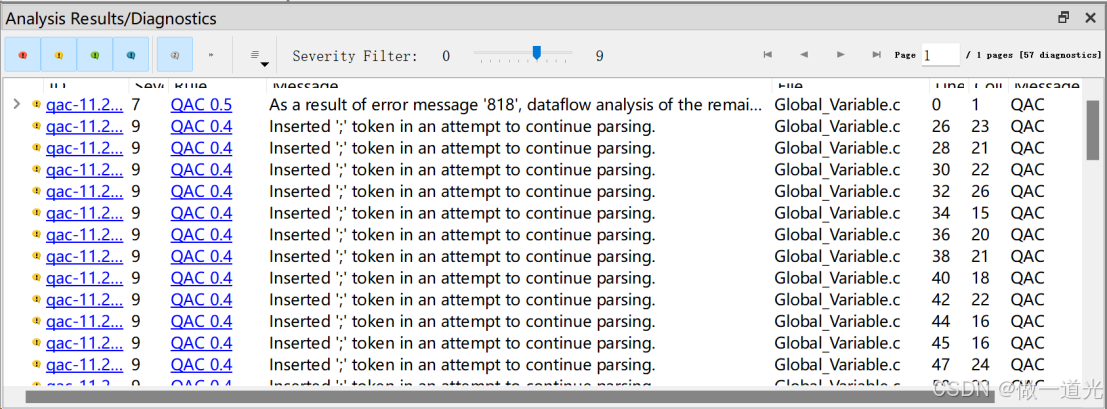
下面Analysis results/diagnostics窗口会显示诊断的结果。

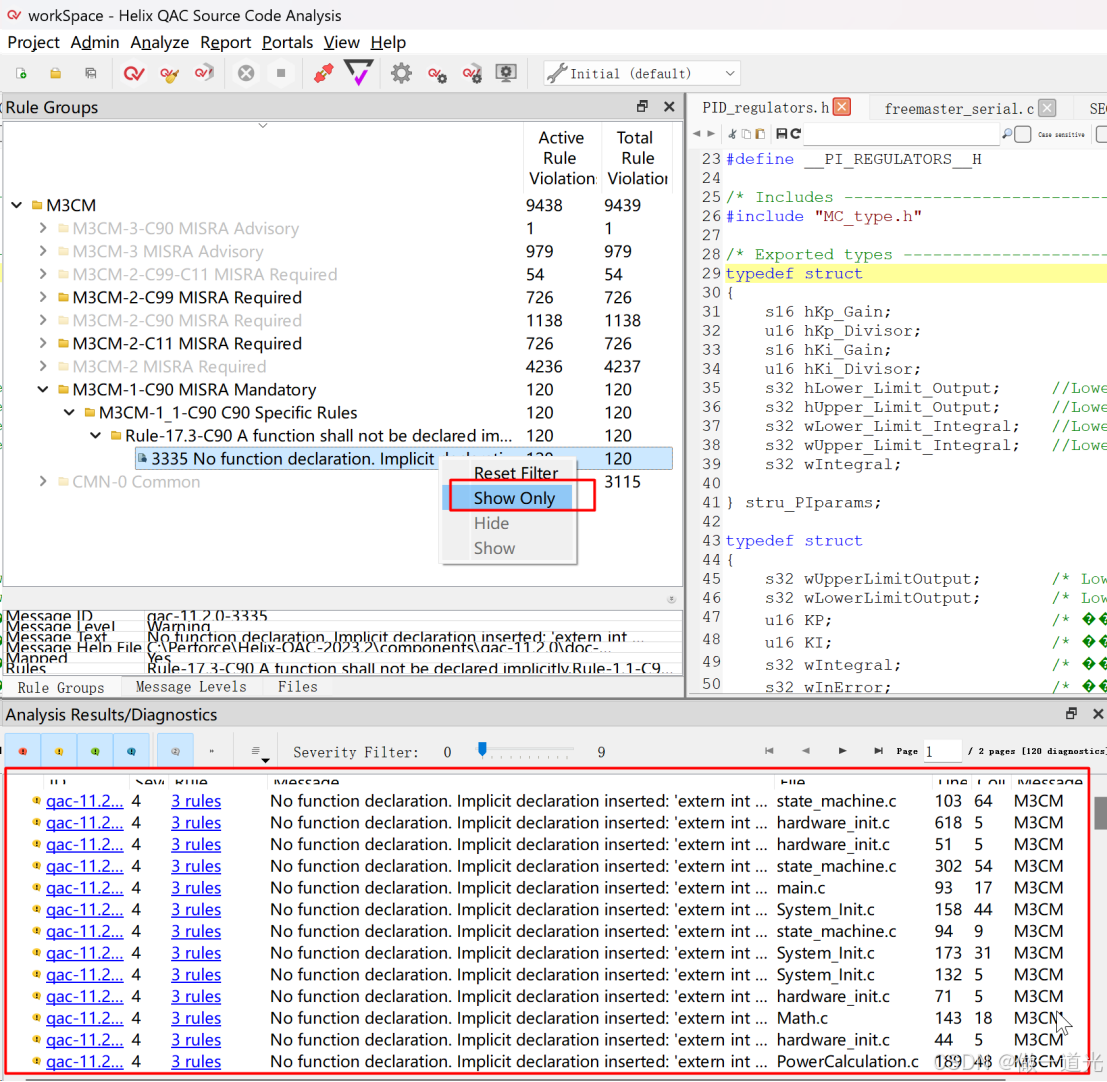
7、GUI中快速定位高风险代码
QAC把所有的诊断消息划为了0-8,共九个安全等级。数字越大,该诊断消息的安全等级越高,违反该高安全等级的规则对系统的影响越大。
可以通过滑块的移动来过滤掉低于选中数值以下的诊断消息。
对于下面的诊断消息,双击任一诊断消息,就可以定位到源码界面。
8、GUI中快速定位违反MISRA规则的代码
点击rule group分栏窗口
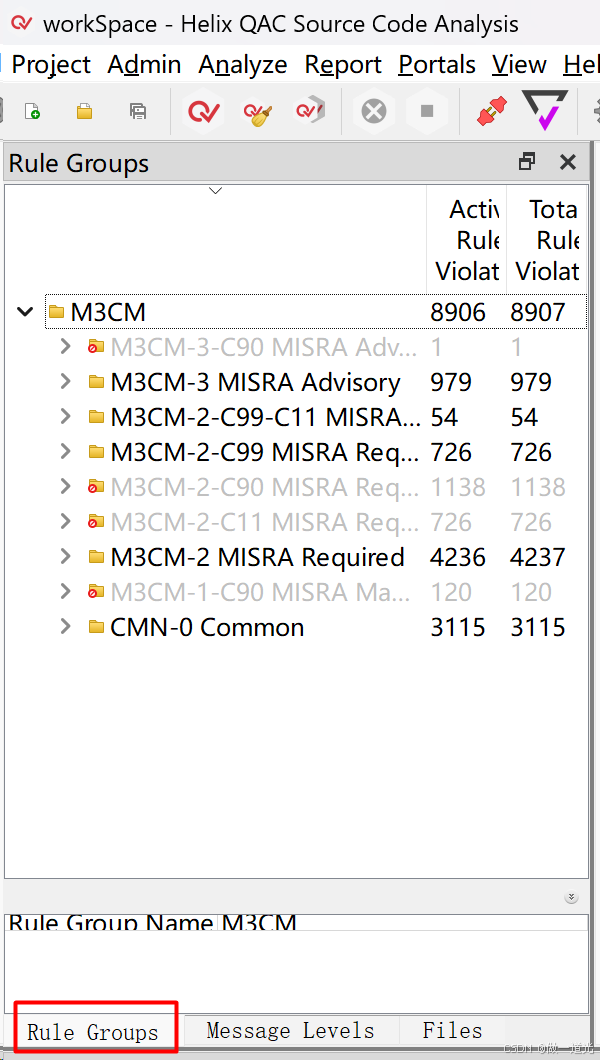
此处可以查看那些代码违反MISRA不同等级的规则。
选择某个规则,点击右键,选择show only,诊断信息框就会显示出违反该规则的所有文件,在诊断信息框中,选择一条信息双击,就会自动跳转到源码的对应行。
9、补充
如上图所示,某些规则显示灰色,原因是因为在选择MISRA规范时,默认只开启C99
开启C90和c11可以在某个规则上点击右键,选择enable,或者disable来打开和关闭该规则。