**摘要:**本文详细介绍arcgis10.2的安装、破解、汉化过程。
一、软件下载
安装包链接:https://pan.baidu.com/s/1T3UJ7t_ELZ73TH2wGOcfpg?pwd=08zk
提取码:08zk
二、安装NET Framework 3.5
双击打开控制面板,点击【卸载程序】,点击【启用或关闭Windows功能】,勾选上【.NET Framework 3.5(包括2.0和3.0)】下面的复选框,点击【确定】,在弹出的窗口点击【从Windows更新下载文件】,等待更新完成即可。

三、安装license manager
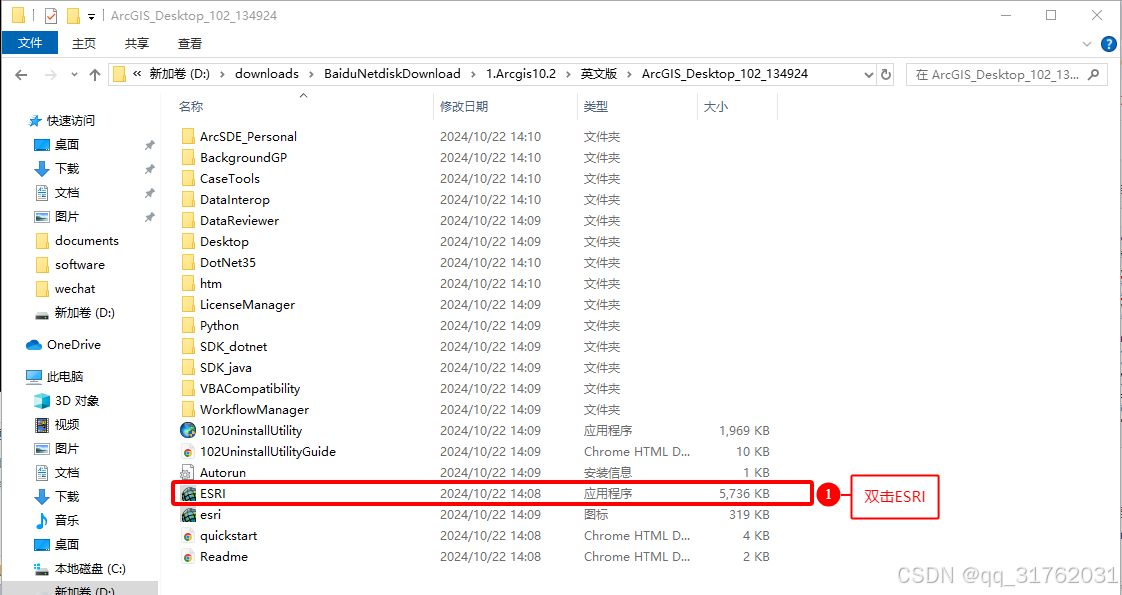
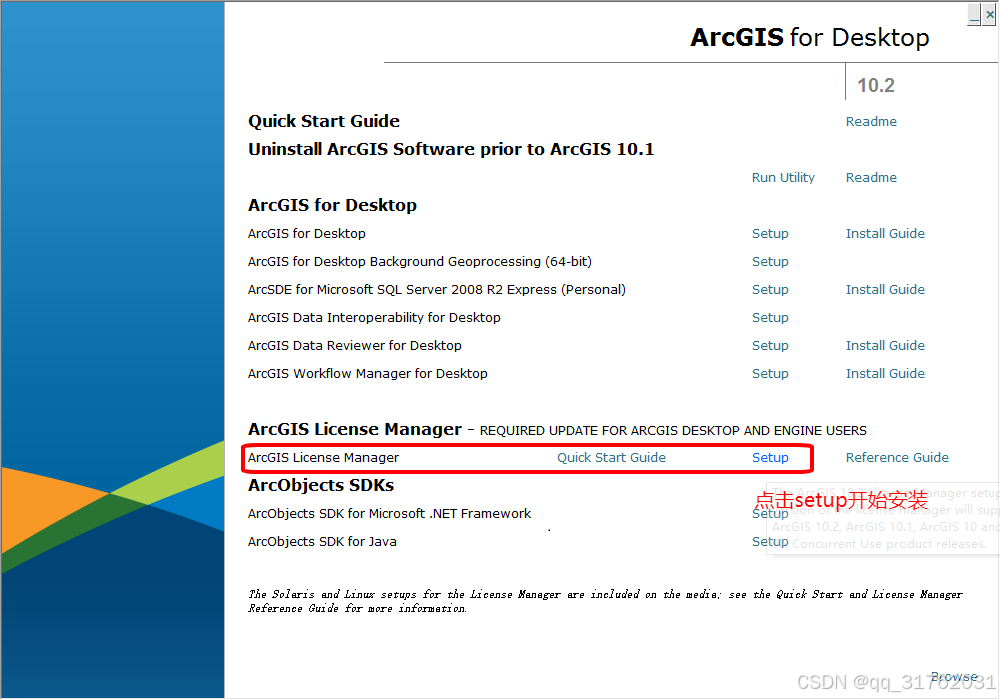
1.打开安装包下的【ArcGIS_Desktop_102_134924】文件夹,双击ESRI,在弹出的安装向导窗口找到ArcGIS License Manager,点击后面的【setup】开始安装。
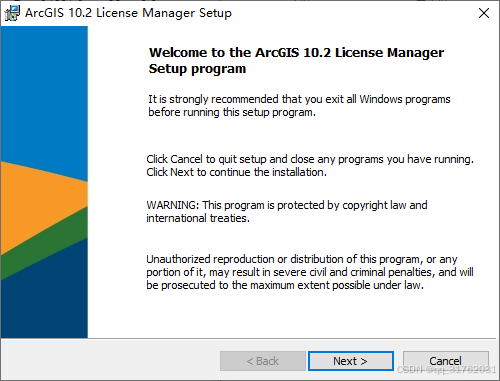
2.在弹出的ArcGIS 10.2 License Manager Setup窗口点击【next】。
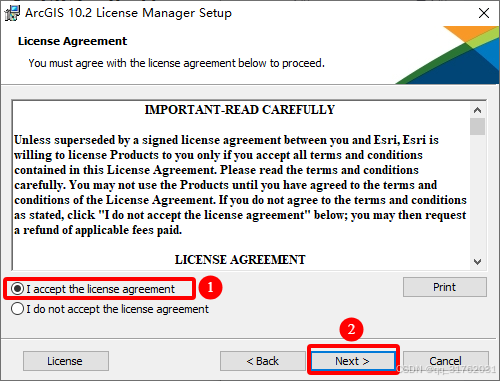
3.在弹出的授权许可窗口勾选【i accept the license agreement】,点击【next】。
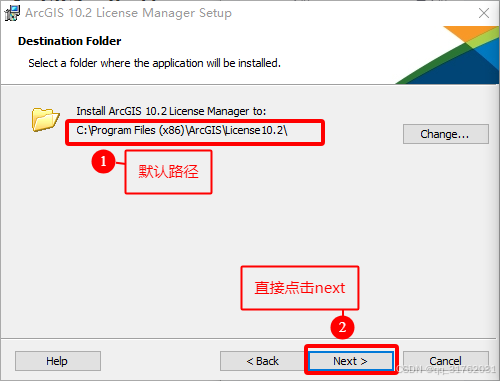
4.在弹出的安装路径窗口选择安装路径,本文以默认路径进行安装(默认路径安装参考1、自定义路径安装参考2)。
(1)默认路径安装:
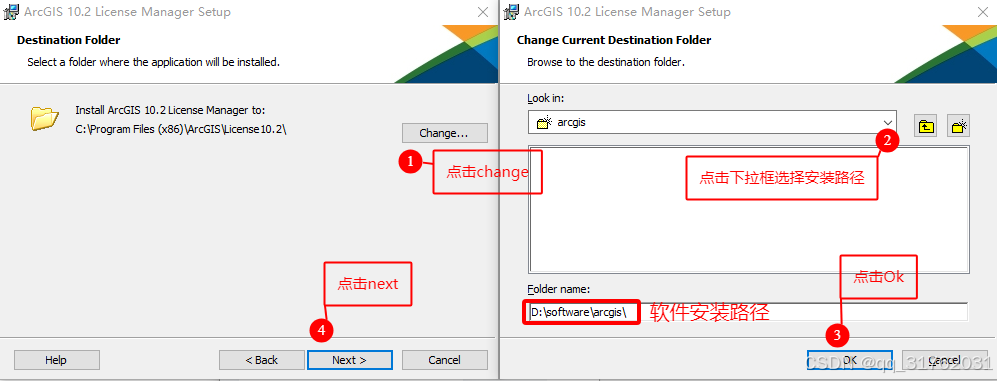
(2)自定义路径安装:
5.在弹出的开始安装向导窗口点击【install】开始安装。


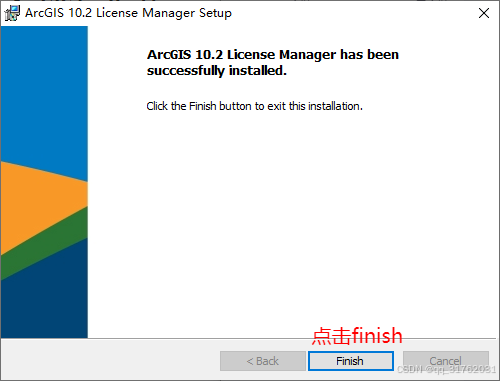
6.点击【finish】完成license manager安装。
四、停止许可服务
软件安装完成后,会弹出ArcGIS License Server Administrator窗口,在窗口左侧选择【start/stop license service】选项,点击【stop】停止许可服务,点击【ok】后最小化ArcGIS License Server Administrator窗口。

五、替换许可文件
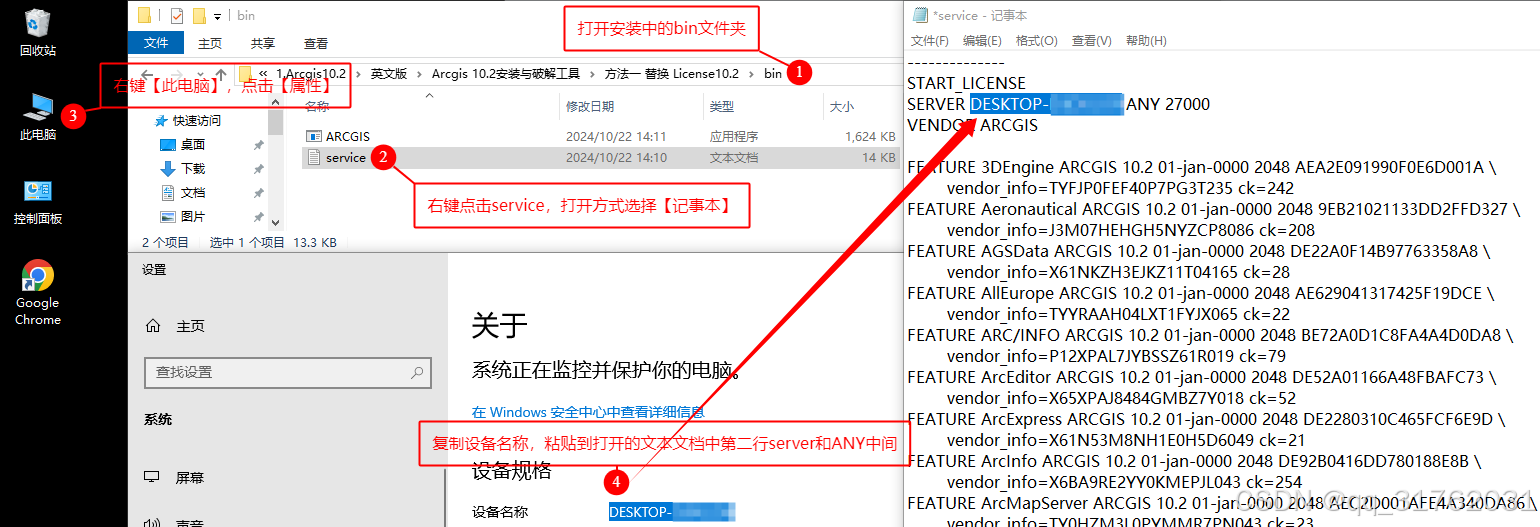
1.打开安装包中的bin文件夹后,右键以记事本方式打开【service】文本文档,右键桌面此电脑,点击【属性】,在弹出的窗口中将设备名称复制替换到文本文档第二行server和ANT中间,注意不要替换掉空格,ctrl+s保存后关闭文本文档。
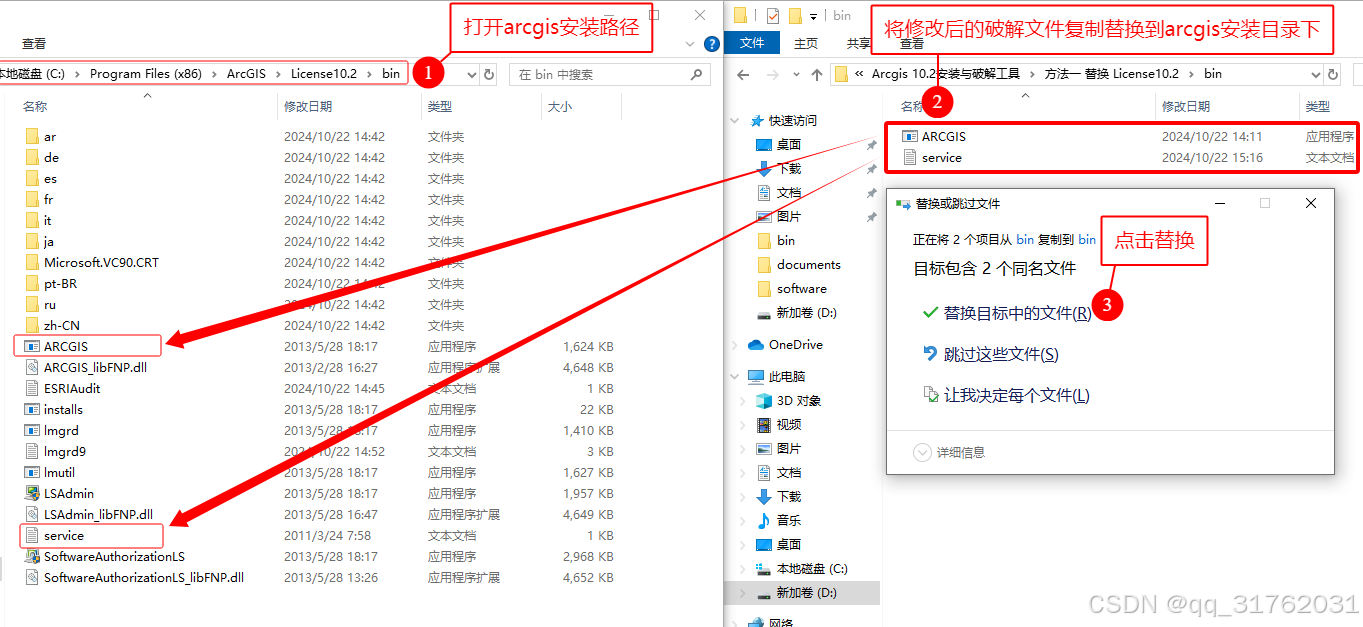
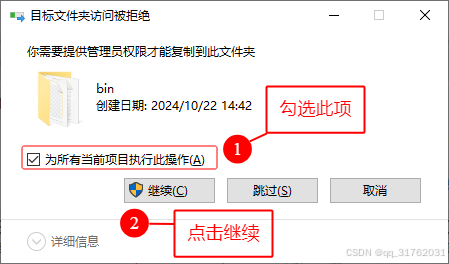
2.将修改后的破解文件ARCGIS和service复制替换arcgis安装路径(默认安装路径为C:\Program Files (x86)\ArcGIS\License10.2\bin)中的相应文件。
注:如为自定义安装路径则打开相应的安装文件夹下的License10.2\bin文件夹进行替换,无法找到替换路径可点击windows图标,右键刚安装的【license server administrator】图标,点击【更多】下的【打开文件位置】,在弹出的路径下右键【license server administrator】,点击【打开文件位置】即可。

六、启动许可服务
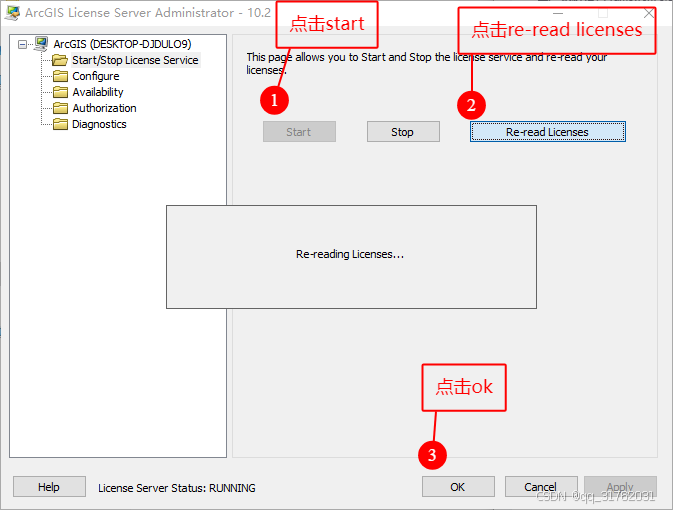
打开第四小节最小化的ArcGIS License Server Administrator窗口,依次点击【start】、【Re-read licenses】,当左下角License Server Status变为【RUNNING】后,点击【ok】关闭窗口。
七、安装ArcGIS for Desktop
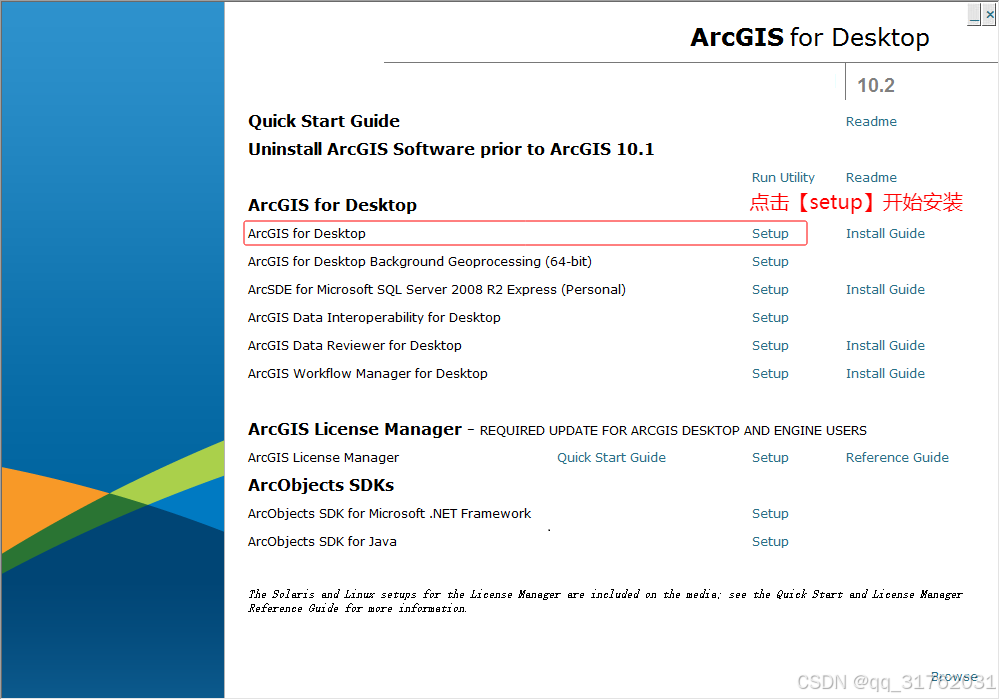
1.回到ArcGIS for Desktop10.2安装向导窗口,找到【ArcGIS for Desktop】,点击后面的【setup】开始软件安装。
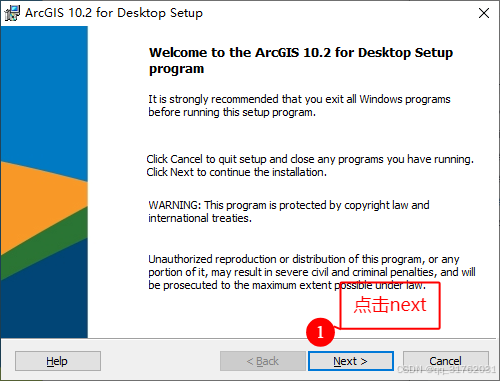
2.在弹出的欢迎页面点击【next】。
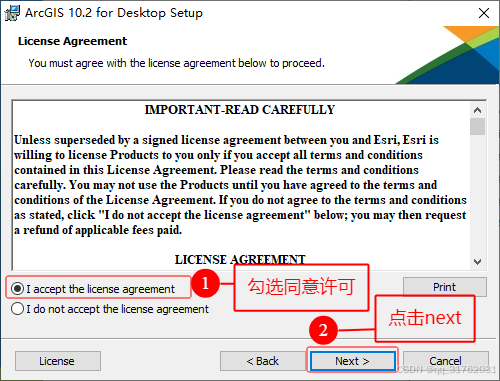
3.在弹出的许可授权页面勾选【i accept the license agreement】后,点击【next】。
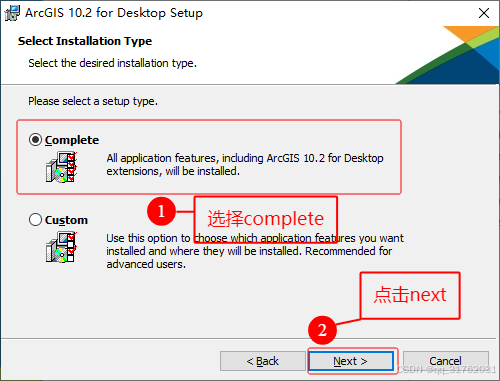
4.在弹出的安装类型窗口选择【complete】,点击【next】。
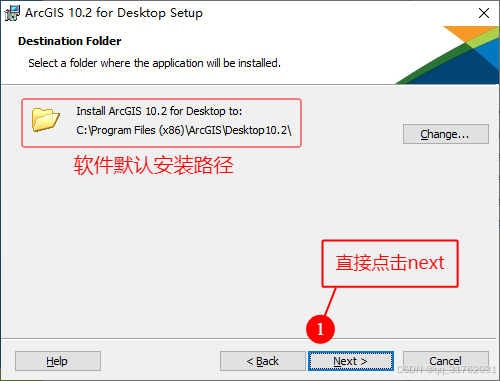
5.在弹出的安装路径窗口选择默认路径或自定义路径安装后(本文按默认路径安装),点击【next】。
(1)默认路径安装:
(2)自定义路径安装

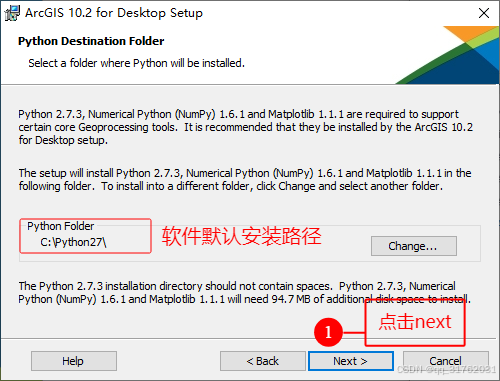
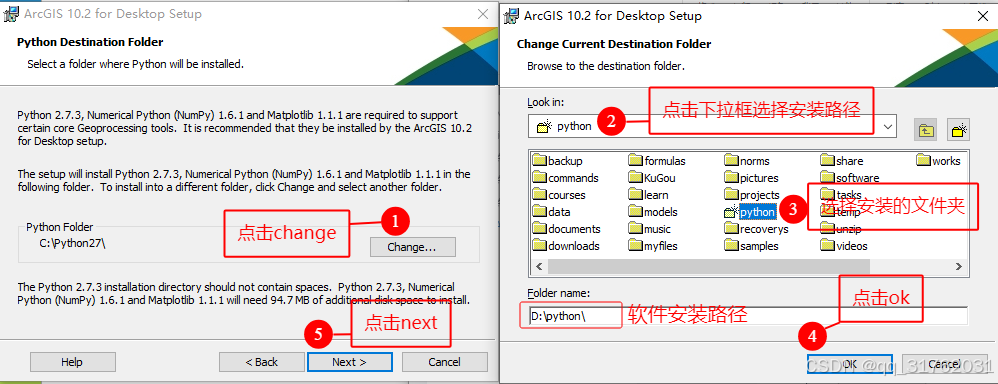
6.在弹出的python安装路径窗口选择默认路径或自定义路径安装后(本文按默认路径安装),点击【next】。
(1)默认路径安装:
(2)自定义路径安装
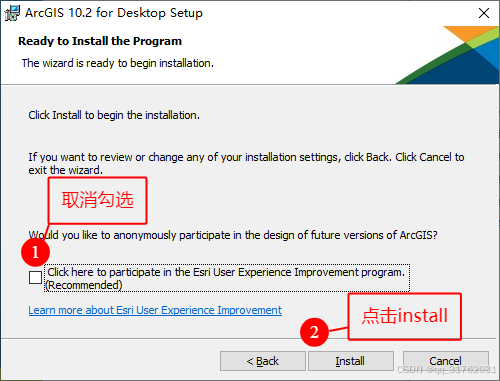
7.在弹出的软件安装确认窗口取消勾选【Click here to participate in the Esri User Experience Improvement program(Recommended)】,点击【install】开始安装。
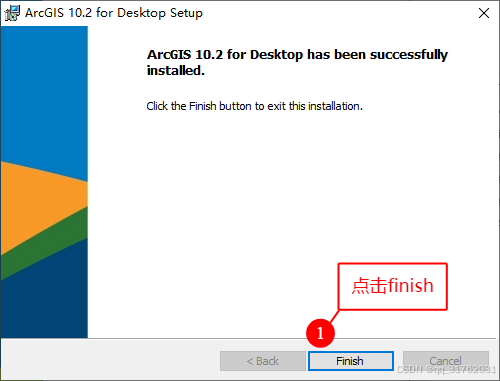
8.点击【finish】。
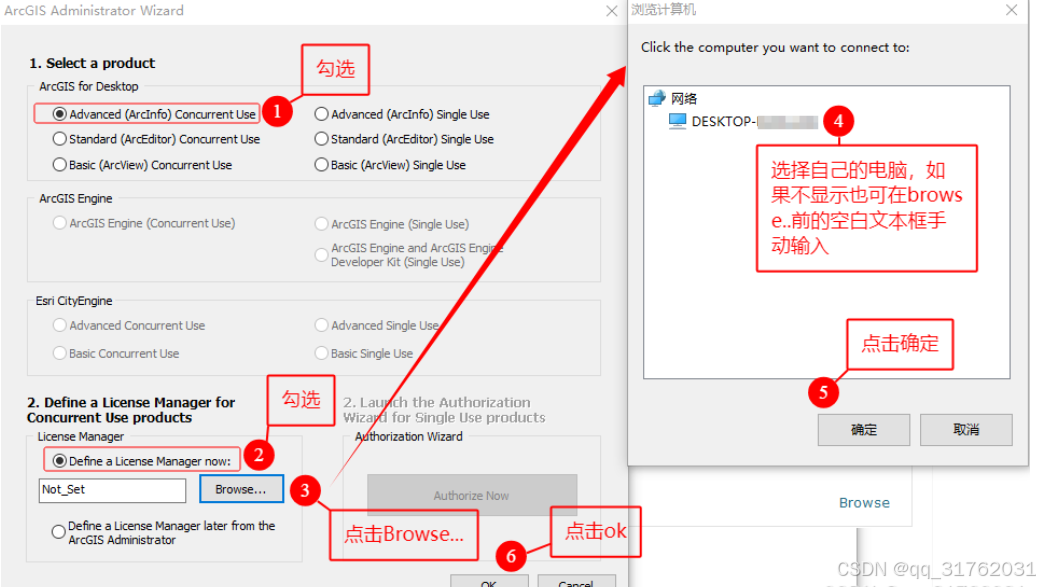
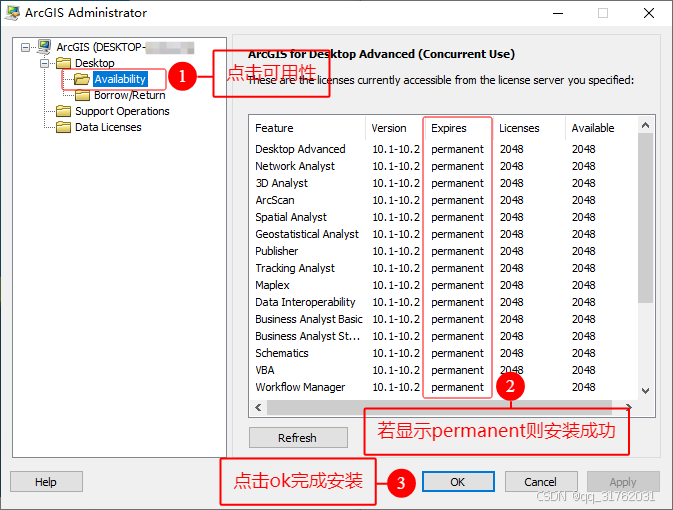
9.在弹出的arcgis管理器向导依次勾选ArcGIS for Desktop下的【Advanced (ArcInfo) Concurrent Use】和License Manager下的【Defne a License Manager now:】,点击【Browse...】后,在弹出的窗口中选择自己的电脑名(如果不显示则直接将Browse...前文本框中的Not_Set修改为自己的电脑名称即可),点击【确定】,再点击【ok】。
10.在弹出的arcgis管理器窗口点击【Availability】验证安装结果,若Expire列全显示【permanent】,则软件安装成功。
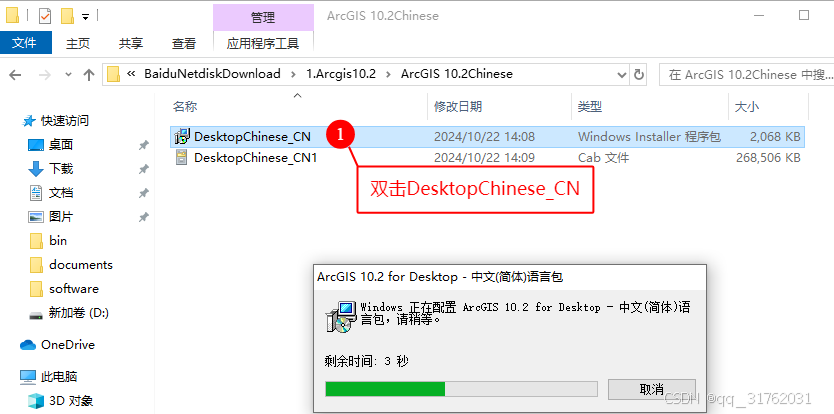
八、中文语言包安装
打开安装包的【ArcGIS 10.2Chinese】文件夹,双击【DesktopChinese_CN】文件,等待安装完成即可。
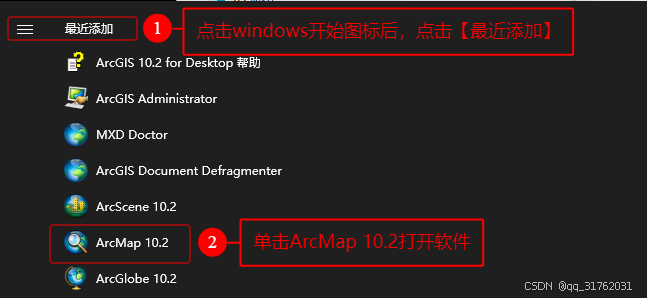
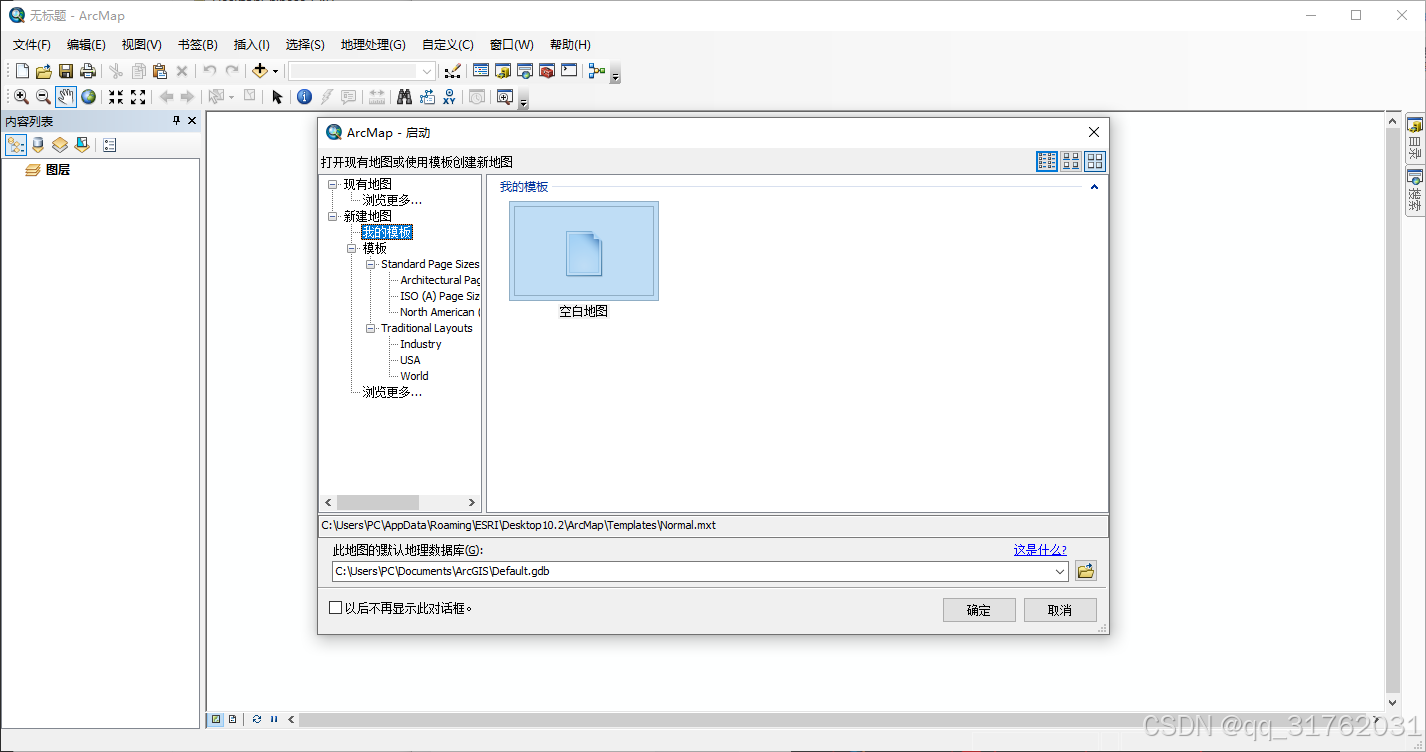
九、打开软件
点击windows开始图标后,点击【最近添加】,找到ArcMap 10.2并单击即可打开软件。