一、源码及安装包下载
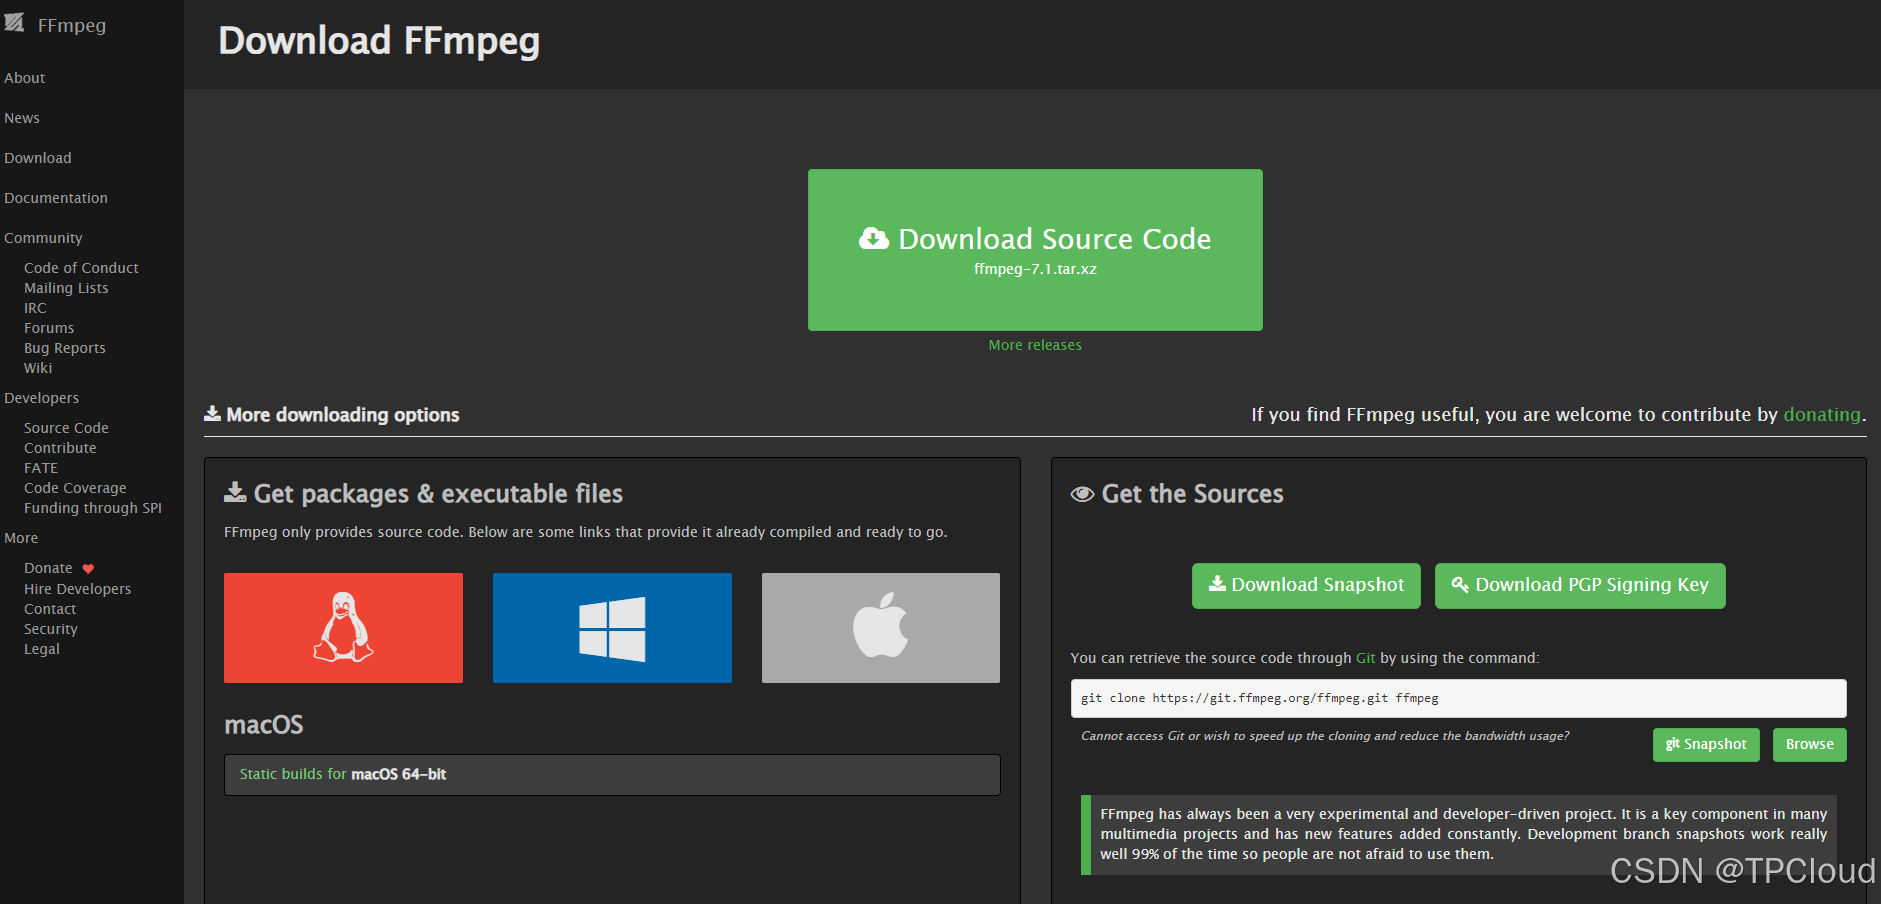
1.1,ffmpeg源码包下载
下载地址:Download FFmpeg
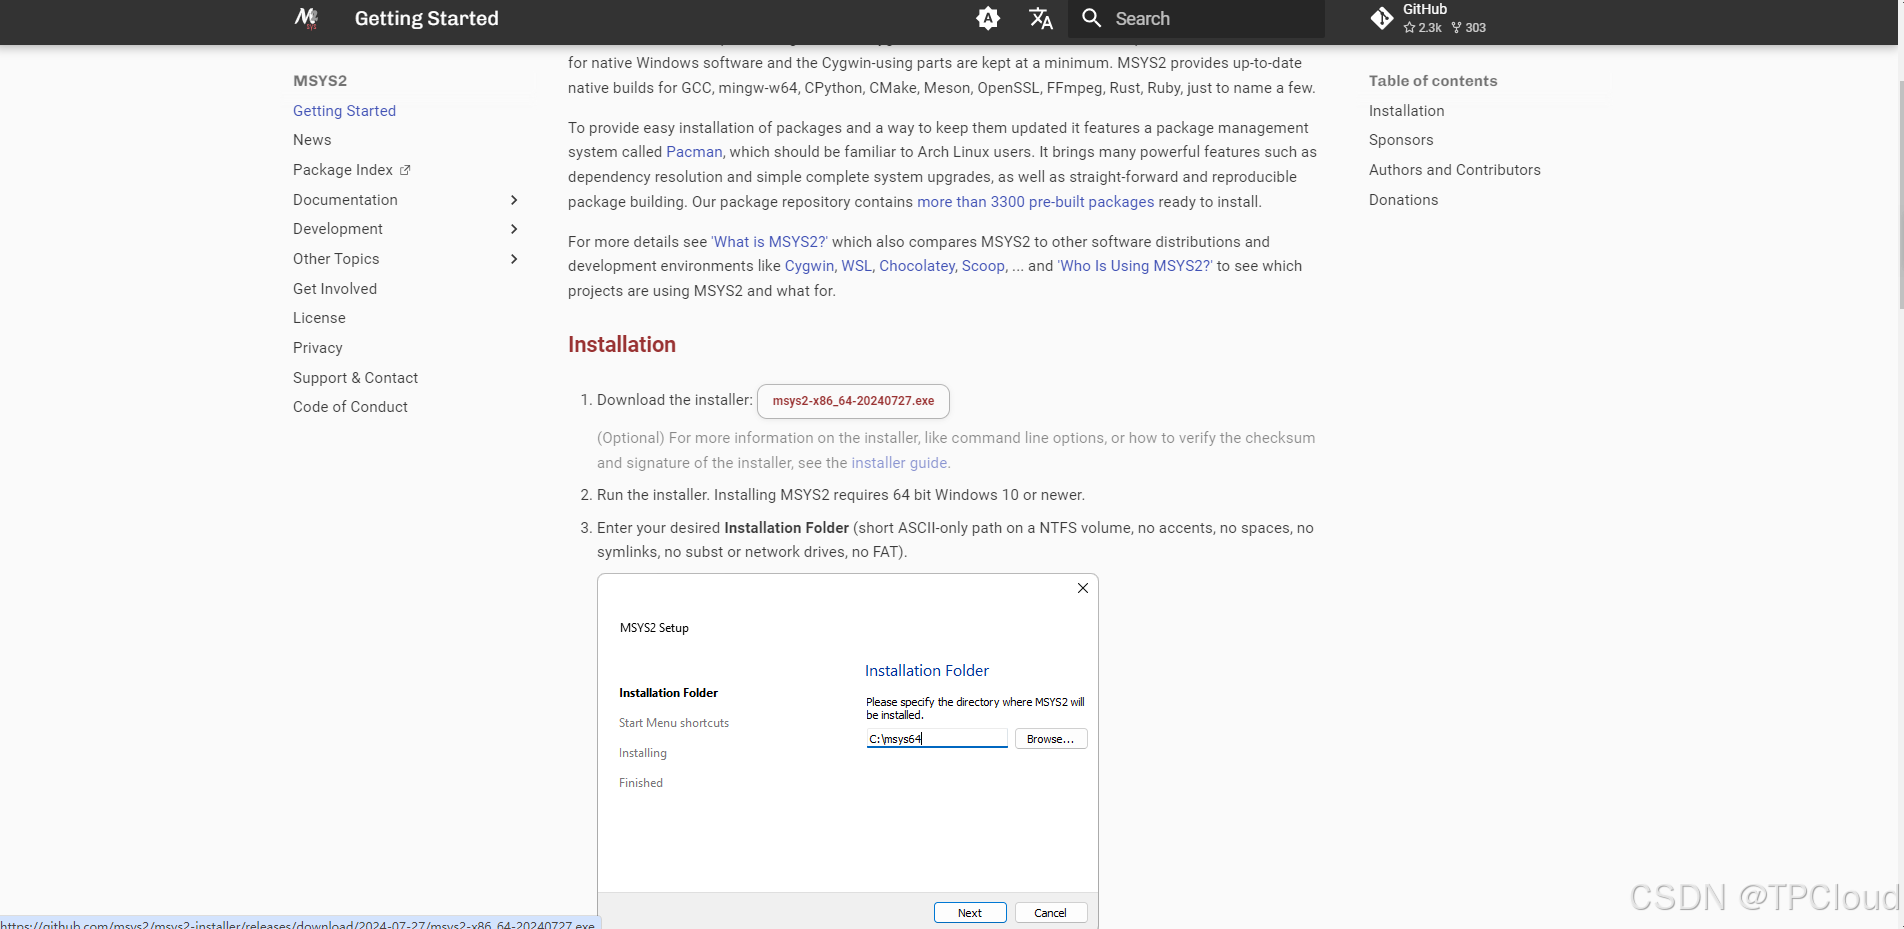
1.2,mysys下载
下载地址:MSYS2
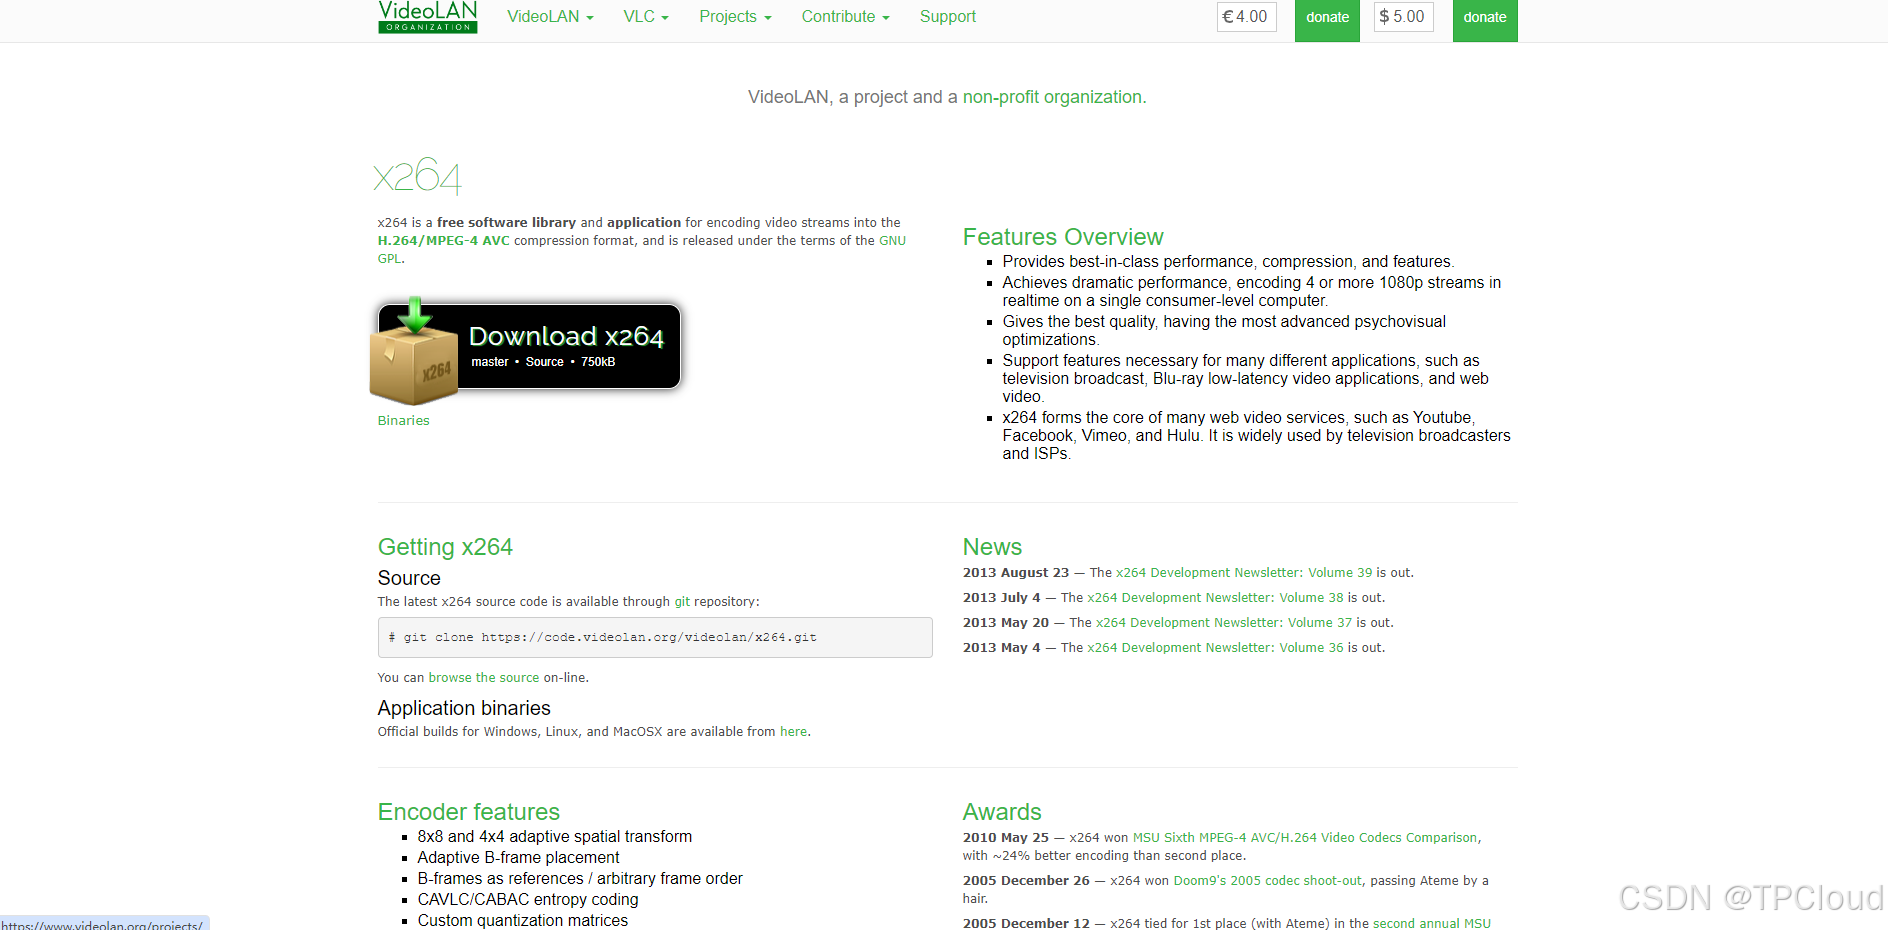
1.3,libx264源码包下载
下载地址:x264, the best H.264/AVC encoder - VideoLAN
二、软件安装
2.1,mysys安装
2.1.1,安装
双击运行msys2-x86_64-20240727.exe安装文件,一步一步安装软件,安装完成如图(本人安装目录为D:\developerSoft\mysys64):
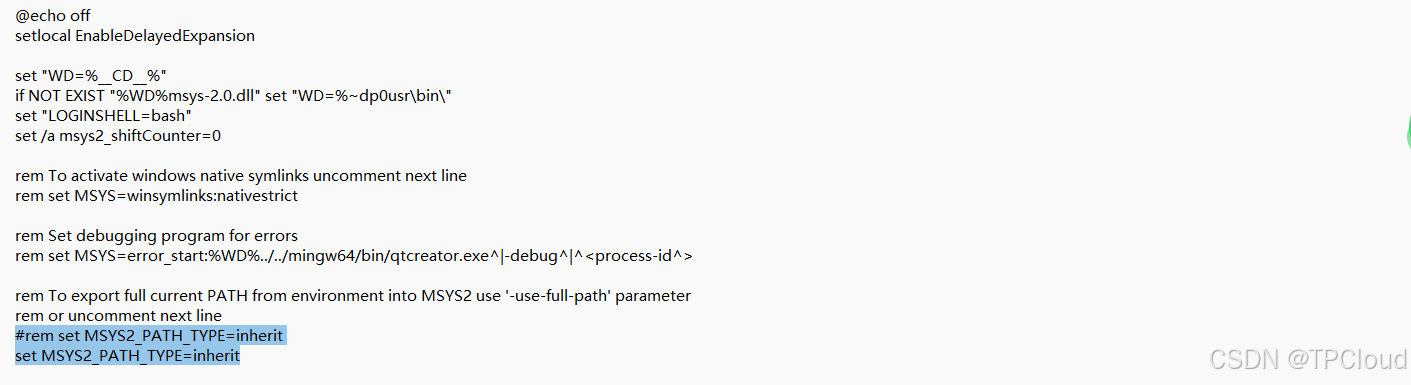
2.1.2,配置
修改D:\developerSoft\msys64\msys2_shell.cmd文件,将 rem set MSYS2_PATH_TYPE=inherit 修改成 set MSYS2_PATH_TYPE=inherit
2.1.3,修改源
1,进入D:\developerSoft\msys64\etc\pacman.d目录,修改如下三个配置文件:
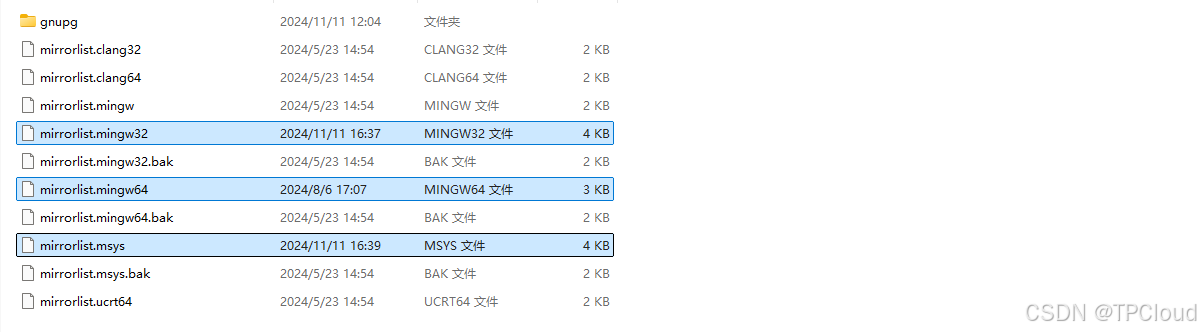
2,在mirrorlist.mingw32文件的最上方加入如下源:
Server = https://mirrors.tuna.tsinghua.edu.cn/msys2/mingw/i686/
Server = http://mirrors.ustc.edu.cn/msys2/mingw/i686/
3,在mirrorlist.mingw64文件的最上方加入如下源:
Server = https://mirrors.tuna.tsinghua.edu.cn/msys2/mingw/x86_64/
Server = http://mirrors.ustc.edu.cn/msys2/mingw/x86_64/
4,在mirrorlist.msys文件的最上方加入如下源:
Server = https://mirrors.tuna.tsinghua.edu.cn/msys2/msys/$arch/
Server = http://mirrors.ustc.edu.cn/msys2/msys/$arch/
2.1.4,安装依赖组件
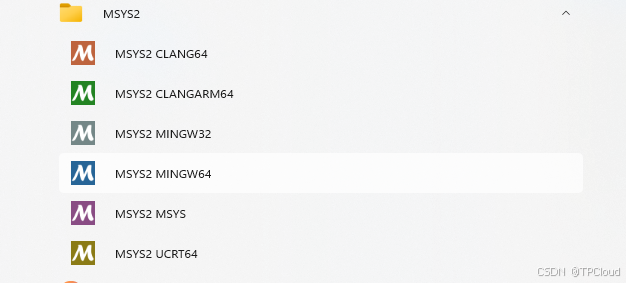
启动mysys mingw64
在打开的mysys mingw64命令行中安装相应组件(为实现ffplay,需要安装SDL2):
pacman -Syu
pacman -S mingw-w64-x86_64-toolchain
pacman -S git
pacman -S make
pacman -S automake
pacman -S autoconf
pacman -S perl
pacman -S libtool
pacman -S mingw-w64-i686-cmake
pacman -S pkg-config
pacman -S mingw-w64-x86_64-SDL2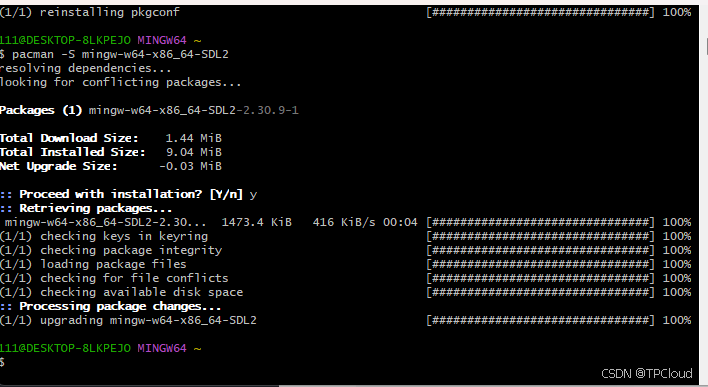
2.2,libx264安装
2.2.1,源码包解压放置
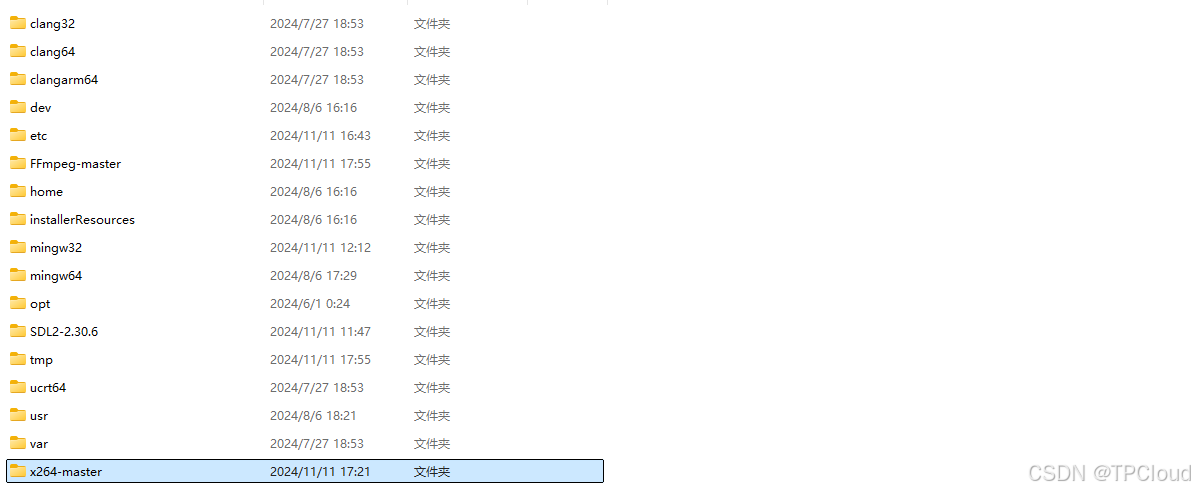
解压libx264的源码包,并将安装包放在mysys安装目录下面(我放在D:\developerSoft\msys64目录下):
2.2.2,编译安装
./configure  --prefix=/usr/local/libx264 --enable-static --enable-shared --extra-ldflags=-Wl,--output-def=libx264.def
make -j8
make install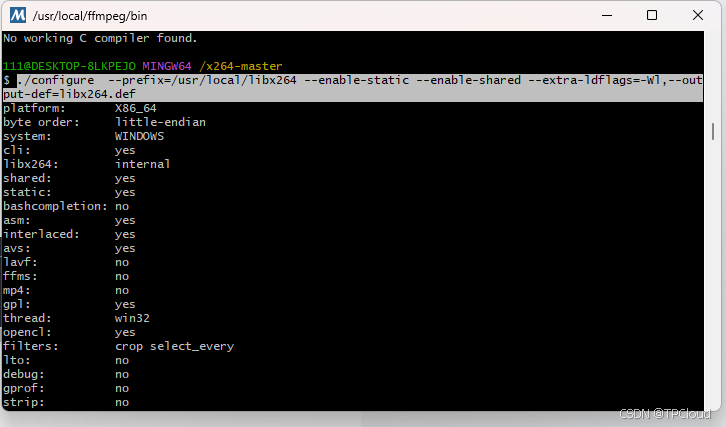
2.2.3,配置
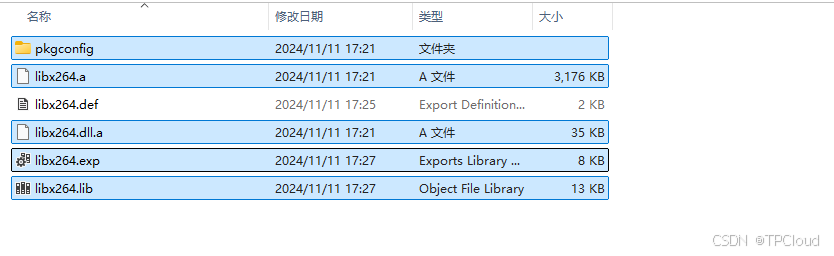
根据安装生成的libx264.def文件进行lib库的生成(cp /x264-master/libx264.def /usr/local/libx264/lib/)。在windows中lib命令需要安装msvc,我本地安装目录为:D:\Program Files\Microsoft Visual Studio\2022\Community\VC\Tools\MSVC\14.39.33519\bin\Hostx64\x64
cmd命令窗口执行:
cd D:\developerSoft\msys64\usr\local\libx264\lib
"D:\Program Files\Microsoft Visual Studio\2022\Community\VC\Tools\MSVC\14.39.33519\bin\Hostx64\x64\lib.exe" /machine:x64 /def:libx264.def
执行完后,目录下面新增文件如下:
2.2.4,添加环境变量
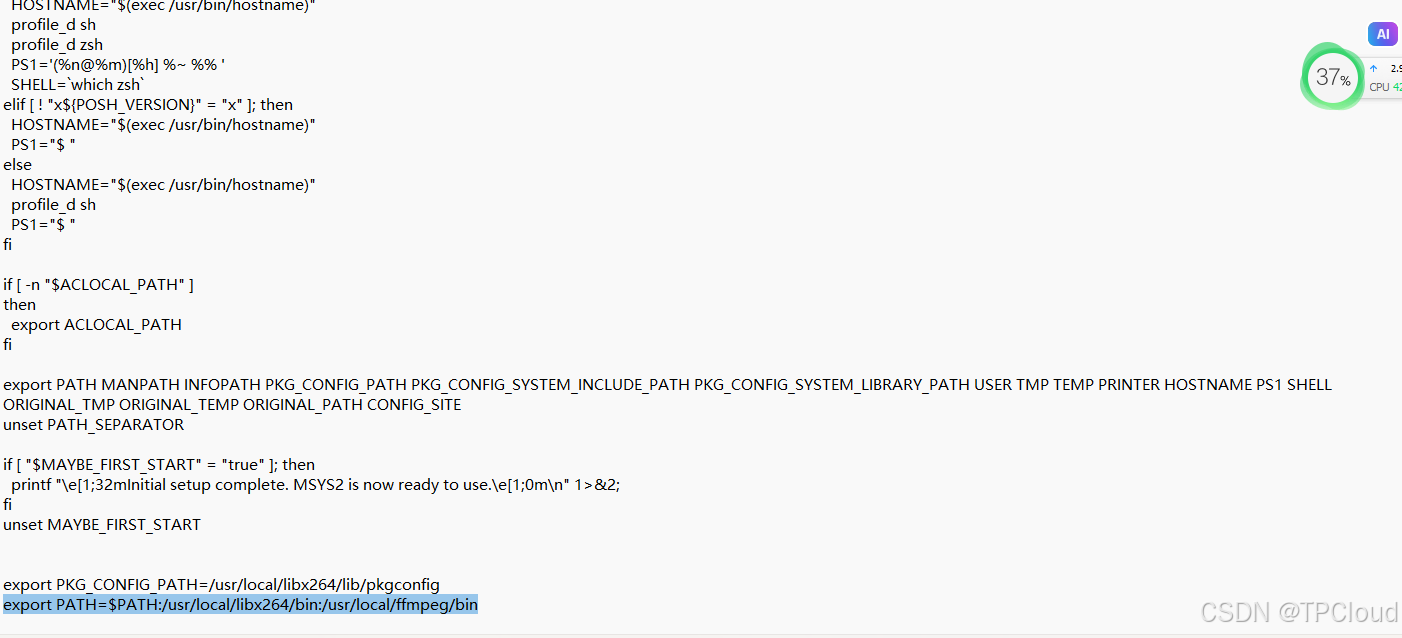
打开mysys目录下面的etc/profile文件,添加环境变量:


2.3,ffmpeg安装
2.3.1,源码包解压放置
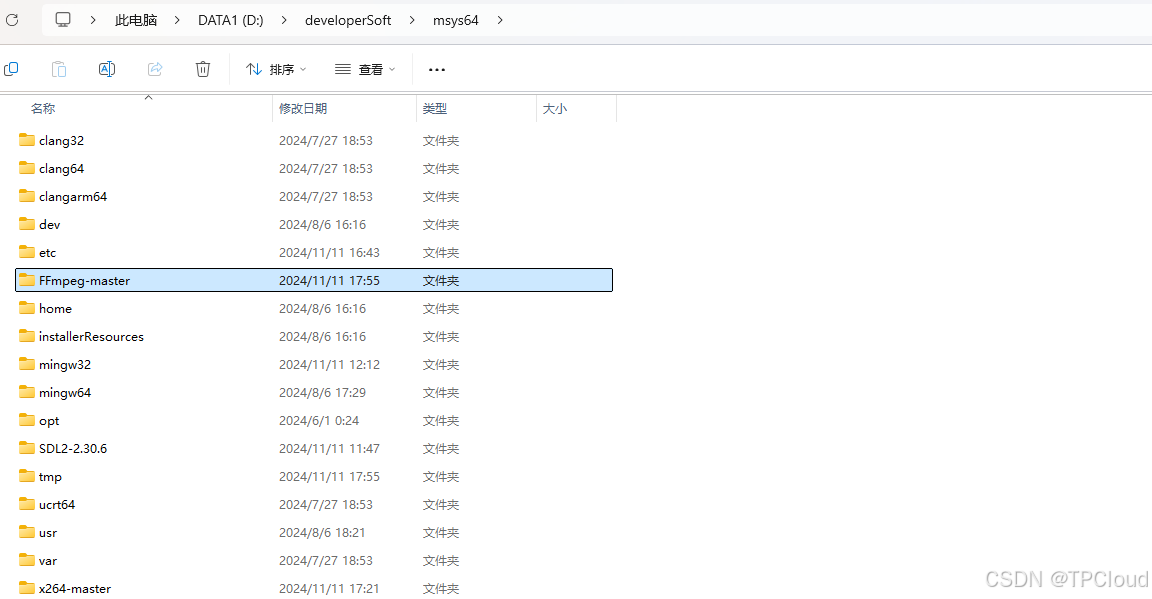
解压ffmpeg的源码包,并将安装包放在mysys安装目录下面(我放在D:\developerSoft\msys64目录下):
2.3.2,编译安装
./configure --prefix=/usr/local/ffmpeg --arch=x86_64 --enable-shared --enable-gpl --enable-debug --disable-static --enable-sdl2 --enable-ffplay --enable-ffprobe --enable-ffmpeg --enable-libx264 --disable-vulkan --disable-doc --disable-htmlpages --disable-manpages --disable-podpages --disable-txtpages --extra-cflags="-I/usr/local/libx264/include" --extra-ldflags="-L/usr/local/libx264/lib"
make -j8
make install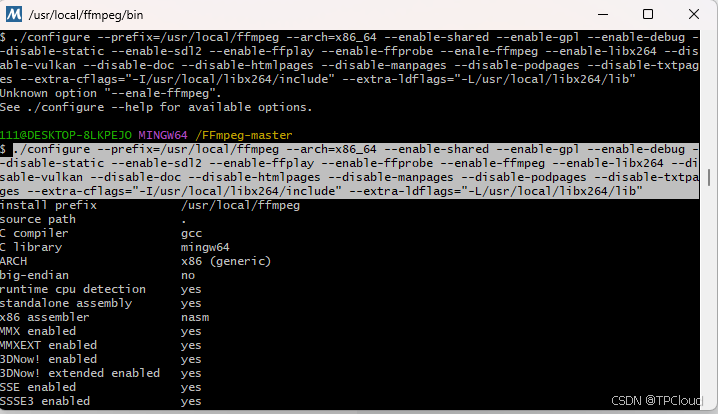
2.3.3,环境变量添加
编辑 /etc/profile
source /etc/profile
三、播放测试
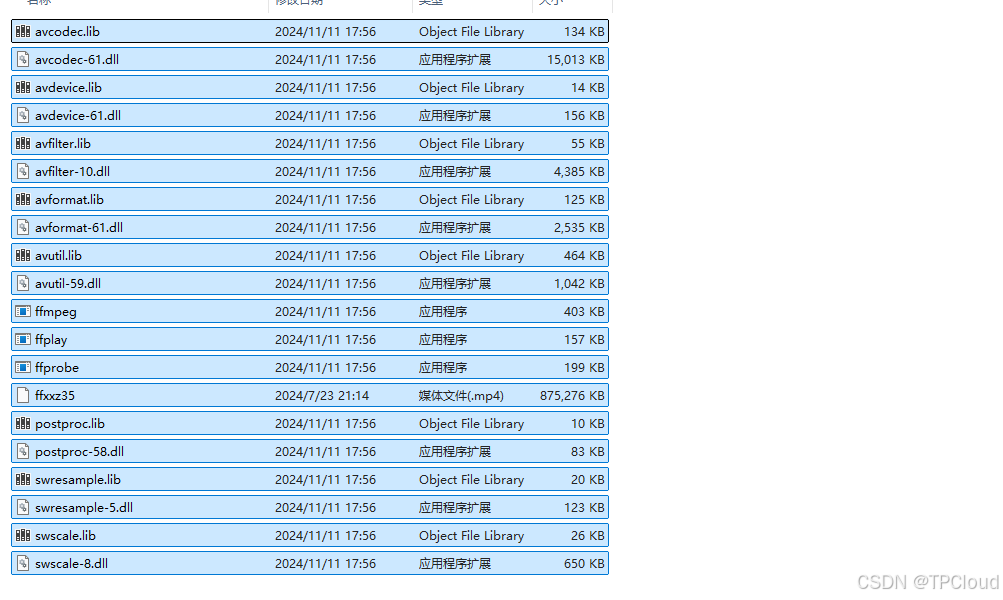
安装完成后,在mysys目录下的/usr/local/ffmpeg/bin目录下将存在对应的执行文件:
我们拷贝一个视频文件ffxxz35.mp4到该目录下,通过mysys mingw64命令行窗口执行命令,结果如下:
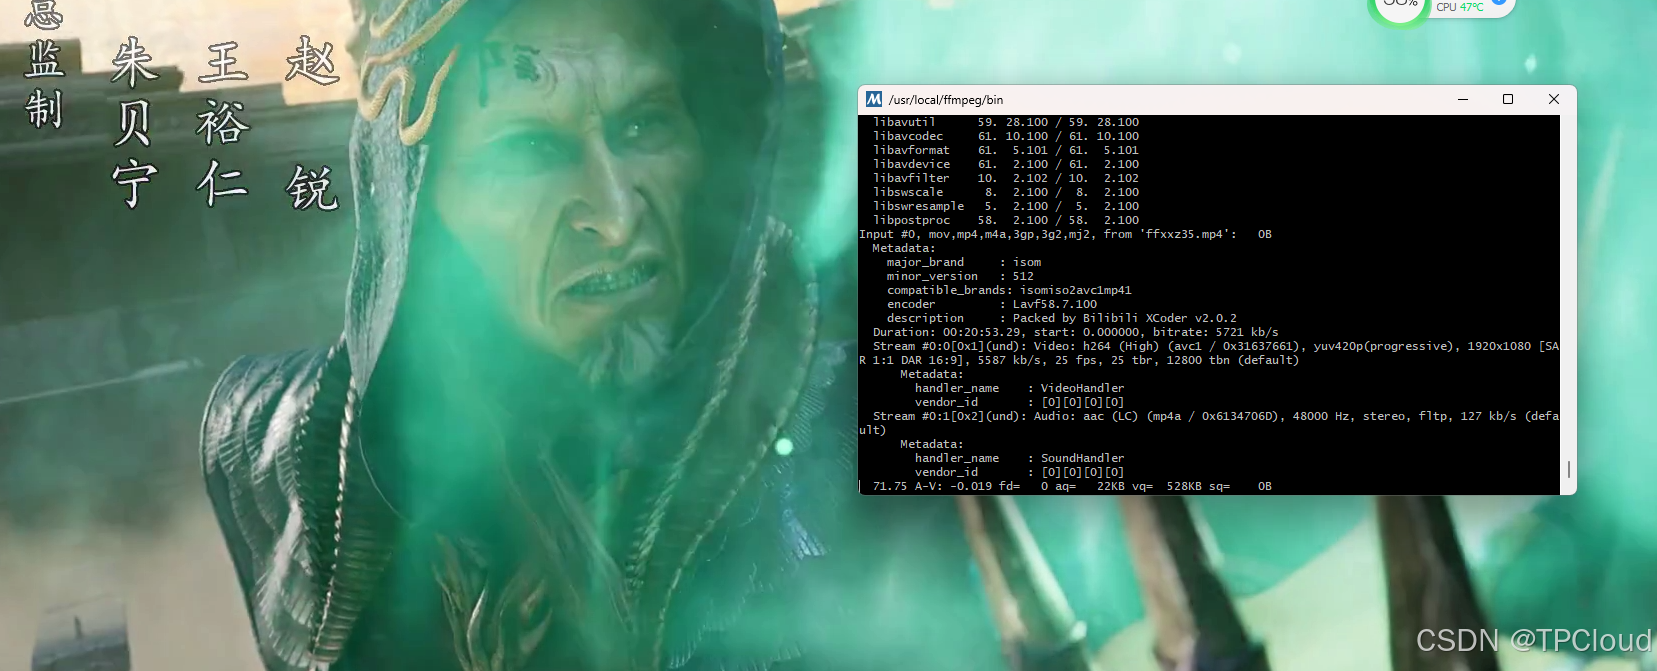
至此,整个ffmpeg源码编译安装完成。