1 材料的准备
1 安装虚拟机 vmware workstation
2 安装esxi 主机
3 在esxi 主机上安装windows 2018 dns 服务器
4 在虚拟机上安装windows 2018 服务器
6 安装vcenter
5 登入界面测试
这里讲一下,由于部署vspere 需要在windows 2012 服务器上部署
我们至少得安装一个vmware workstation 这个平台吧, 首先我们得安装 esxi 主机,必须把主机安装好的前提下,在进行下一步操作
由于vcenter 部署需要配合dns ,所以我们在在vcenter 上安装dns 服务器 ,建立正向解析,反向解析
然后在vware 这个平台安装我们的windows 2012 服务器 在这个服务器上安装 vcenter
装完毕之后,登入界面进行远程测试
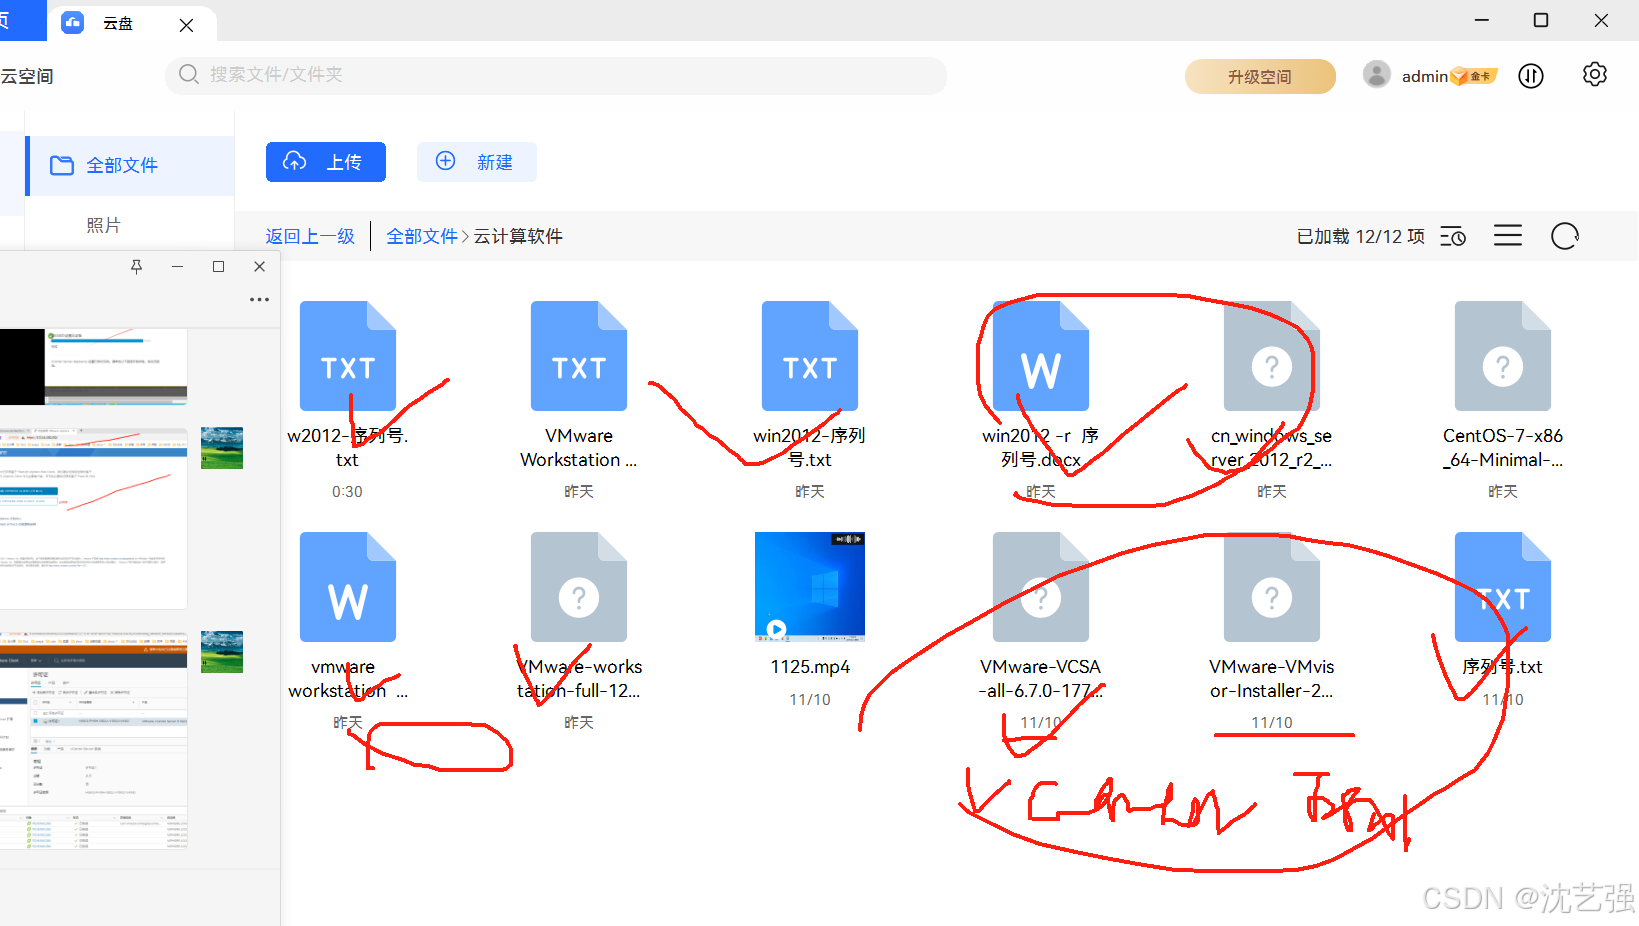
这是软件的准备
2 操作的部署图
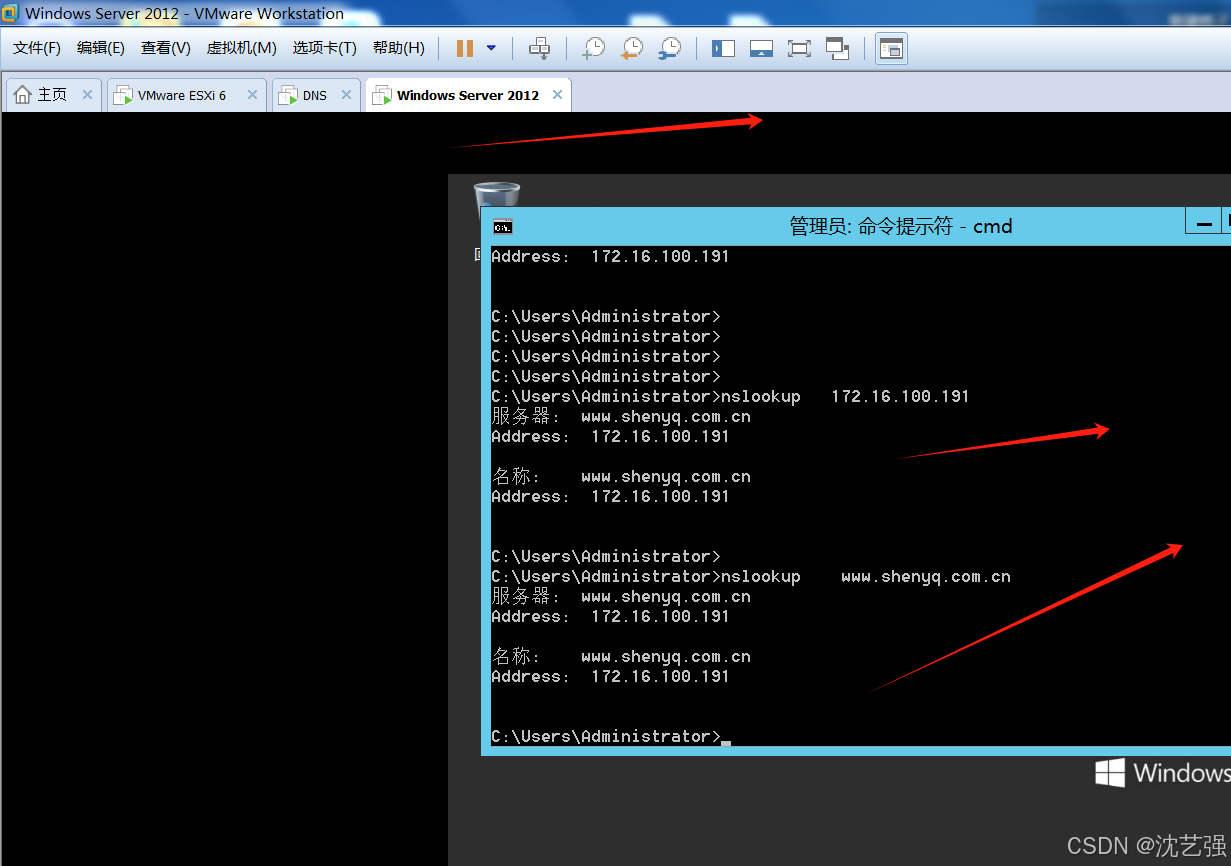
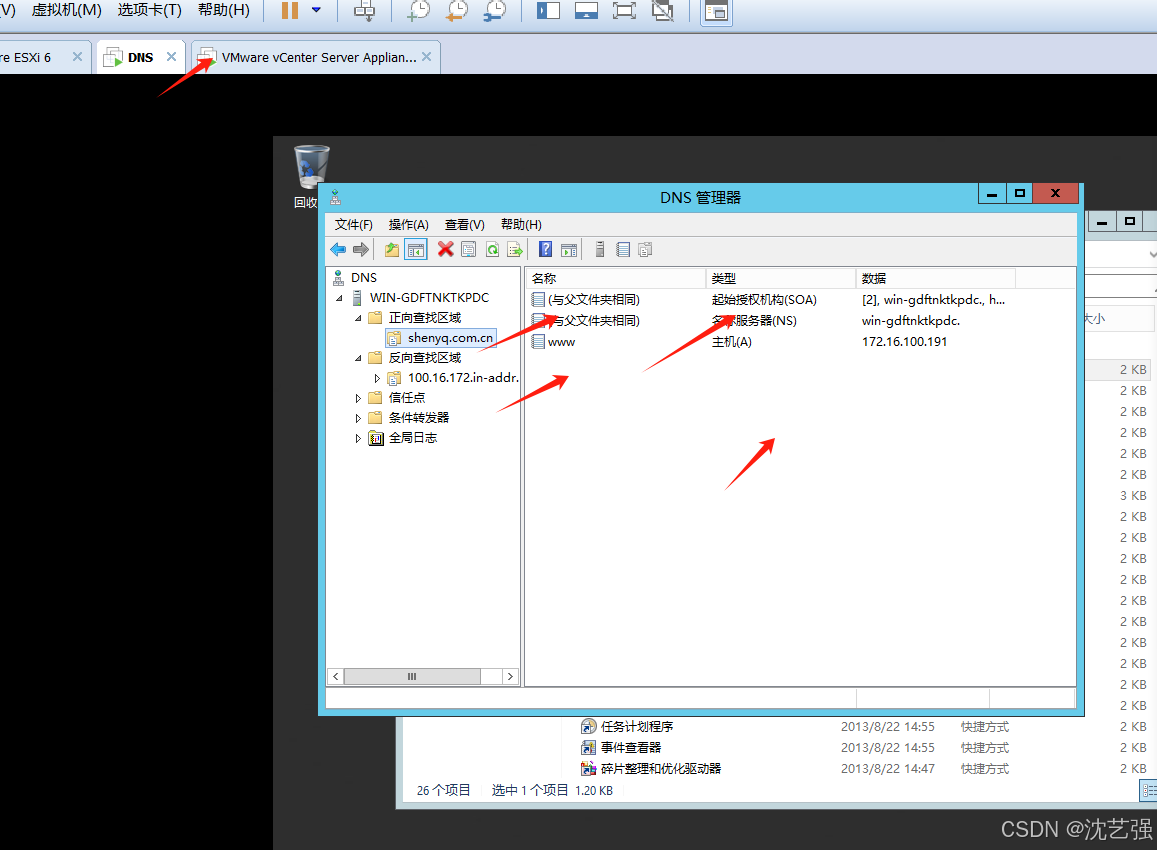
这个是在windows server 2012 虚拟机上测试 dns 域名解析是否正常,域名解析ip-域名和域名到ip 发现没问题,其中dns 部署在esxi 主机上的
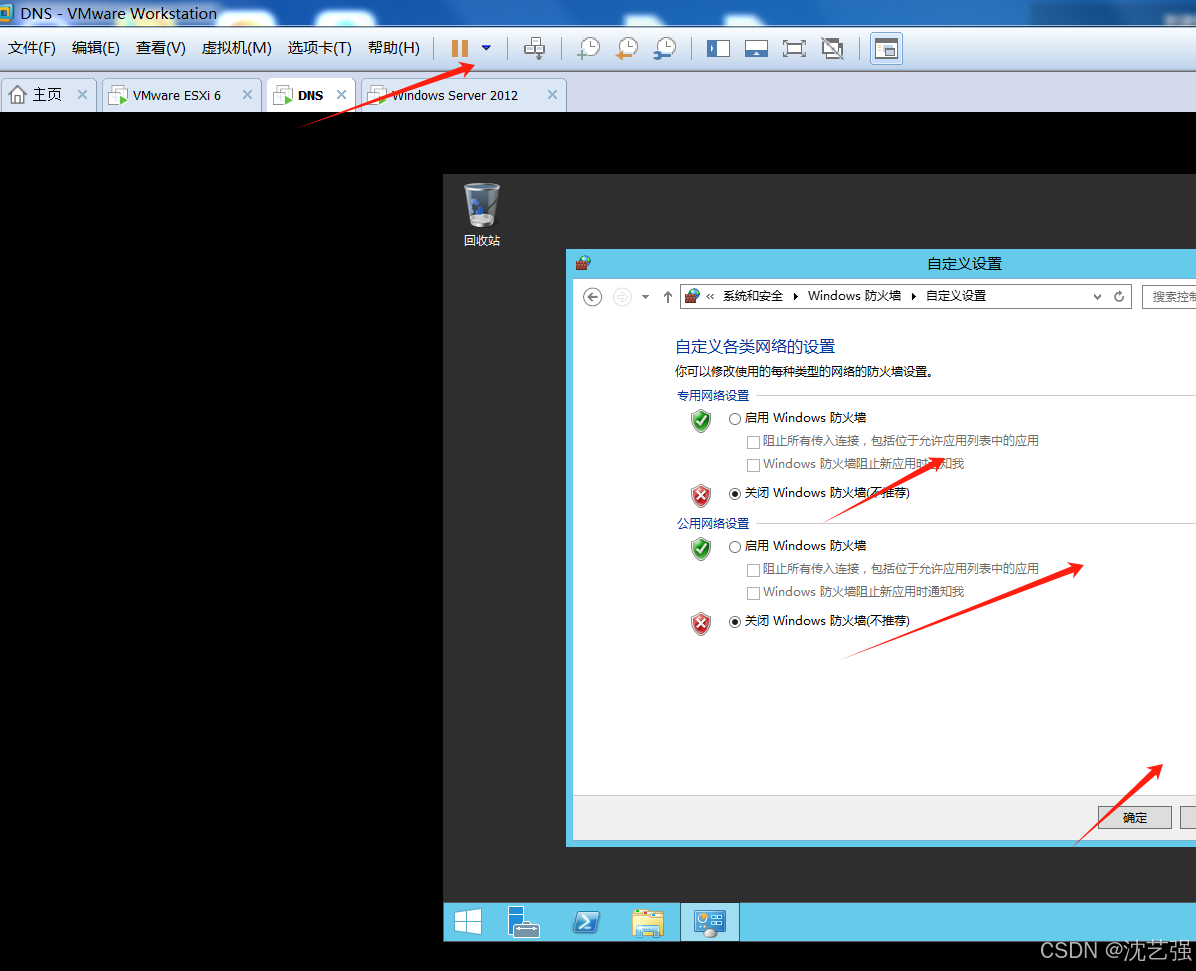
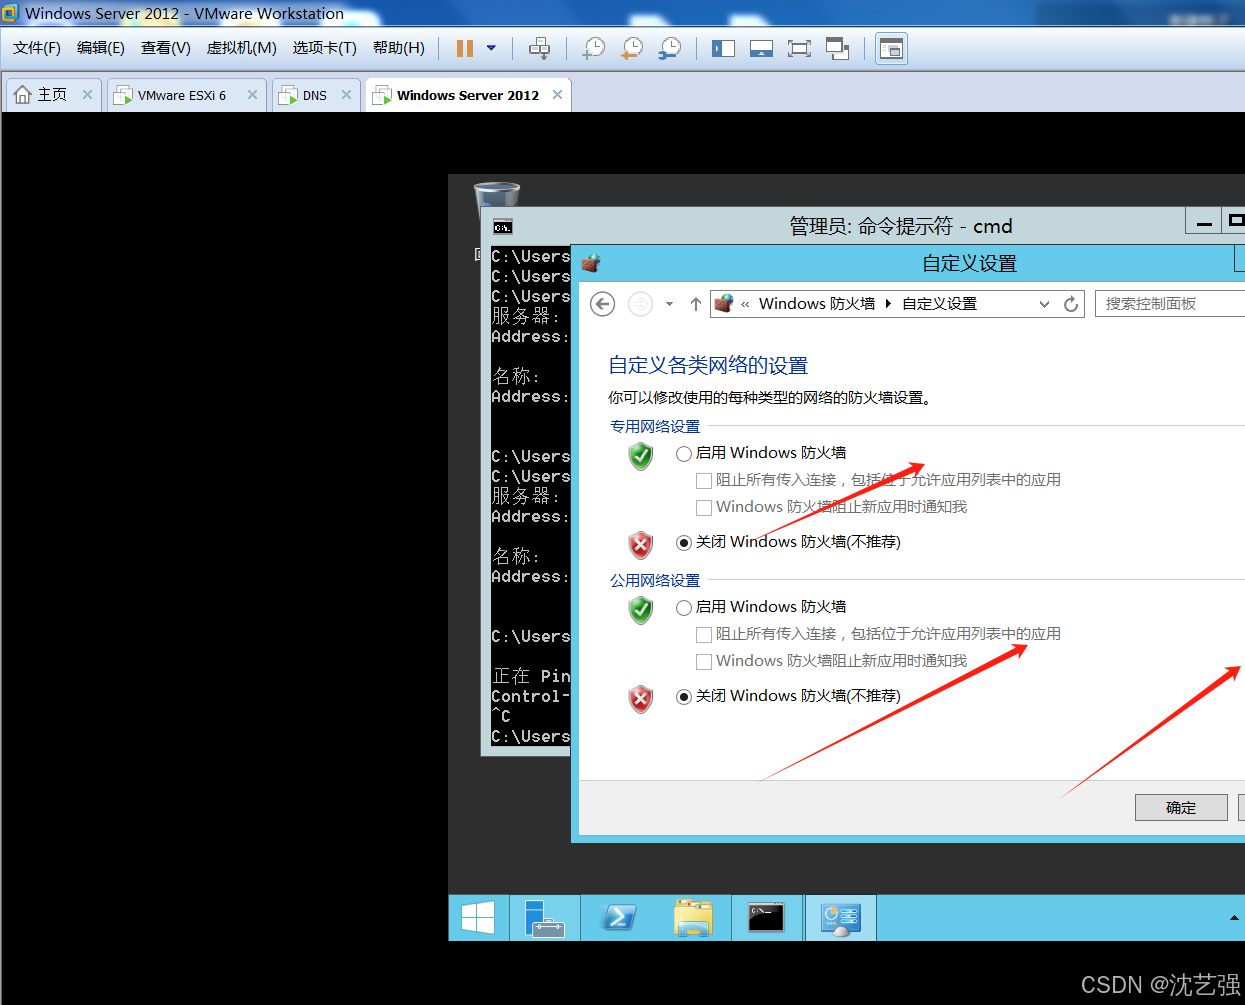
这里保证装vspere windows2018 服务器和dns 服务器的地址要通把防火墙关闭了
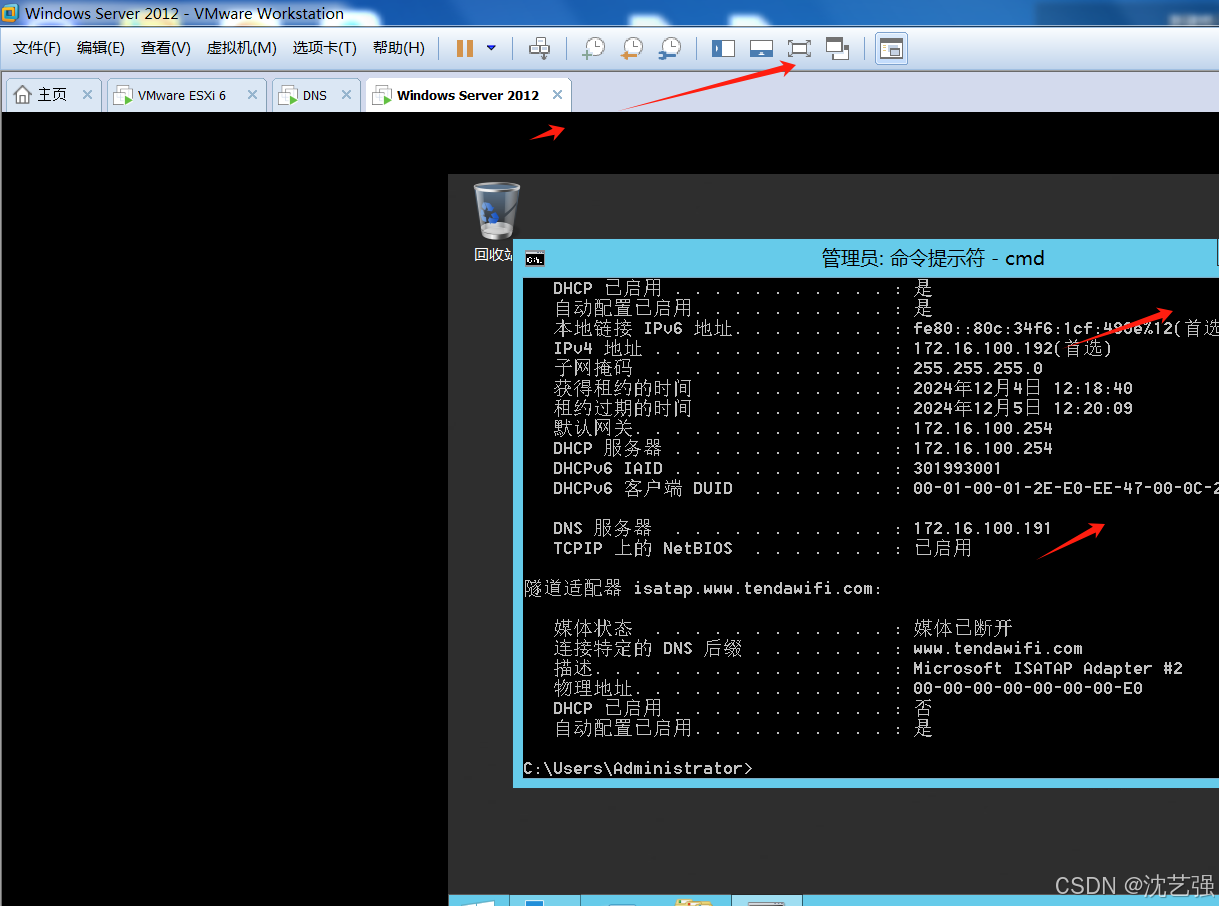
windows 2012 -r 的地址是 172.16.100.192
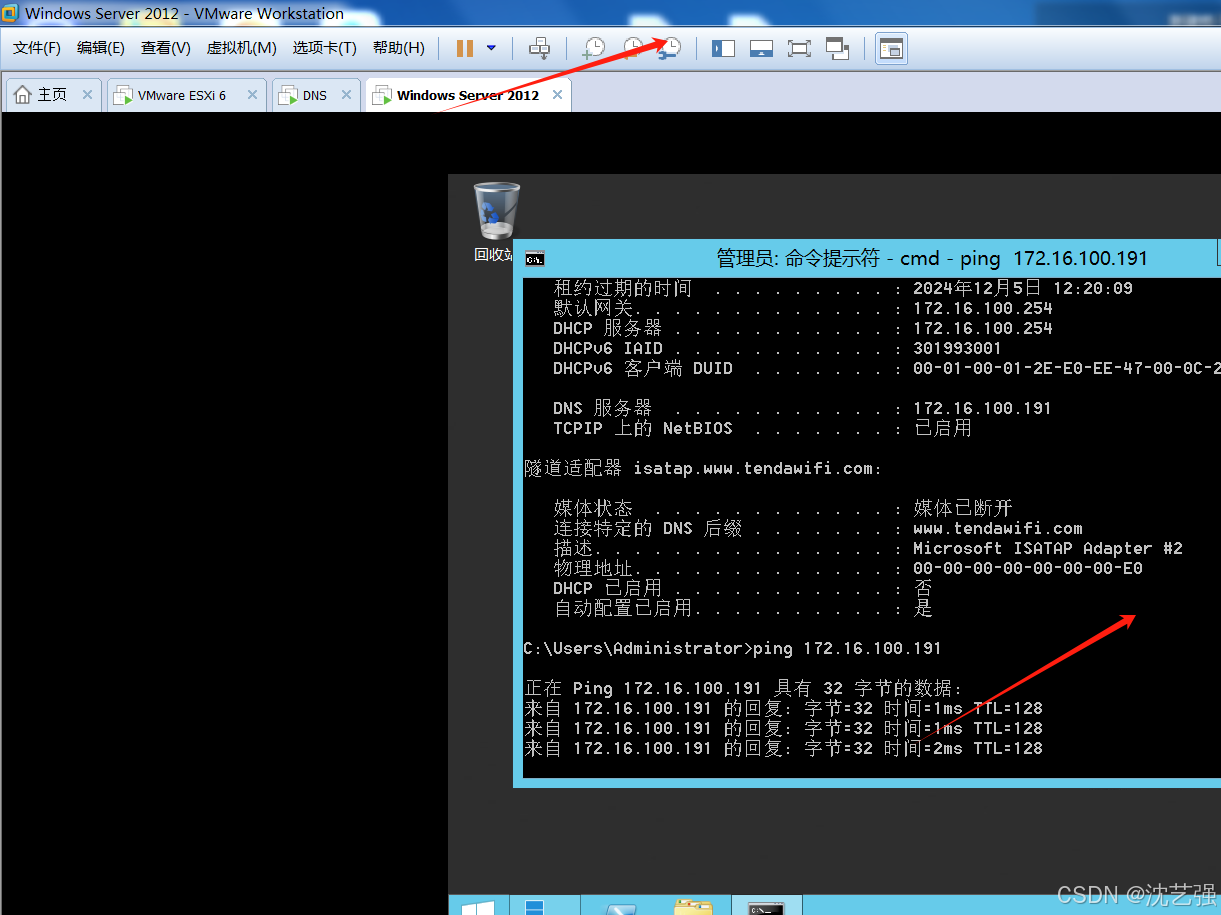
看看和dns 的地址是否通 172.16.100.191 ,只有正常通信的基础上才能进行vcenter 的部署
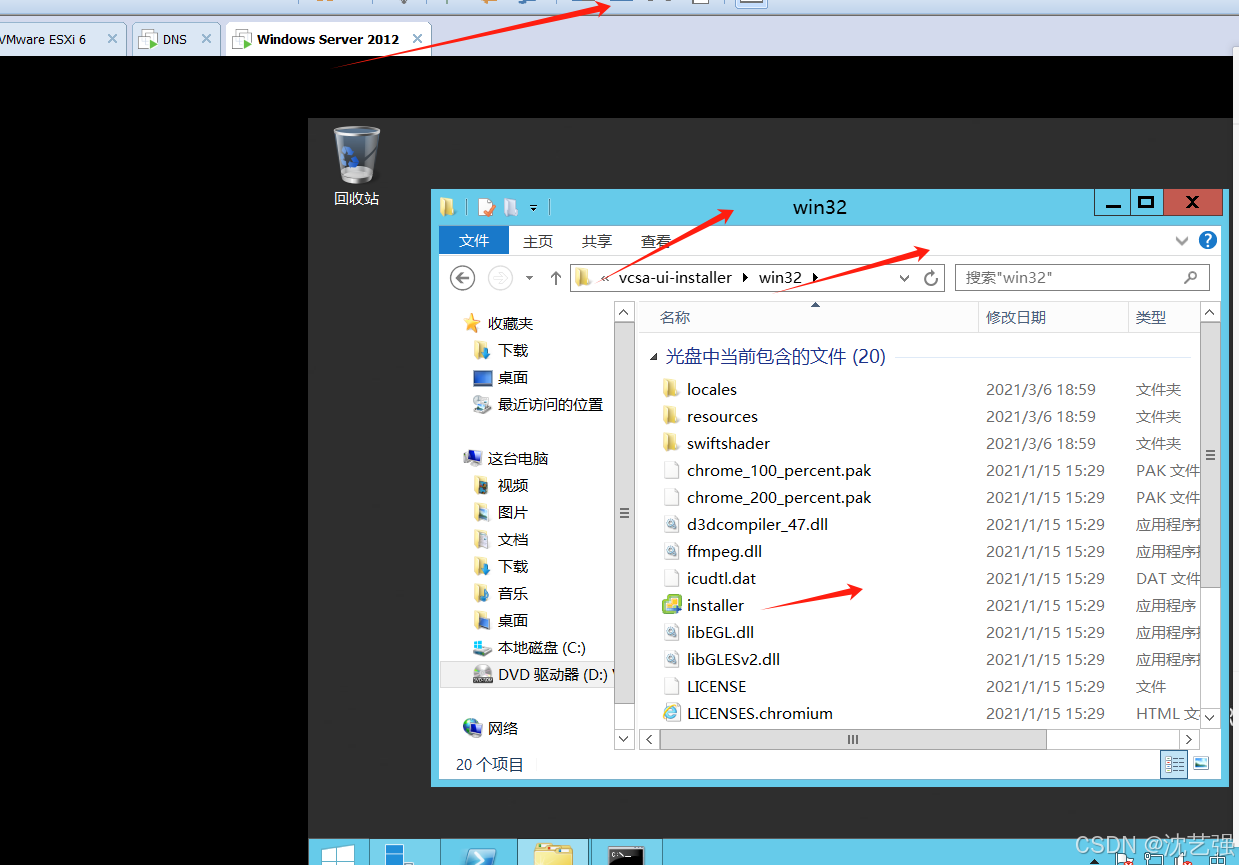
这个在windows 2012 上找到vcenter 安装的引导


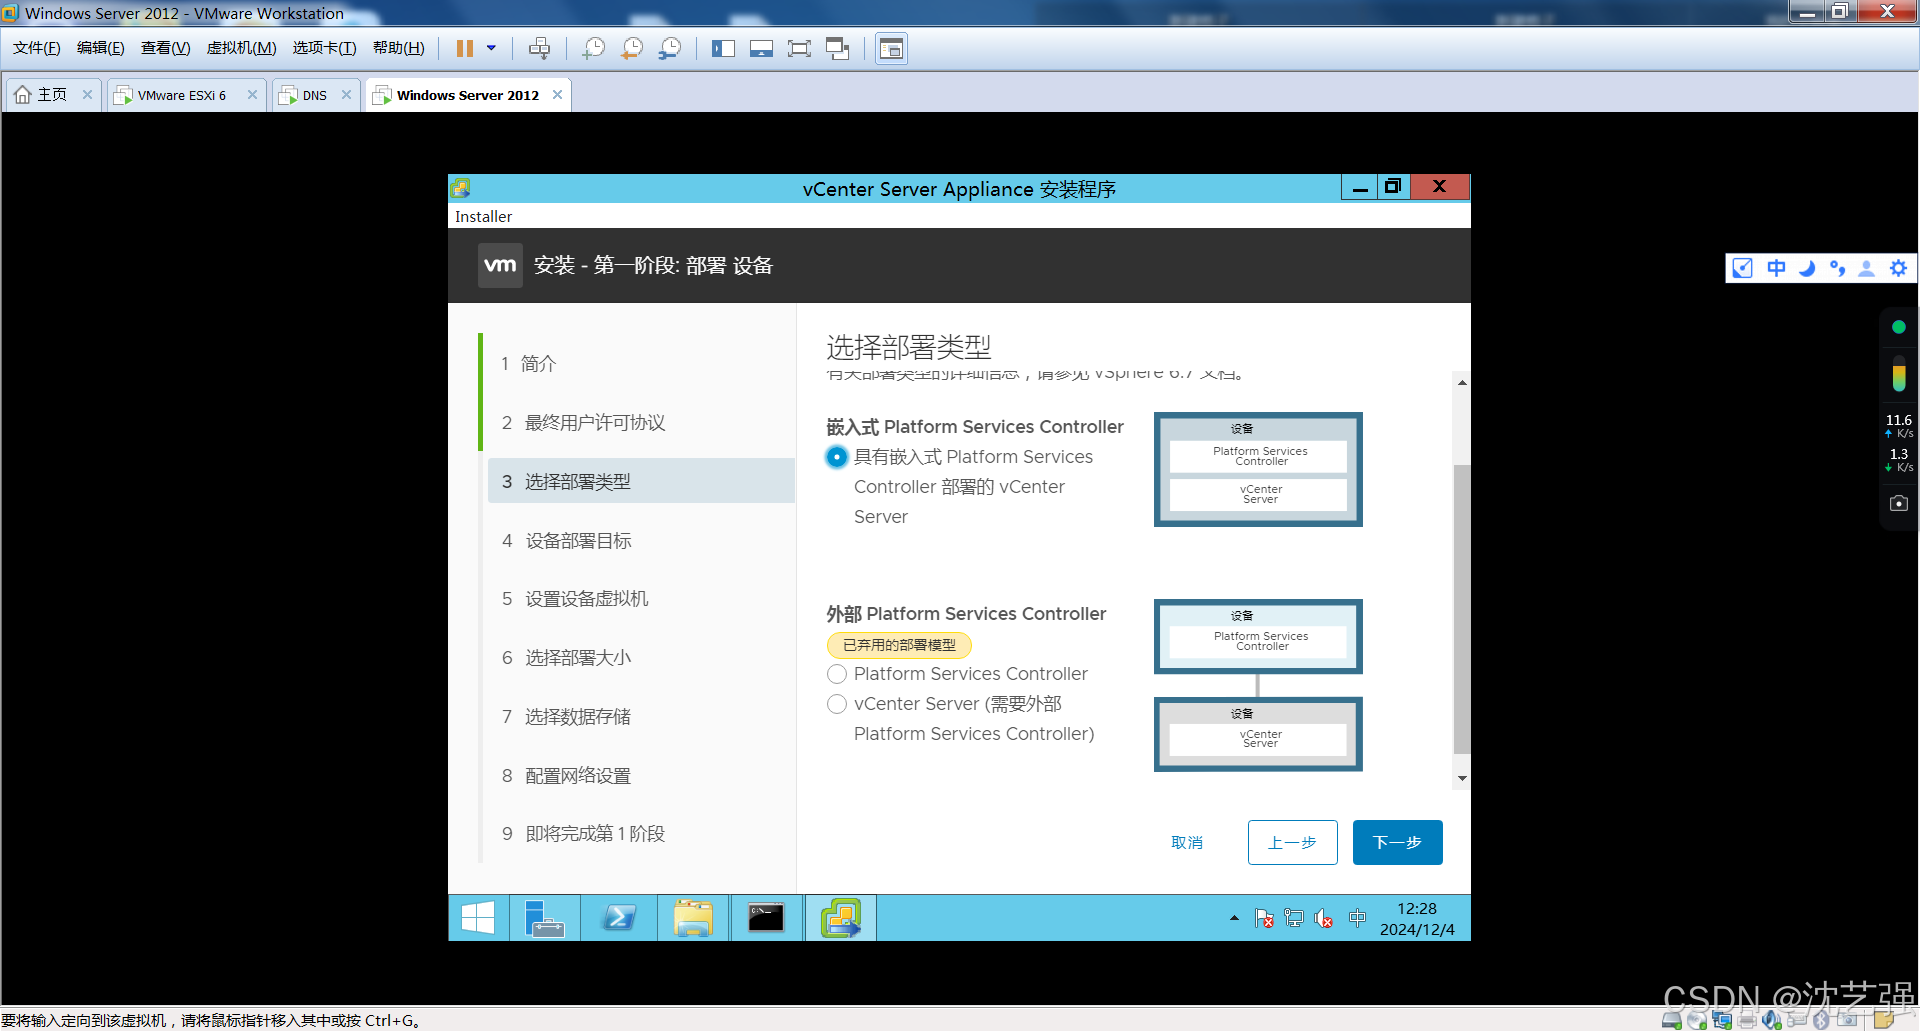

这边需要填写exsi 主机的地址 172.16.100.197 用户名和密码 root p@ssw0rd因为 我们的vcenter 服务器要装在esxi 主机上
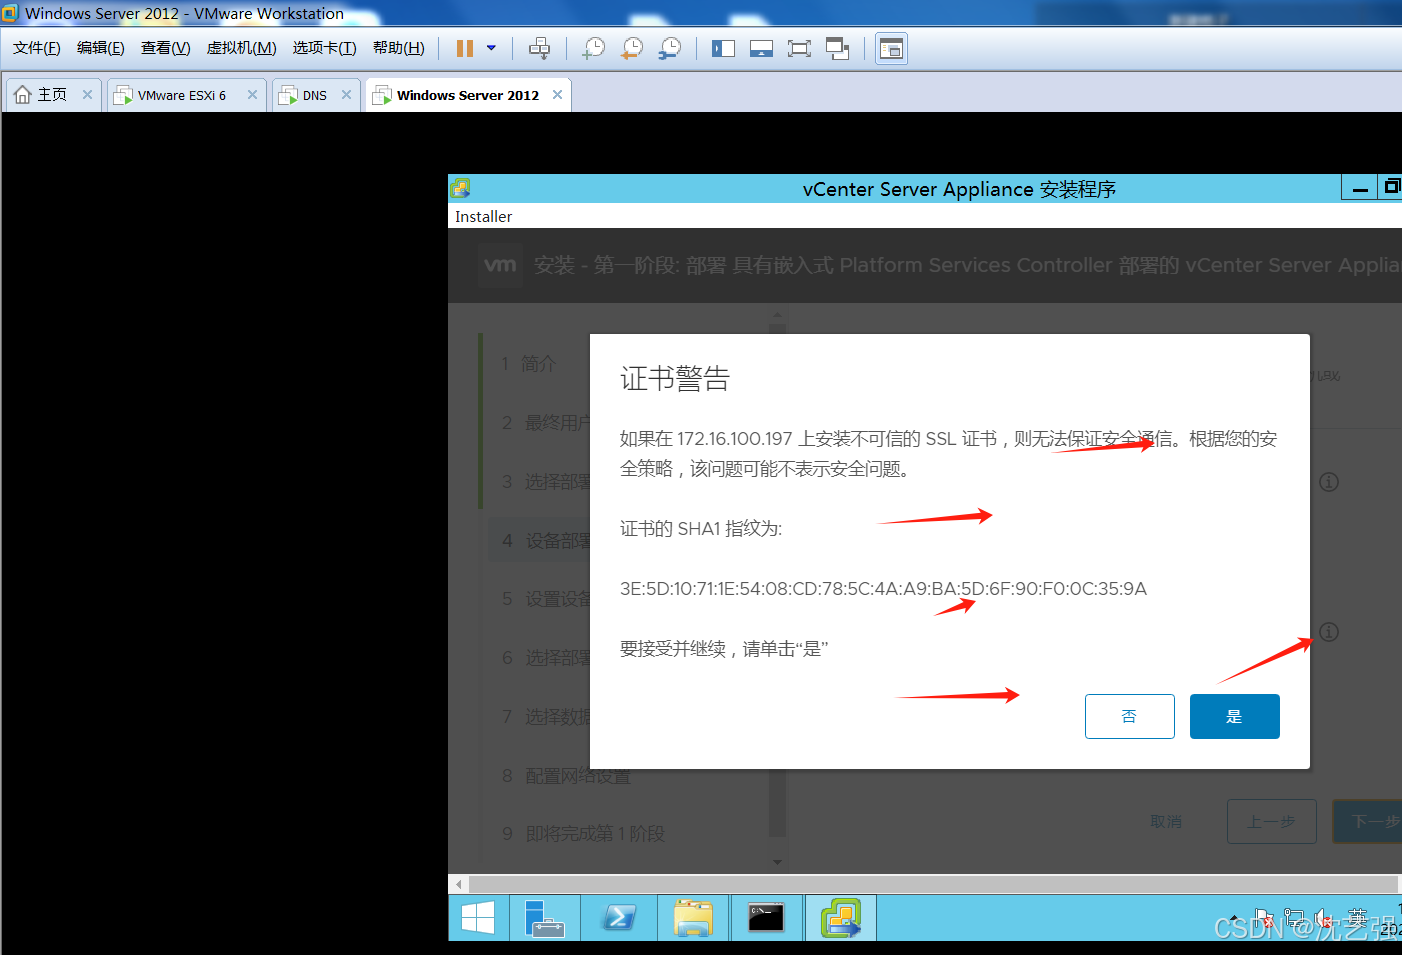
vcenter 和exsi 主机上证书认证
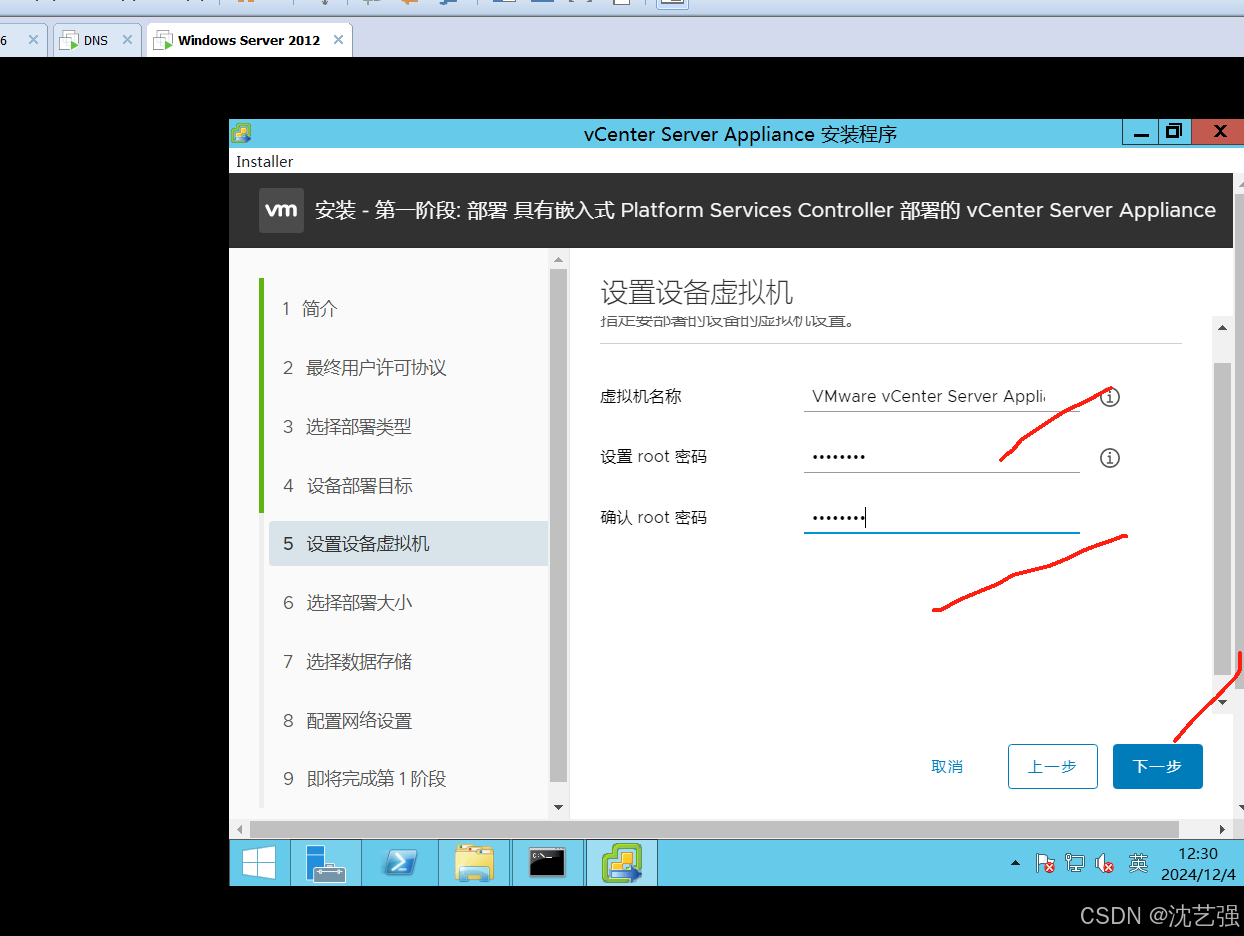
这个设置vcenter 的密码 P@sswrd
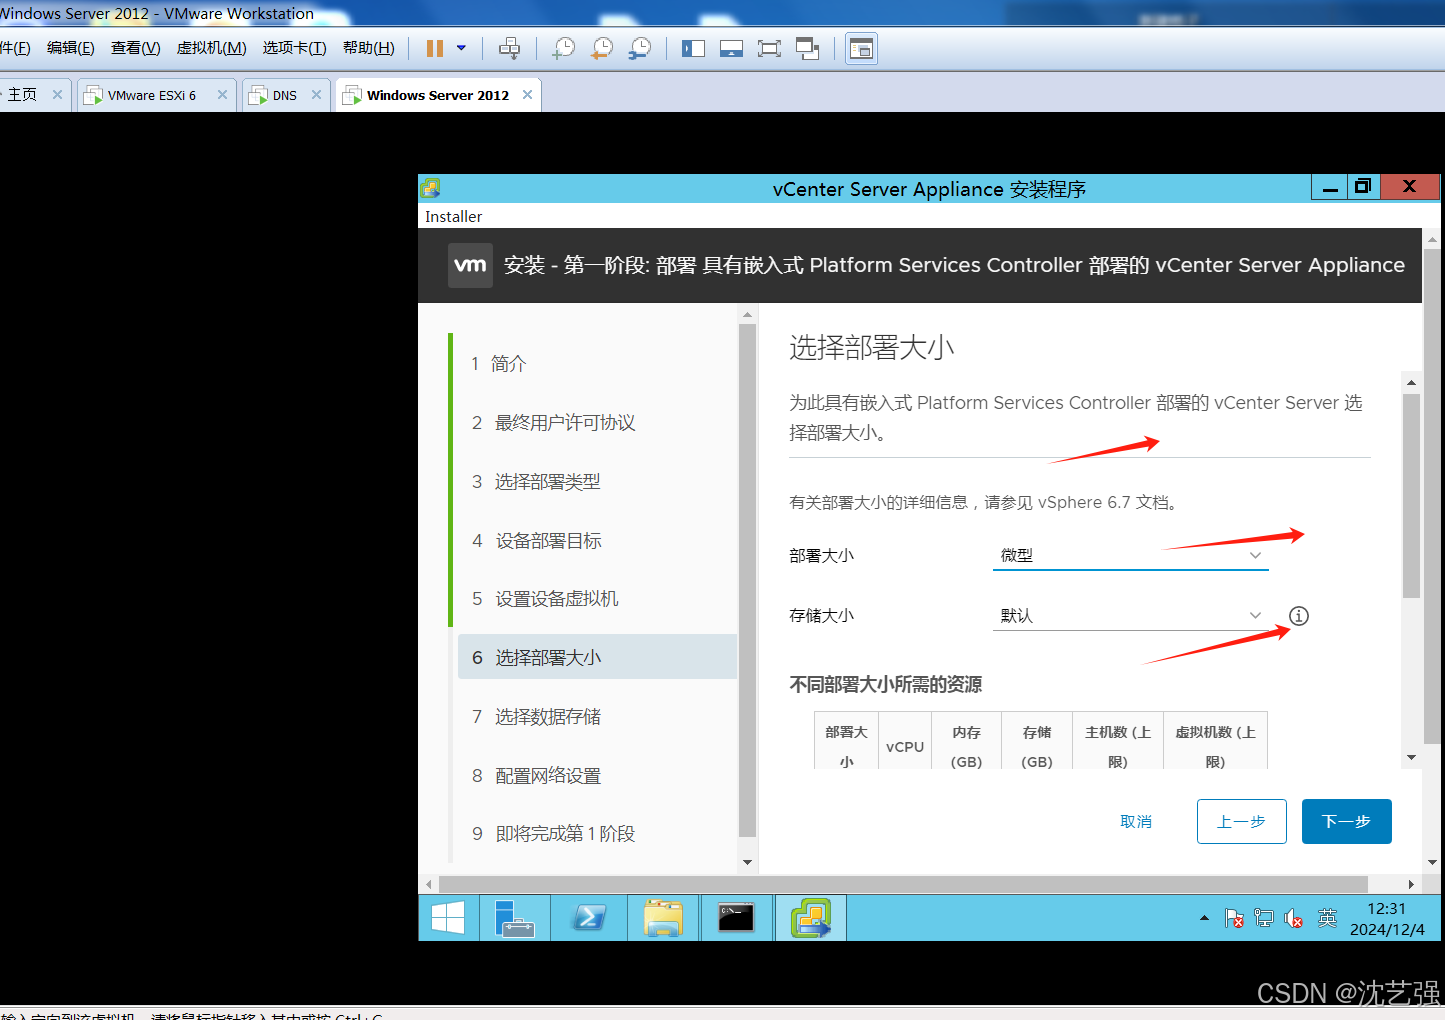
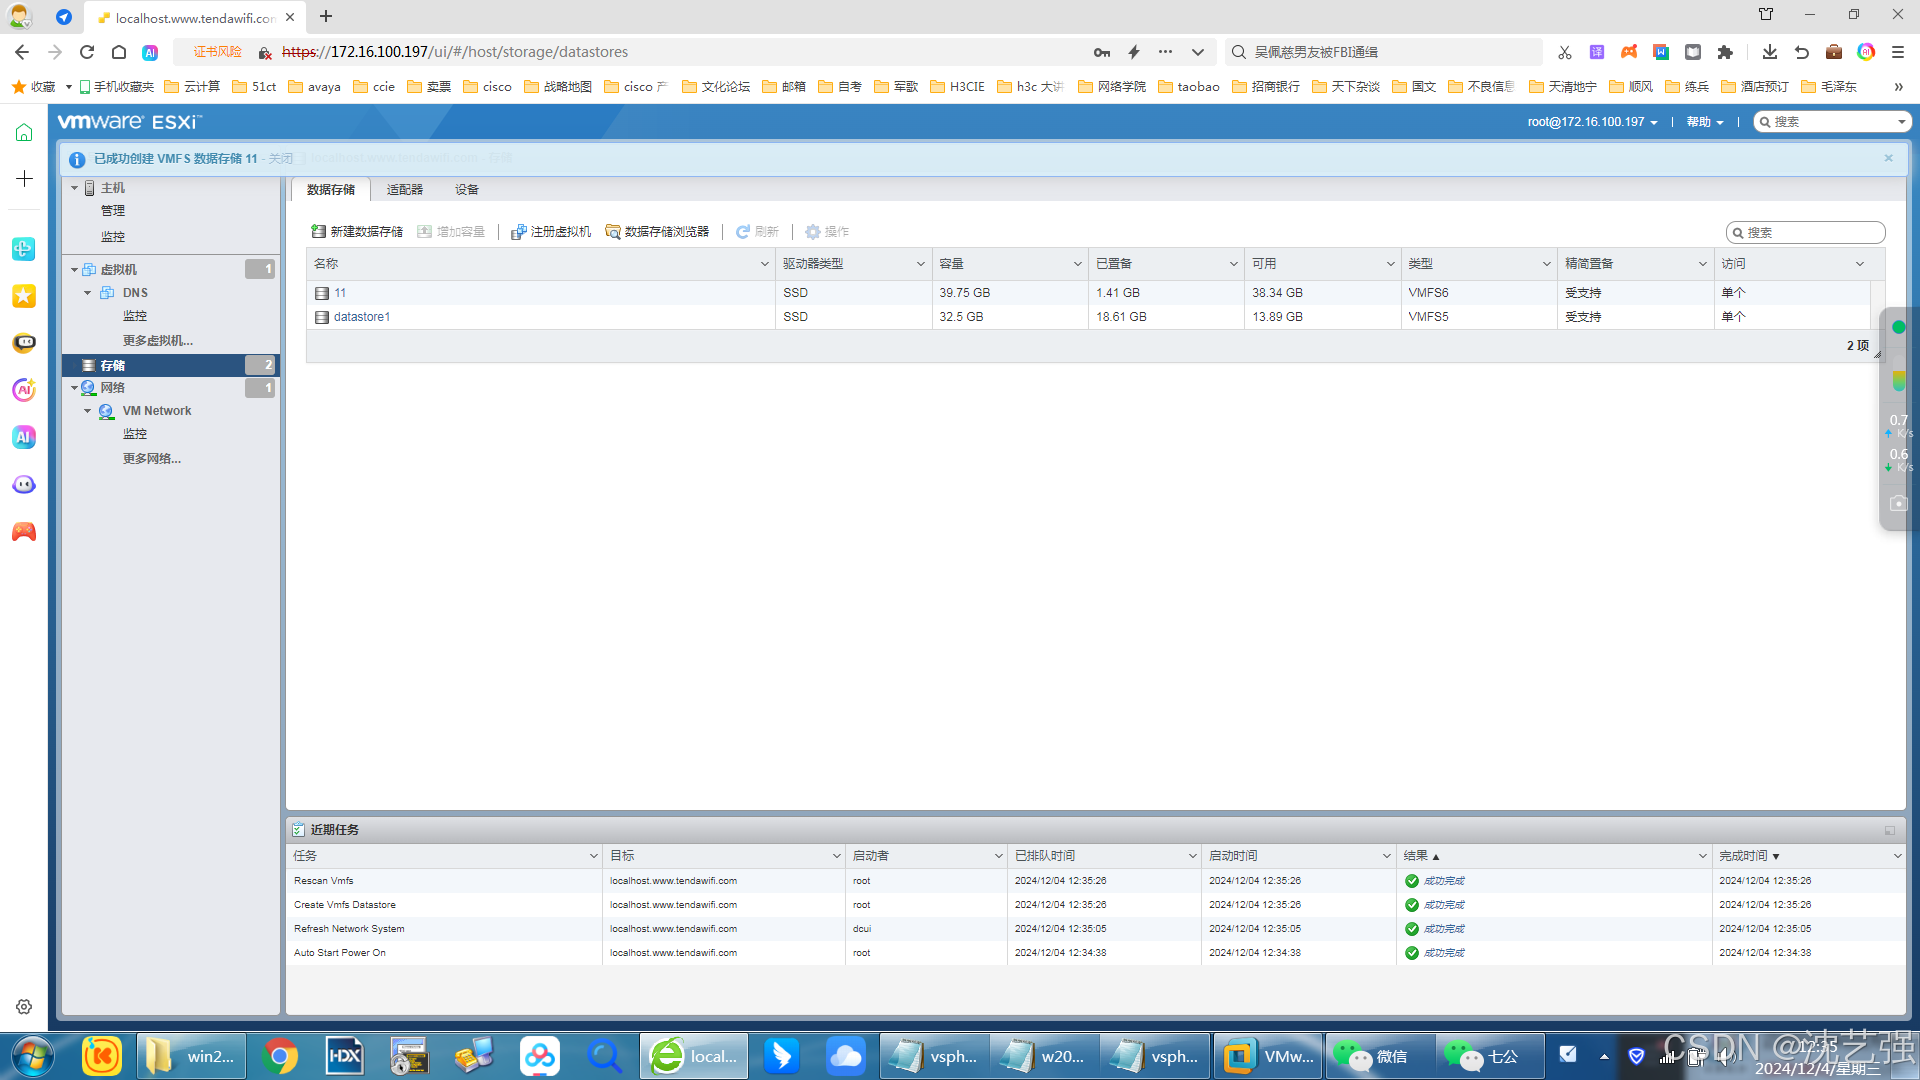
由于vcenter 是装在esxi 主机上的,所以对esxi 主机的硬盘空间要求大一点,内存也带大一点,这边新增了一块40g 的硬盘,如何在esxi 主机上新增硬盘 如何格式化,参考前面的文章
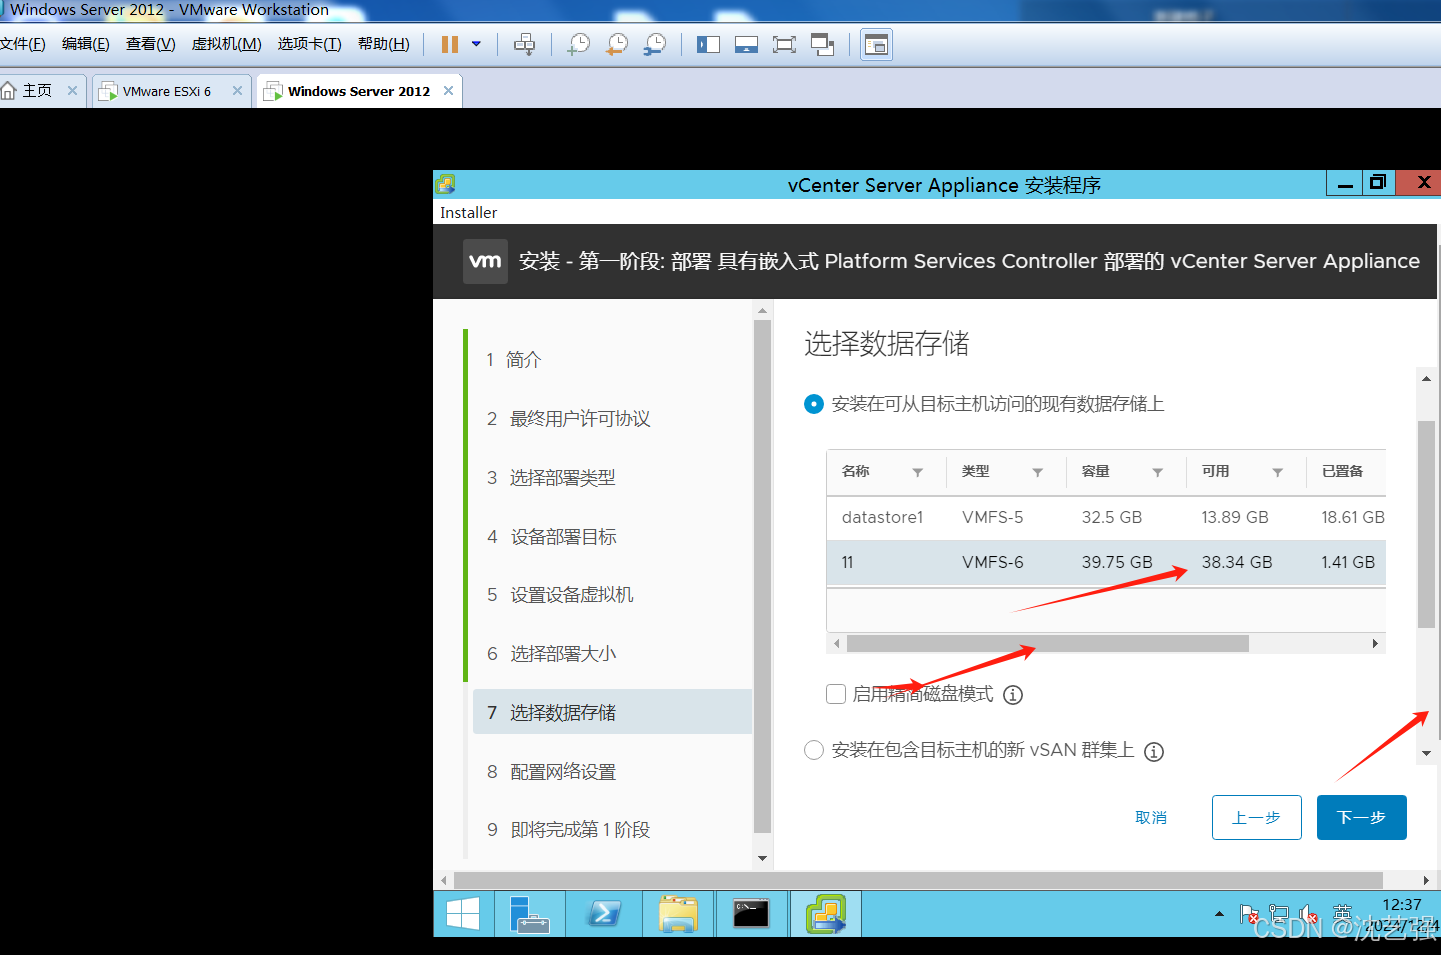
这边我们把vcenter 装在新增的硬盘上 注意是 esxi 主机上
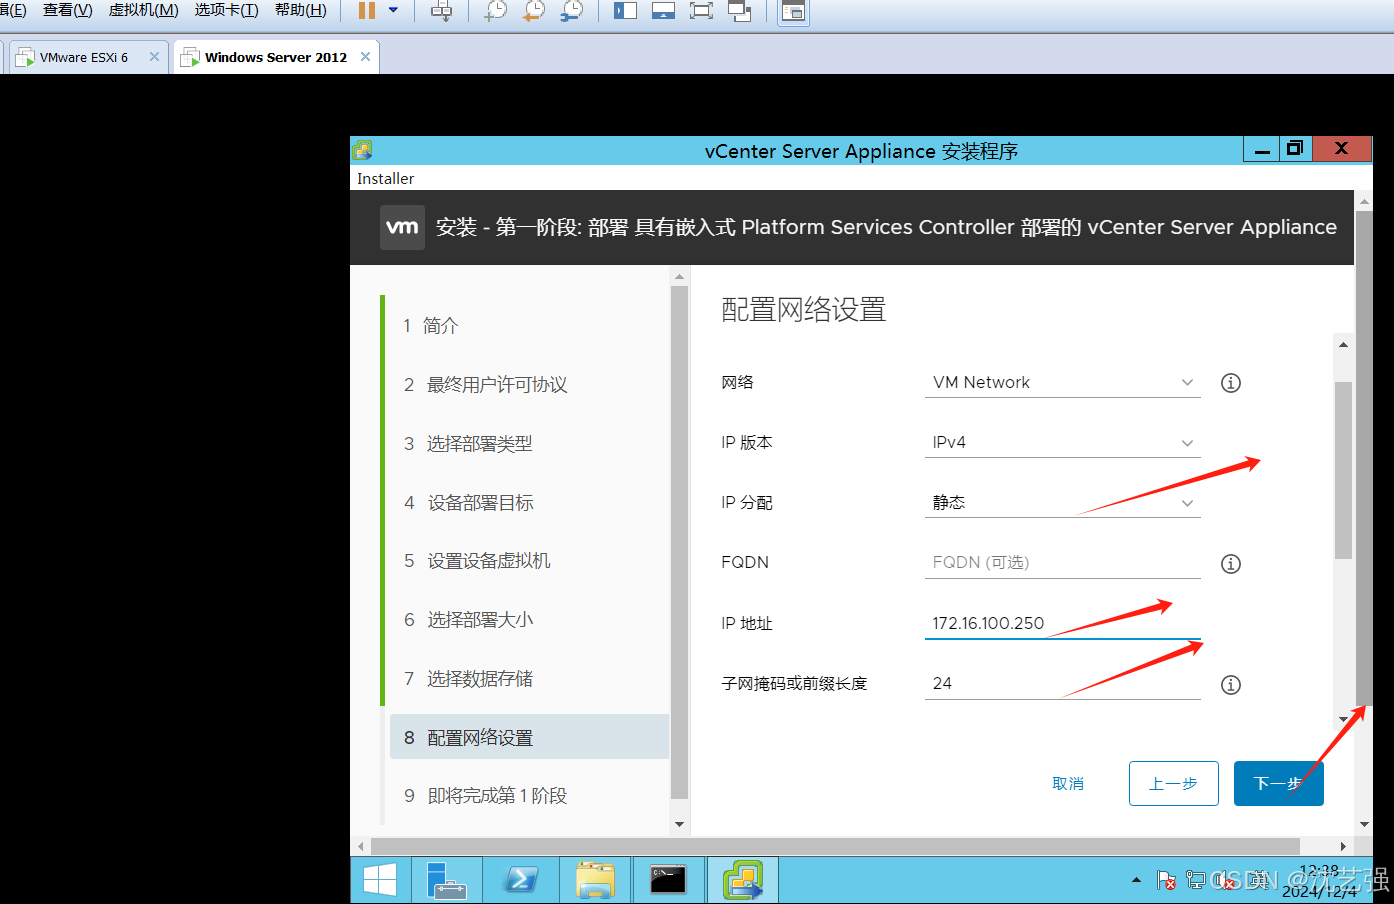
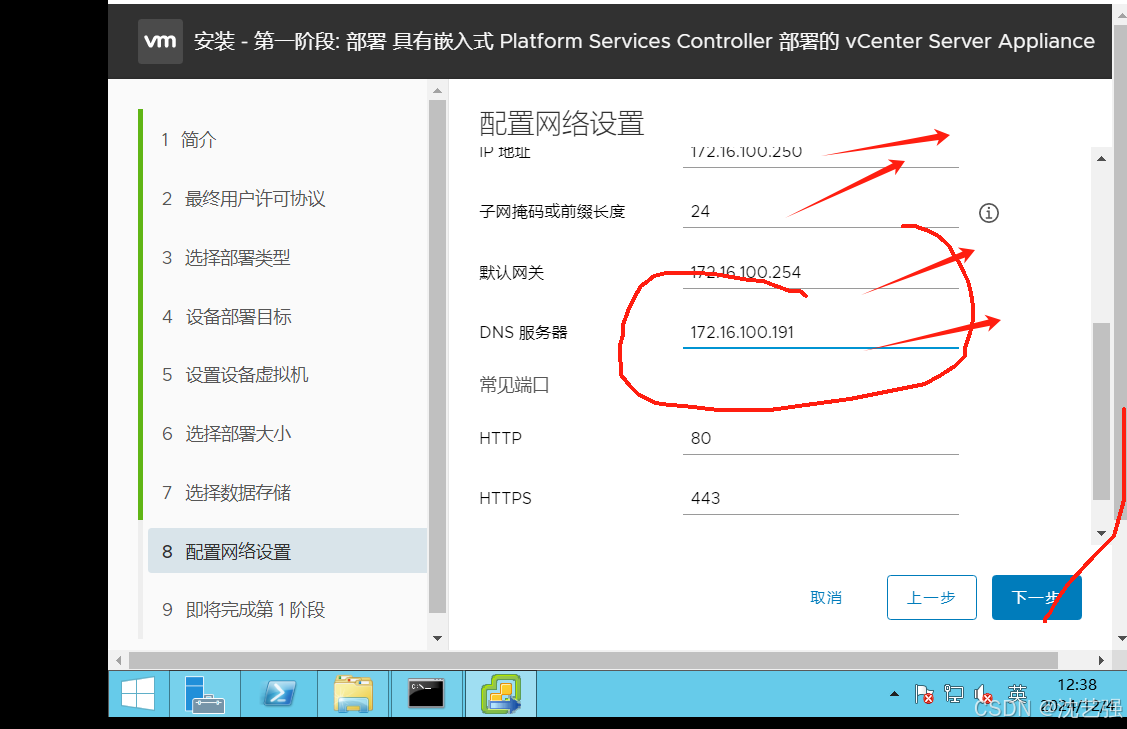
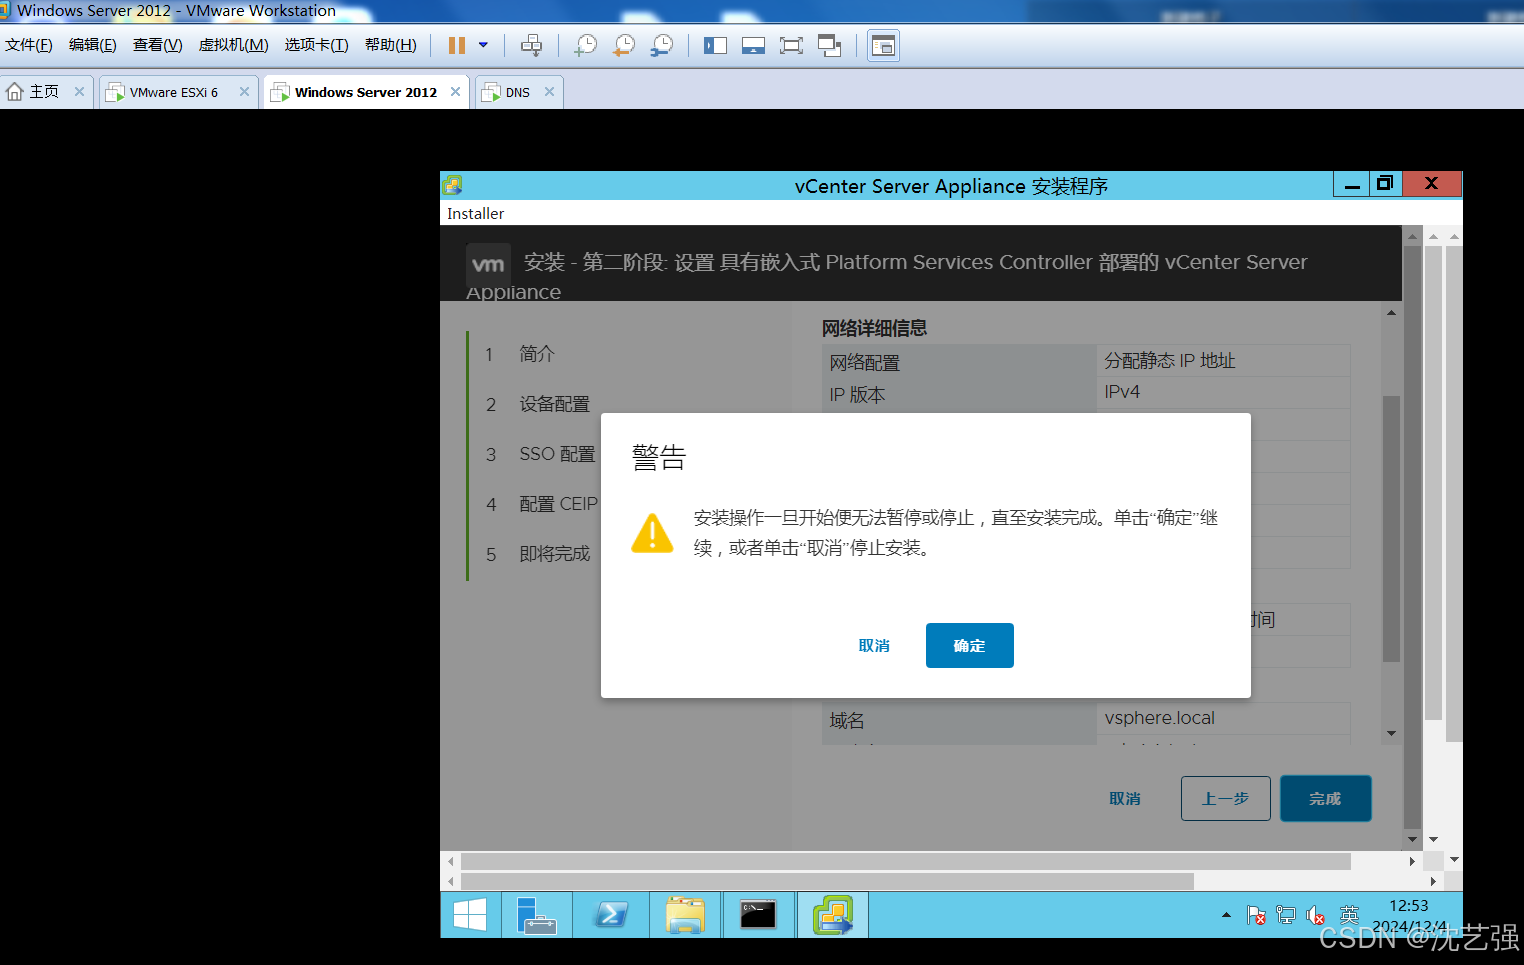
这边是设置 vcenter 的地址 172.16.100.250 注意一定要填写dns 的地址
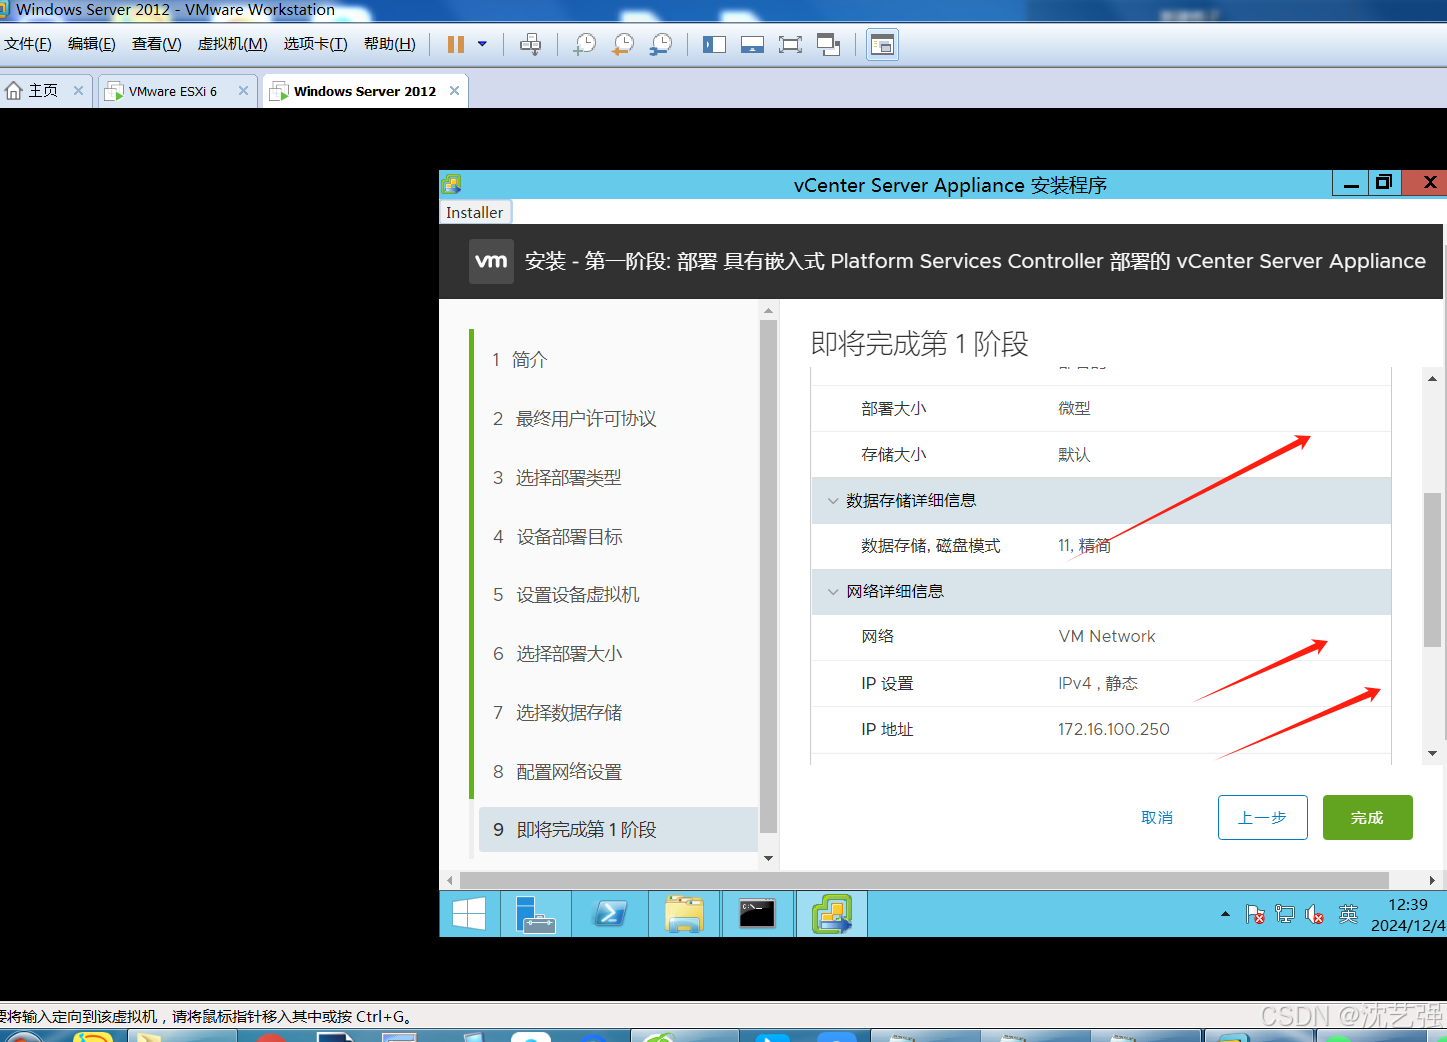
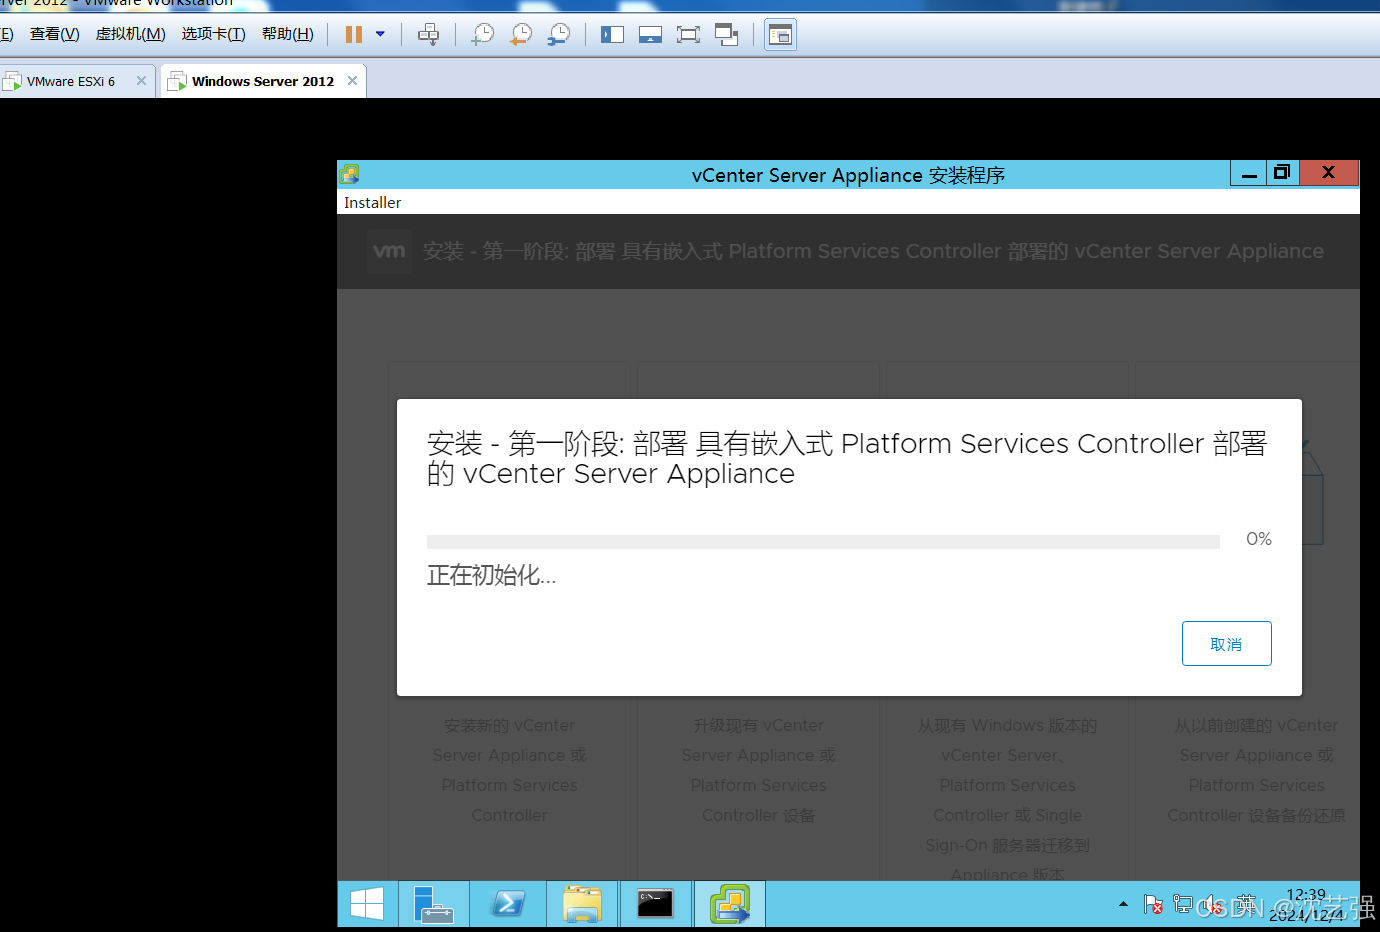
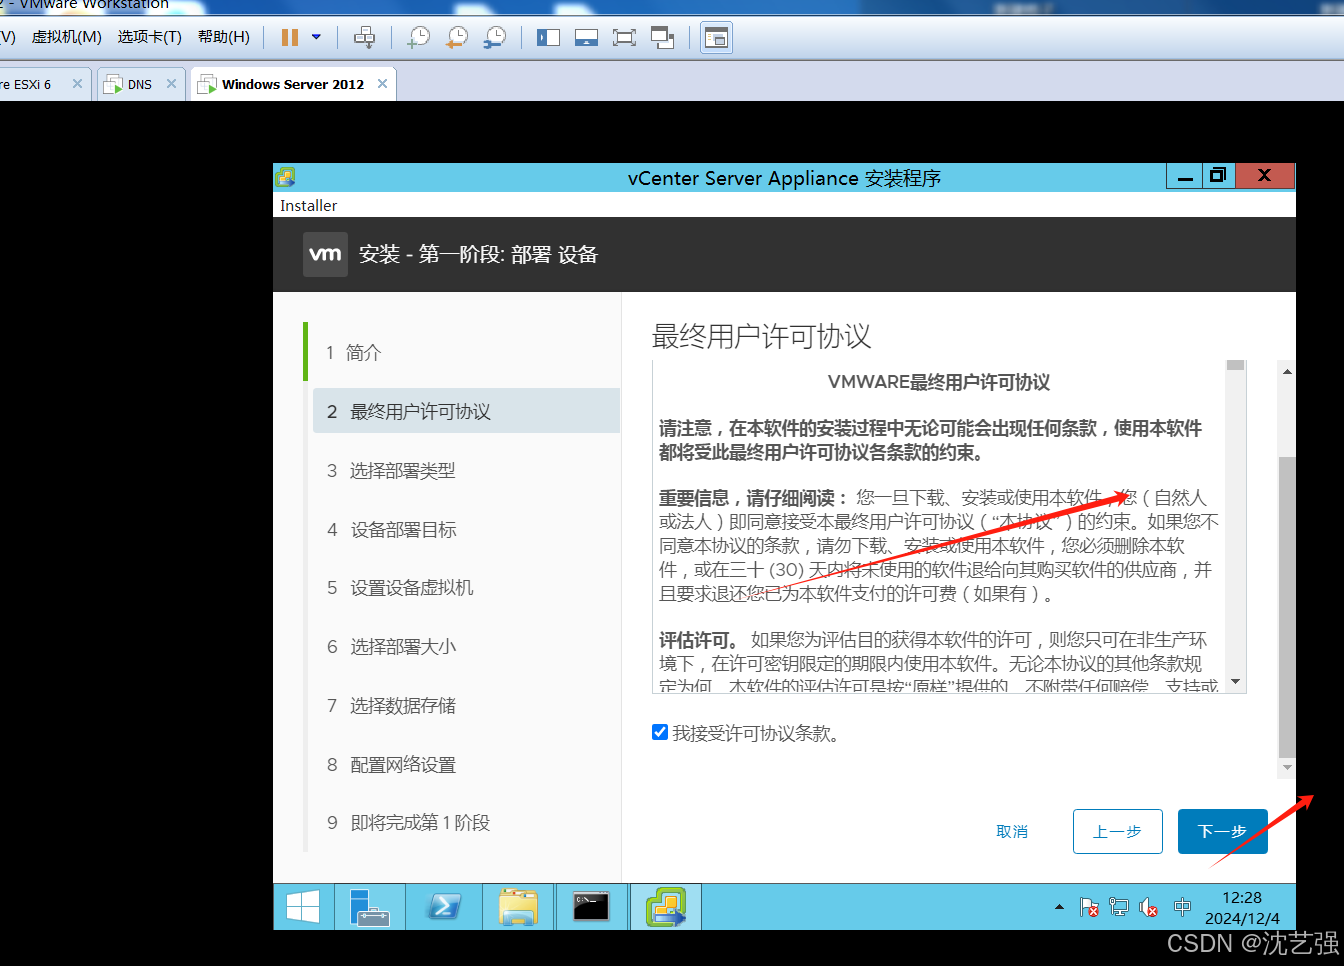
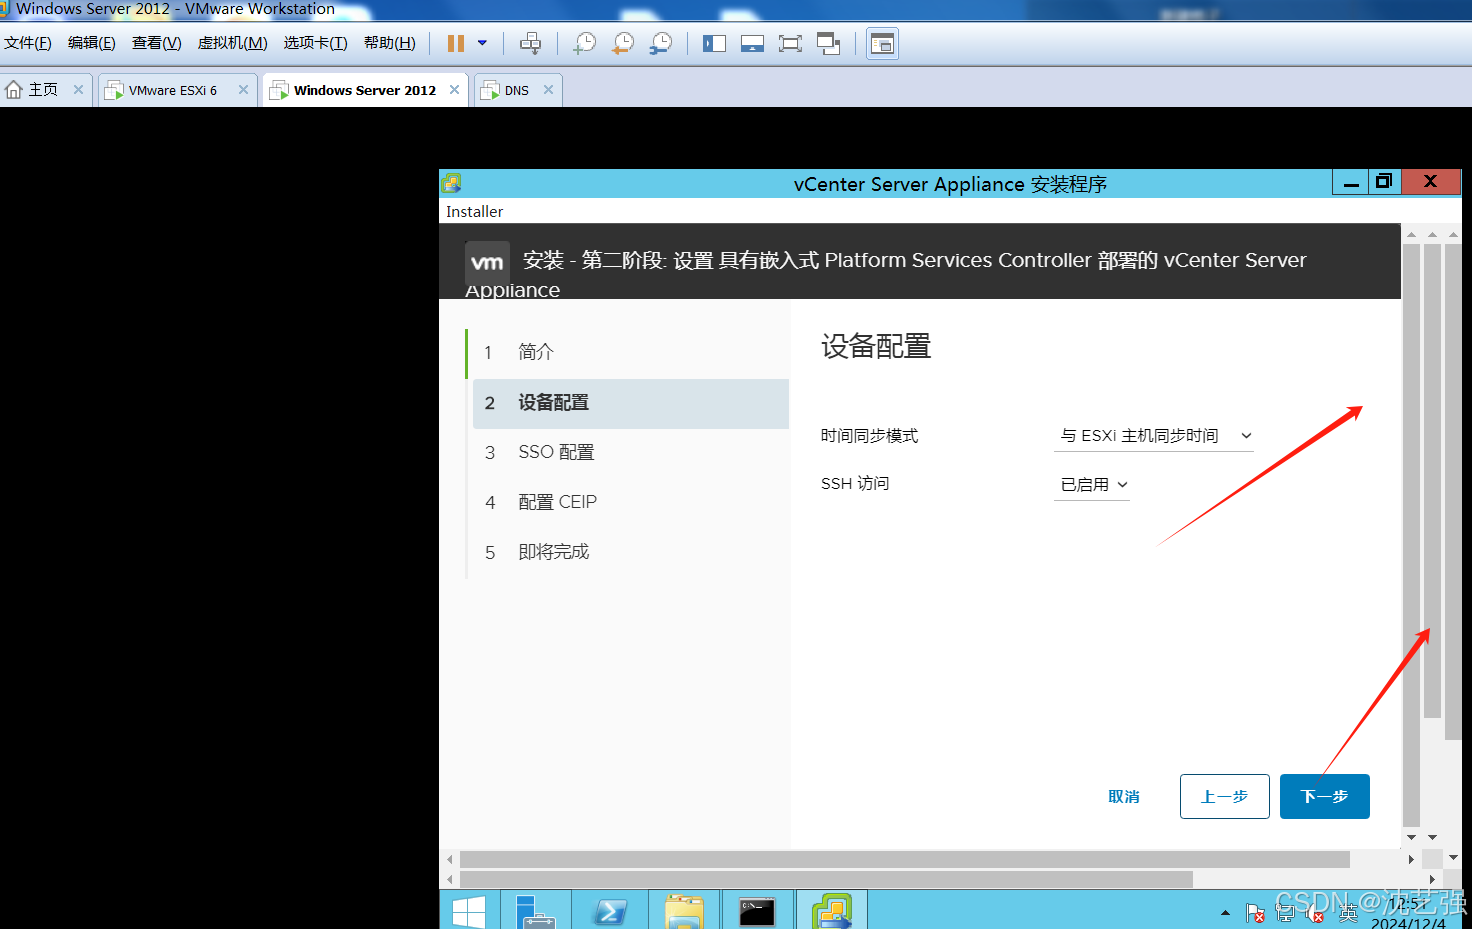
开始第一阶段的部署

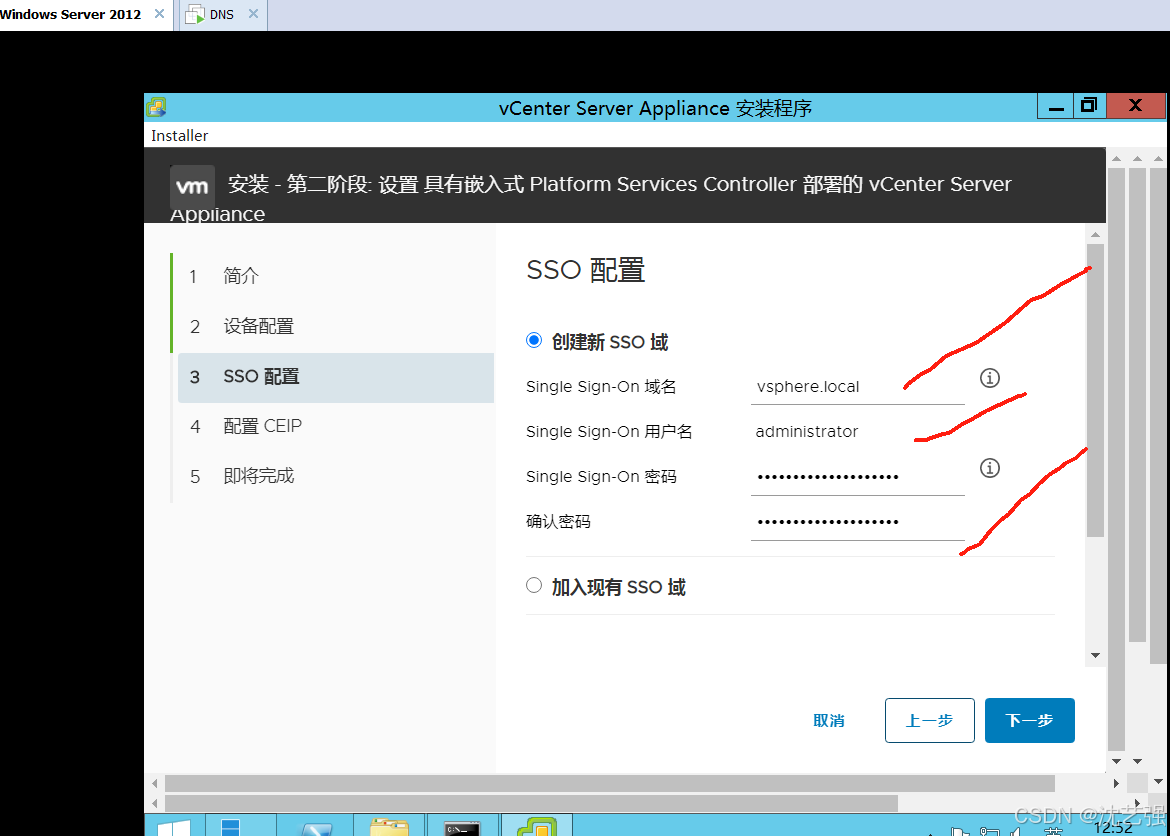
注意这边的域名 vsphere.local 密码 gp|"jzwof0hw<A9IB-{^ 这个是让我们web 登入的
administrator@vsphere.local
gp|"jzwof0hw<A9IB-{^


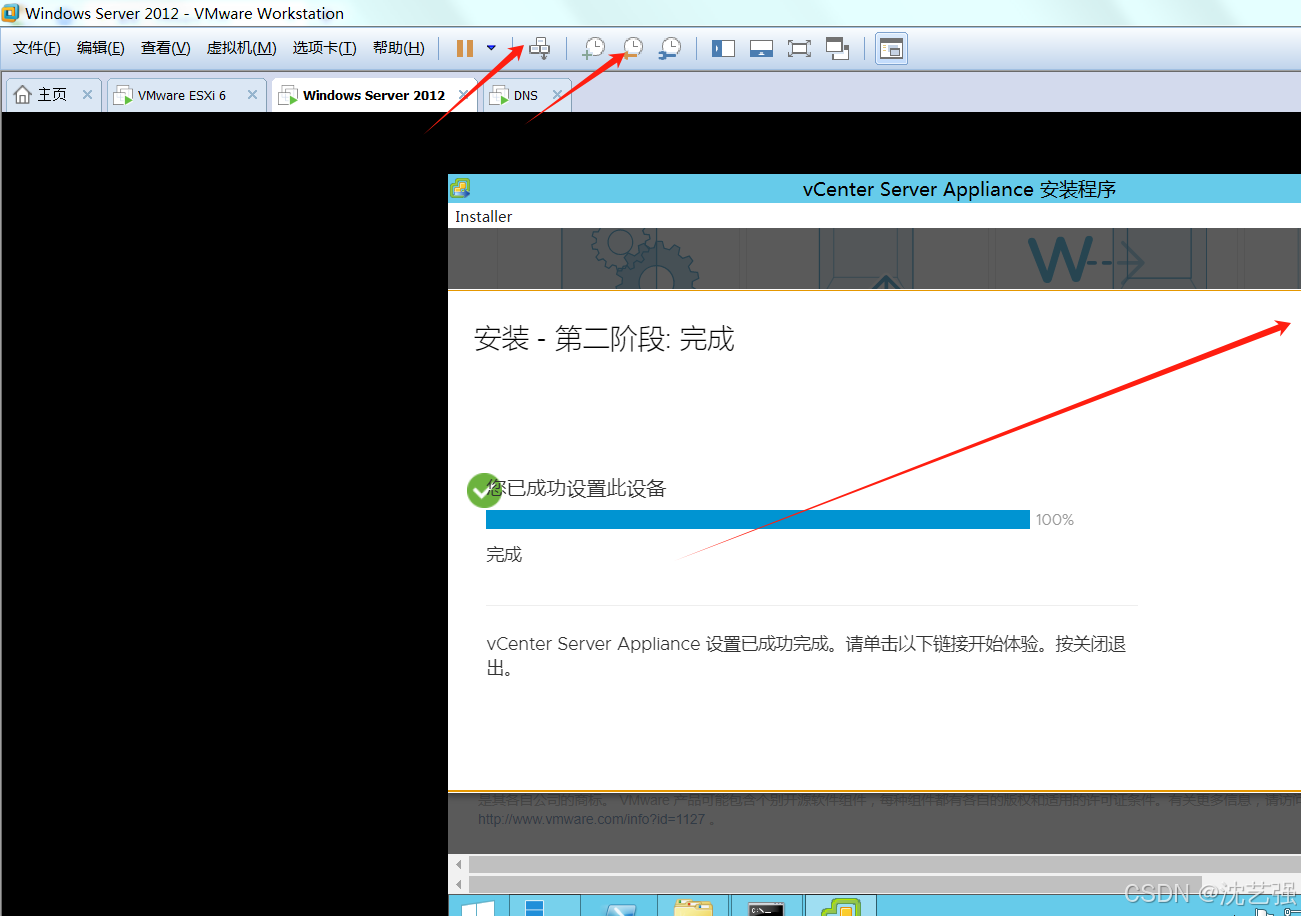

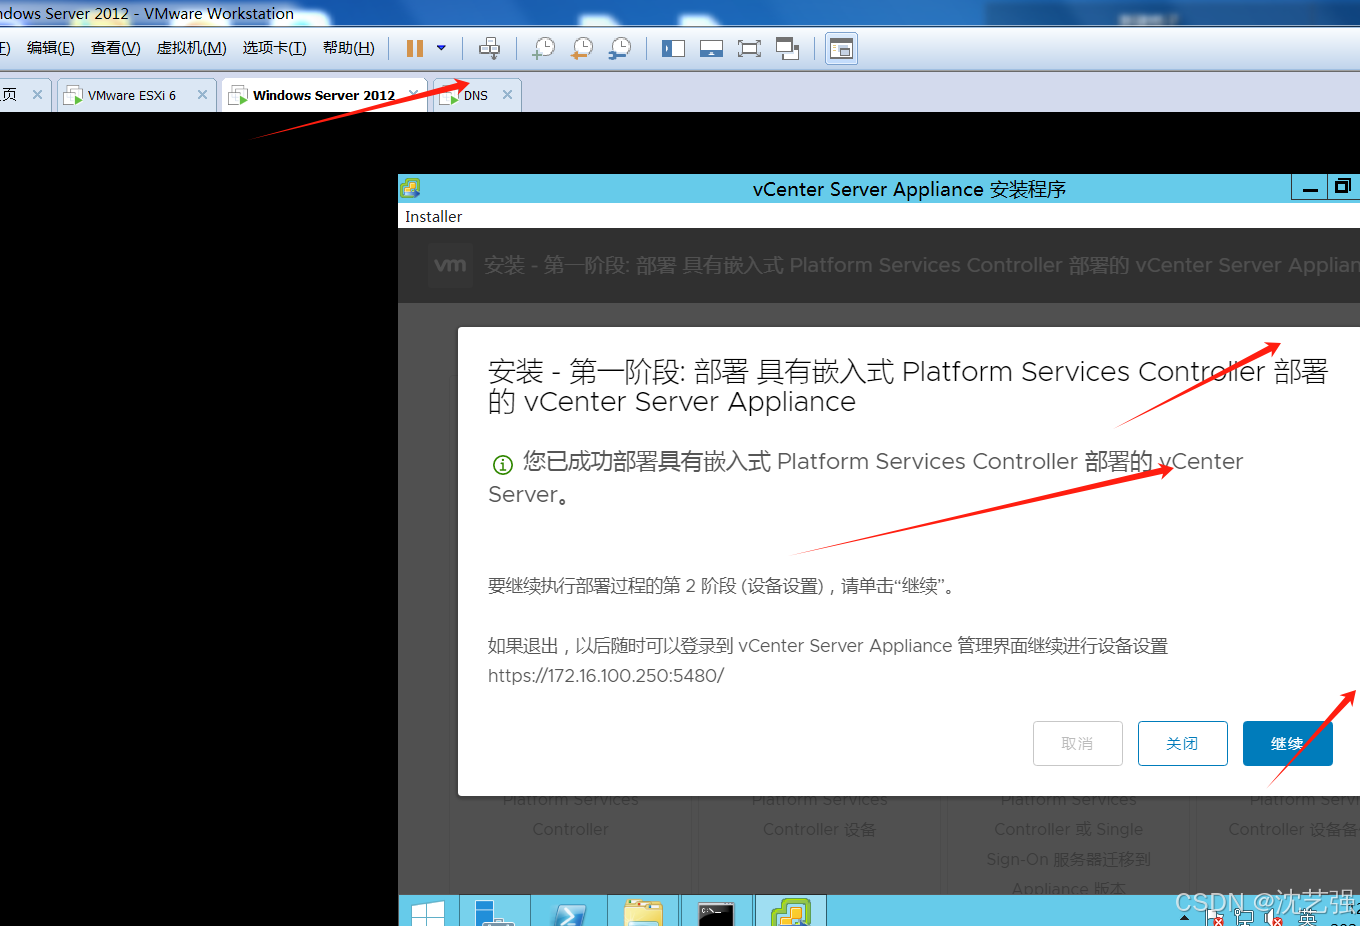
这里要注意的是部署完毕之后,dns 一定要开启,这样才能让我们能症VC正常访问web 界面
这边要注意一定要把dns 部署成

一定要把dns 部署完毕

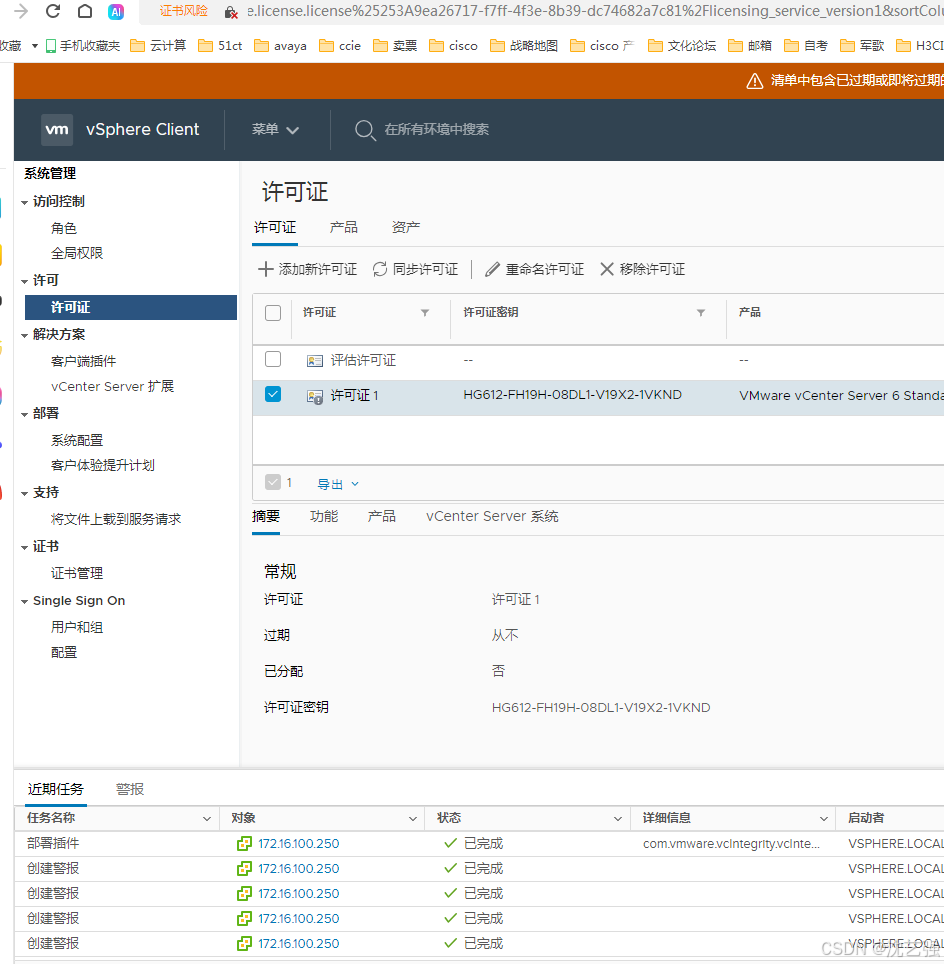
我们可以看到vcenter 部署在esxi 主机上面
后期运维的时候一定要先开esxi 主机 在开esxi 主机上的 dns 再开vcenter 主机,有这样的先后顺序
3 部署完毕的总结
1 exsi 主机地址配置 172.16.100.197
用户名 root p@ssw0rd https://172.16.100.197
2 开启 esxi 主机上的dns服务器
默认地址 172.16.100.191 admin@123
3 windows 2012 172.16.100.192 这个是装vcenter 用的主机
密码 admin@123
4 开启vcenter 主机
https:// 172.16.100.250
SSH 的用户名 密码 地址 root P@ssw0rd 172.16.100.250
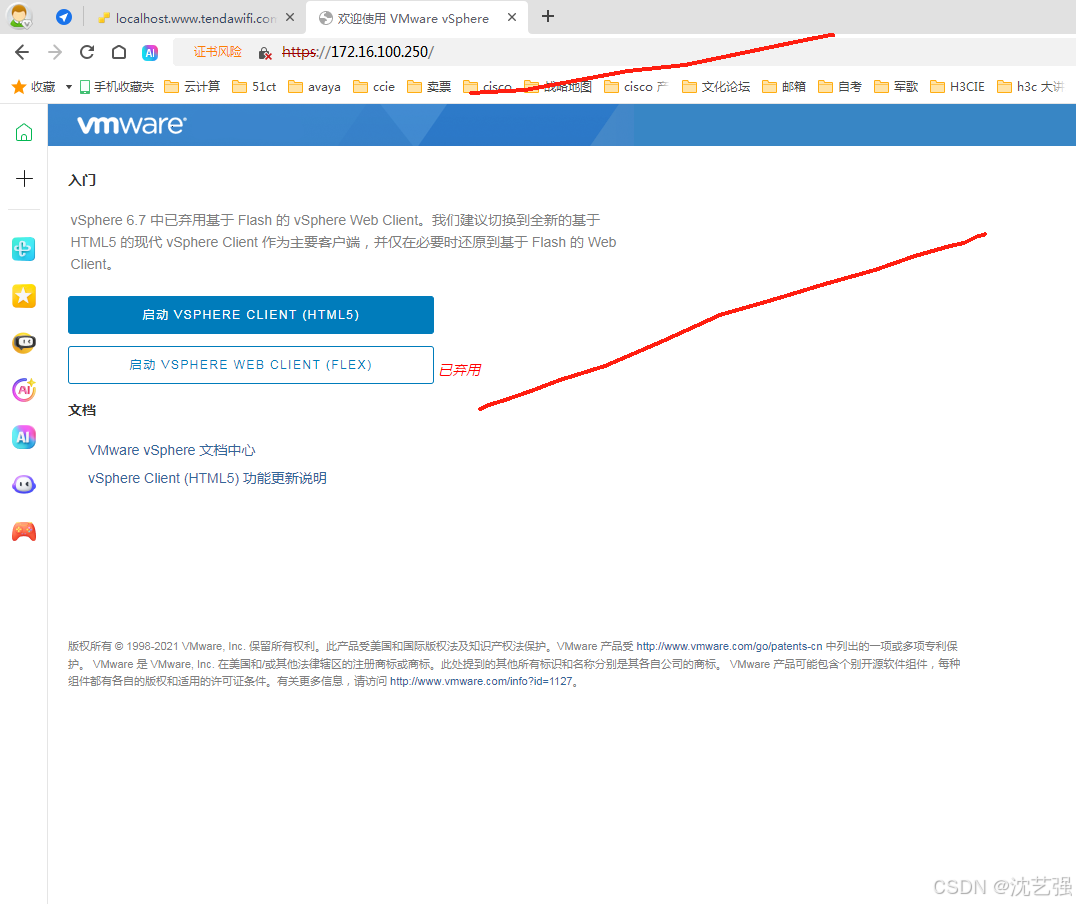
http://172.16.100.250 web 登入
administrator@vsphere.local
gp|"jzwof0hw<A9IB-{^
5 登入vcenter
shell
cd /usr/lib/vmware-vmdir/bin
./vdcadmintool 注意是点/ 然后改密码
3
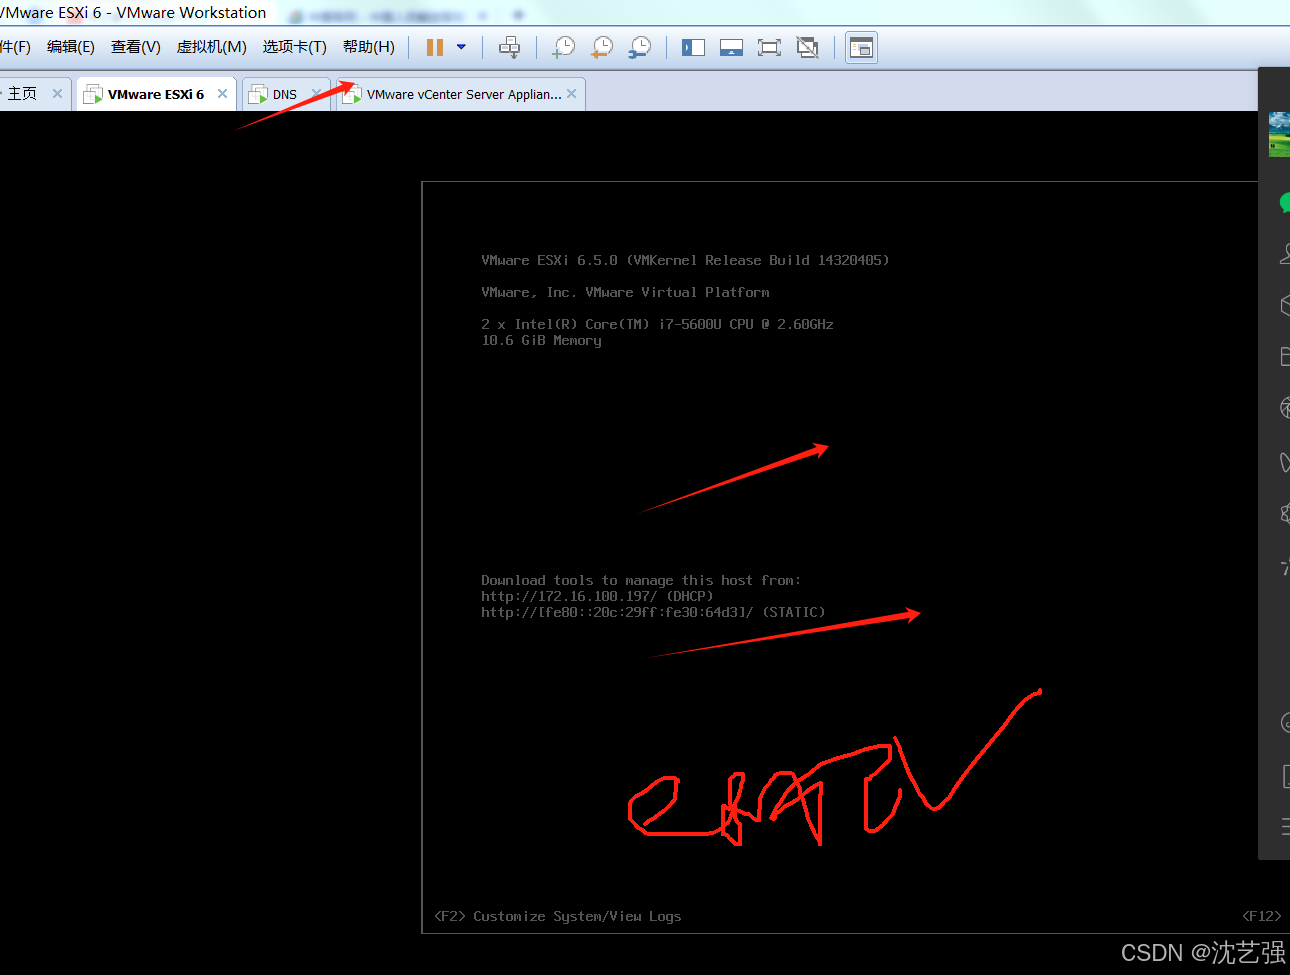

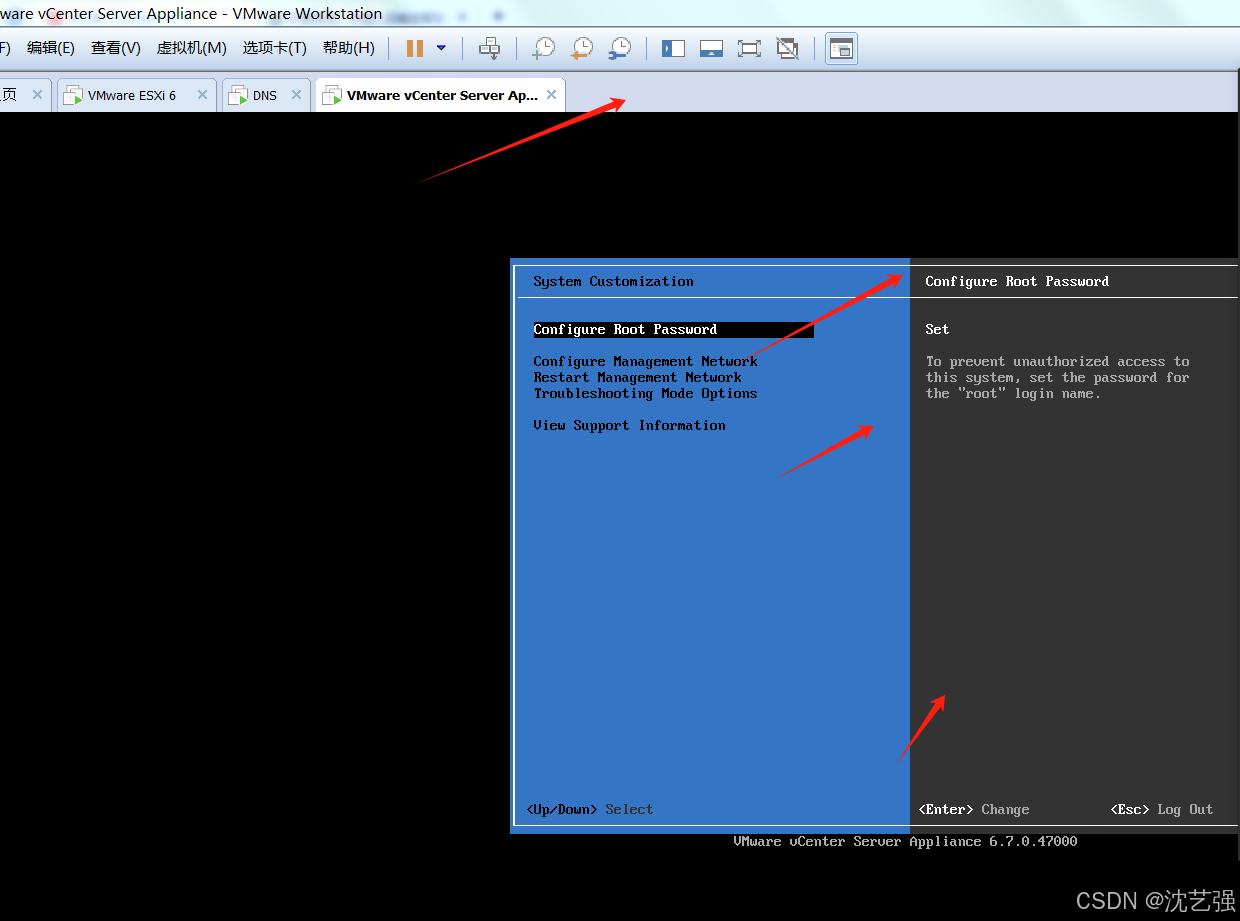
一个esxi 主机的定制界面 一个是vcenter 的定制界面
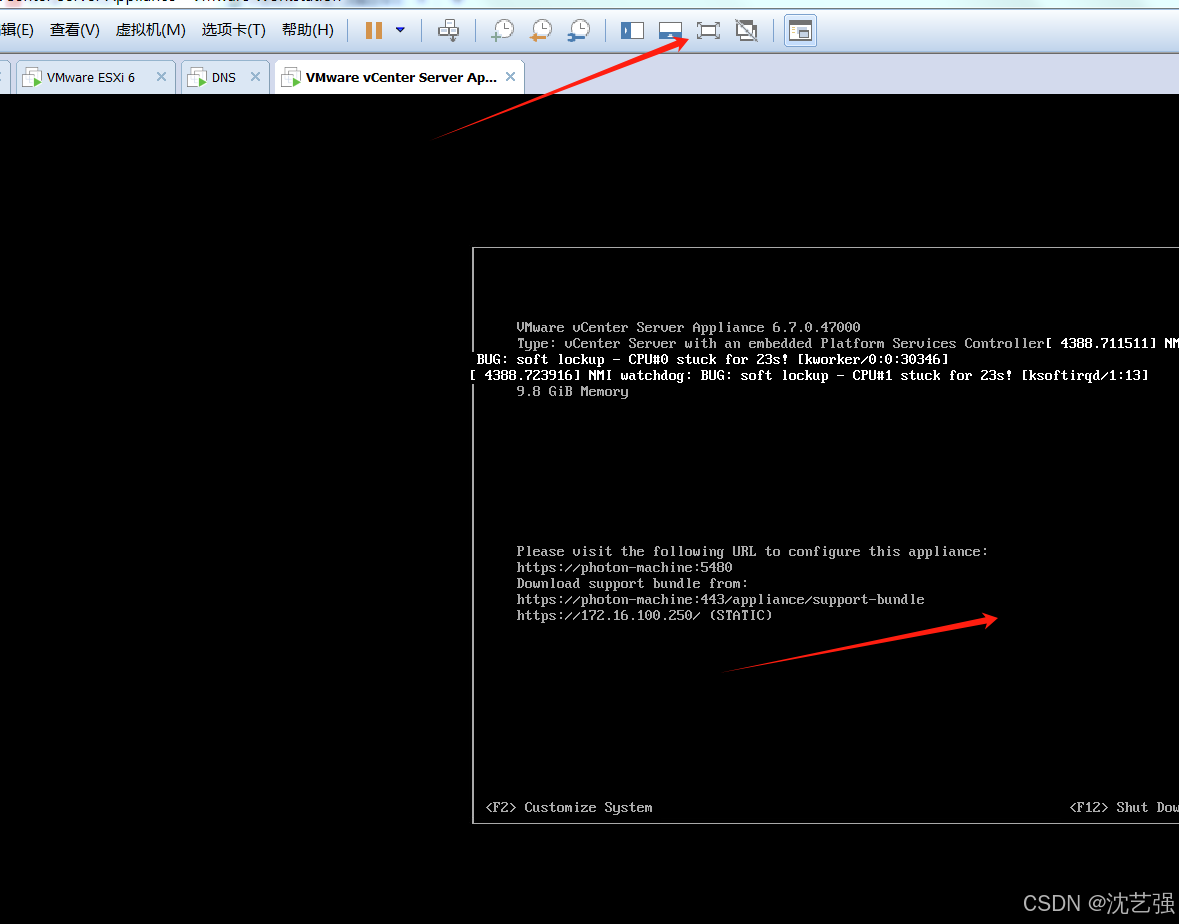
这个是vcenter 的登入界面 密码 P@sswrd