🔑🔑 博客主页:阿客不是客
🍓🍓 系列专栏:从C语言到C++语言的渐深学习
欢迎来到泊舟小课堂
😘博客制作不易欢迎各位👍点赞+⭐收藏+➕关注
一、list 的介绍
1.1 list 的基本信息
我们已经学习过 string 和 vector 了,想必大家已经掌握了查文档的技能。现在我们要学习如何使用 list,最好的方式仍然是打开文档去学习!
🔍 查看文档: list - C++ Reference

① list 是一个顺序容器:
是允许你在任意位置进行 插入删除的顺序容器,可以根据需要自动增长或收缩,并提供双向迭代器。
② list的底层是双向链表结构:
双向链表中每个元素存储在互不相关的独立结点中,在结点中通过两个指针指向其前后元素。

③ list 与 forward_list 非常相似:
它们很相似,最大的不同 forward_list 是单链表,只能向前迭代(也让其因此更简单高效)。
④ 与其他的序列式容器相比(array,vector,deque):
list 通常在任意位置进行插入、移除元素的执行效率更好,因为是 。
list 和 forward_list 最大的缺陷是不支持任意位置的随机访问。举个例子:如果要访问 list 中的第 6 个元素,必须从已知的位置(比如头部或者尾部)迭代到该位置,在这段位置上迭代需要线性的时间开销。
1.2 创建 list
📜 头文件:<list>
💬 引入头文件后,我们创建一个 <int> 类型的 list,我们给它取名为 L :
cpp
#include <iostream>
#include <list>
using namespace std;

int main(void)
{
	list<int> l;		// 创建一个 <int> 类型的 list

	return 0;
}
二、list 的修改操作
带头双向循环链表我们在数据结构专栏中有过详细的讲解,并且还带大家实现过。我们知道,带头双向循环链表是非常合适任意位置的插入和删除的,因为通通都是 .
|-------------------------------------------------------------------------------------|----------------------------------------|
| 函数声明 | 接口说明 |
| push_front | 头插:在 list 首元素前插入值为 val 的元素 |
| pop_front | 头删:删除 list 中的第一个元素 |
| push_back | 尾插:在 list 尾部插入值为 val 的元素 |
| pop_back | 尾删:删除list中最后一个元素 |
| insert | 任意位置插入:在 list position 位置中插入值为 val 的元素 |
| erase | 任意位置删除:删除 list position 位置的元素 |
| swap | 交换:交换两个 list 的元素 |
| clear | 清空:清空 list 中的有效元素 |
2.1 push_back 尾插
💬 用 push_back 对 l 尾插:
cpp
int main()
{
	list<int> l;
	l.push_back(1);
	l.push_back(2);
	l.push_back(3);
	l.push_back(4);

	return 0;
}
尾插了 1,2,3,4,5 ,我们现在来打印,看看尾插的效果如何。
❓ 首先思考一个问题:我们还能用 "下标 + 方框号" 的方式遍历吗?
💡 不行!因为 list 是链表,是通过指针连接的, 所以 list 不支持随机访问!而 string 和 vector 可以,是因为它底层的结构是连续的数组,它的物理结构是连续的。
💬iterator:
cpp
int main()
{
	list<int> l;
	l.push_back(1);
	l.push_back(2);
	l.push_back(3);
	l.push_back(4);

	list<int>::iterator it = l.begin();
	while (it != l.end())
	{
		cout << *it << " ";
		it++;
	}
	cout << endl;

	return 0;
}
🚩 运行结果如下:

如果我们想倒着遍历,我们就可以使用 ------ 反向迭代器反向迭代器是反着遍历访问元素的,我们用 rbegin() 和 rend() 去操作。
💬 reverse_iterator:
cpp
int main()
{
	list<int> l;
	l.push_back(1);
	l.push_back(2);
	l.push_back(3);
	l.push_back(4);

	list<int>::reverse_iterator rit = l.rbegin();
	while (rit != l.rend())
	{
		cout << *rit << " ";
		rit++;
	}
	cout << endl;

	return 0;
}
🚩 运行结果如下:

2.2 push_front 头插
💬 用 push_front 头插一些数据到 l 中:
cpp
void list_test1()
{
	list<int> l;
	l.push_front(1);
	l.push_front(2);
	l.push_front(3);
	l.push_front(4);

	for (auto e : l)
		cout << e << " ";
	cout << endl;
}
🚩 运行结果如下:

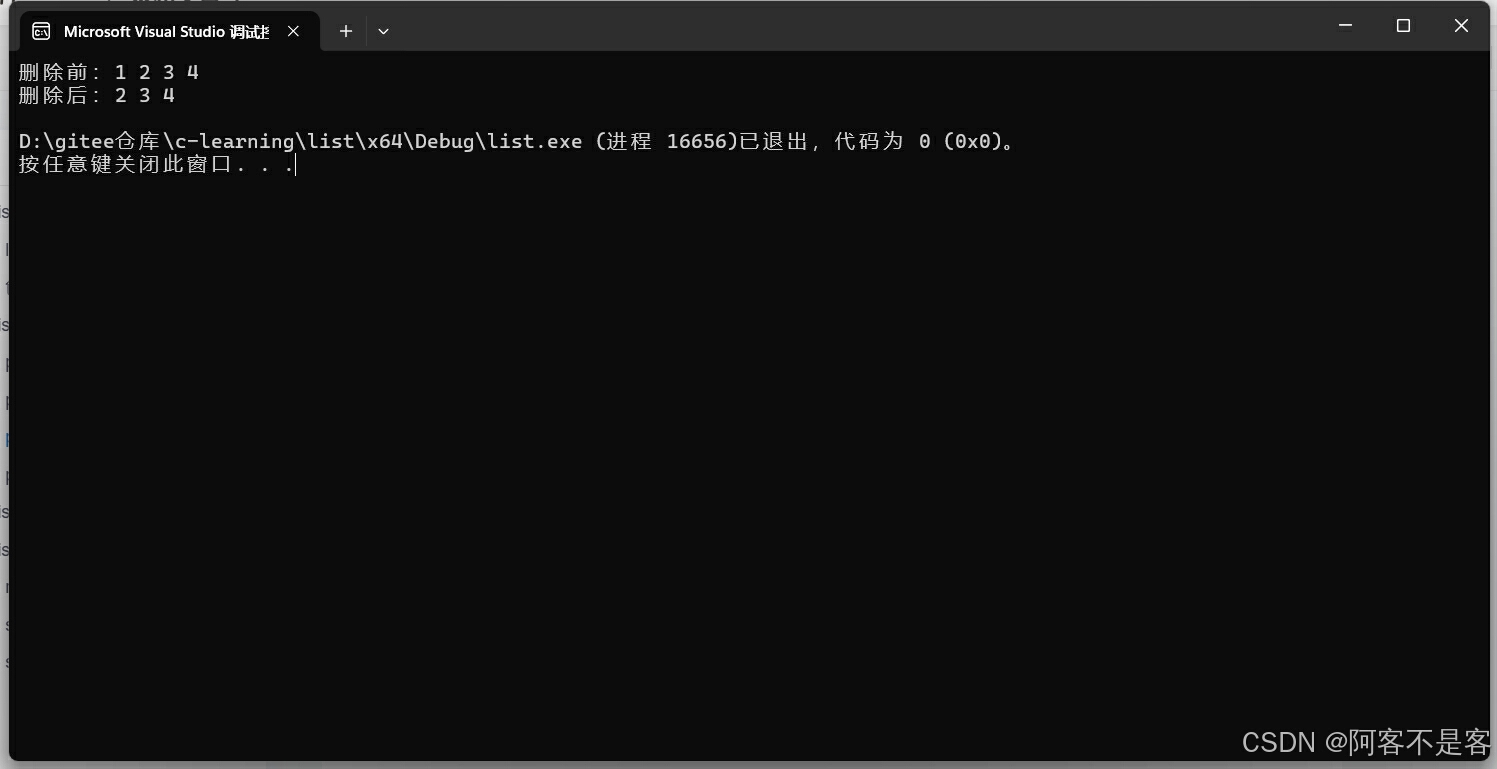
2.3 pop_back 尾删
💬 删除 l 中的最后一个数据:
cpp
void list_test2()
{
	list<int> l;
	l.push_back(1);
	l.push_back(2);
	l.push_back(3);
	l.push_back(4);

	cout << "删除前:";
	for (auto e : l)
		cout << e << " ";
	cout << endl;

	l.pop_back();
	cout << "删除后:";
	for (auto e : l)
		cout << e << " ";
	cout << endl;
}
🚩 运行结果如下:

💬 当然,如果表内没有元素,进行删除操作,就会触发断言:

2.4 pop_front 头删
💬 删除 l 中的第一个数据:
cpp
void list_test2()
{
	list<int> l;
	l.push_back(1);
	l.push_back(2);
	l.push_back(3);
	l.push_back(4);

	cout << "删除前:";
	for (auto e : l)
		cout << e << " ";
	cout << endl;

	l.pop_front();
	cout << "删除后:";
	for (auto e : l)
		cout << e << " ";
	cout << endl;
}
🚩 运行结果如下:
2.5 insert 插入
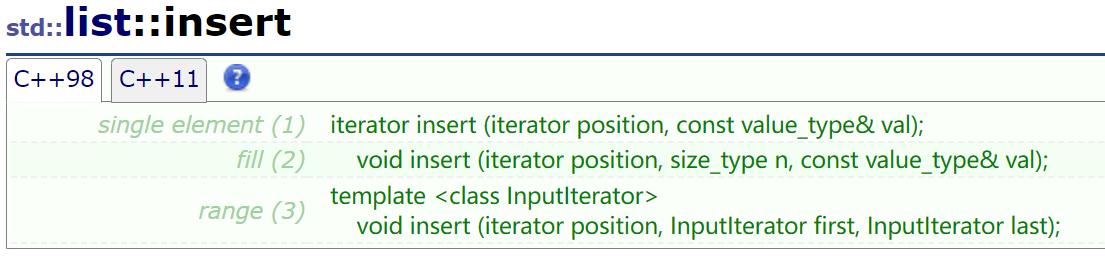
在上一节讲解 vector 实现的时候,我们对迭代器失效的问题进行了一些简单探讨。这里 list 的 insert 同样也会涉及迭代器失效的问题,这个我们在模拟实现的时候再次探讨。
2.6 erase 删除
任意位置删除,这里仍然是用迭代器区间,find() 查找元素。
💬 erase:
cpp
void list_test4()
{
	list<int> l;
	l.push_back(1);
	l.push_back(2);
	l.push_back(3);
	l.push_back(4);

	for (auto e : l)
		cout << e << " ";
	cout << endl;

	list<int>::iterator it = find(l.begin(), l.end(), 4);
	if (it != l.end())
	{
		l.erase(it);
	}
	else
	{
		cout << "没找到";
	}

	for (auto e : l)
		cout << e << " ";
	cout << endl;
}
2.7 clear 清空
清空 list 中的有效元素,并使容器的大小 size 变为 0。
💬 用 clear 清空 L 中有效元素:
cpp
void list_test5()
{
	list<int> l;
	l.push_back(1);
	l.push_back(2);
	l.push_back(3);
	l.push_back(4);

	cout << "清空前:";
	for (auto e : l)
		cout << e << " ";
	cout << endl;

	l.clear();
	cout << "清空后:";
	for (auto e : l)
		cout << e << " ";
	cout << endl;
}
🚩 运行结果如下:

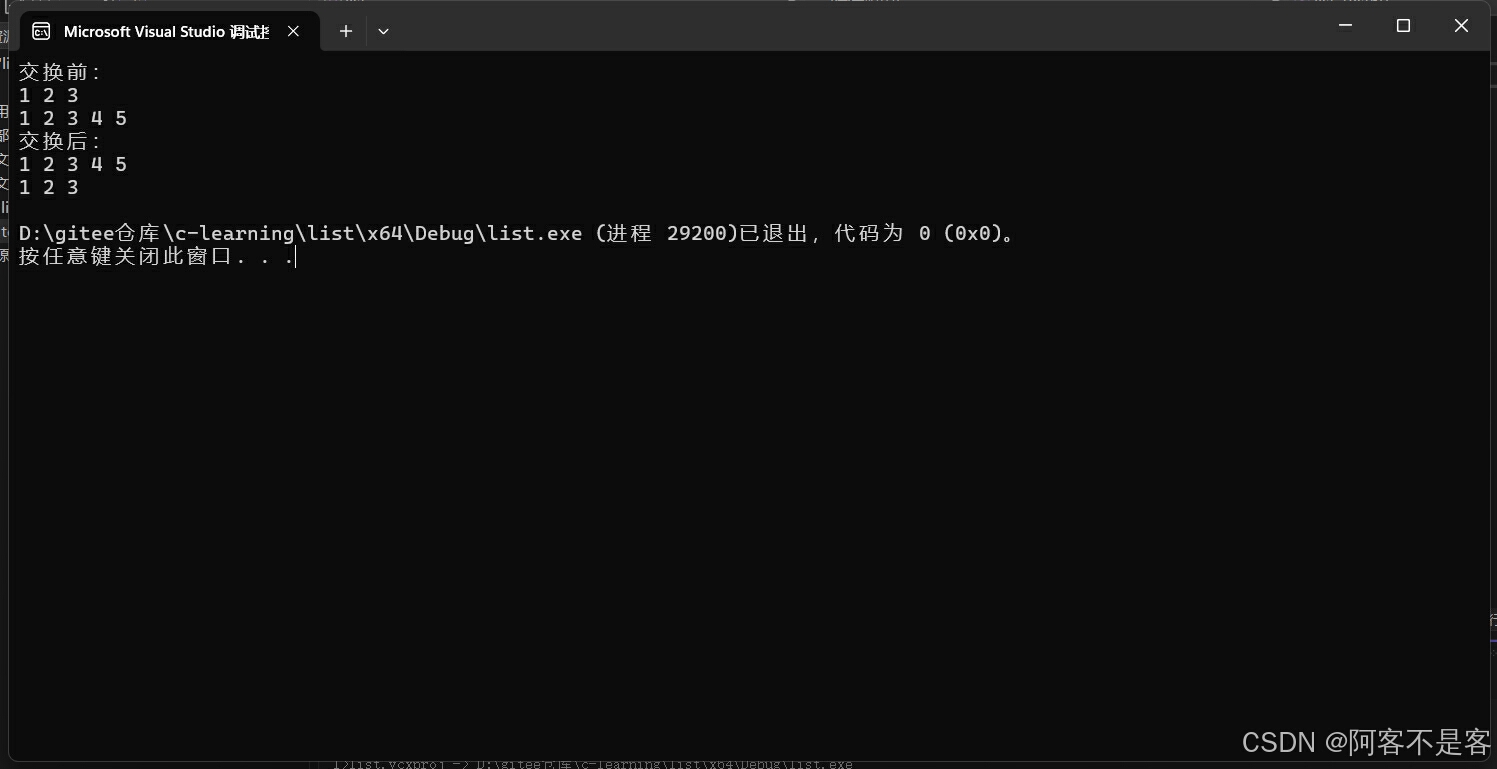
2.8 swap 交换
list中swap交换也与之前vector,string中的swap一样只是指针交换,效率很高。
cpp
void list_test6()
{
	list<int> list1 = { 1 , 2, 3 };
	list<int> list2 = { 1 , 2, 3 ,4 , 5 };

	cout << "交换前:\n";
	for (auto e : list1)
		cout << e << " ";
	cout << endl;
	for (auto e : list2)
		cout << e << " ";
	cout << endl;

	list1.swap(list2);

	cout << "交换后:\n";
	for (auto e : list1)
		cout << e << " ";
	cout << endl;
	for (auto e : list2)
		cout << e << " ";
	cout << endl;
}
🚩 运行结果如下:
三、list 的容量操作
3.1 size 返回有效节点个数
ize() 用于返回 list 中有效节点的个数。
💬 size:
cpp
void list_test7()
{
	list<int> l;
	l.push_front(1);
	l.push_front(2);
	l.push_front(3);
	l.push_front(4);

	for (auto e : l)
		cout << e << " ";
	cout << endl;

	cout << "有效节点个数:";
	cout << l.size() << endl;
}
🚩 运行结果如下:

3.2 empty 检测容器是否为空

empty 是用来检测容器是否为空的,如果为空则返回 true,否则返回 false。这个我们在数据结构章节自己都实现过,返回一个布尔值:

💬 empty:
cpp
void list_test8()
{
	list<int> l;
	l.empty() == true ? cout << "为空" : cout << "不为空";
}
🚩 运行结果如下:
3.3 resize 调整容器大小
list 中的 resize 和之前的 resize 的 "扩容" 有点不一样,它没有容量。这里的 resize 是调整容器的大小,使其包含 个元素。
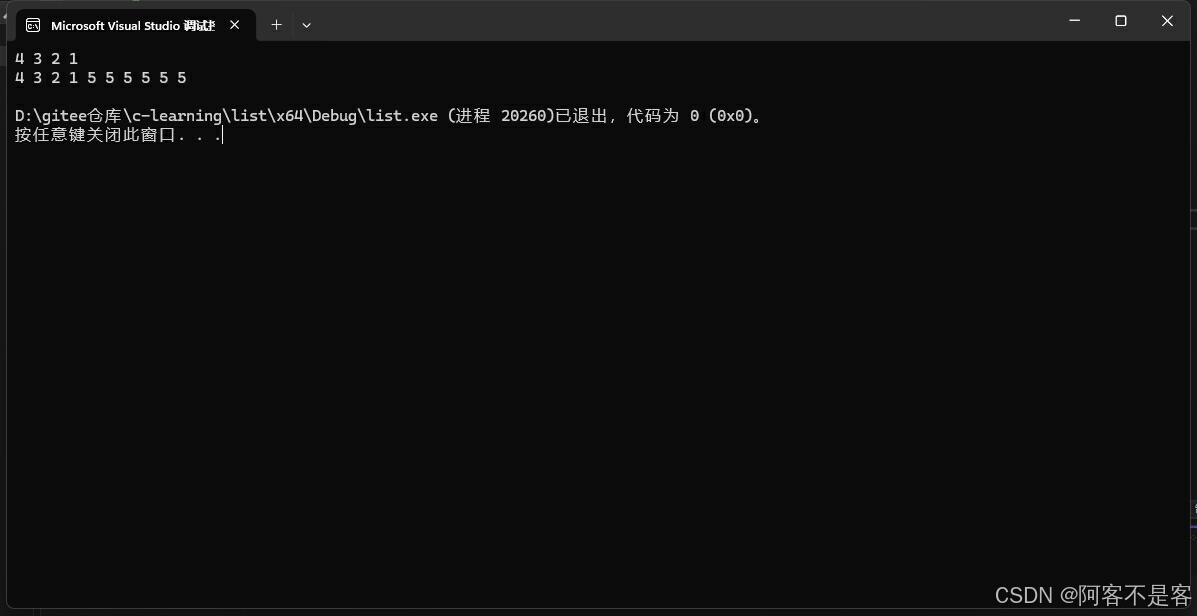
💬 用 resize 在 l 后面插入10 个 5:
cpp
void list_test9()
{
	list<int> l;
	l.push_front(1);
	l.push_front(2);
	l.push_front(3);
	l.push_front(4);

	for (auto e : l)
		cout << e << " ";
	cout << endl;

	l.resize(10, 5);
	for (auto e : l)
		cout << e << " ";
	cout << endl;
}
🚩 运行结果如下:
四、list 的其他操作
4.1 reverse 逆置
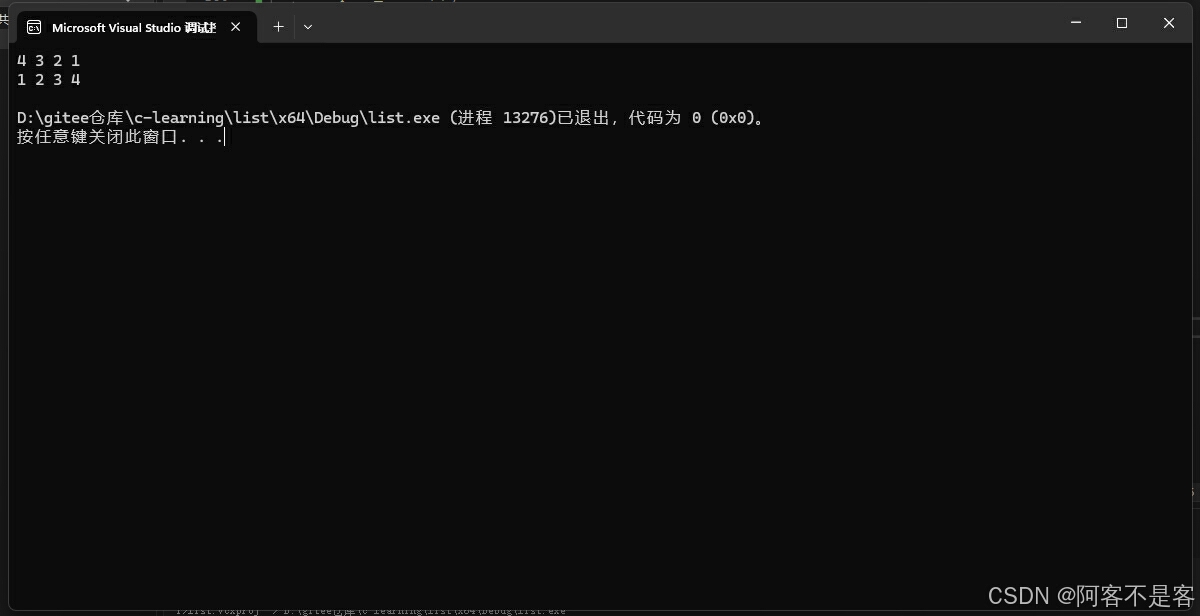
💬 将 l 的元素逆置:
cpp
void list_test10()
{
	list<int> l;
	l.push_front(1);
	l.push_front(2);
	l.push_front(3);
	l.push_front(4);

	for (auto e : l)
		cout << e << " ";
	cout << endl;

	l.reverse();
	for (auto e : l)
		cout << e << " ";
	cout << endl;
}
🚩 运行结果如下:
4.2 sort 排序
std 中的 sort 不支持使用链表的,sort 在底层实现中用到了迭代器相减,需要随机迭代器,使用会直接报错:
cpp
sort(lt.begin(), lt.end());但是可以使用 list 类中的 sort 函数:

💬 用 sort 对 L 中的元素进行排序:
cpp
void list_test11()
{
	list<int> l;

	l.push_front(2);
	l.push_front(6);
	l.push_front(5);
	l.push_front(3);
	l.push_front(1);
	l.push_front(4);

	for (auto e : l)
		cout << e << " ";
	cout << endl;

	l.sort();
	for (auto e : l)
		cout << e << " ";
	cout << endl;
}
🚩 运行结果如下:

4.3 unique 去重
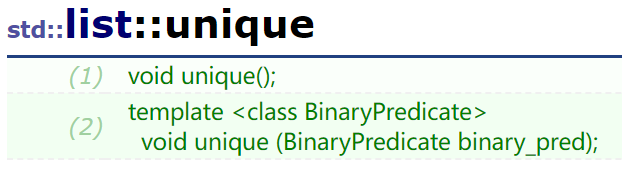
去重之前是有要求的,去重之前一定要先排序!如果不排序可能会去不干净。
💬 unique:
cpp
void list_test11()
{
list<int> l;
l.push_front(2);
l.push_front(2);
l.push_front(1);
l.push_front(3);
l.push_front(1);
l.push_front(4);
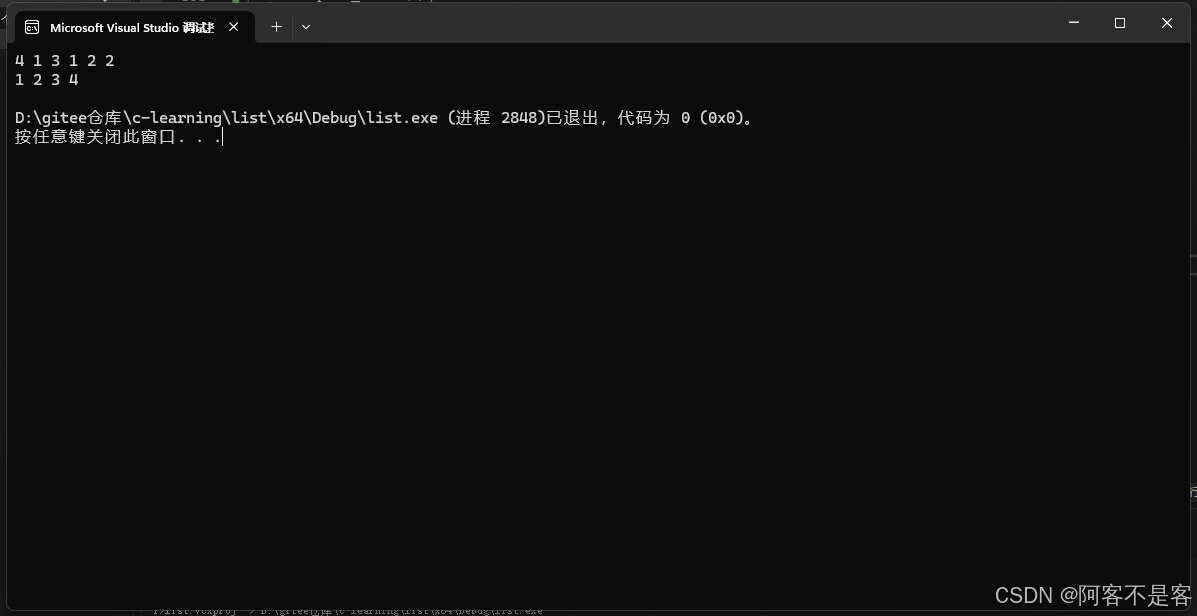
for (auto e : l)
cout << e << " ";
cout << endl;
l.sort();
l.unique();
for (auto e : l)
cout << e << " ";
cout << endl;
}🚩 运行结果如下:
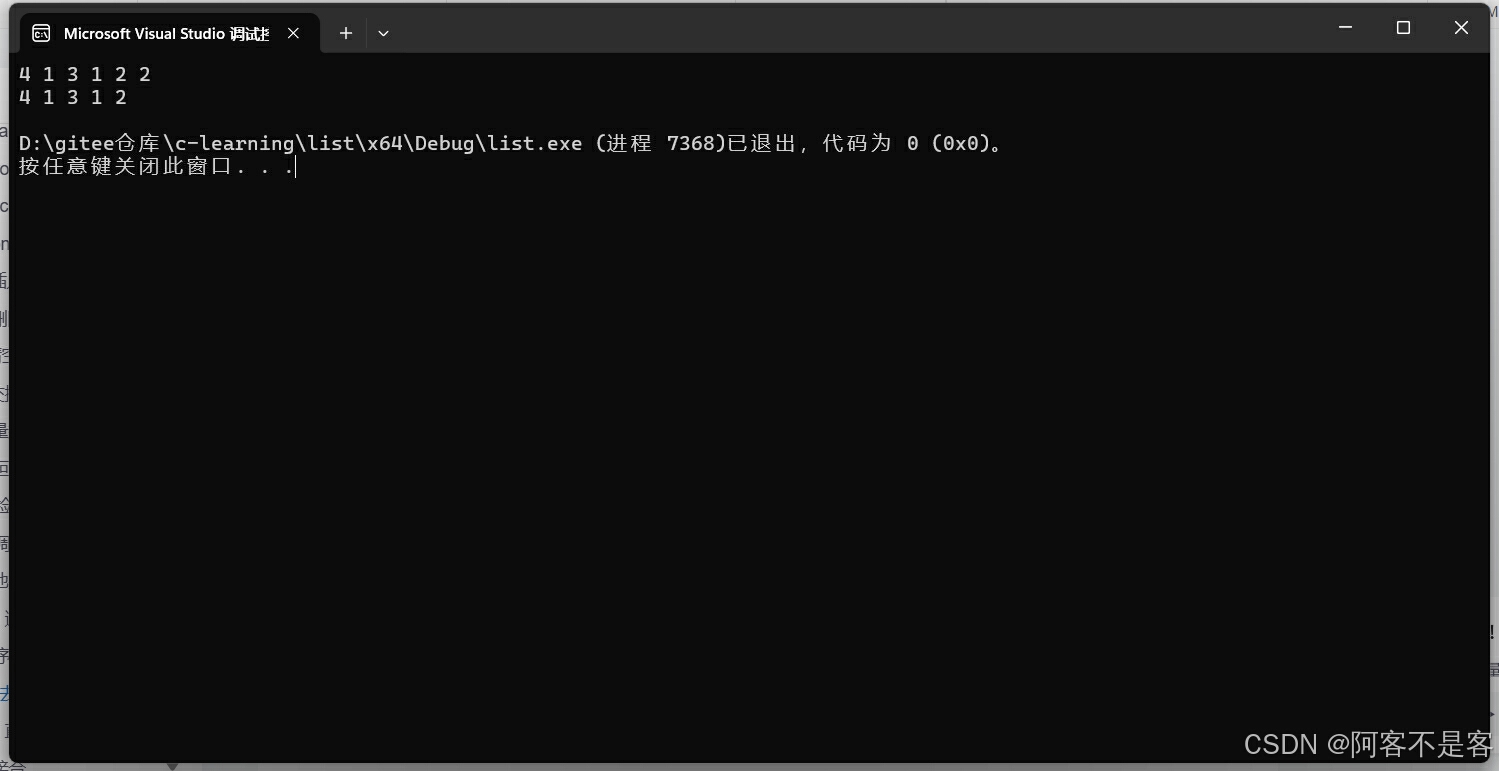
💬 如果不排序,会导致去不干净情况发生:
4.4 remove 直接删

remove 可比 erase 爽太多,remove 只需要给一个元素的值,它就可以自己找自己删!erase 还需要搞个搞个迭代器,然后还要 if 判断一下,但 remove 就不一样了。
💬 remove:
cpp
void list_test12()
{
	list<int> l;

	l.push_front(1);
	l.push_front(2);
	l.push_front(3);
	l.push_front(4);
	l.push_front(5);
	l.push_front(6);

	for (auto e : l)
		cout << e << " ";
	cout << endl;

	// 如果删一个存在的元素
	l.remove(3);
	for (auto e : l)
		cout << e << " ";
	cout << endl;

	// 如果待删元素不存在
	l.remove(7);
	for (auto e : l)
		cout << e << " ";
	cout << endl;
}
🚩 运行结果如下:
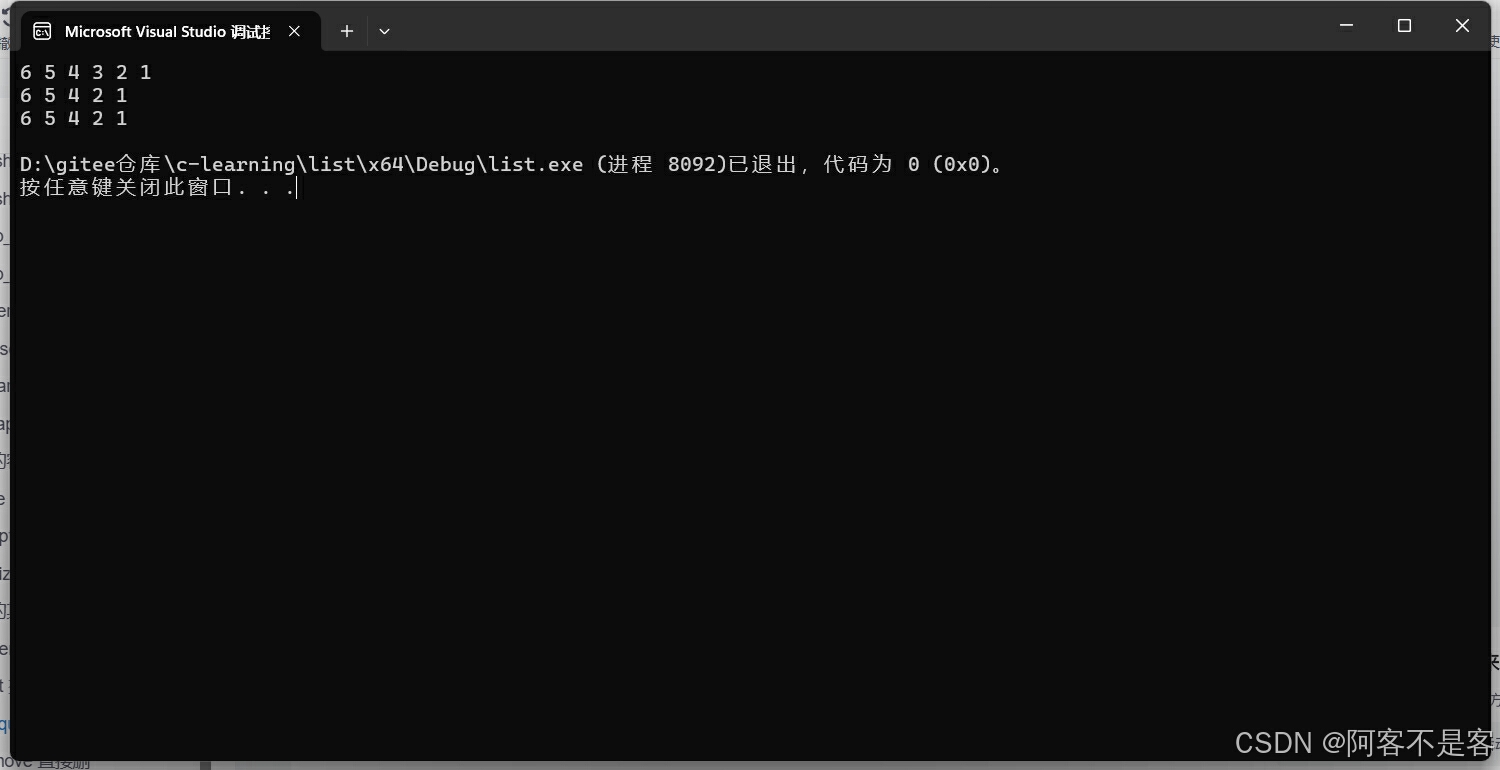
自己去找自己去删,就是爽。而且就算要删元素不存在,也没有关系。
补充:remove() 函数用于从列表中删除所有出现的给定元素,而 remove_if() 函数用于从 list 中删除某些特定元素的集合。
4.5 splice 接合
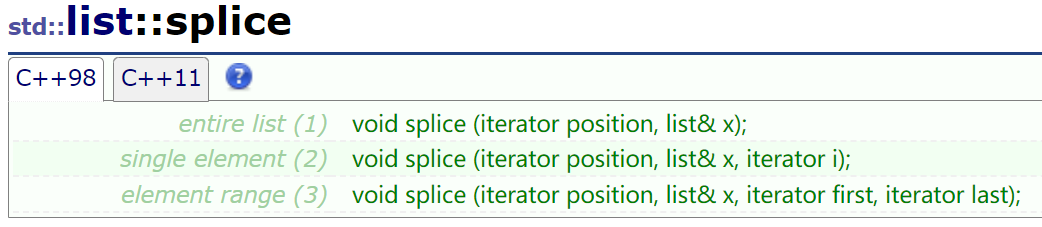
简单来说就是把一个链表转移到另一个链表里去。
LRUCache,访问一个数据要调优先级的时候就用得到这个接口。我们这里先简单介绍一下。
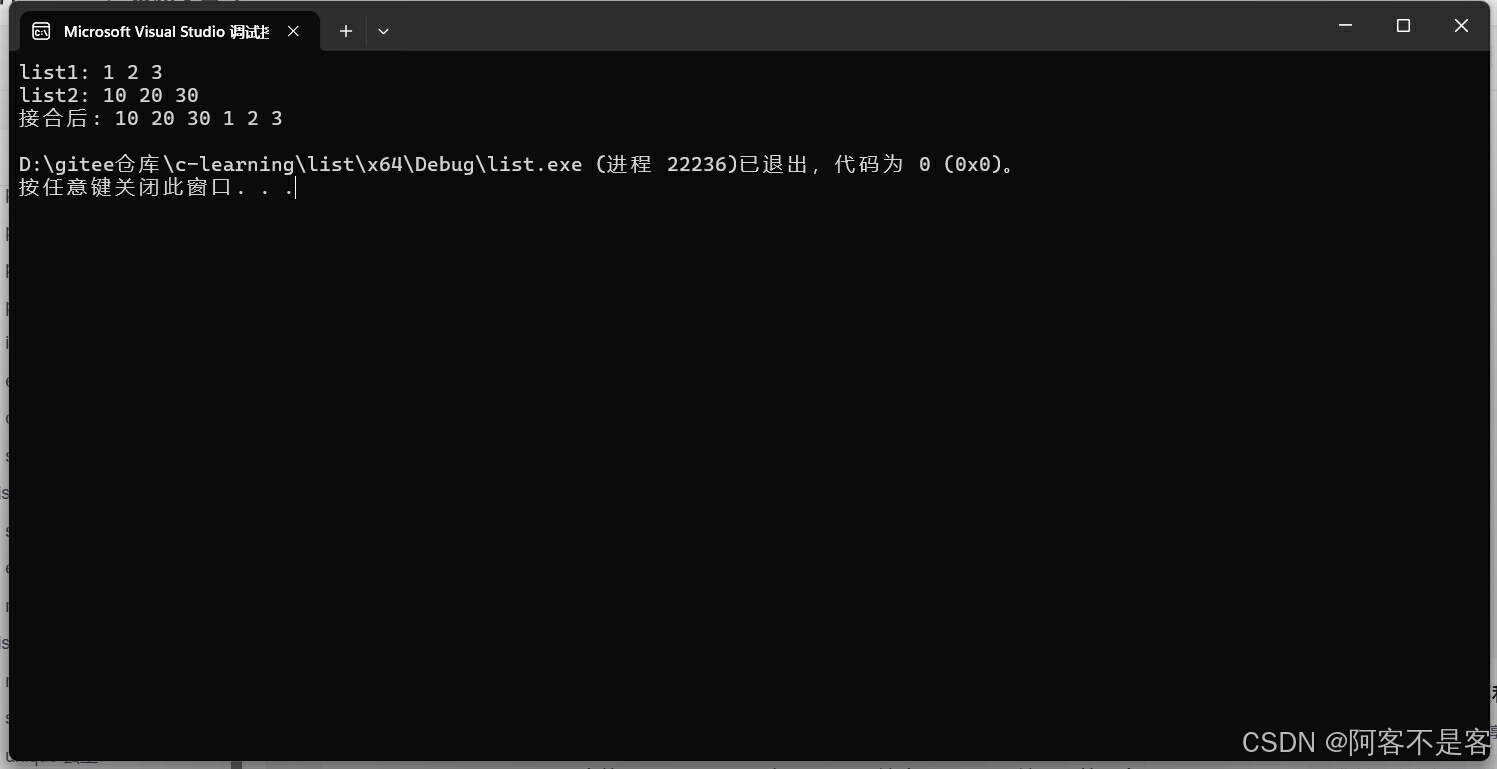
💬 把 l2 的内容,接到 l1 的 begin() 前面:
cpp
void list_test13()
{
	list<int> list1;
	list1.push_back(1);
	list1.push_back(2);
	list1.push_back(3);
	list<int> list2;
	list2.push_back(10);
	list2.push_back(20);
	list2.push_back(30);

	cout << "list1: ";
	for (auto e : list1)
		cout << e << " ";
	cout << endl;
	cout << "list2: ";
	for (auto e : list2)
		cout << e << " ";
	cout << endl;

	list1.splice(list1.begin(), list2);
	cout << "接合后: ";
	for (auto e : list1)
		cout << e << " ";
	cout << endl;
}
🚩 运行结果如下:
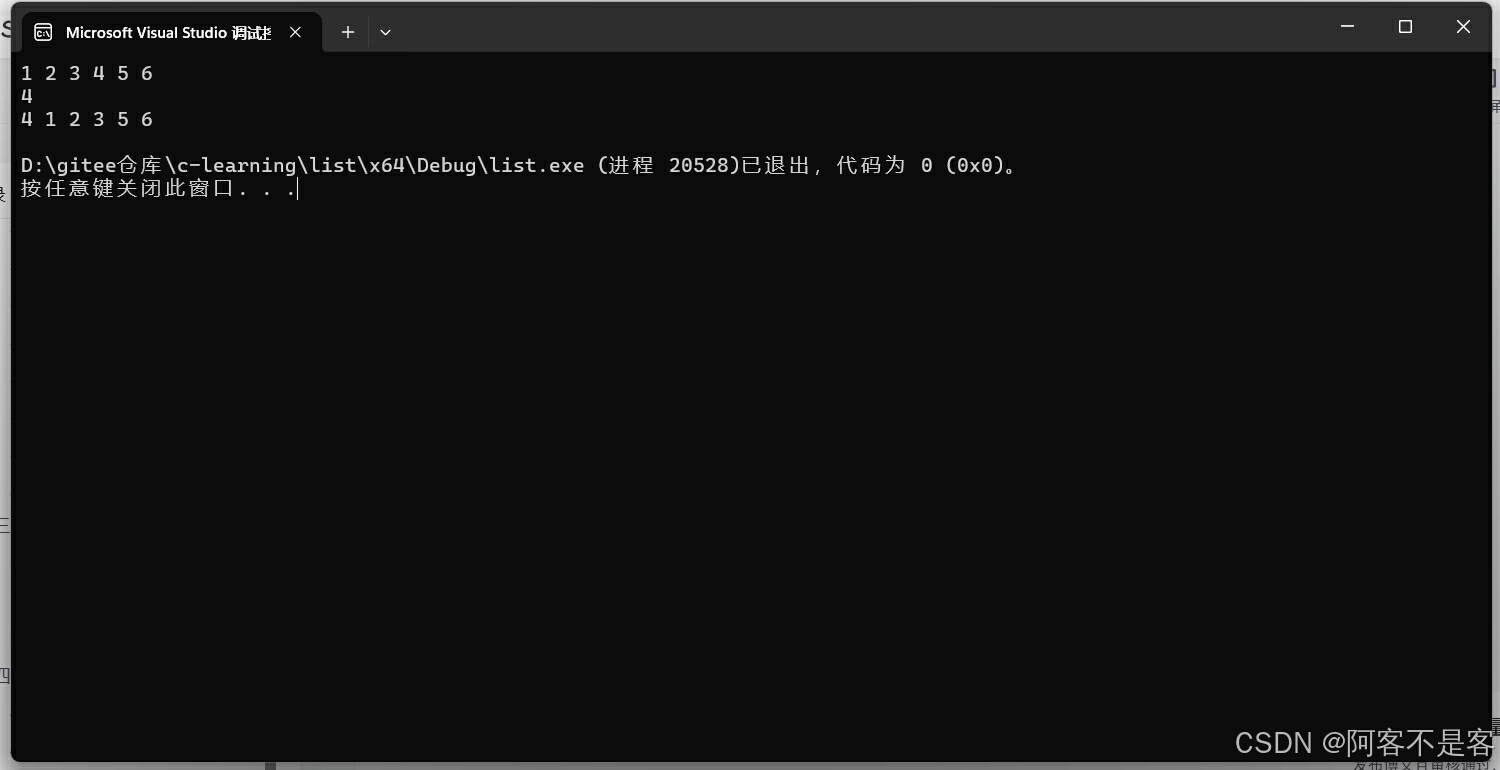
💬 splice 不止可以转移链表,还能对自己的部分进行转移,如果我们想把链表的某个节点转移到最前面:
cpp
void list_test14()
{
	list<int> l;
	l.push_back(1);
	l.push_back(2);
	l.push_back(3);
	l.push_back(4);
	l.push_back(5);
	l.push_back(6);

	for (auto e : l)
		cout << e << " ";
	cout << endl;

	int x = 0;
	cin >> x;
	list<int>::iterator pos = find(l.begin(), l.end(), x);
	if (pos != l.end())
	{
		// 将 l 的 pos 位置的节点放在 l.begin()
		l.splice(l.begin(), l, pos);
	}

	for (auto e : l)
		cout << e << " ";
	cout << endl;
}
🚩 运行结果如下:
💬 如果想把某个节点后面所有值全部转移走:
cpp
if (pos != l.end())
{
	// 将 l 从 pos 位置到 l.end() 的节点放在 l.begin()
	l.splice(l.begin(), l, pos, l.end());
}
🚩 运行结果如下:
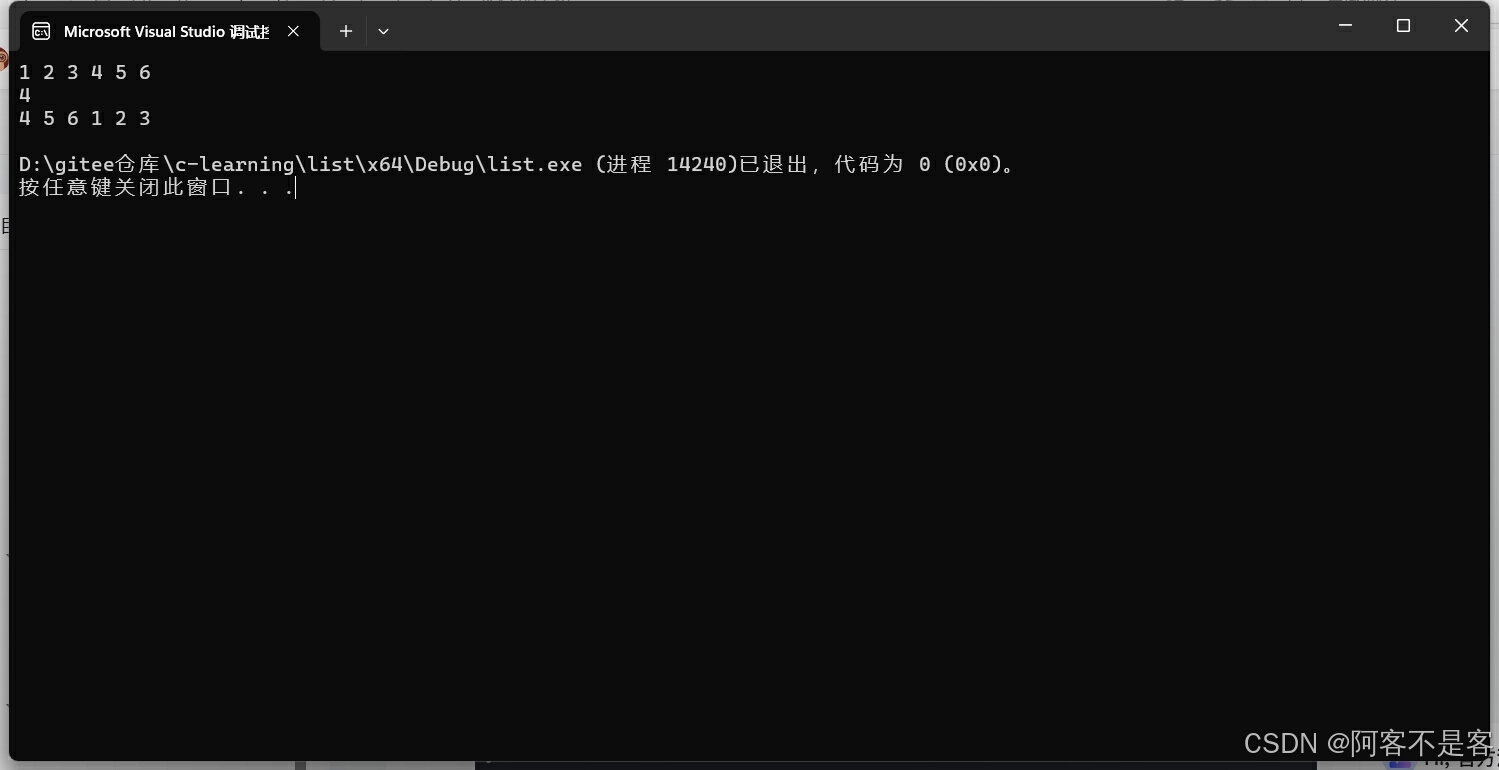
这种方法可以调整当前链表的顺序。