我们将会使用go语言的gin库来搭建一个属于自己的网页版GPT
一、准备工作
我们需要使用到ollama,如何下载和使用ollama(Ollama完整教程:本地LLM管理、WebUI对话、Python/Java客户端API应用 - 老牛啊 - 博客园)请看这个文档
有过gin环境的直接运行就可以,如果没有就根据文档内容去下载相关配置库
二、使用步骤
shell
git clone https://github.com/yty666zsy/gin_web_ai.git
cd gin_web_ai
ollama run "大模型的名称"
这里需要注意的是要在chat.html文件中修改模型的名称,要不然找不到模型,在这个位置
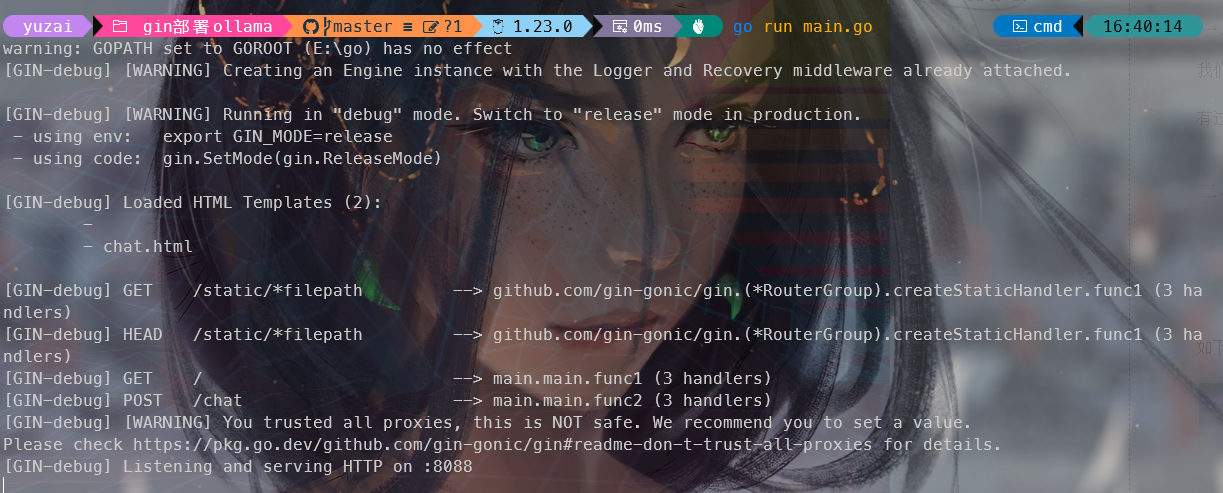
然后运行代码,如下图所示

shell
"然后开启一个新的终端"
go run main.go
这里需要注意的是端口号可以适当的进行修改,防止某些端口被占用的情况
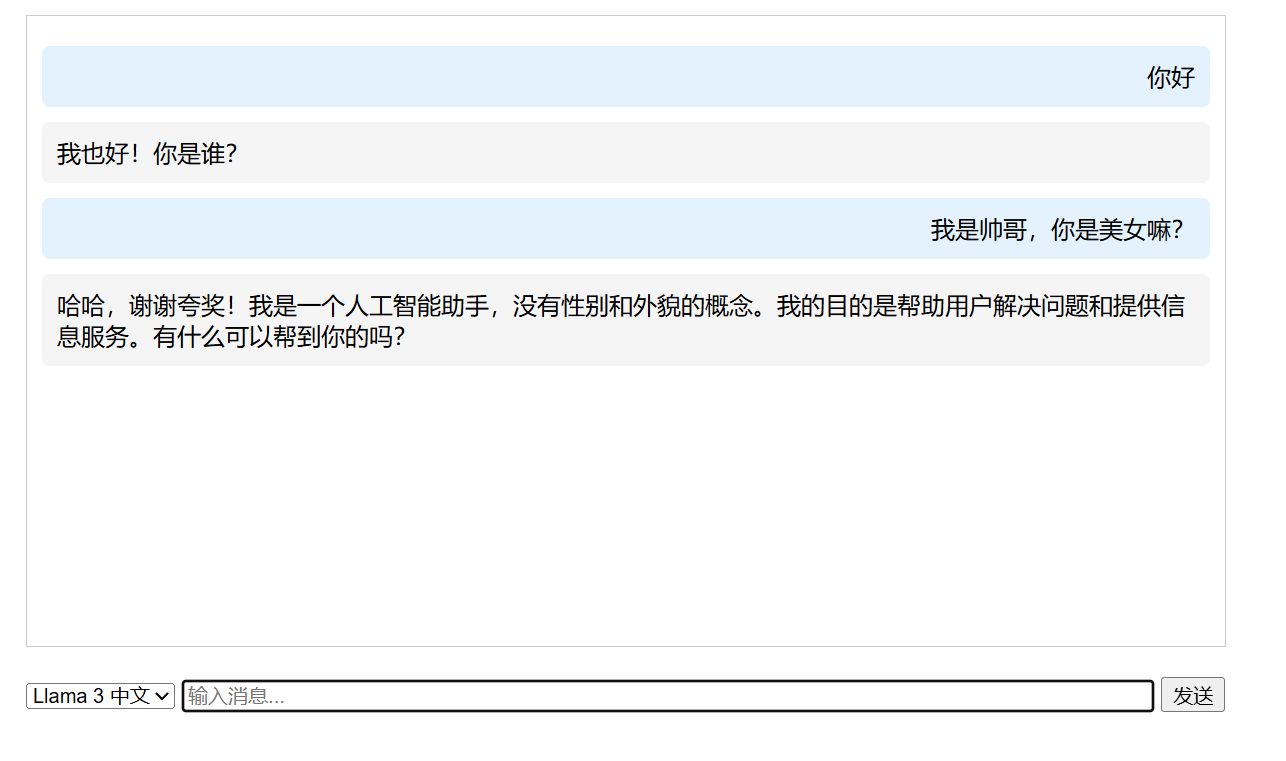
然后本地访问127.0.0.1:8088就能打开网址进行愉快的聊天啦
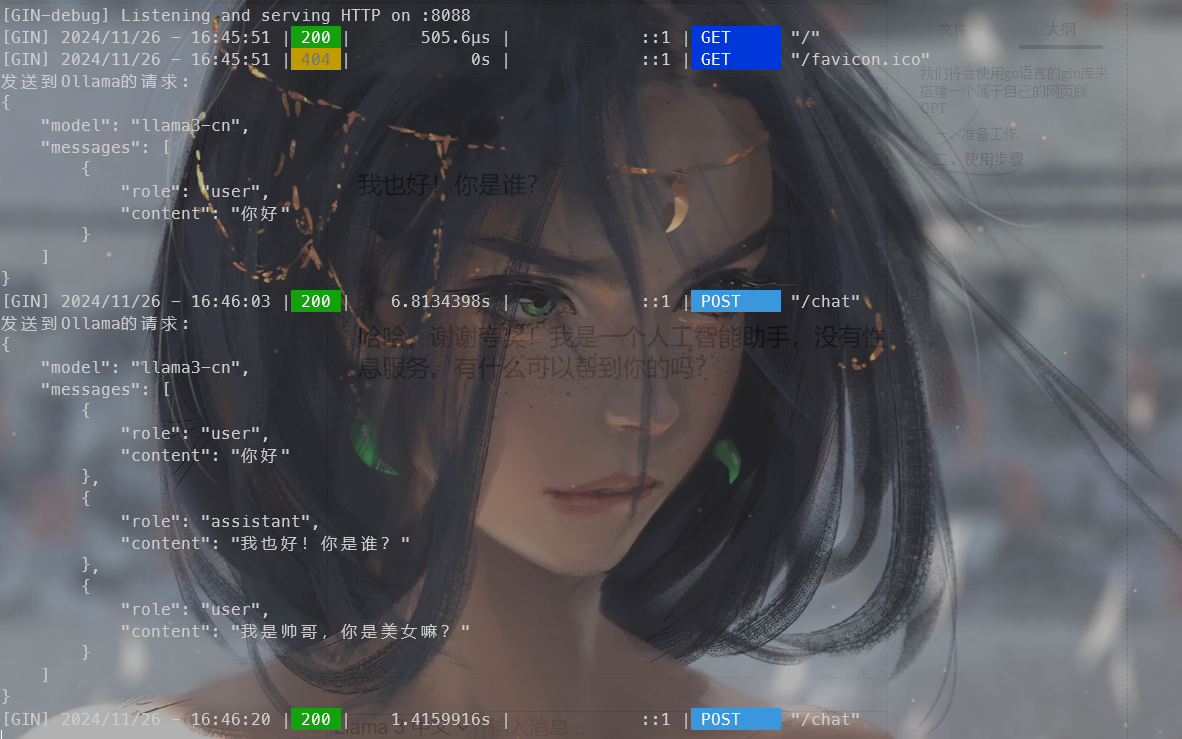
同时后台同步打印信息以便日志管理
下面把代码贴出来
chat.html
html
<!DOCTYPE html>
<html>
<head>
    <title>Ollama 聊天界面</title>
    <style>
        #chat-container {
            width: 800px;
            margin: 0 auto;
            padding: 20px;
        }
        #messages {
            height: 400px;
            border: 1px solid #ccc;
            overflow-y: auto;
            margin-bottom: 20px;
            padding: 10px;
        }
        .message {
            margin: 10px 0;
            padding: 10px;
            border-radius: 5px;
        }
        .user {
            background-color: #e3f2fd;
            text-align: right;
        }
        .assistant {
            background-color: #f5f5f5;
        }
    </style>
</head>
<body>
    <div id="chat-container">
        <div id="messages"></div>
        <div>
            <select id="model">
                <option value="llama3-cn">Llama 3 中文</option>
            </select>
            <input type="text" id="message" style="width: 80%;" placeholder="输入消息...">
            <button onclick="sendMessage()">发送</button>
        </div>
    </div>

    <script>
        const messagesDiv = document.getElementById('messages');
        const messageInput = document.getElementById('message');
        const modelSelect = document.getElementById('model');
        let chatHistory = [];

        function addMessage(role, content) {
            const messageDiv = document.createElement('div');
            messageDiv.className = `message ${role}`;
            messageDiv.textContent = content;
            messagesDiv.appendChild(messageDiv);
            messagesDiv.scrollTop = messagesDiv.scrollHeight;
        }

        async function sendMessage() {
            const content = messageInput.value.trim();
            if (!content) return;

            const requestData = {
                model: modelSelect.value,
                messages: chatHistory
            };

            console.log('发送请求:', requestData);

            addMessage('user', content);
            chatHistory.push({role: 'user', content: content});
            messageInput.value = '';

            try {
                const response = await fetch('/chat', {
                    method: 'POST',
                    headers: {
                        'Content-Type': 'application/json',
                    },
                    body: JSON.stringify({
                        model: modelSelect.value,
                        messages: chatHistory
                    })
                });

                const data = await response.json();
                chatHistory.push(data.message);
                addMessage('assistant', data.message.content);
            } catch (error) {
                console.error('Error:', error);
                addMessage('assistant', '发生错误,请重试。');
            }
        }

        messageInput.addEventListener('keypress', function(e) {
            if (e.key === 'Enter') {
                sendMessage();
            }
        });
    </script>
</body>
</html>
main.go
go
package main

import (
	"bytes"
	"encoding/json"
	"fmt"

	//"io/ioutil"
	"bufio"
	"net"
	"net/http"
	"os"

	"github.com/gin-gonic/gin"
)

type ChatRequest struct {
	Model    string    `json:"model"`
	Messages []Message `json:"messages"`
}

type Message struct {
	Role    string `json:"role"`
	Content string `json:"content"`
}

type ChatResponse struct {
	Message Message `json:"message"`
}

// 添加新的结构体用于处理流式响应
type StreamResponse struct {
	Model      string  `json:"model"`
	CreatedAt  string  `json:"created_at"`
	Message    Message `json:"message"`
	Done       bool    `json:"done"`
	DoneReason string  `json:"done_reason,omitempty"`
}

// 在main函数前添加一个新的函数
func findAvailablePort(startPort int) int {
	for port := startPort; port < startPort+100; port++ {
		listener, err := net.Listen("tcp", fmt.Sprintf(":%d", port))
		if err == nil {
			listener.Close()
			return port
		}
	}
	return startPort // 如果没找到可用端口,返回初始端口
}

func main() {
	r := gin.Default()

	// 加载模板
	r.LoadHTMLGlob("templates/*")

	// 设置静态文件路径
	r.Static("/static", "./static")

	// 首页路由
	r.GET("/", func(c *gin.Context) {
		c.HTML(http.StatusOK, "chat.html", nil)
	})

	// 处理聊天请求的API
	r.POST("/chat", func(c *gin.Context) {
		var req ChatRequest
		if err := c.BindJSON(&req); err != nil {
			c.JSON(http.StatusBadRequest, gin.H{"error": err.Error()})
			return
		}

		prettyJSON, _ := json.MarshalIndent(req, "", "    ")
		fmt.Printf("发送到Ollama的请求:\n%s\n", string(prettyJSON))

		jsonData, _ := json.Marshal(req)
		resp, err := http.Post("http://localhost:11434/api/chat", "application/json", bytes.NewBuffer(jsonData))
		if err != nil {
			fmt.Printf("调用Ollama API错误: %v\n", err)
			c.JSON(http.StatusInternalServerError, gin.H{"error": err.Error()})
			return
		}
		defer resp.Body.Close()

		// 使用scanner来读取流式响应
		scanner := bufio.NewScanner(resp.Body)
		var fullContent string

		for scanner.Scan() {
			line := scanner.Text()
			var streamResp StreamResponse
			if err := json.Unmarshal([]byte(line), &streamResp); err != nil {
				fmt.Printf("解析流式响应行错误: %v\n", err)
				continue
			}

			// 累积内容
			fullContent += streamResp.Message.Content

			// 如果是最后一条消息
			if streamResp.Done {
				response := ChatResponse{
					Message: Message{
						Role:    "assistant",
						Content: fullContent,
					},
				}
				c.JSON(http.StatusOK, response)
				return
			}
		}

		if err := scanner.Err(); err != nil {
			fmt.Printf("读取流式响应错误: %v\n", err)
			c.JSON(http.StatusInternalServerError, gin.H{"error": err.Error()})
			return
		}
	})

	// 从环境变量获取端口,如果未设置则使用默认值
	port := os.Getenv("PORT")
	if port == "" {
		port = "8088"
	}
	r.Run(":" + port)
}