1、环境准备
在c++环境使用 protobuf,需要安装protobuf runtime以及protobuf的编译器:protoc,其作用如下表格:
|------------------|-----------------------|
| 需要安装的环境 | 作用 |
| protoc | 将proto文件编译成c++源码 |
| protobuf runtime | 编译c++源码需要链接到protobuf库 |
注意:protoc与runtime的版本必须一致,否则会导致后面业务代码编译失败,当前最新版本为:V29.1,我们选用最新版本进行安装。
1.1 protoc编译器安装
这一步可选,runtime安装时,也会编译protoc编译器。
protoc编译器的下载地址:Release Protocol Buffers v29.1 · protocolbuffers/protobuf · GitHub
下载对应环境的编译好的版本,解压后,共有三个文件夹:

protoc编译器位于bin目录下,将protoc放到开发环境的$PATH目录下即可。
1.2 c++ protobuf runtime安装
1.2.1 c++ protobuf编译工具cmake安装
cmake下载地址:Download CMake
cmake安装很简单,可以直接下载可执行文件,也可以通过源码安装。
下载3.28.1版本,并解压:
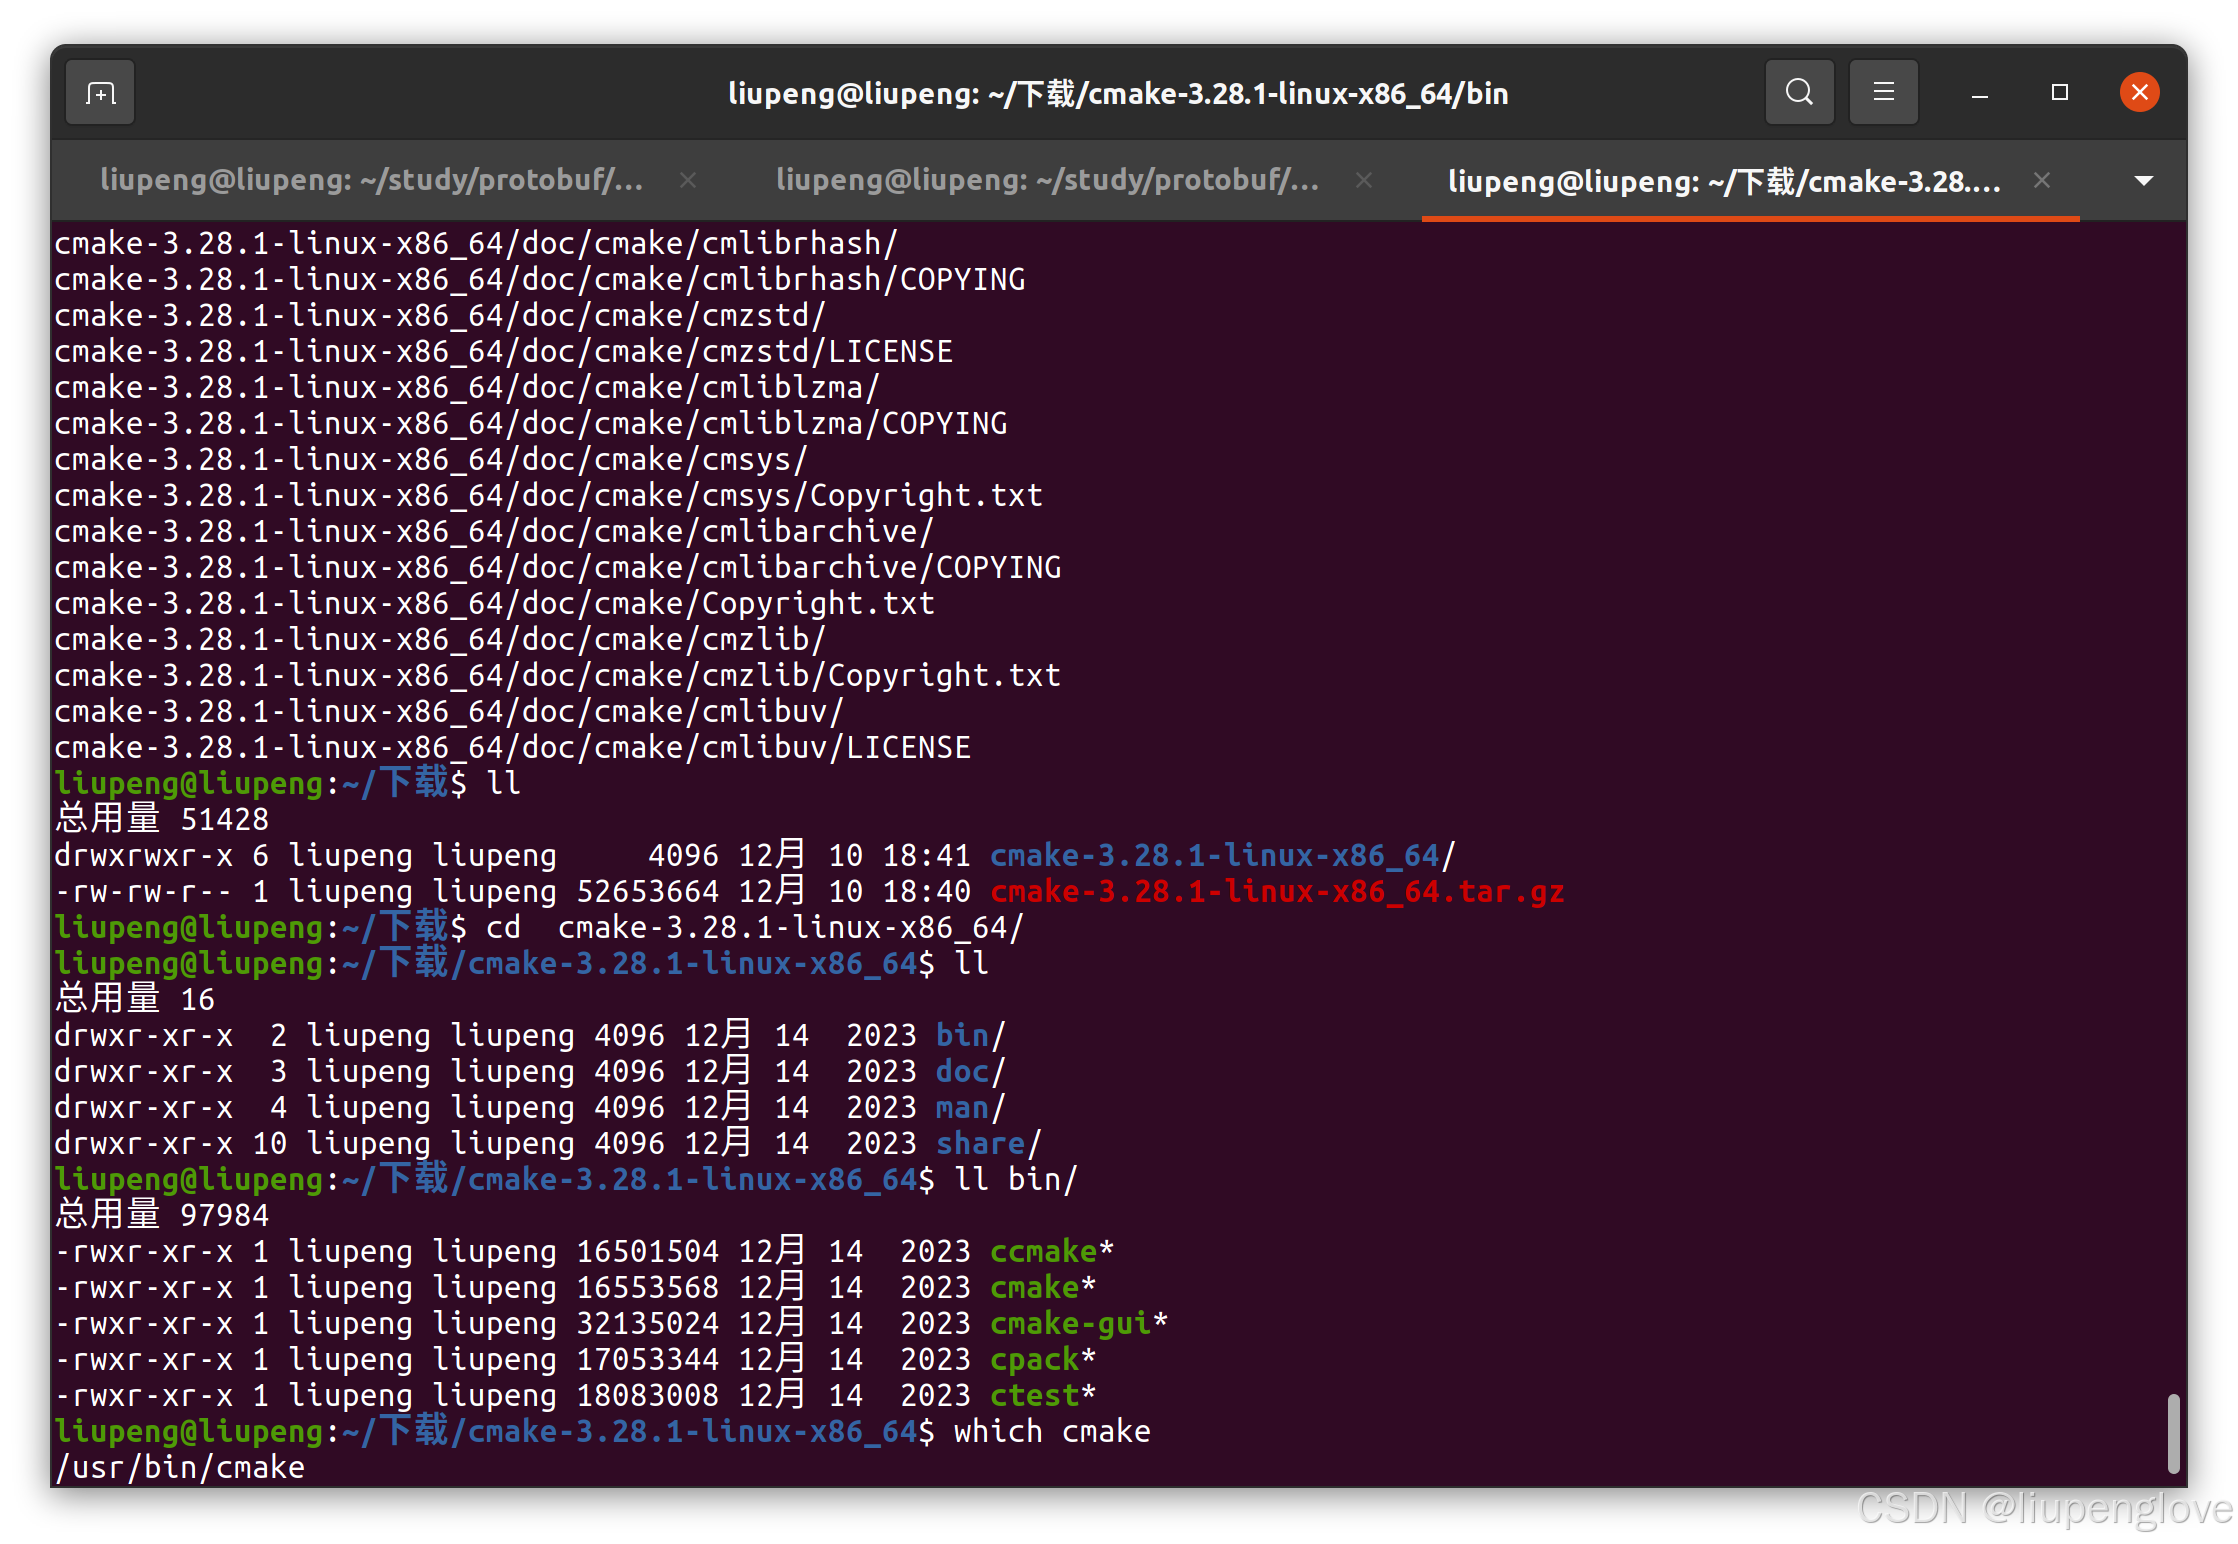
将bin目录下cmake可执行文件复制到usr/bin或者其他存在于环境变量PATH的路径中。

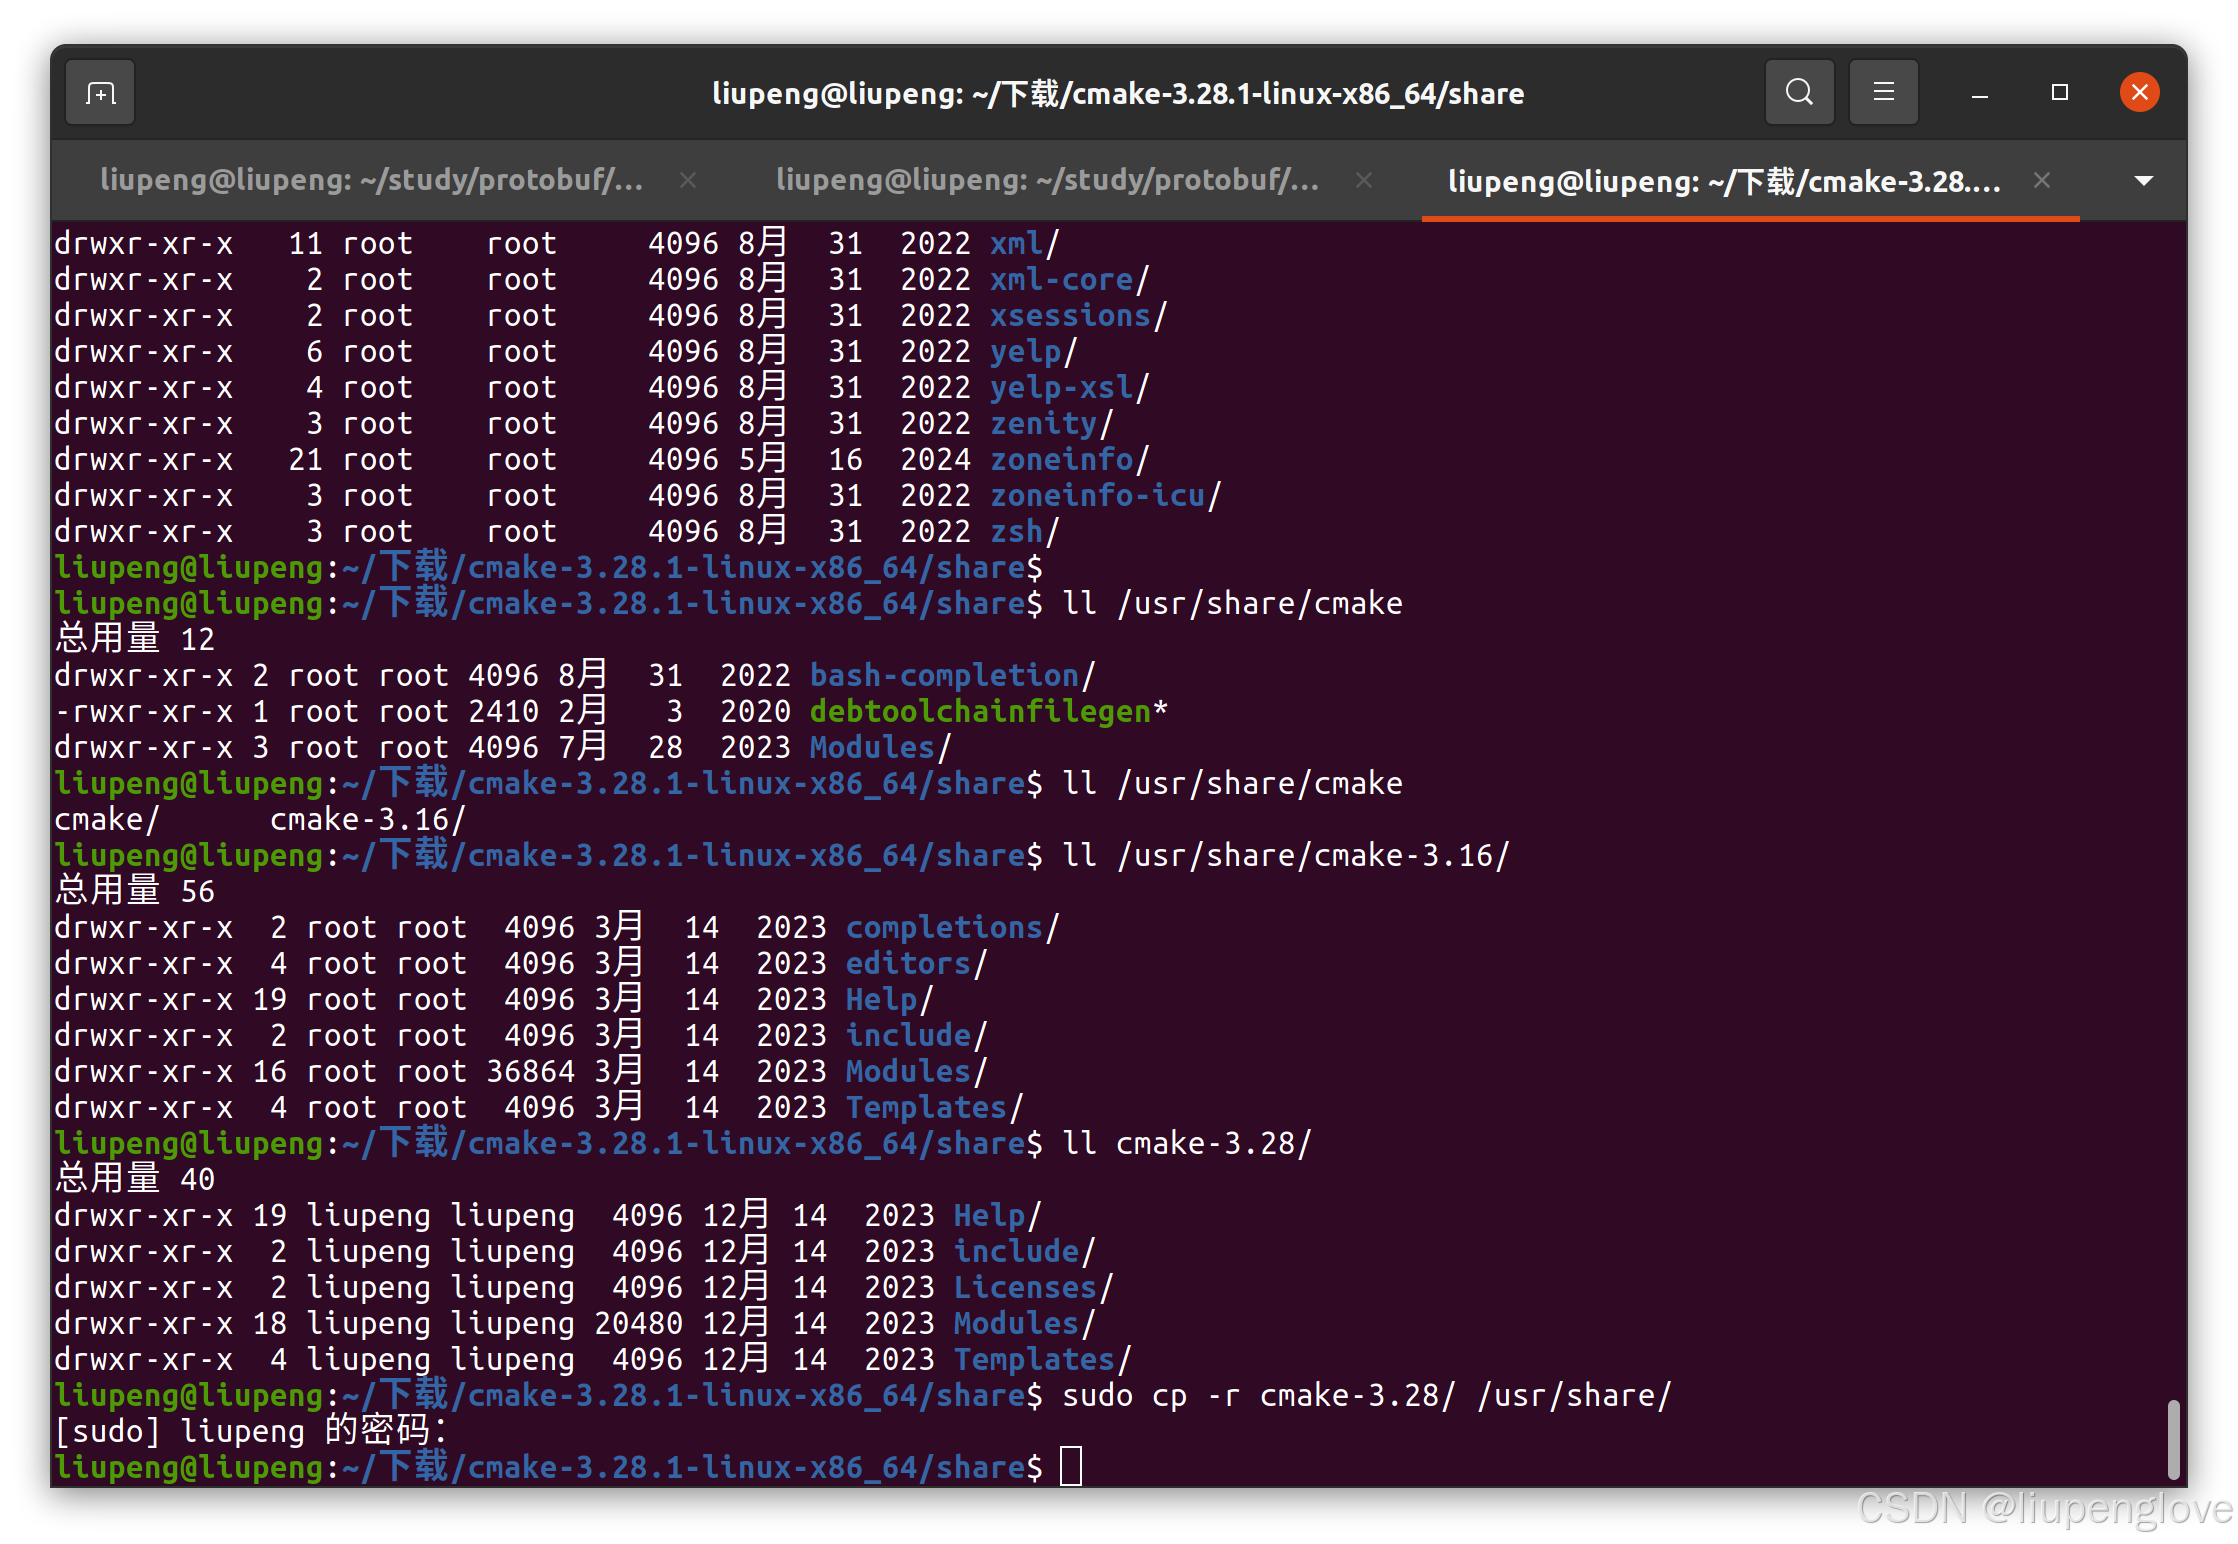
将share文件夹下:cmake-3.28 拷贝到/usr/share路径下:
1.2.2 c++ protobuf源码编译
首先下载源码,最新发布版本V29.1
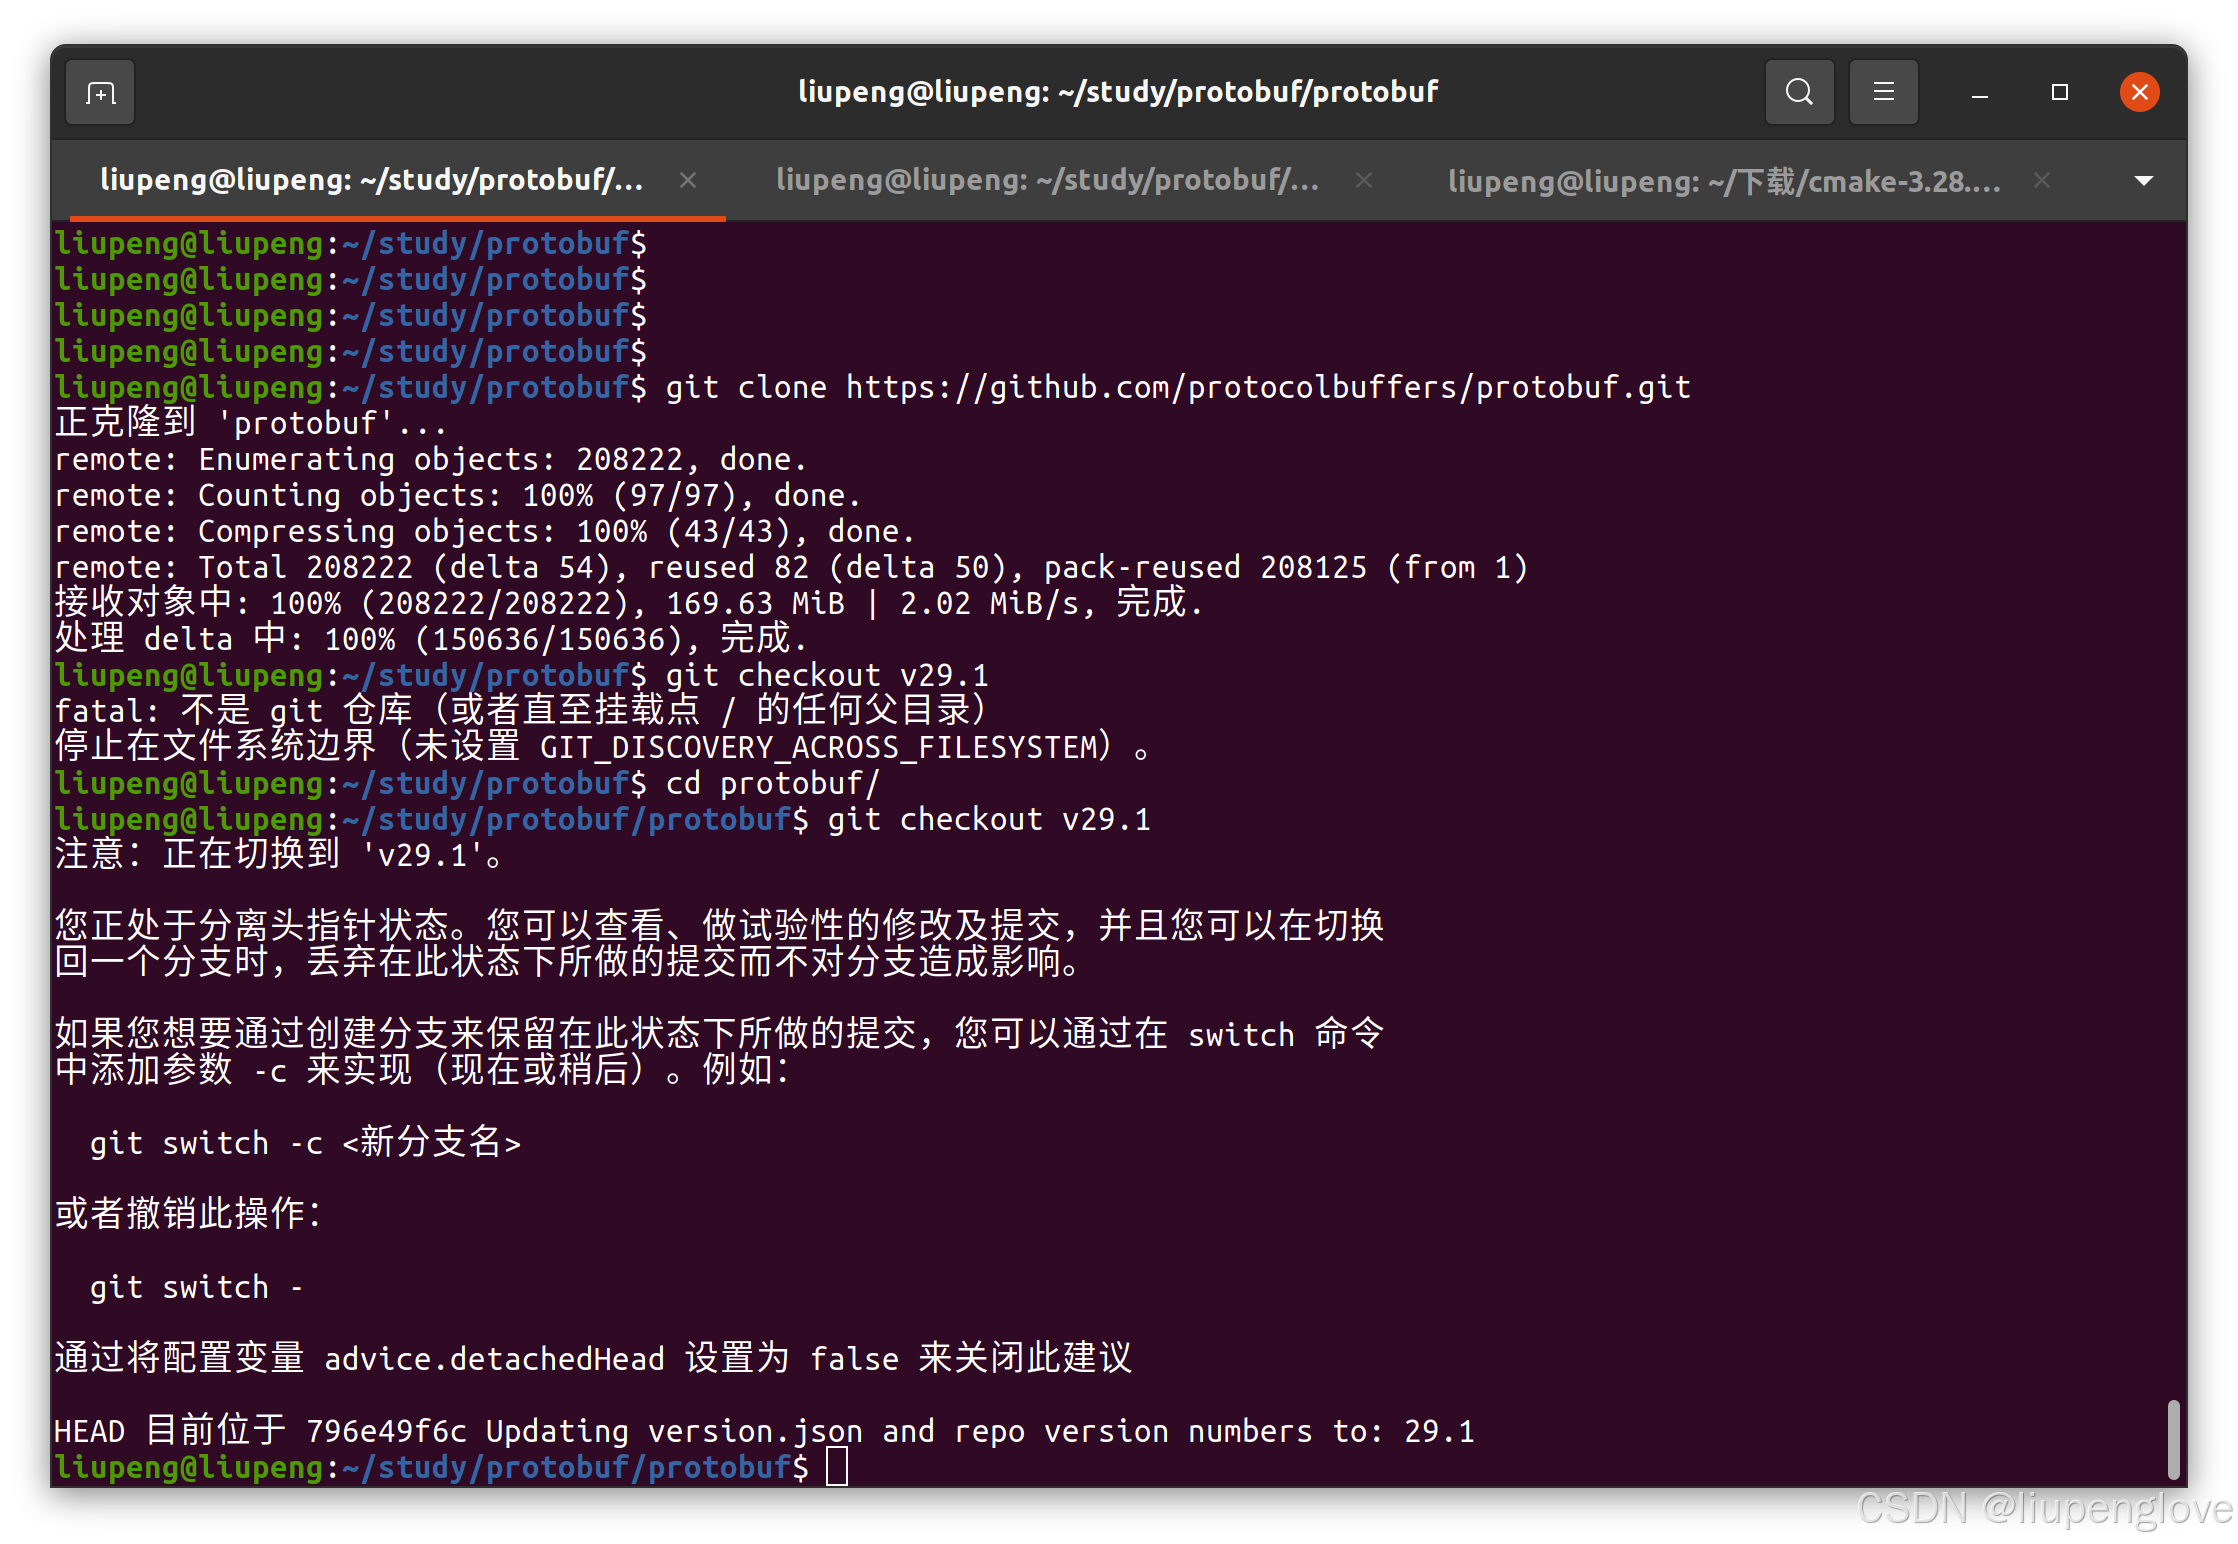
切换到v29.1版本后,更新代码:
git pull origin v29.1之后拉取依赖:
git submodule update --init --recursive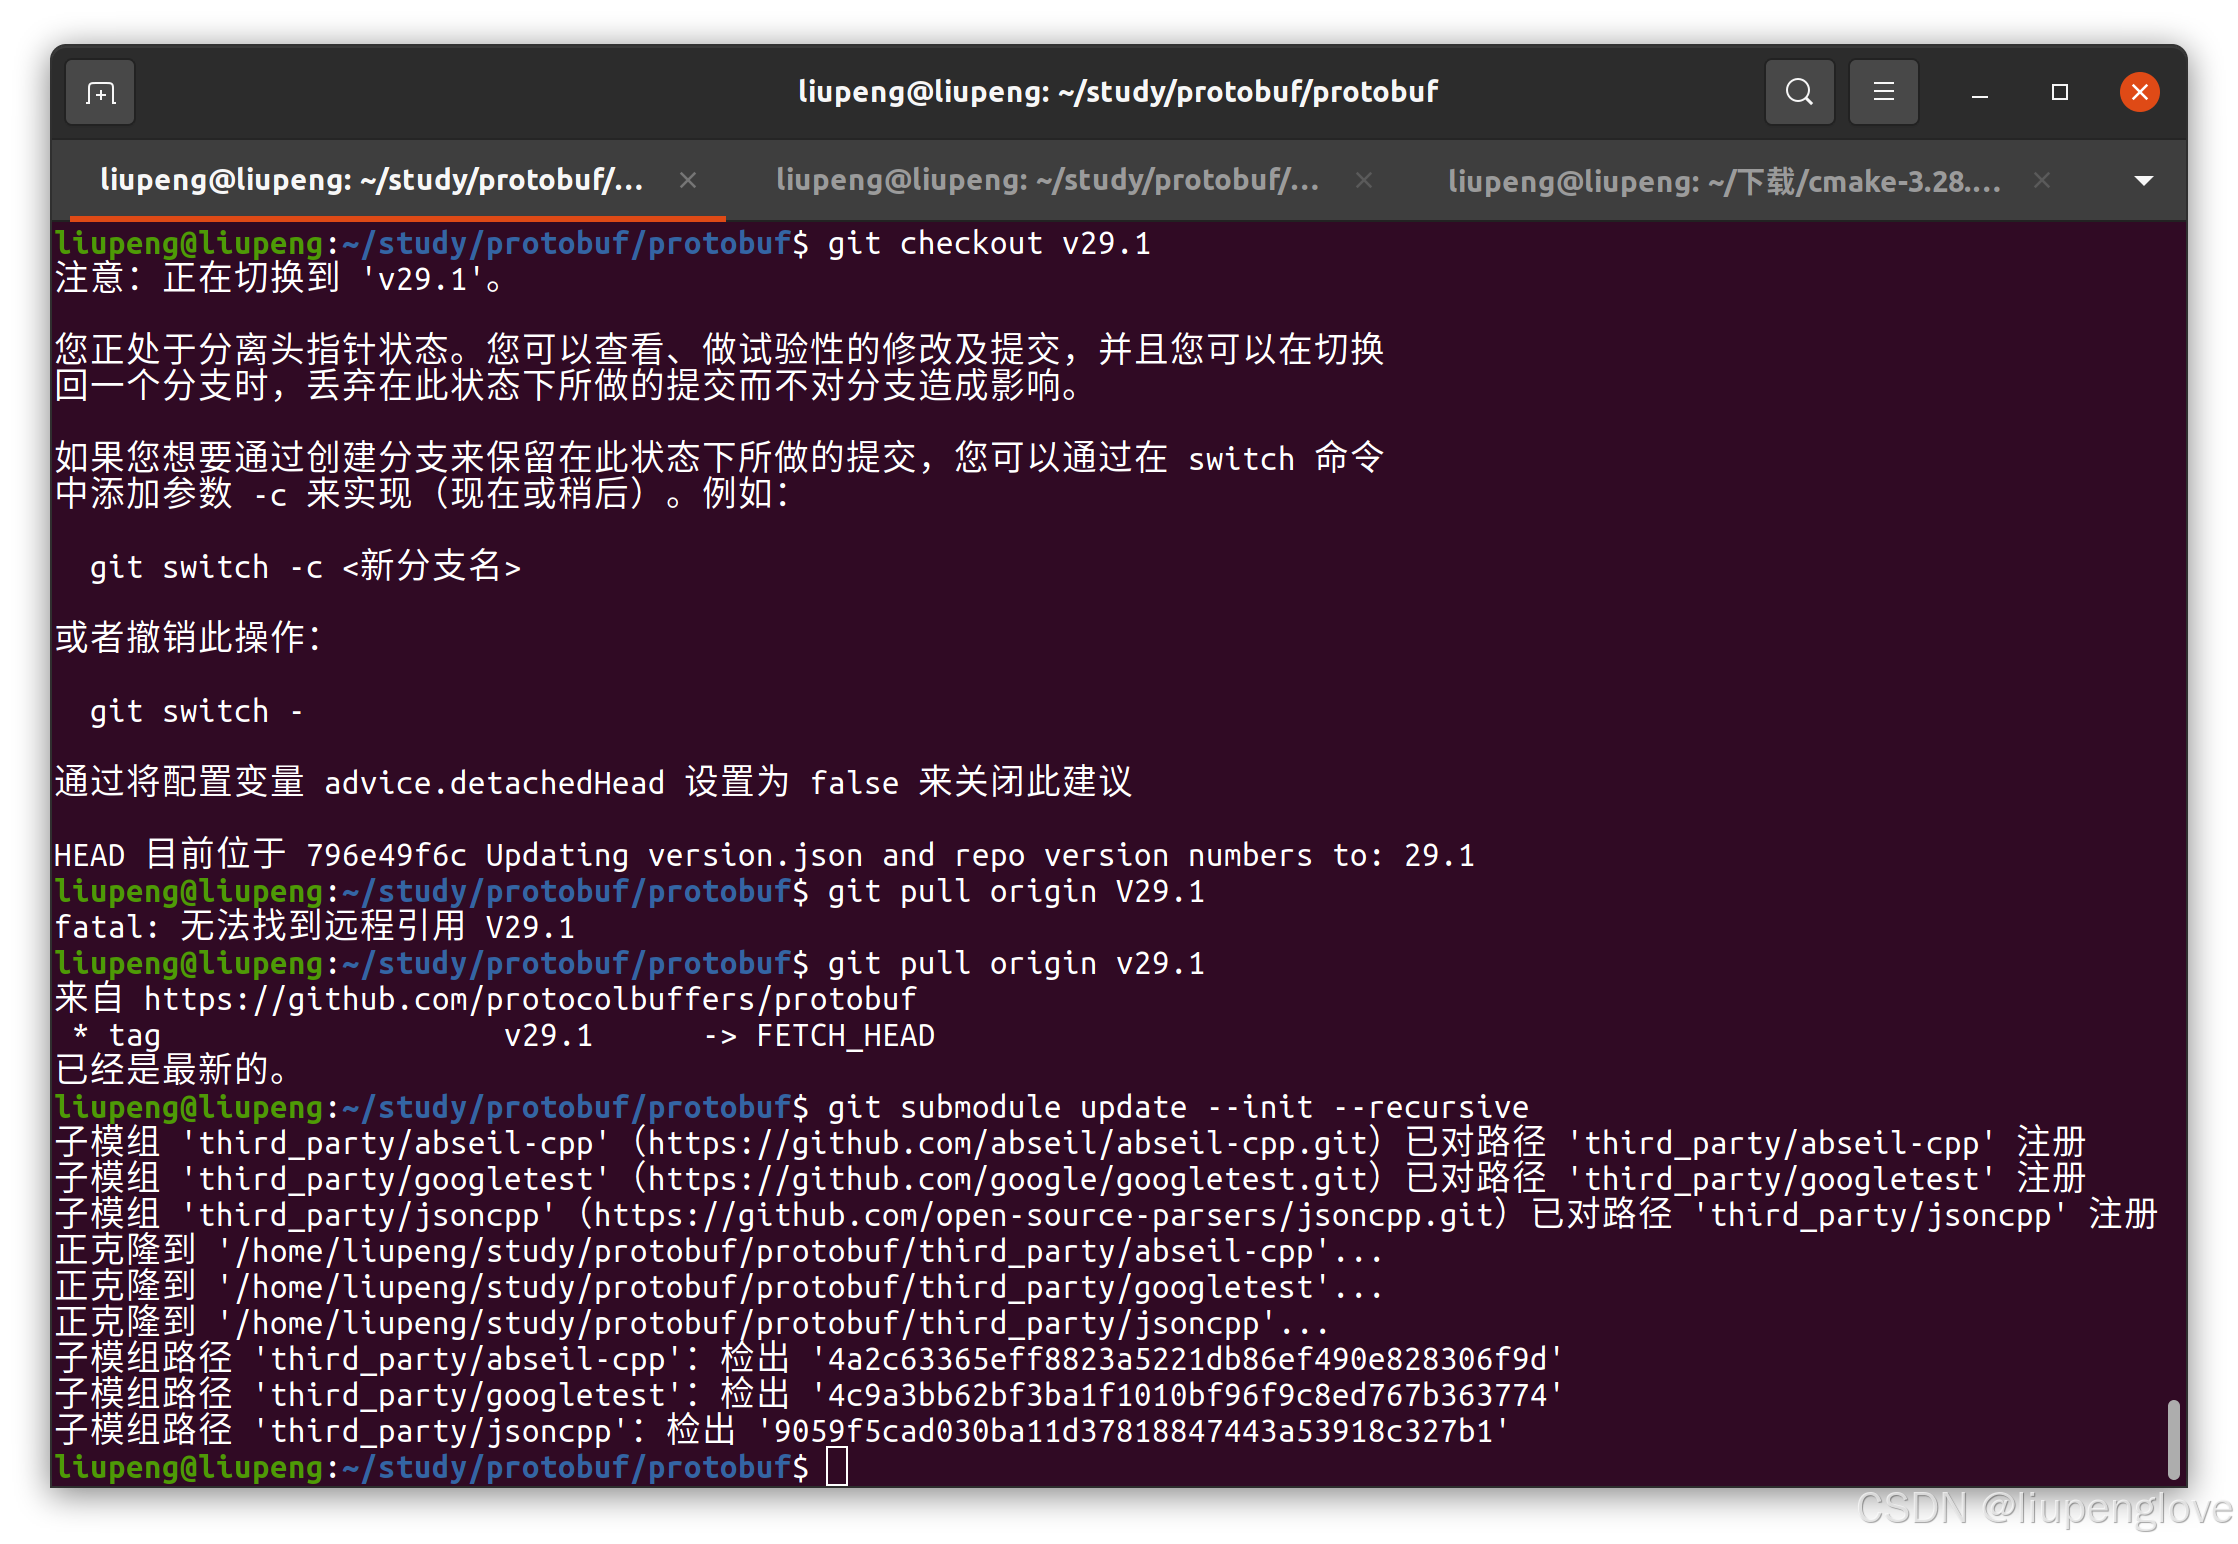
开始编译源码,禁止单元测试,同时protobuf要求c++版本到17 
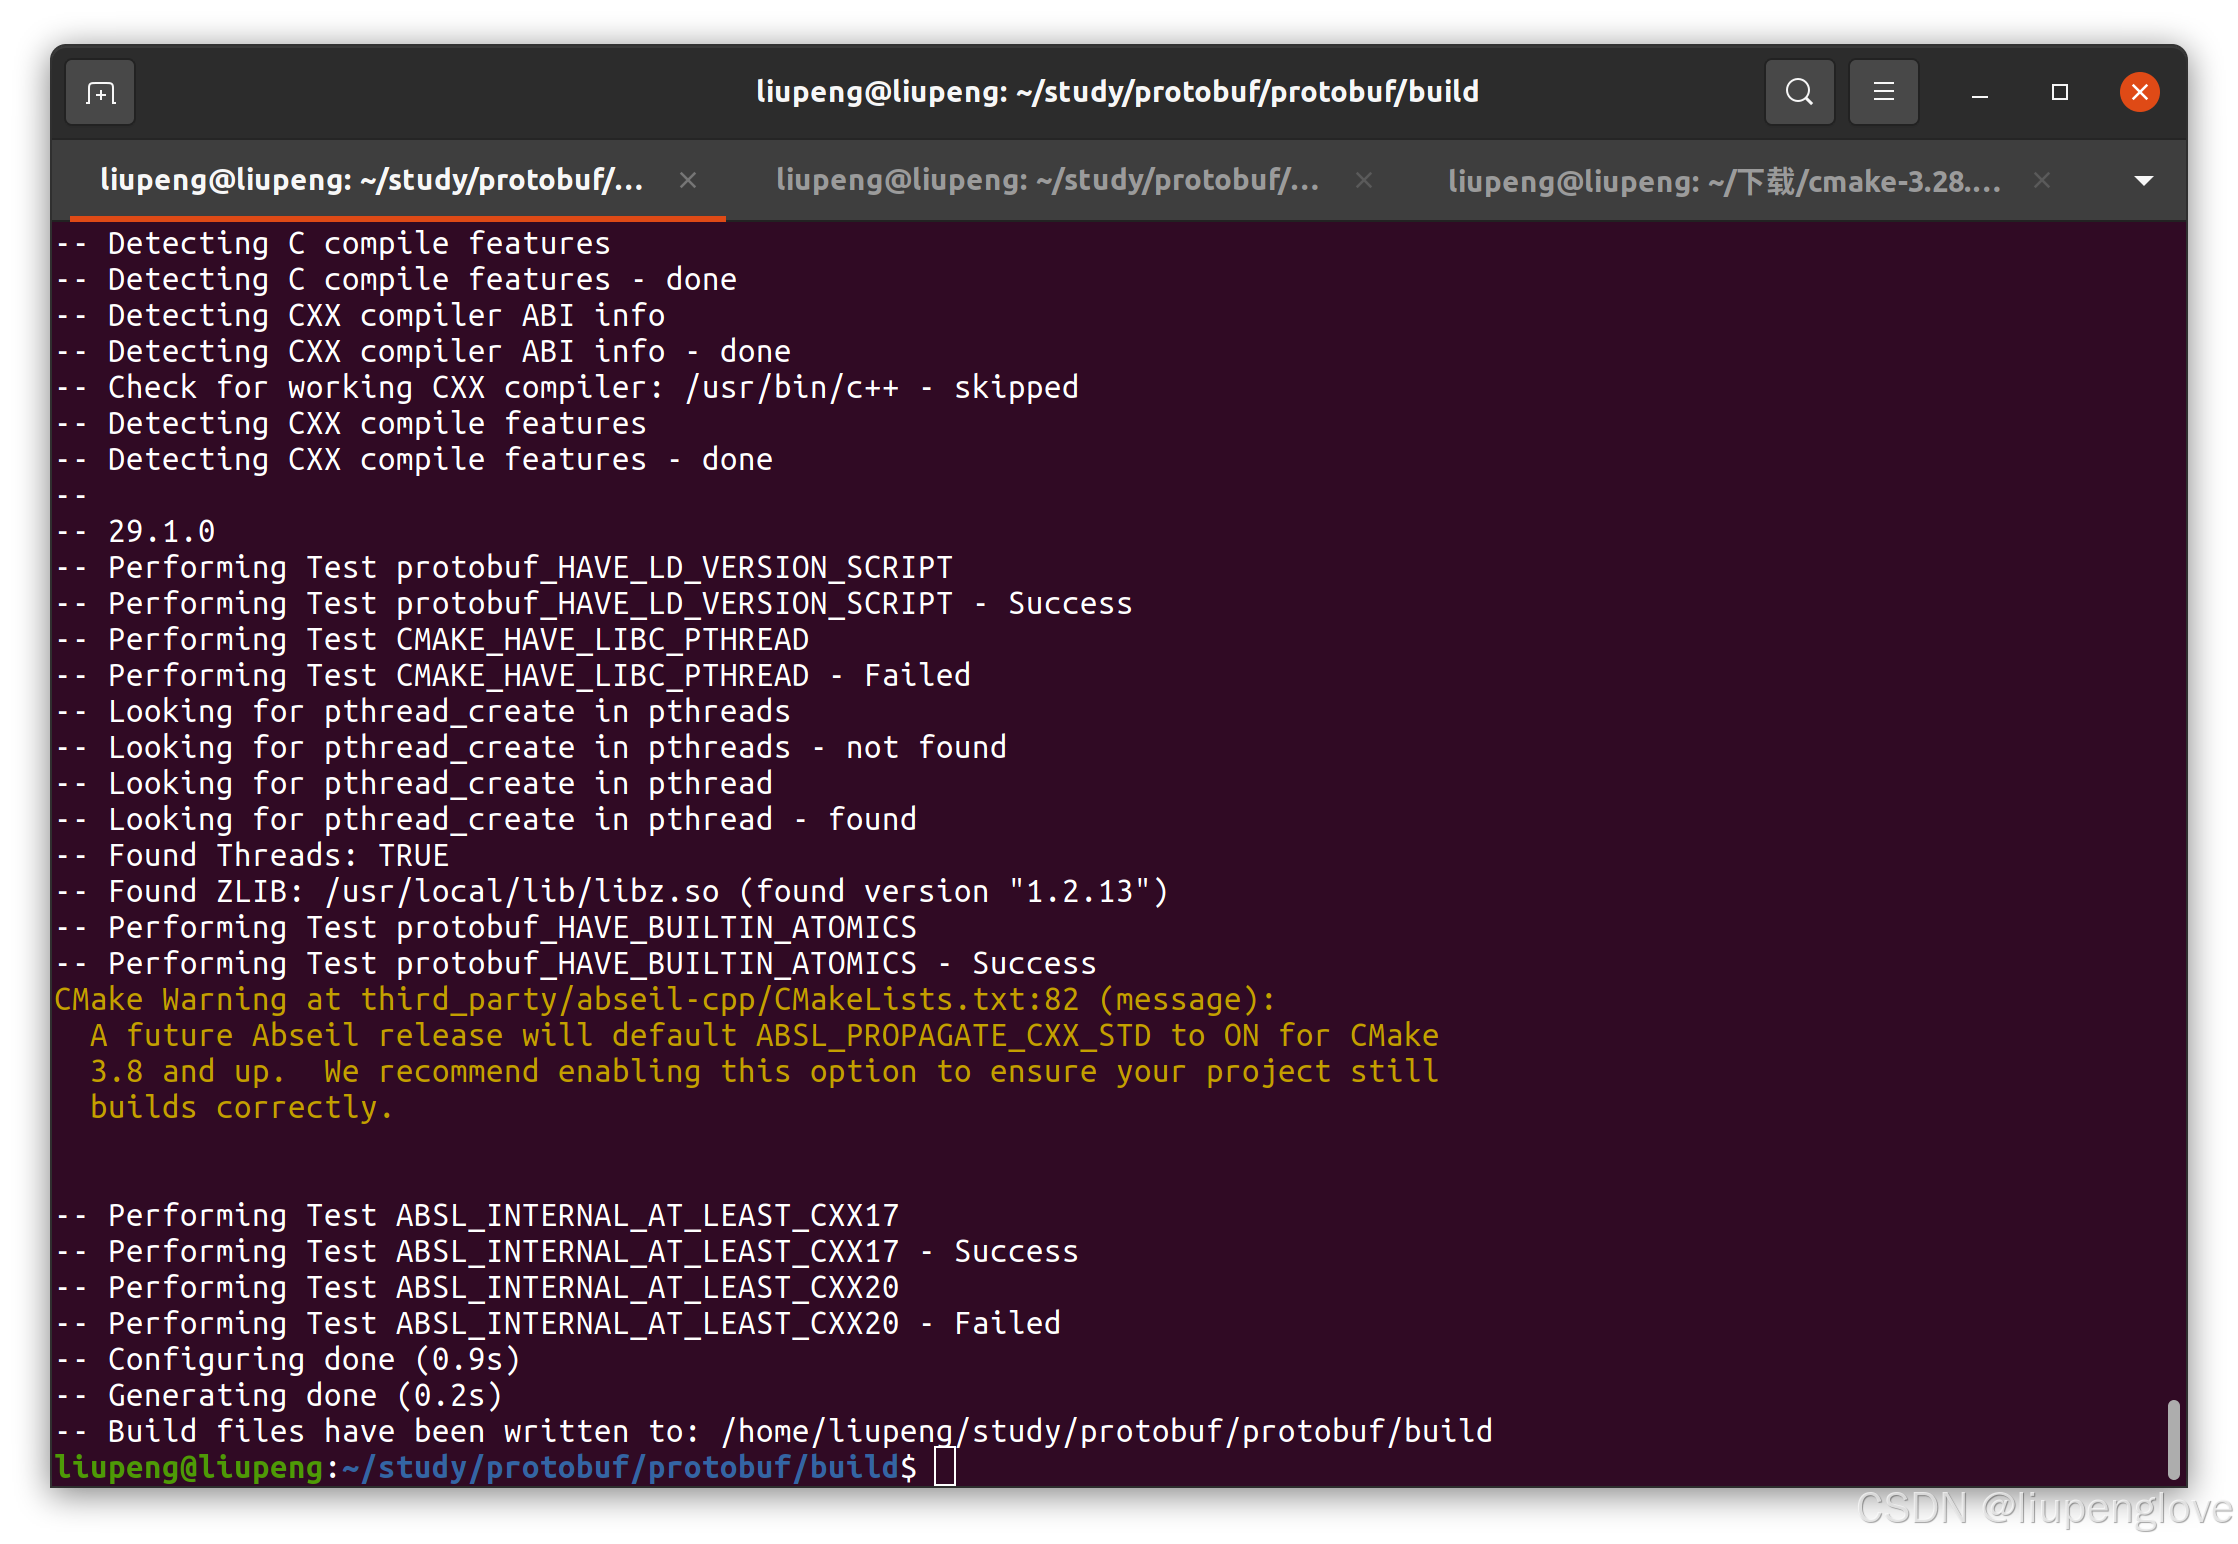
执行编译:make -j8
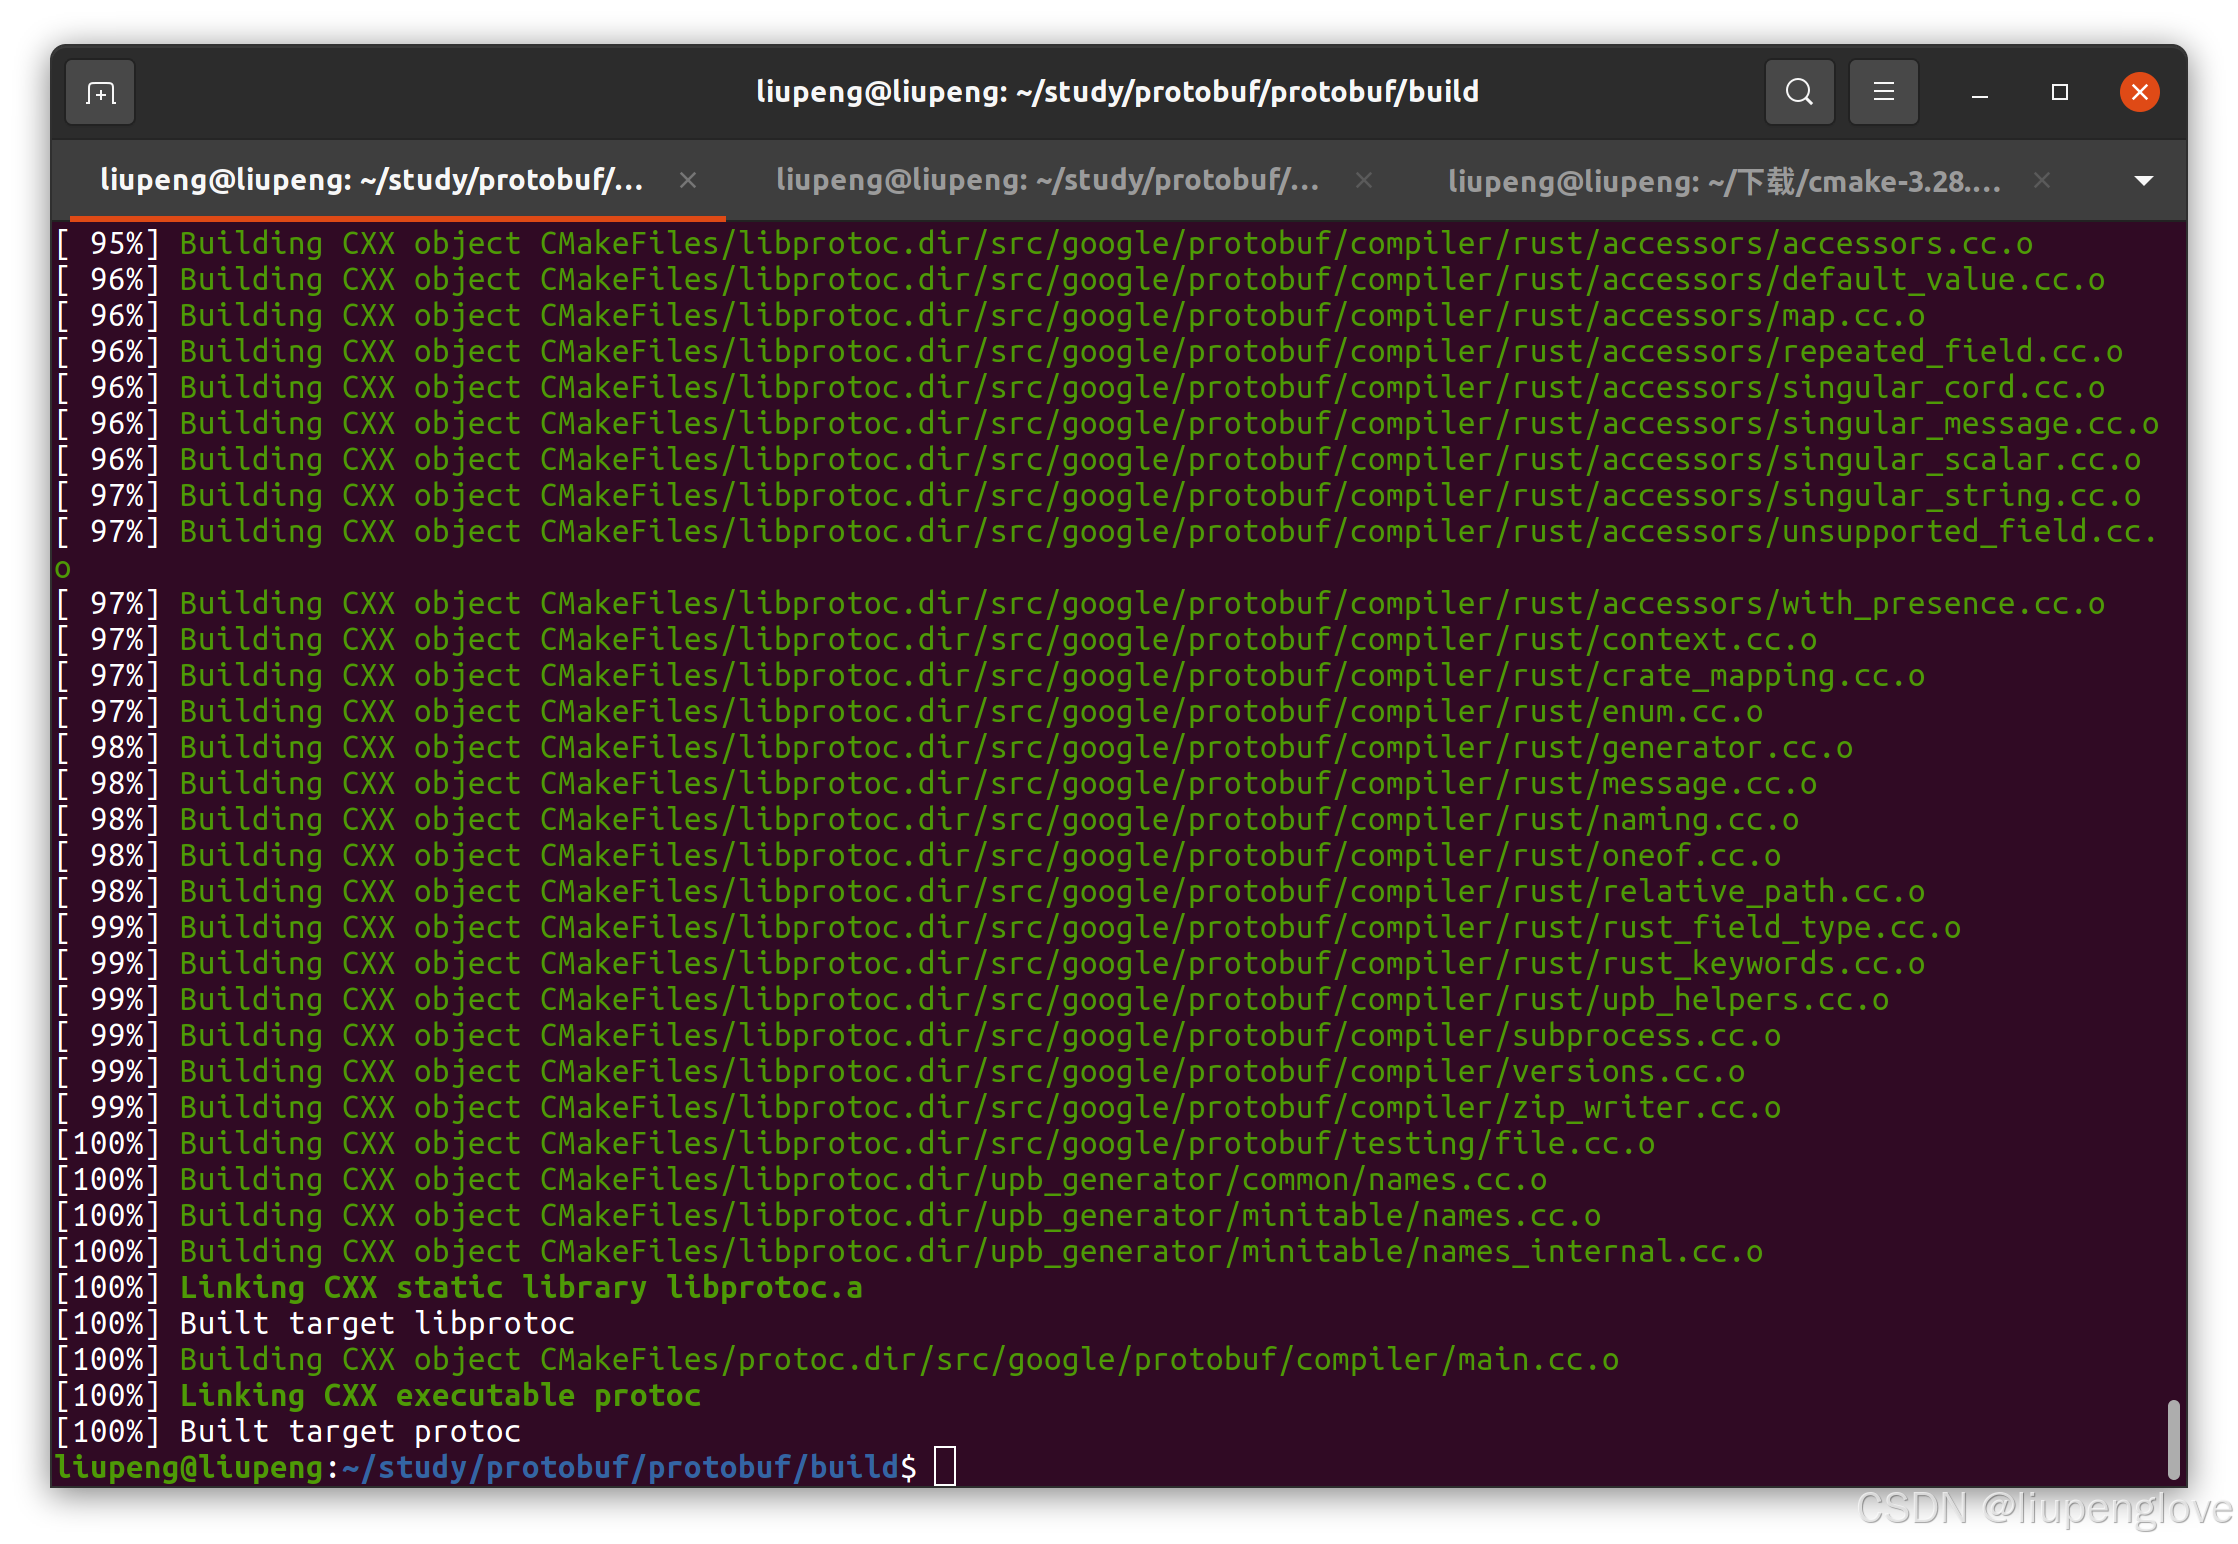
优秀,编译很快,比我阿里云上C2M4的机器快多了。接下来看一下编译产出:
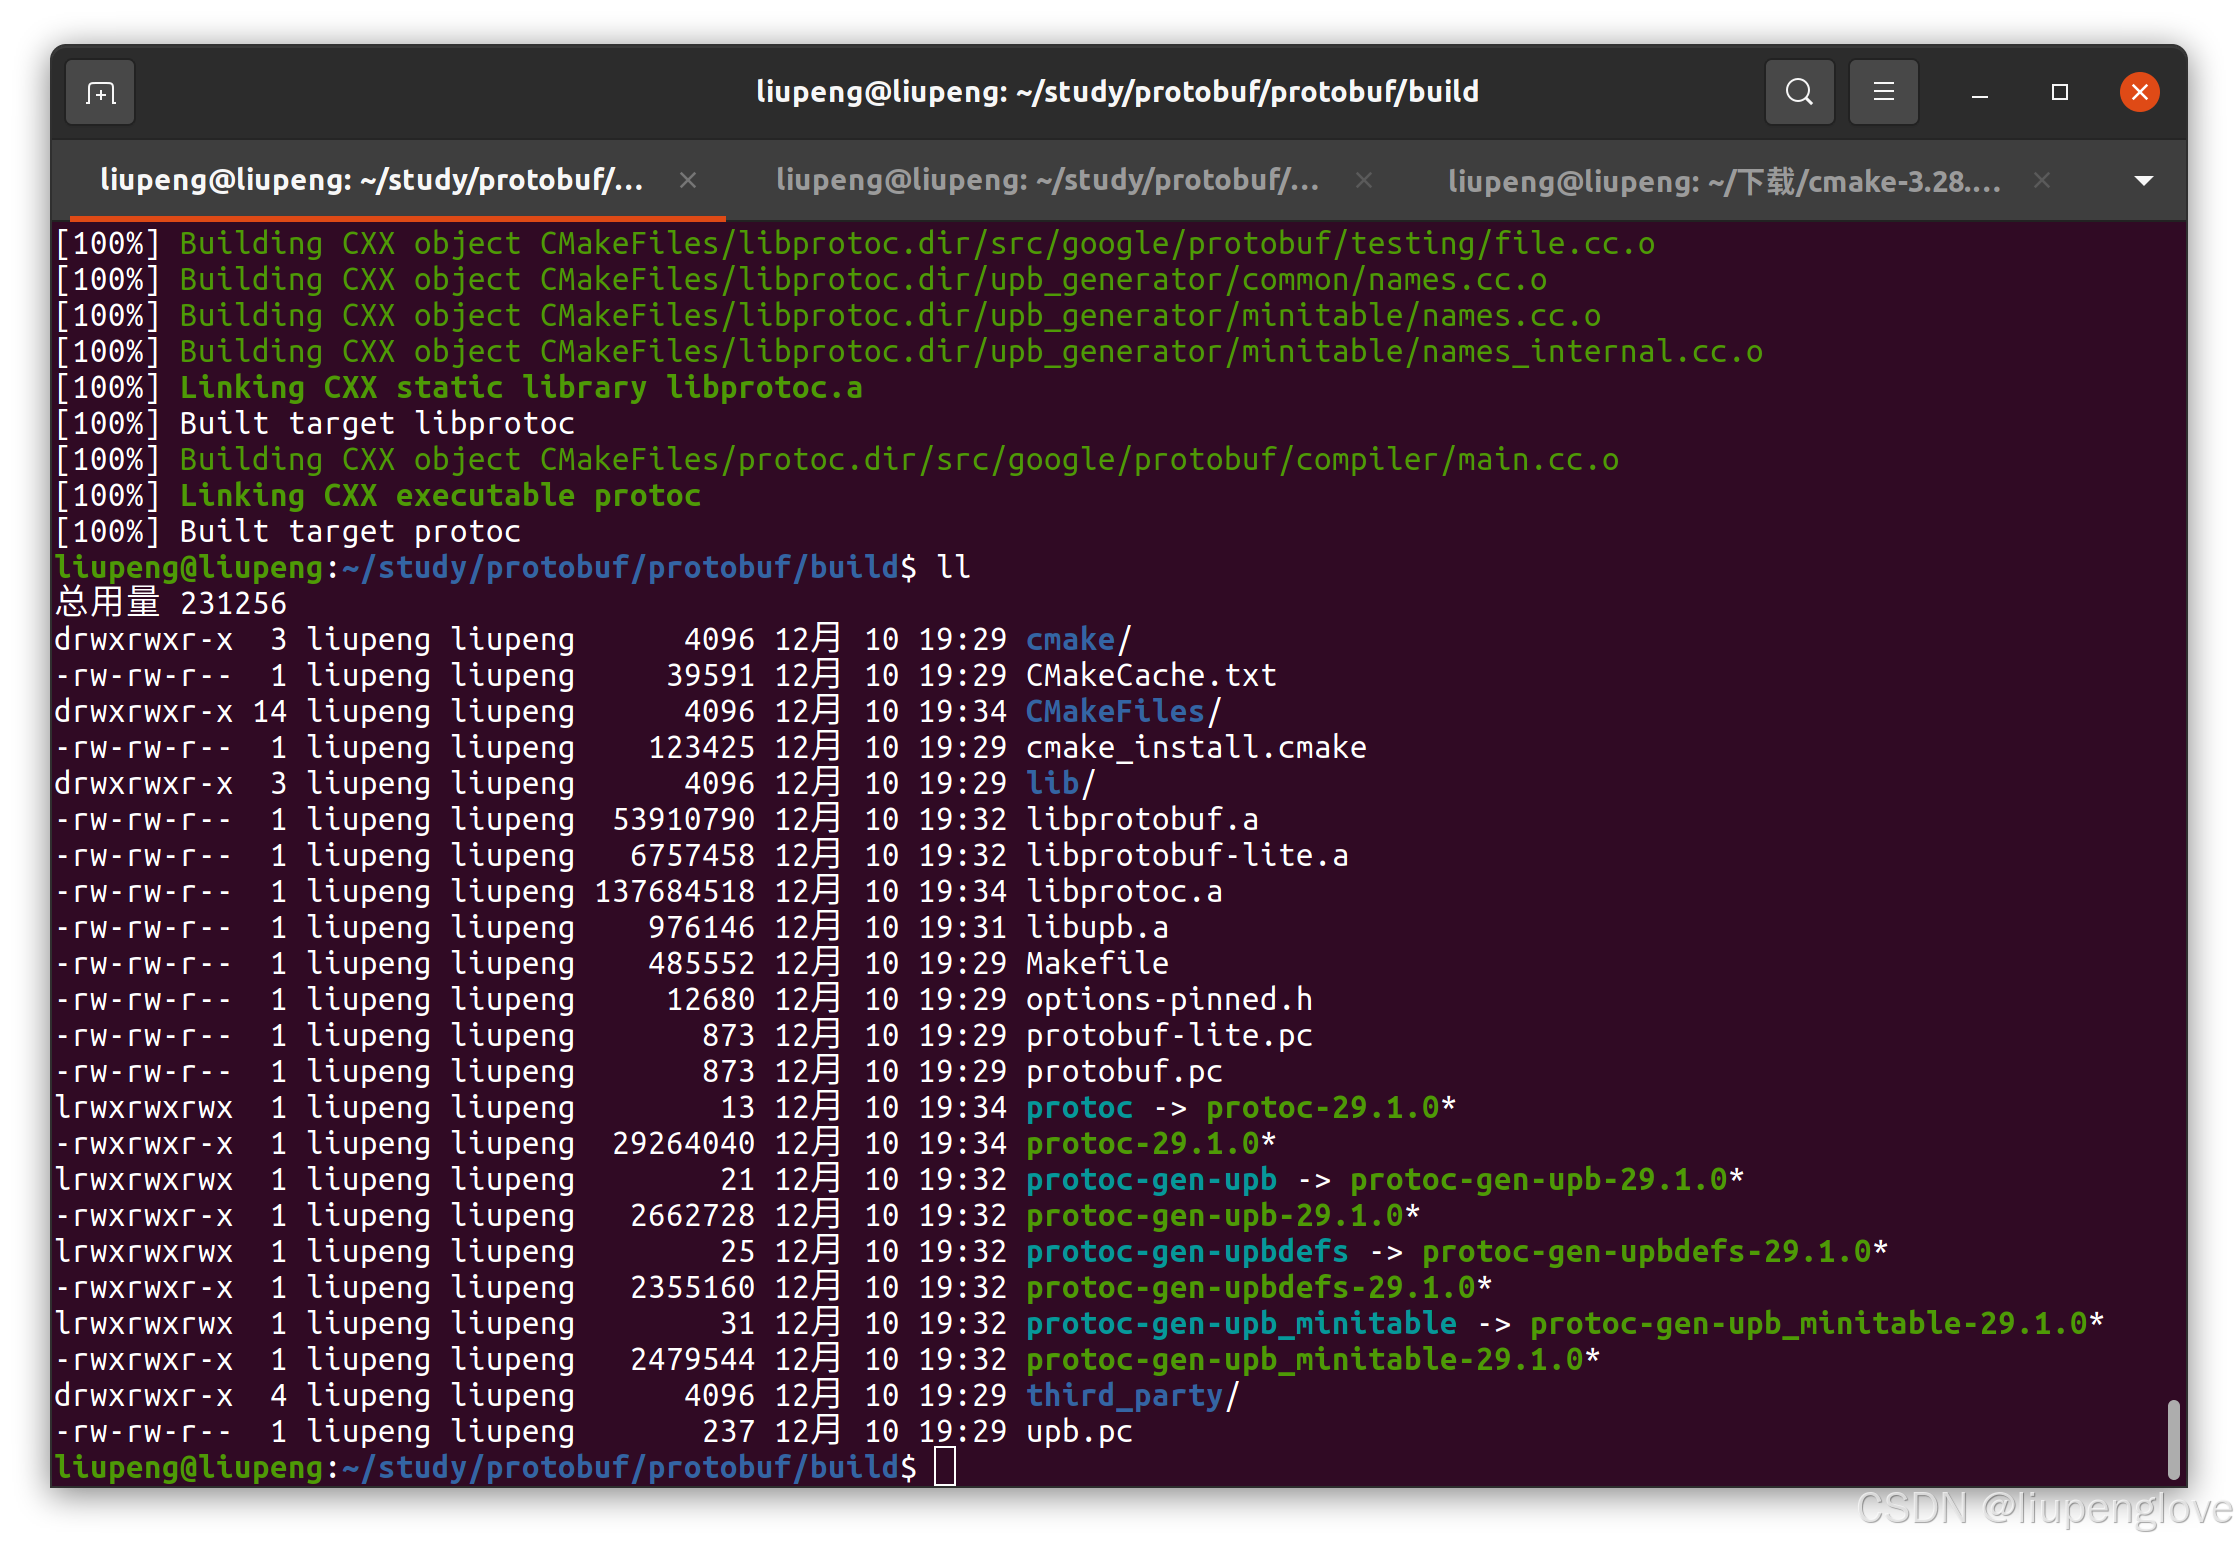
protoc也编译出来了,复制到PATH目录即可使用
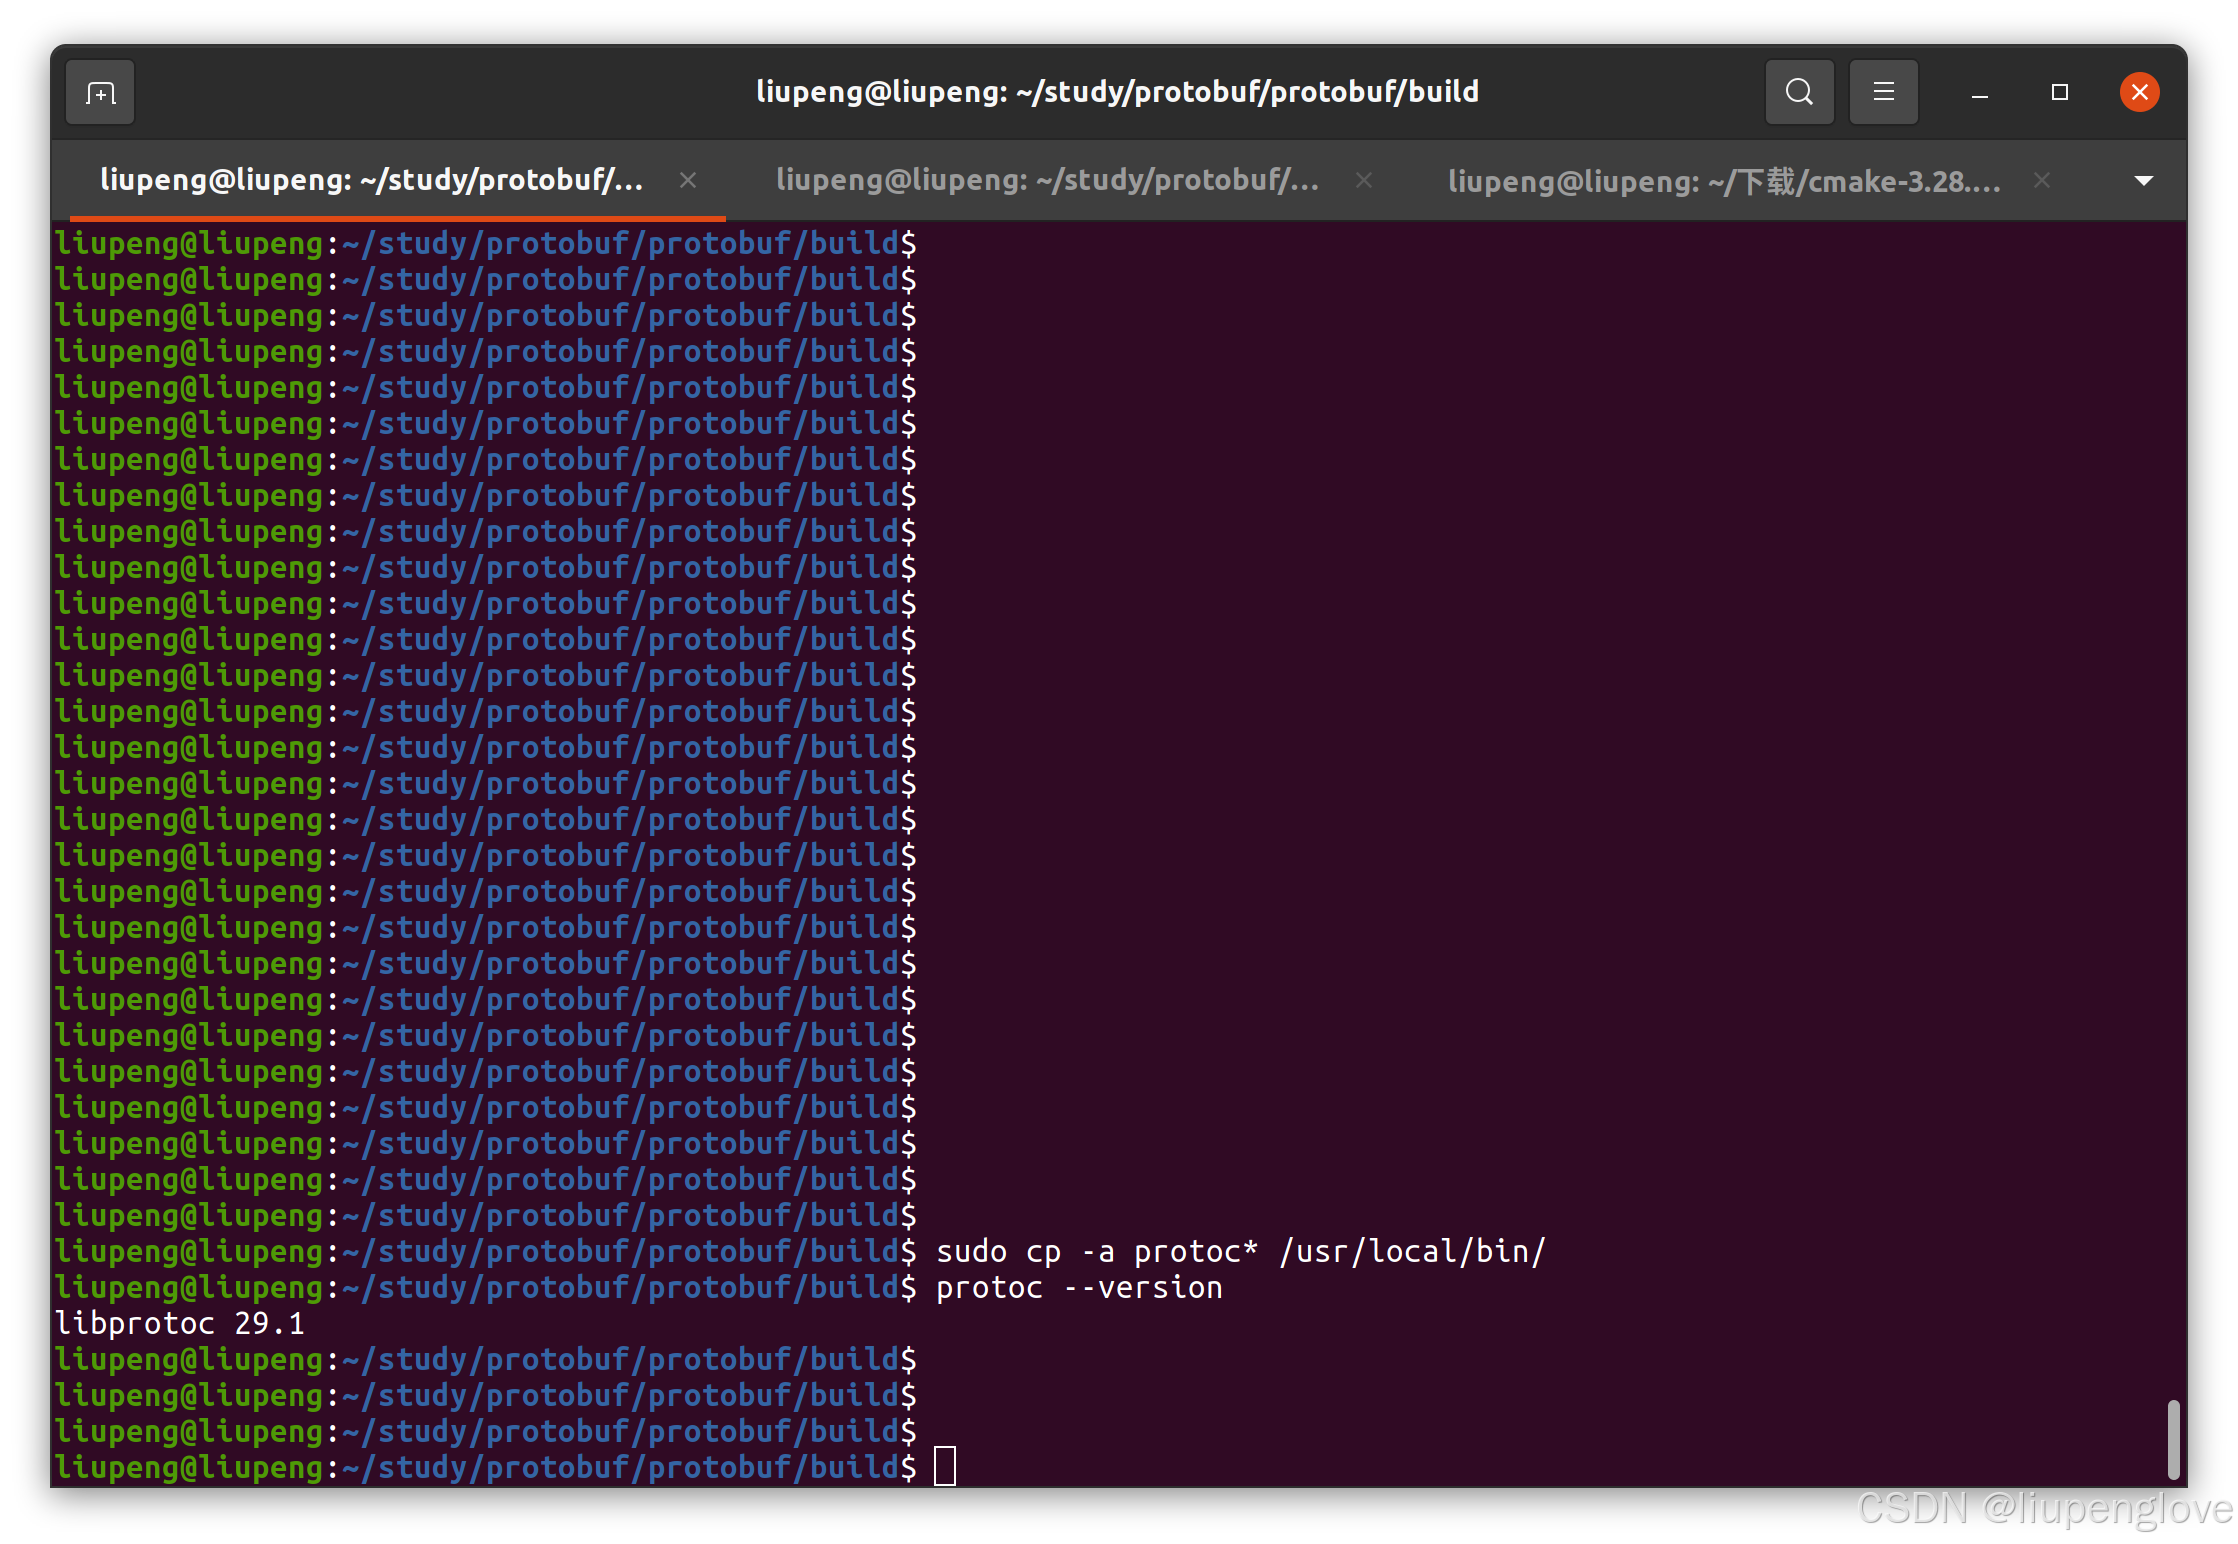
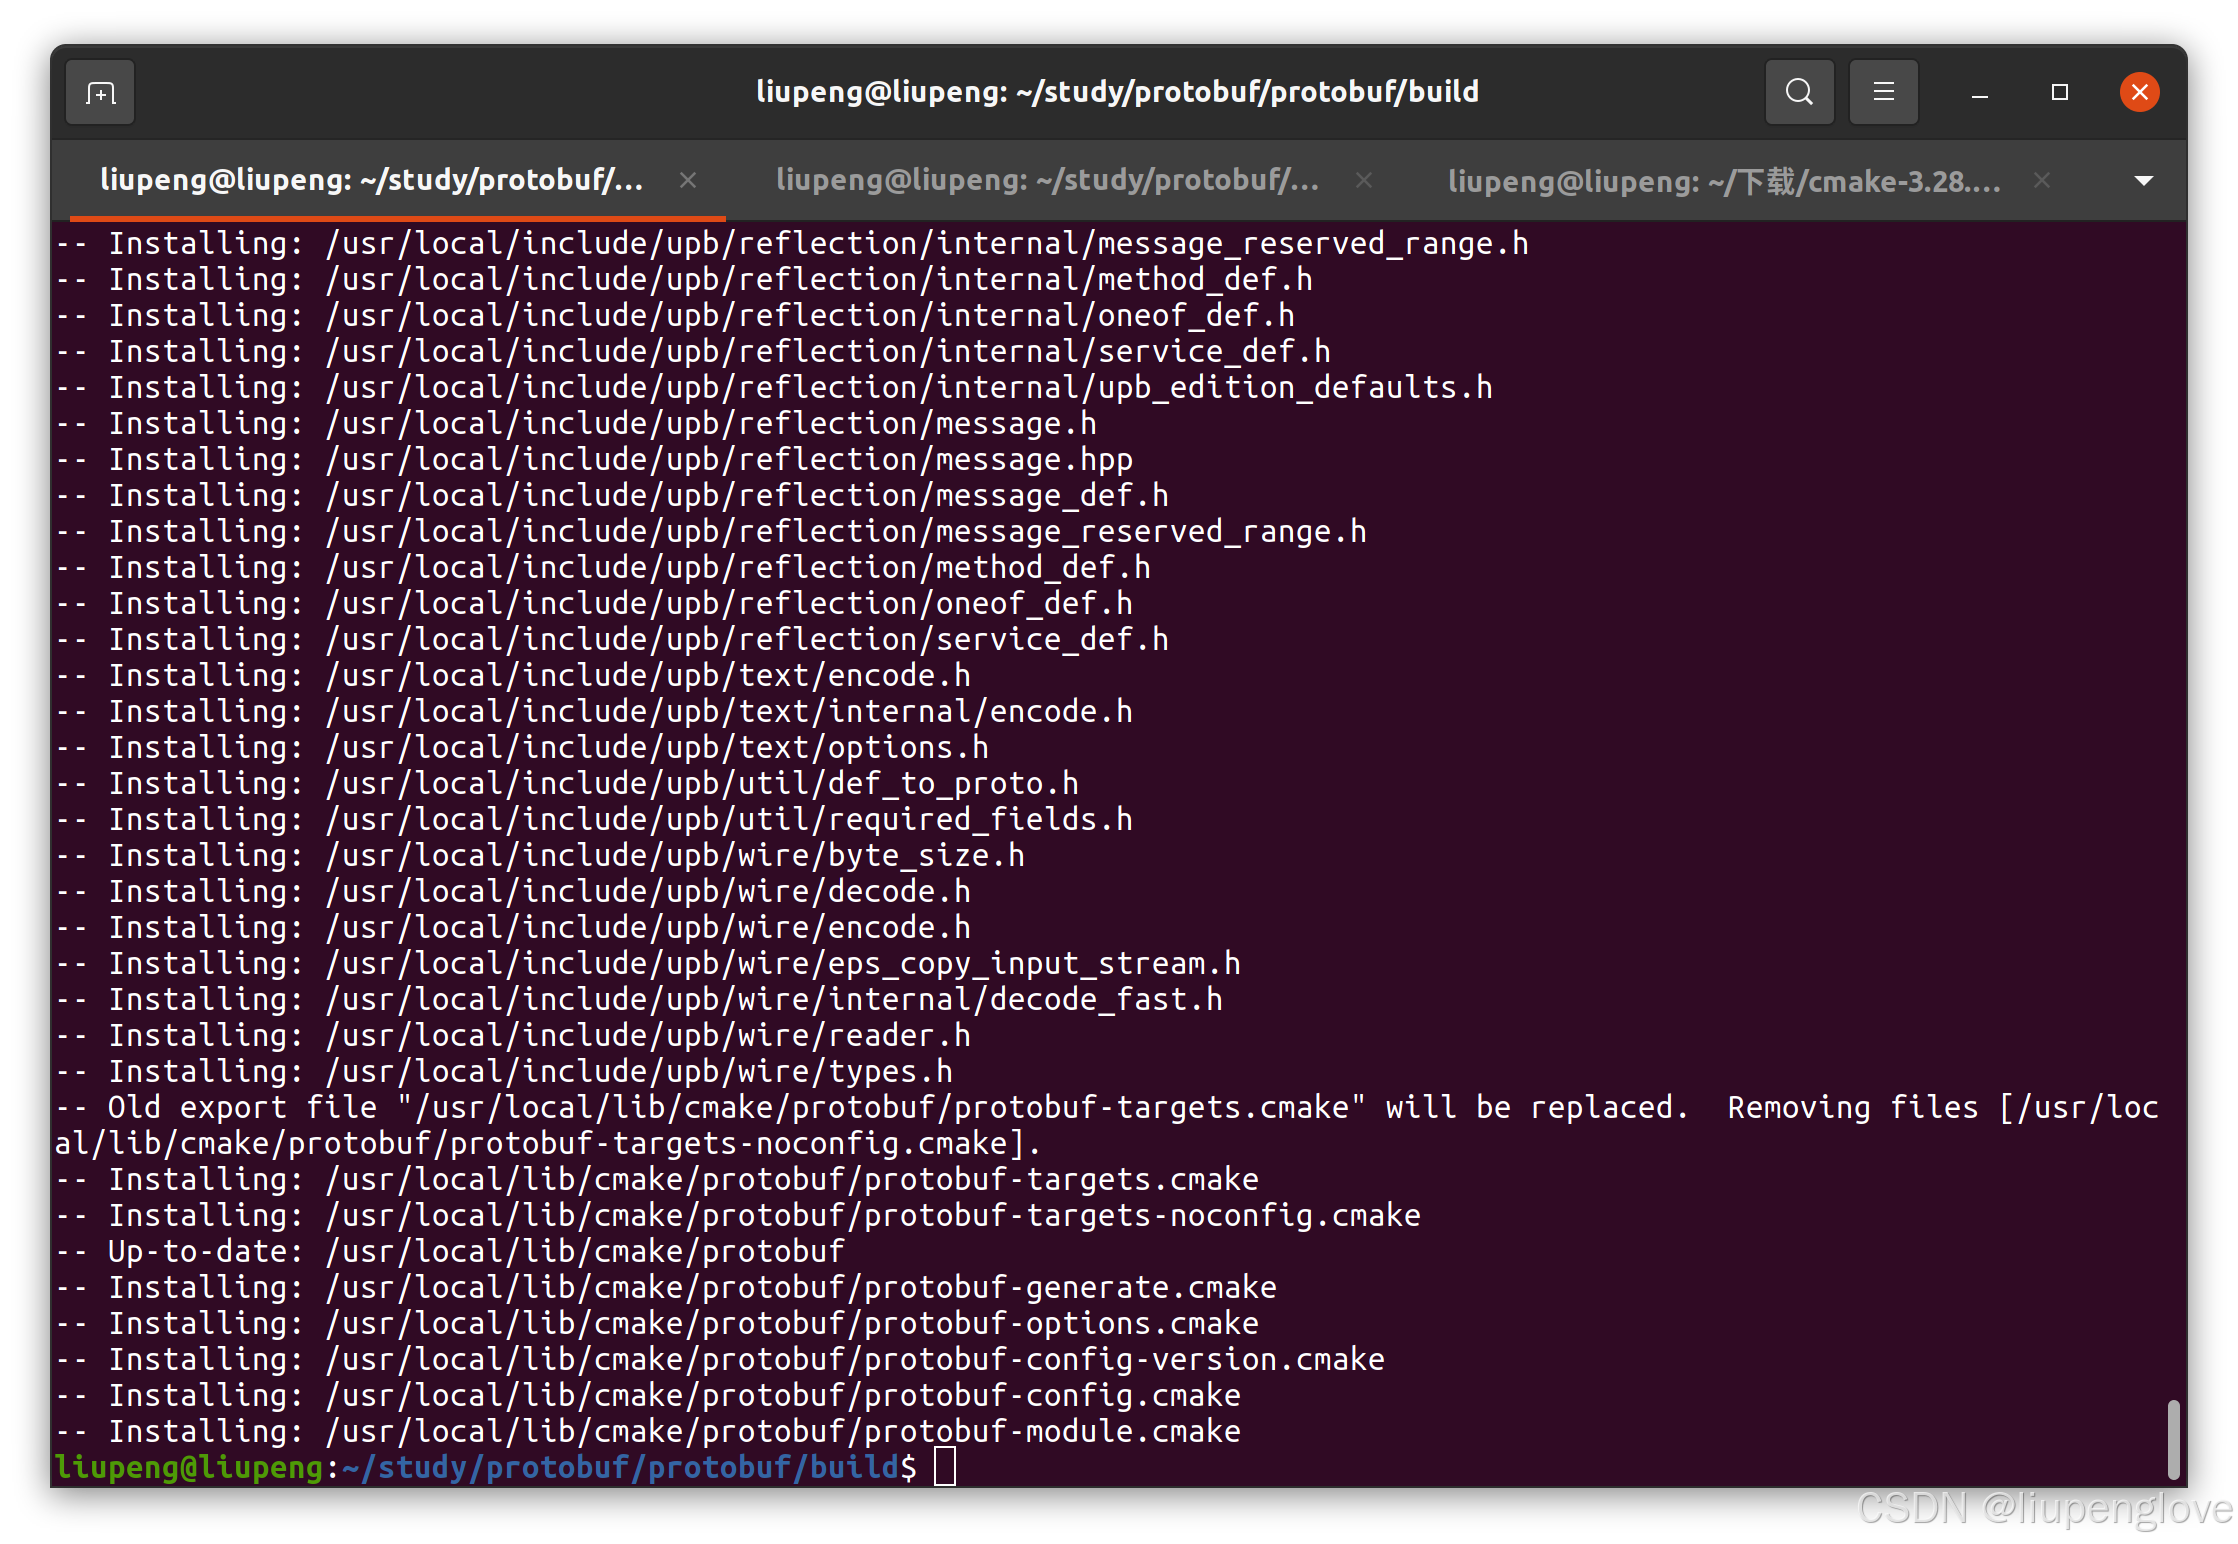
同时install protobuf库:sudo make install
2、代码调试
2.1 proto编写&编译
proto我们就使用官方的实例代码,只是将proto2改成proto3,因为proto2不常用了。
syntax = "proto3";
package tutorial;
message Person {
optional string name = 1;
optional int32 id = 2;
optional string email = 3;
enum PhoneType {
PHONE_TYPE_UNSPECIFIED = 0;
PHONE_TYPE_MOBILE = 1;
PHONE_TYPE_HOME = 2;
PHONE_TYPE_WORK = 3;
}
message PhoneNumber {
optional string number = 1;
optional PhoneType type = 2;
}
repeated PhoneNumber phones = 4;
}
message AddressBook {
repeated Person people = 1;
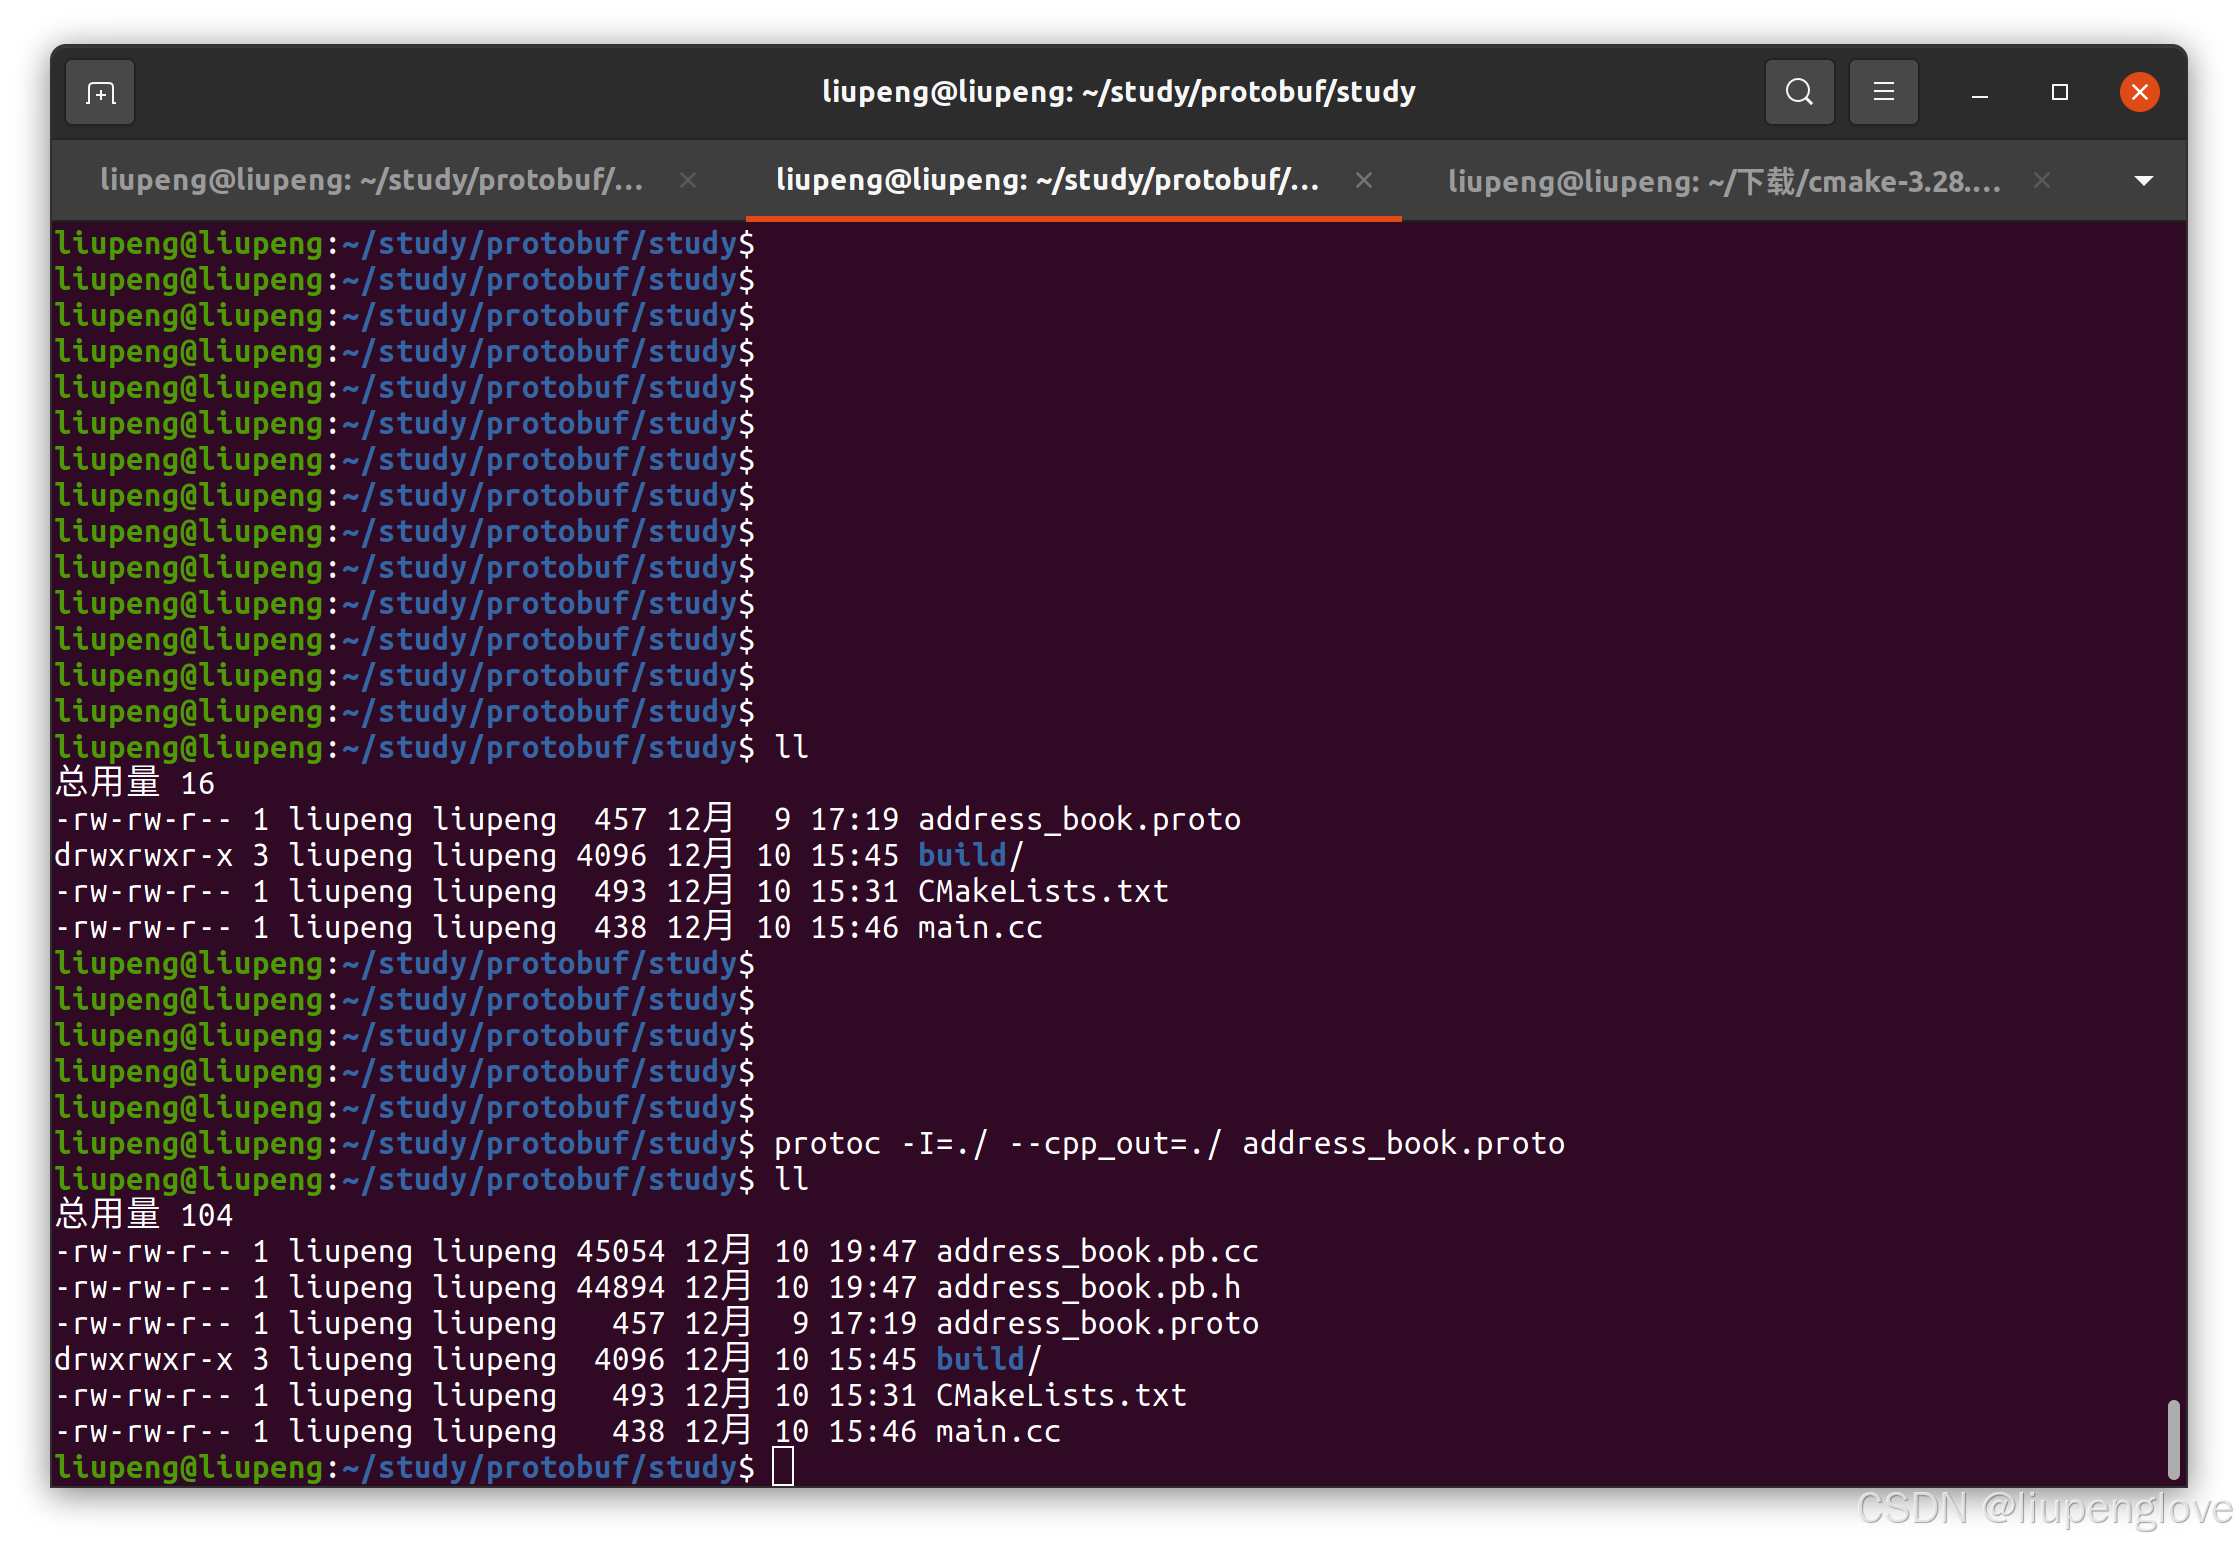
}编译protobuf,使用protoc工具,编译protobuf为c++语言:protoc -I=./ --cpp_out=./ address_book.proto
2.2 测试代码
主程序:
cpp
#include <iostream>
#include "address_book.pb.h"
using namespace std;

int main() {
    string names[3] = {"John", "Jane", "Jack"};
    string emails[3] = {"john.doe@example.com", "tom.dan@example.com","lucy_lily@163.com"};
    tutorial::AddressBook address_book;
    for (size_t i = 0; i < 3; i++) {
        /* code */
        tutorial::Person* person = address_book.add_people();
        person->set_name(names[i]);
        person->set_id(i+1);
        person->set_email(emails[i]);
    }

    for (size_t i = 0; i < address_book.people_size(); i++) {
        cout << "Name: " << address_book.people(i).name() << endl;
        cout << "ID: " << address_book.people(i).id() << endl;
        cout << "Email: " << address_book.people(i).email() << endl;
    }


    return 0;
}
CMakeLists.txt:
cpp
cmake_minimum_required(VERSION 3.18)
project(protobuf-study)
# Find required protobuf package
find_package(protobuf CONFIG REQUIRED)
if(protobuf_FOUND)
message(STATUS "Using Protocol Buffers ${protobuf_VERSION}")
endif()
include_directories(${PROJECT_BINARY_DIR})
aux_source_directory(. SRC)
add_executable(protobuf-study ${SRC})
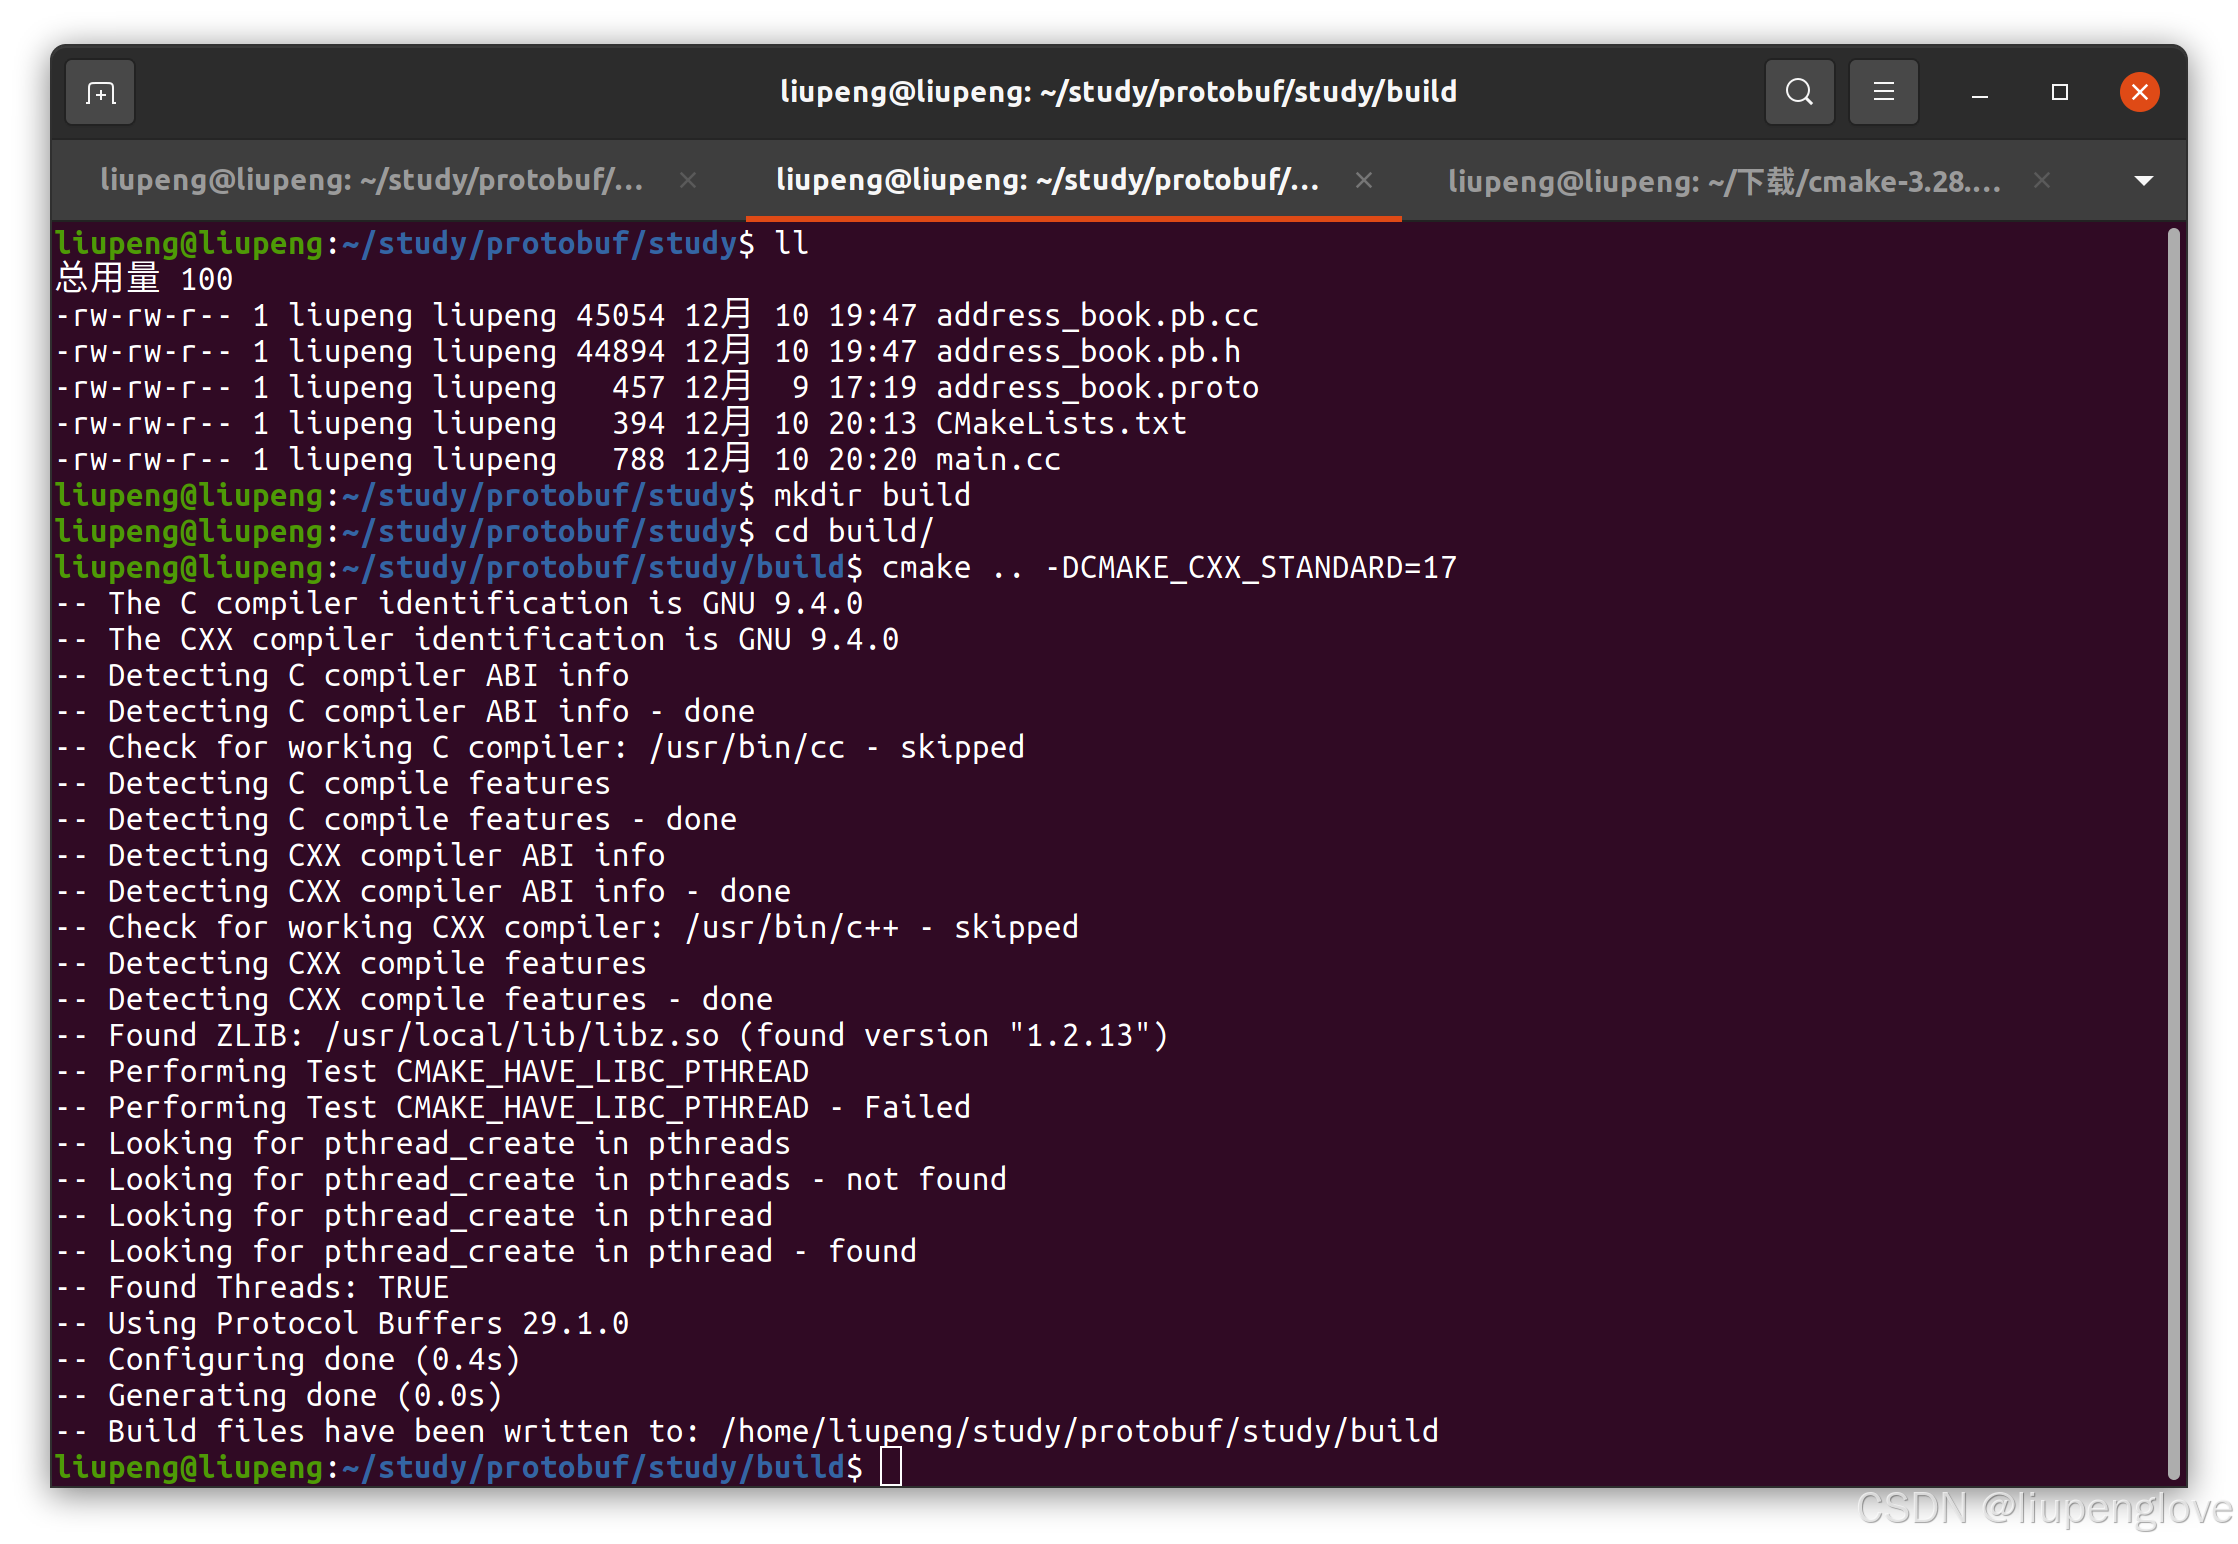
target_link_libraries(protobuf-study protobuf::libprotobuf)编译测试代码,注意由于新版本protobuf依赖c++17,因此编译测试代码时也需要指定c++版本,否则会报错:cmake .. -DCMAKE_CXX_STANDARD=17
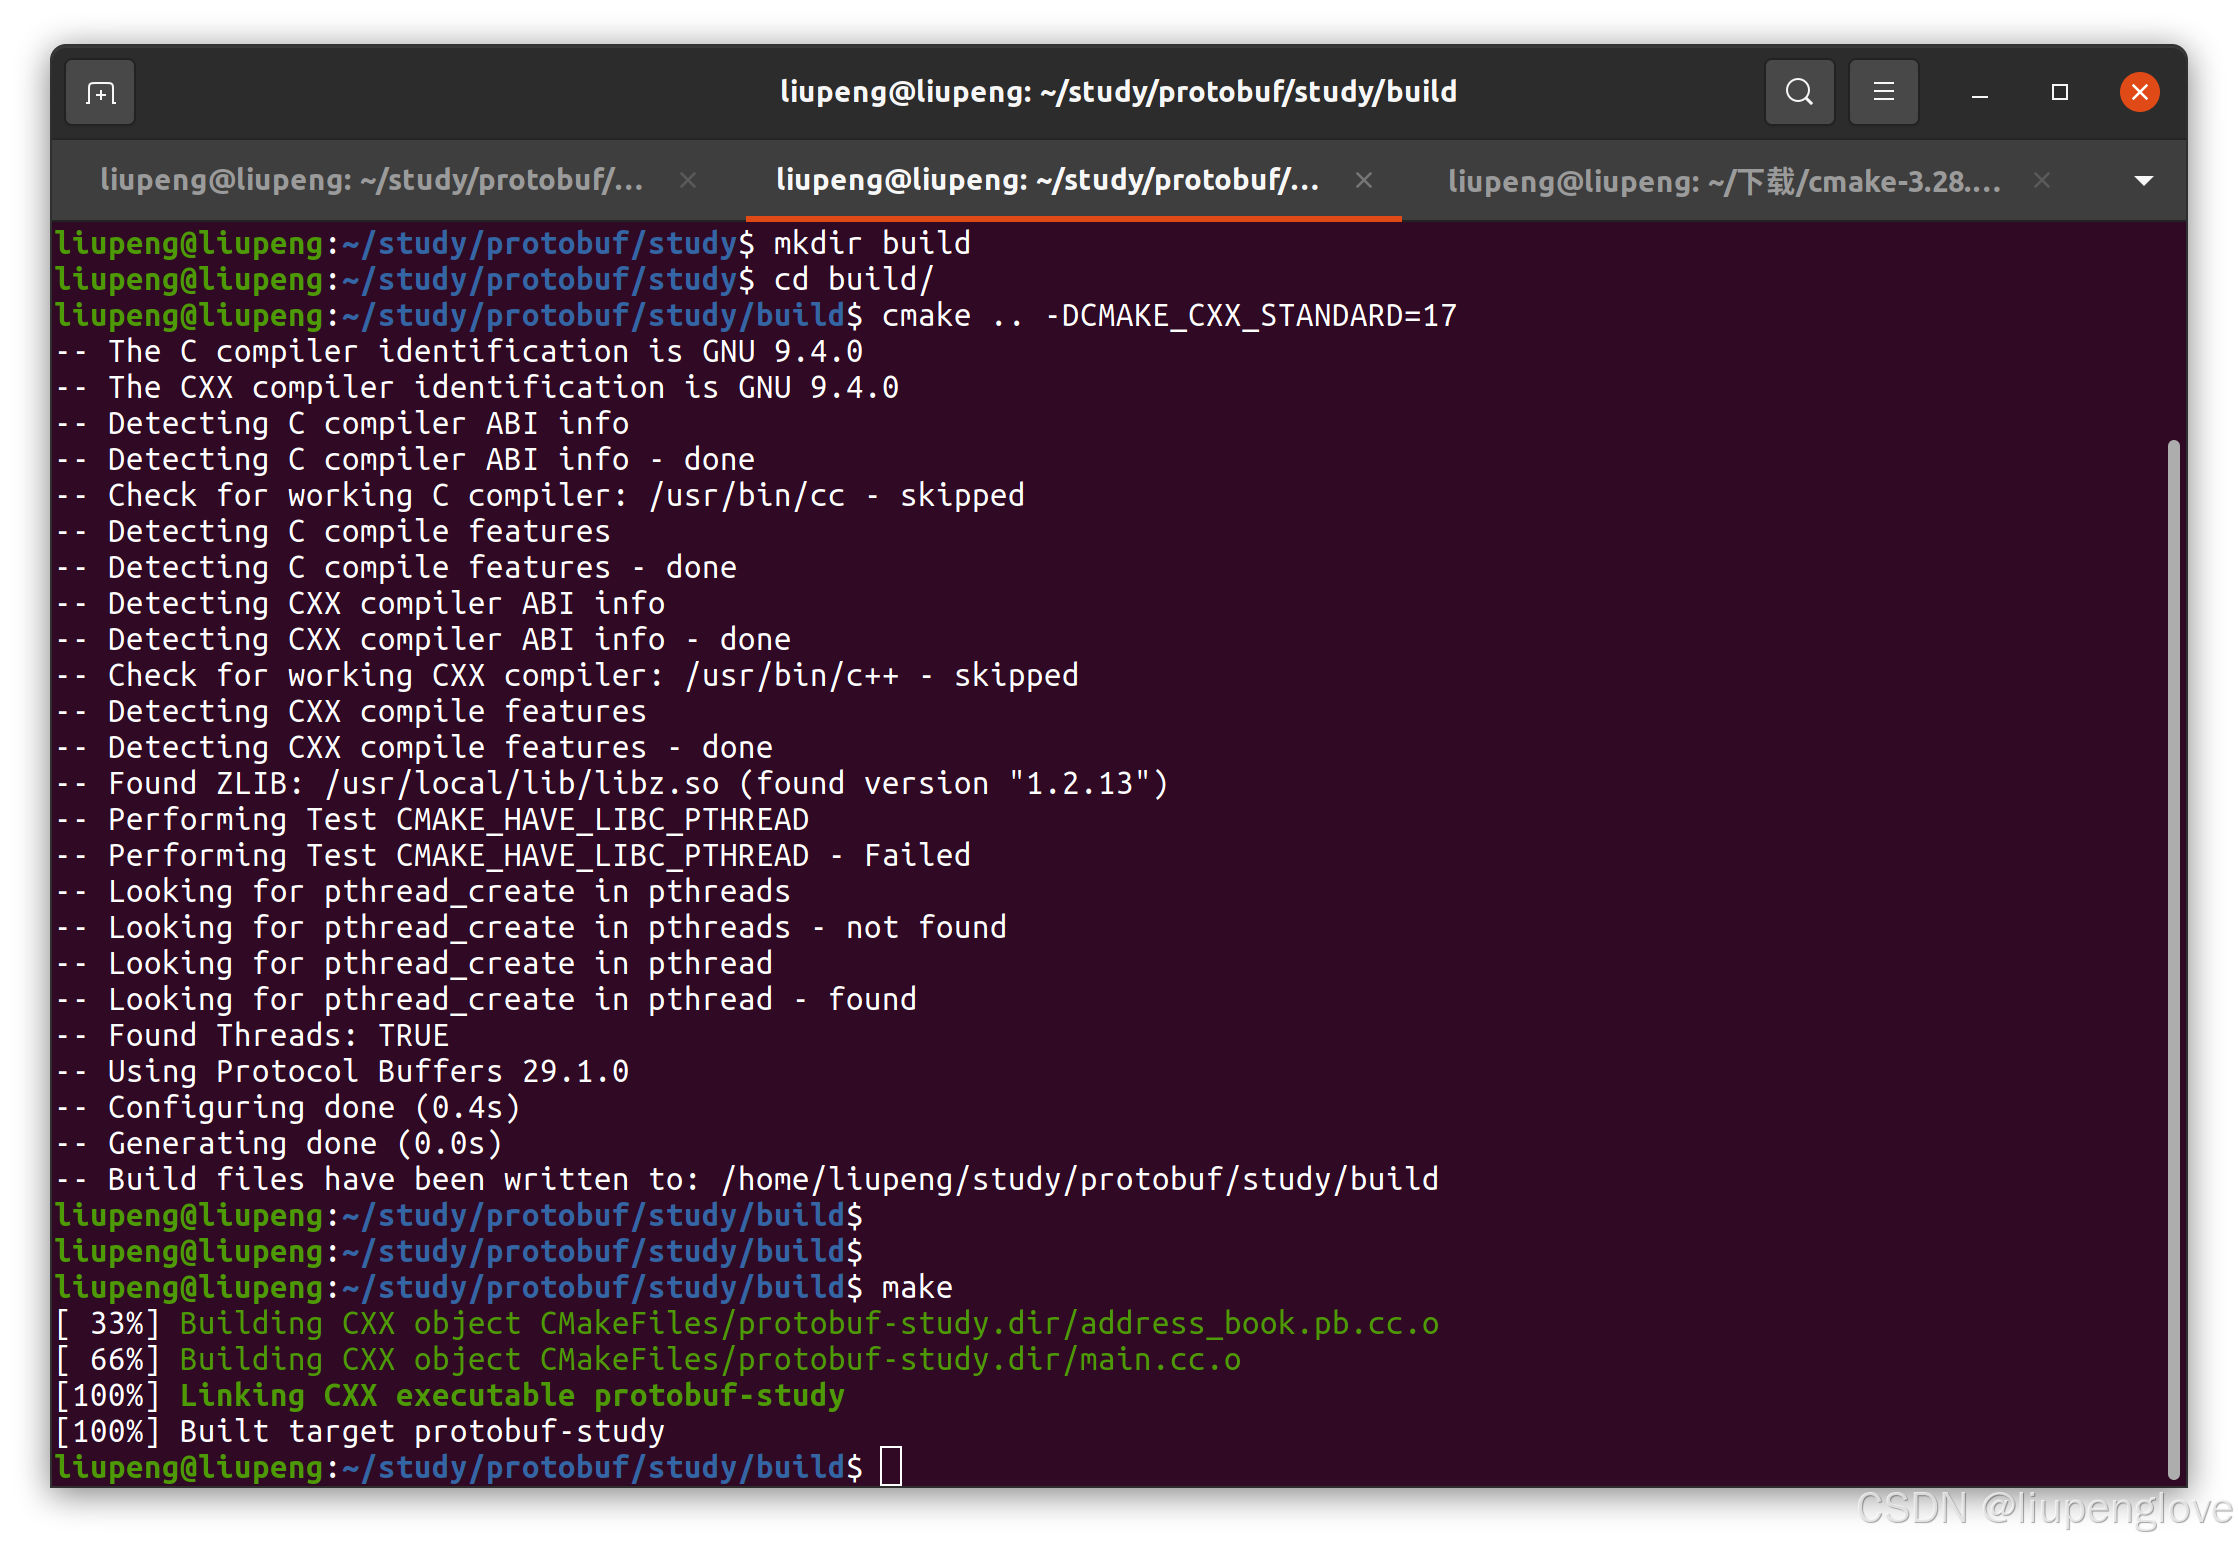
运行可执行文件: 
大功告成。