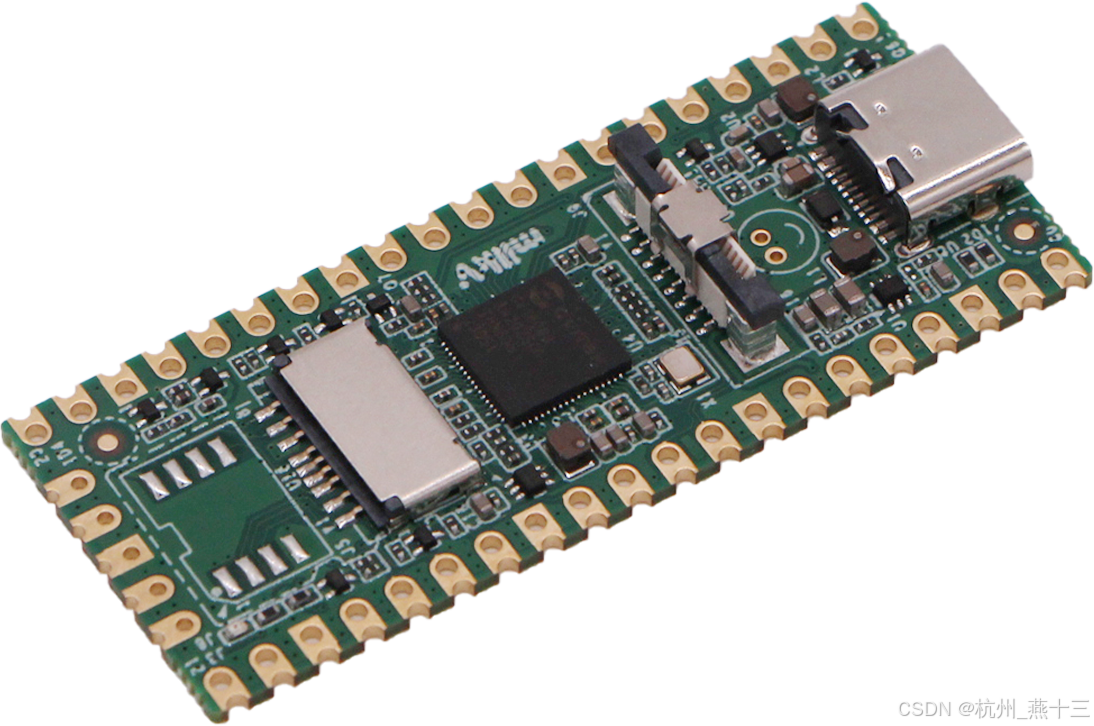
Ubuntu 系统提供的 debootstrap 工具可以帮助我们快速创建指定架构的根文件系统。本次是在 Ubuntu 22.04 使用 debootstrap 工具来创建基于 Ubuntu 22.04 系统的根文件系统,并下载、编译 duo-buildroot-sdk 后更新文件系统,生成 image 文件,并在 Milk-V Duo256M 上运行。
debootstrap
在 Ubuntu 系统里有一个 debootstrap 的工具,可以帮助我们快速制作指定架构的根文件系统。debootstrap 命令最早源自 debian 系统,用来引导一个基础 Debian 系统(一种符合 Linux 文件系统标准(FHS)的根文件系统)。
- 安装依赖
shell
$ sudo apt-get update
$ sudo apt-get install -y wget git make build-essential libtool rsync ca-certificates joe --no-install-recommends- 安装 duo-buildroot-sdk 编译依赖
shell
$ sudo apt-get install -y pkg-config build-essential ninja-build automake autoconf libtool wget curl git gcc libssl-dev bc slib squashfs-tools android-sdk-libsparse-utils jq python3-distutils scons parallel tree python3-dev python3-pip device-tree-compiler ssh cpio fakeroot libncurses5 flex bison libncurses5-dev genext2fs rsync unzip dosfstools mtools tcl openssh-client cmake expect- 安装 debootstrap 工具
shell
$ sudo apt install -y debootstrap qemu qemu-user-static binfmt-support dpkg-cross --no-install-recommends
$ sudo update-ca-certificates
编译 duo-buildroot-sdk
- 下载源码
shell
$ git clone https://github.com/milkv/duo-buildroot-sdk.git --depth=1
$ cd duo-buildroot-sdk
$ wget https://sophon-file.sophon.cn/sophon-prod-s3/drive/23/03/07/16/host-tools.tar.gz
$ tar -xf host-tools.tar.gz- 为了满足 Ubuntu 需要的 systemd 相关依赖,修改 kernel 配置,添加相关所需要的功能。
shell
CONFIG_CGROUPS=y
CONFIG_CGROUP_FREEZER=y
CONFIG_CGROUP_PIDS=y
CONFIG_CGROUP_DEVICE=y
CONFIG_CPUSETS=y
CONFIG_PROC_PID_CPUSET=y
CONFIG_CGROUP_CPUACCT=y
CONFIG_PAGE_COUNTER=y
CONFIG_MEMCG=y
CONFIG_CGROUP_SCHED=y
CONFIG_NAMESPACES=y
CONFIG_OVERLAY_FS=y
CONFIG_AUTOFS4_FS=y
CONFIG_SIGNALFD=y
CONFIG_TIMERFD=y
CONFIG_EPOLL=y
CONFIG_IPV6=y
CONFIG_FANOTIFY
CONFIG_ZSMALLOC=y
CONFIG_ZRAM=y
想上诉配置添加到内核配置文件 build/boards/cv181x/cv1812cp_milkv_duo256m_sd/cv1812cp_milkv_duo256m_sd_defconfig 中。
- 修改打包 cfg 文件
修改 device/milkv-duo256m-sd/genimage.cfg 中 image rootfs.ext4 部分设置 size = 1G。
shell
image rootfs.ext4 {
	ext4 {
		label = "rootfs"
	}
	size = 1G
}- 编译
shell
$ ./build.sh milkv-duo256m-sd生成根文件系统
使用 debootstrap 制作根文件系统会分成两个阶段。
第一阶段
使用 debootstrap 命令来下载软件包,生成最小 bootstrap rootfs
shell
$ sudo debootstrap --arch=riscv64 --foreign jammy ./ubuntu-rootfs http://mirrors.tuna.tsinghua.edu.cn/ubuntu-ports其中:
- --arch:指定要制作文件系统的处理器体系结构, 比如 riscv64
- jammy: 指定 ubuntu 的版本。 jammy 是 ubuntu 22.04 系统。
- ubuntu-rootfs: 本地目录, 最后制作好的文件系统会在此目录。
- --foreign: 只执行引导的初始解包阶段,仅仅下载和解压。
- http://mirrors.tuna.tsinghua.edu.cn/ubuntu-ports: ubuntu 镜像源地址。
第二阶段
需要安装软件包。
因为主机跑在 x86 架构上,而我们要制作的文件系统是跑在 riscv64 上,因此可以使用 qemu-riscv64-static 来模拟成 riscv64 环境的执行环境。
shell
$ sudo cp -rf /usr/bin/qemu-riscv64-static ubuntu-rootfs/usr/bin/使用 debootstrap 命令进行软件包的安装和配置:
shell
$ sudo chroot ubuntu-rootfs /bin/bash
$ /debootstrap/debootstrap --second-stage
其中命令参数 --second-stage 表示执行第二阶段的安装。
bash
I: Configuring python3...
I: Configuring python3-gi...
I: Configuring python3-netifaces:riscv64...
I: Configuring lsb-release...
I: Configuring python3-pkg-resources...
I: Configuring python3-dbus...
I: Configuring python3-apt...
I: Configuring python3-yaml...
I: Configuring netplan.io...
I: Configuring ubuntu-advantage-tools...
I: Configuring networkd-dispatcher...
I: Configuring kbd...
I: Configuring console-setup-linux...
I: Configuring console-setup...
I: Configuring ubuntu-minimal...
I: Configuring libc-bin...
I: Configuring ca-certificates...
I: Base system installed successfully.
显示 I: Base system installed successfully. 这句话,说明第二阶段已经完成。
配置根文件系统
添加源
shell
cat >/etc/apt/sources.list <<EOF
deb http://mirrors.tuna.tsinghua.edu.cn/ubuntu-ports jammy main restricted

deb http://mirrors.tuna.tsinghua.edu.cn/ubuntu-ports jammy-updates main restricted

deb http://mirrors.tuna.tsinghua.edu.cn/ubuntu-ports jammy universe
deb http://mirrors.tuna.tsinghua.edu.cn/ubuntu-ports jammy-updates universe

deb http://mirrors.tuna.tsinghua.edu.cn/ubuntu-ports jammy multiverse
deb http://mirrors.tuna.tsinghua.edu.cn/ubuntu-ports jammy-updates multiverse

deb http://mirrors.tuna.tsinghua.edu.cn/ubuntu-ports jammy-backports main restricted universe multiverse

deb http://mirrors.tuna.tsinghua.edu.cn/ubuntu-ports jammy-security main restricted
deb http://mirrors.tuna.tsinghua.edu.cn/ubuntu-ports jammy-security universe
deb http://mirrors.tuna.tsinghua.edu.cn/ubuntu-ports jammy-security multiverse
EOF
安装软件包
shell
apt update
apt install --no-install-recommends -y util-linux haveged openssh-server systemd kmod \
                                       initramfs-tools conntrack ebtables ethtool iproute2 \
                                       iptables mount socat ifupdown iputils-ping vim dhcpcd5 \
                                       neofetch sudo chrony wget net-tools joe less
配置网络
shell
$ mkdir -p /etc/network
cat >>/etc/network/interfaces <<EOF
auto lo
iface lo inet loopback

auto end0
iface end0 inet dhcp

EOF- 配置 dns
shell
$ cat >/etc/resolv.conf <<EOF
nameserver 1.1.1.1
nameserver 8.8.8.8
EOF
配置时区
shell
cp /usr/share/zoneinfo/Asia/Shanghai /etc/localtime配置 /etc/fstab
shell
$ cat >/etc/fstab <<EOF
# <file system>	<mount pt>	<type>	<options>	<dump>	<pass>
/dev/root	/		ext2	rw,noauto	0	1
proc		/proc		proc	defaults	0	0
devpts		/dev/pts	devpts	defaults,gid=5,mode=620,ptmxmode=0666	0	0
tmpfs		/dev/shm	tmpfs	mode=0777	0	0
tmpfs		/tmp		tmpfs	mode=1777	0	0
tmpfs		/run		tmpfs	mode=0755,nosuid,nodev,size=64M	0	0
sysfs		/sys		sysfs	defaults	0	0
#/dev/mmcblk0p3  none            swap    sw              0       0
EOF
配置 /etc/hostname
shell
$ echo "milkvduo-ubuntu" > /etc/hostname配置 /etc/ssh/sshd_config
shell
$ sed -i 's/#PermitRootLogin prohibit-password/PermitRootLogin yes/' /etc/ssh/sshd_config配置 /etc/sudoers
设置 root 登录密码为 milkv:
shell
$ echo "root:milkv" | chpasswd至此,Ubuntu 根文件系统已经配置完成,退出 bash 至宿主机。
image 打包
将根文件系统通过软链接方式挂载到 duo-buildroot-sdk/install/soc_cv1812cp_milkv_duo256m_sd 目录下,
shell
$ rm -rf duo-buildroot-sdk/install/soc_cv1812cp_milkv_duo256m_sd/fs
$ rm -rf duo-buildroot-sdk/install/soc_cv1812cp_milkv_duo256m_sd/br-rootfs
$ ln -s ubuntu-rootfs duo-buildroot-sdk/install/soc_cv1812cp_milkv_duo256m_sd/fs
$ ln -s ubuntu-rootfs duo-buildroot-sdk/install/soc_cv1812cp_milkv_duo256m_sd/br-rootfs
在 bash 下运行以下命令,打包。
shell
$ cd duo-buildroot-sdk
$ source device/milkv-duo256m-sd/boardconfig.sh
$ source build/milkvsetup.sh
$ defconfig cv1812cp_milkv_duo256m_sd
$ bash device/gen_burn_image_sd.sh install/soc_cv1812cp_milkv_duo256m_sd
会在 duo-buildroot-sdk/install/soc_cv1812cp_milkv_duo256m_sd 目录下生成 milkv-duo256m-sd.img 文件,即为打包好的镜像文件。
运行
将 milkv-duo256m-sd.img 文件烧录到 SD 卡中,启动 Milk-V 开发板,即可运行 Ubuntu 系统。
