事务控制语句


行锁和死锁

行锁
两个客户端同时对同一索引行进行操作
客户端1正常运行
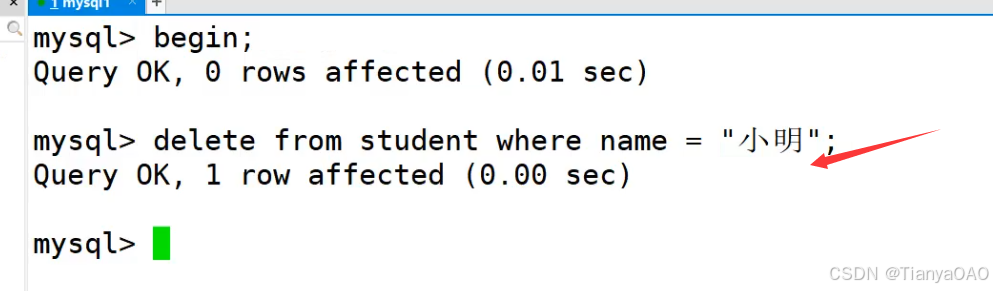
客户端2想修改,被锁行

除非将事务提交才能继续运行
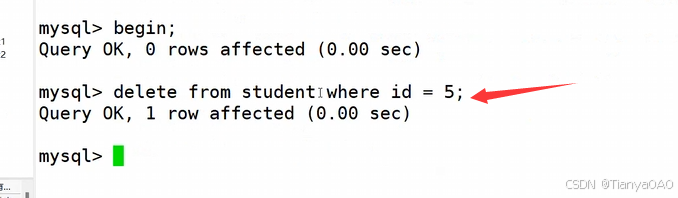
死锁
客户端1删除第5行
客户端2设置第1行为排他锁

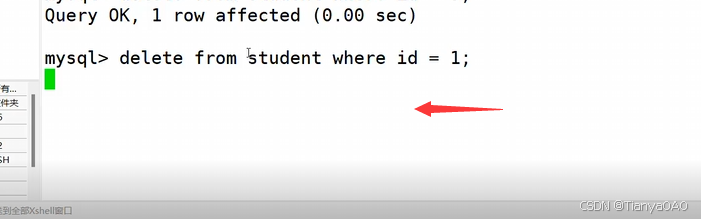
客户端1删除行1被锁
客户端2更新行5被锁
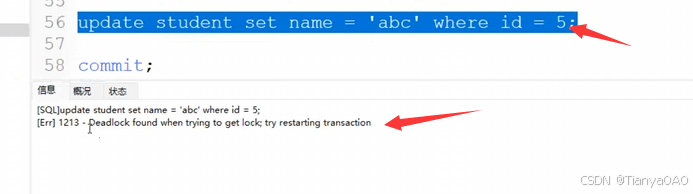

如何避免死锁

mysql的备份和还原以及日志管理
备份的目的就是灾难恢复
数据备份的分类

备份策略

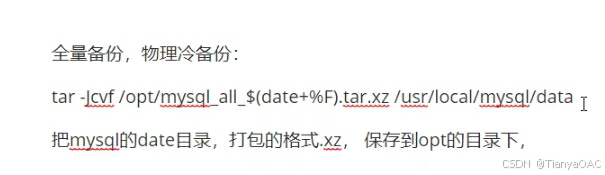
全量备份
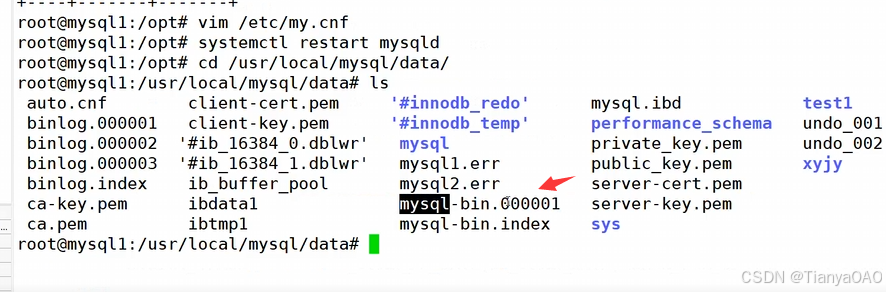
查看mysql数据保存路径
vim /etc/my.cnf
tar Jcvf /opt/mysql_all_$(date +%F).tar.xz /usr/local/mysql/data/把mysql的data目录,打包的格式.xz,保存到opt的目录下

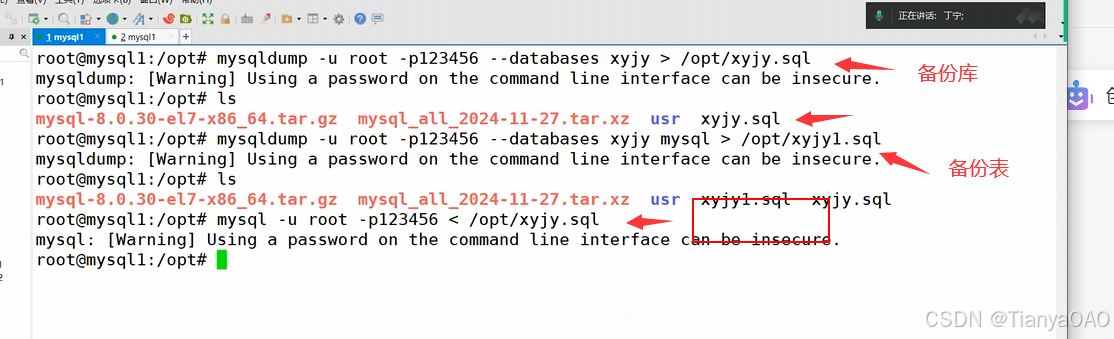
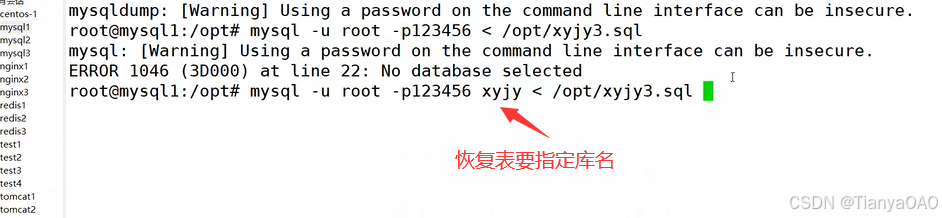
mysqldump的备份和恢复

热备份

通过二进制日志进行备份和还原
先将mysql的二进制日志功能打开
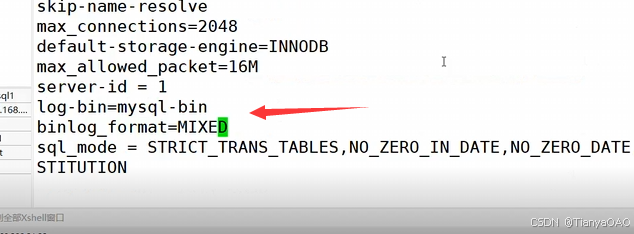
二进制日志的记录格式

使用mysqlbinlog命令来查看日志文件
mysqlbinlog --no-defaults --base64-output=decode-rows -v mysql-bin.000001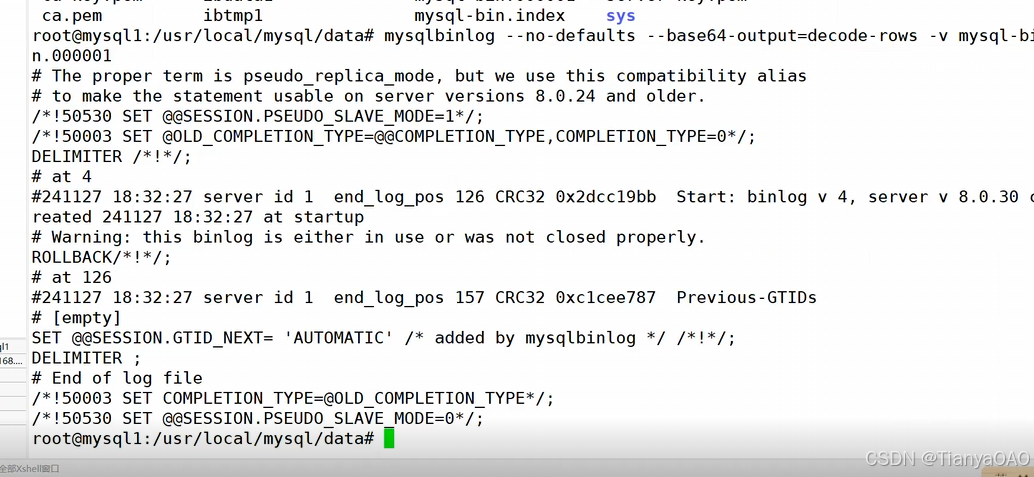
二进制日志的分割
mysqladimn -u root -p123456 flush-log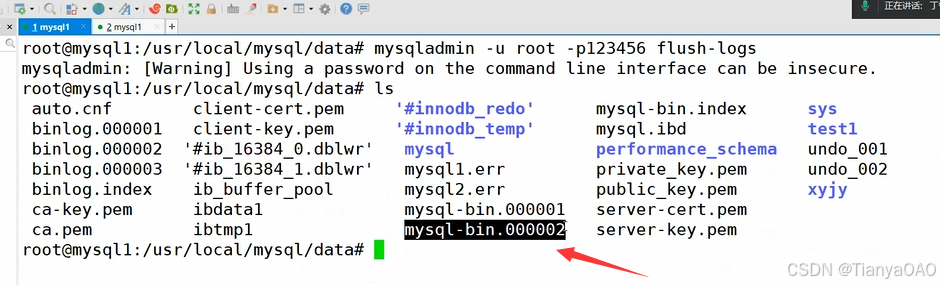
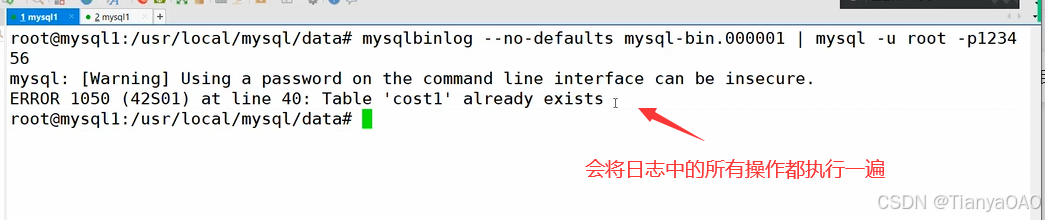
通过二进制日志进行恢复
mysqlbinlog --no-defaults mysql-bin.000001 | mysql -u root -p123456如果日志在当前文件则不需要指明路径,反之必须指明路径
mysqladmin -u root -p123456 flush-logs
我们是按天来执行的,我们就可以按天对数据库进行增量的备份。
mysqlbinlog --no-defaults mysql-bin.000004 | mysql -u root -p123456
基于位置和时间进行恢复
mysqlbinlog --no-defaults --start-position='1338' mysql-bin.000005 | mysql -u root -p123456
从指定位置开始恢复数据,一直恢复到文件的结尾。
mysqlbinlog --no-defaults --stop-position='1338' mysql-bin.000005 | mysql -u root -p123456
从开始恢复到结束位置
从指定位置开始,到指定的位置结束:
mysqlbinlog --no-defaults --start-position='1338' --stop-position='1338' mysql-bin.000005 |mysql -u root -p123456
mysqlbinlog --no-defaults --start-datetime='1338' mysql-bin.000005 | mysql -u root -p123456
从指定时间开始恢复数据,一直恢复到文件的结尾。
mysqlbinlog --no-defaults --stop-datetime='1338' mysql-bin.000005 | mysql -u root -p123456
从开始时间到结束位置
从指定时间开始,到指定的时间结束:
mysqlbinlog --no-defaults --start-datetime='2024-12-20 13:47:17' --stop-datetime='2024-12-20 13:47:38' mysql-bin.000005 |mysql -u root -p123456
log-error=/usr/local/mysql/date/mysql-error.log
#记录mysql在启动,停止或者是运行时,产生错误的日志
general_log=ON general_log_file=/usr/local/mysql/date/mysql_general.log
#开启mysql在使用过程中的记录日志
slow_query_log=ON slow_query_log_file=/usr/local/mysql/date/mysql_slow_query.log long_query_time=5
#开启慢查询日志,用来记录所有查询的时间超过long_query_time=5的记录,查询的执行时间超过5秒钟就会记录。
不注明,默认是10秒
开启错误日志
og-error=/usr/local/mysql/date/mysql-error.log
#记录mysql在启动,停止或者是运行时,产生错误的日志
general_log=ON general_log_file=/usr/local/mysql/date/mysql_general.log
#开启mysql在使用过程中的记录日志
slow_query_log=ON slow_query_log_file=/usr/local/mysql/date/mysql_slow_query.log long_query_time=5
#开启慢查询日志,用来记录所有查询的时间超过long_query_time=5的记录,查询的执行时间超过5秒钟就会记录。
不注明,默认是10秒