从Eclipse IDE 安装
从Eclipse IDE 安装插件:
_1、在Eclipse IDE 中,单击帮助菜单,然后选择EclipseMarketplace。
_2、根据您计划进行的工作类型选择安装方式:
有关代码建议、代码解释、代码文档和单元测试的集成生成式人工智能,请搜索 watsonx Code Assistant。
要添加企业 Java 现代化功能、增强代码解释和增强单元测试生成,请搜索 watsonx Code Assistant for Enterprise Java Applications 。
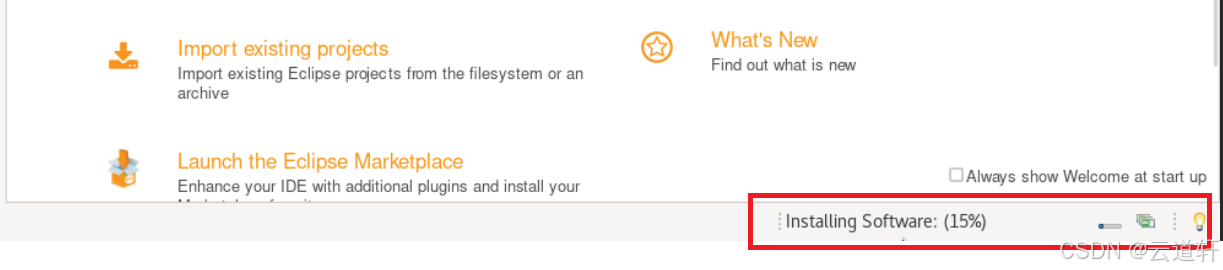
点击安装按钮。
_3、点击安装按钮。

_4、在 "确认功能 "中,查看项目,然后单击 "确认"。
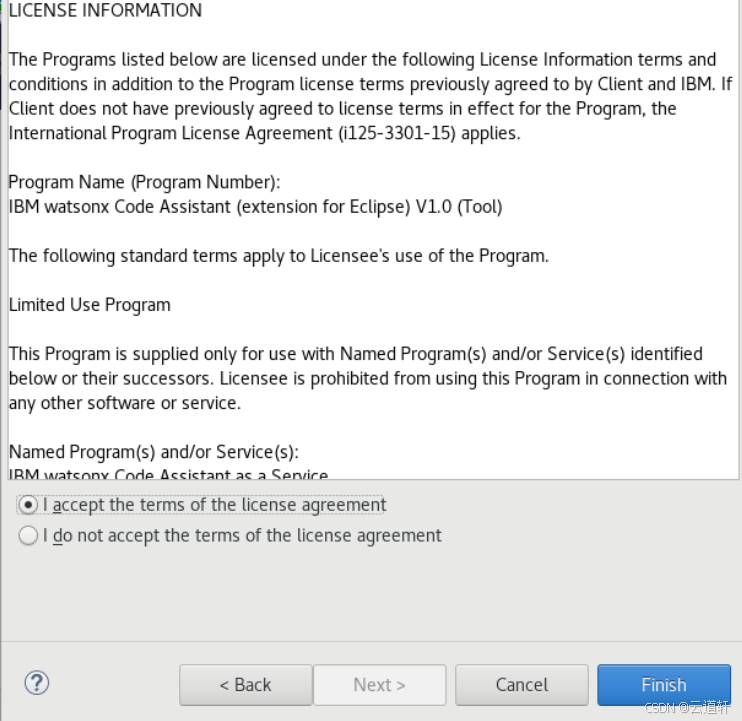
_5、在 "审查许可证 "中,阅读许可证,单击同意,然后单击完成。
_6、在 "信任授权 "中,单击复选框,然后单击 "已选信任"。

_7、在 "信任人工制品 "上,单击 "类型"复选框,然后单击 "已选信任"。
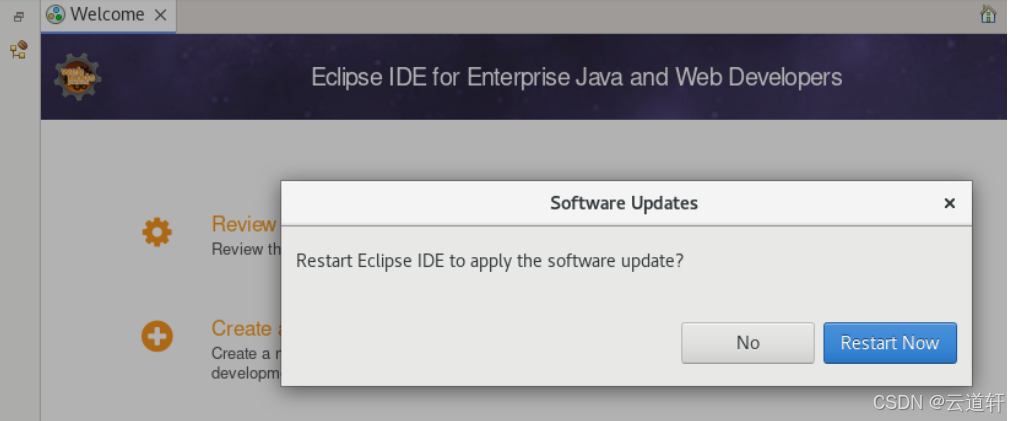
_8、您需要重新启动Eclipse。 在 "软件更新 "中,单击 "立即重启"。
使用 IBM Software Hub URL 和用户名更新设置
您需要在扩展设置中添加 IBM Software Hub URL 和用户名。 请联系您的 IBM Software Hub 管理员寻求帮助。
_1、打开 Eclipse IDE 的设置。
_2、在watsonx Code Assistant设置条目中,展开以打开安全设置。
_3、在 Cloud Pak for Data 实例的 URL 中,输入您组织的 IBM Software Hub 实例的 URL。
_4、在输入您内部安装实例的用户名中,输入您的 IBM Software Hub 用户名。
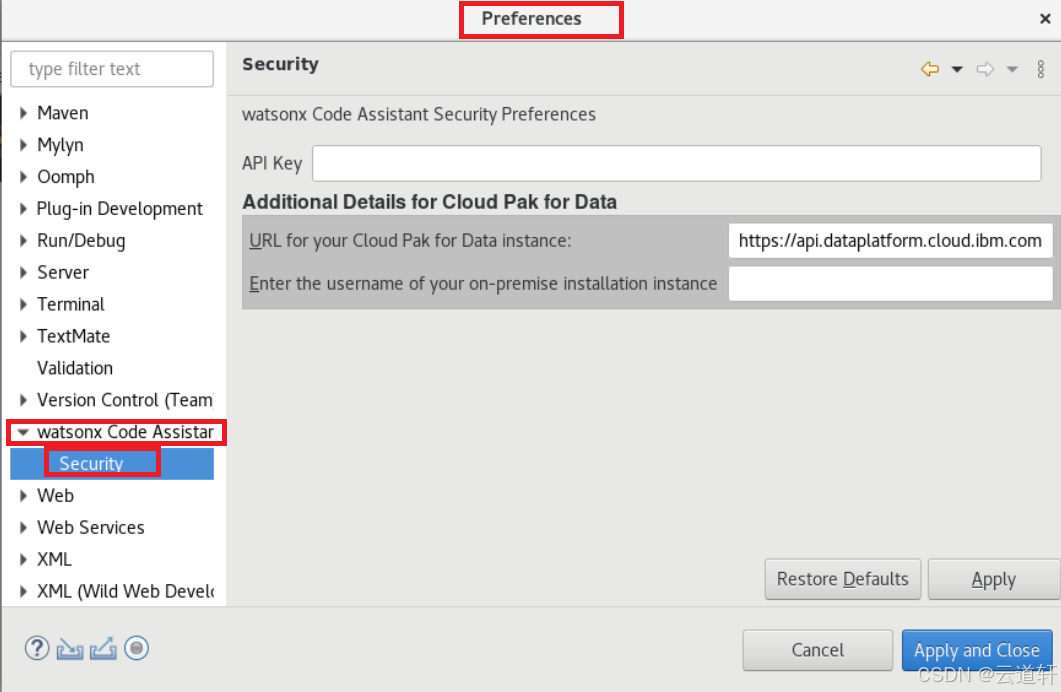
_5、单击 "应用 "并关闭。
打开插件
打开watsonx Code Assistant:
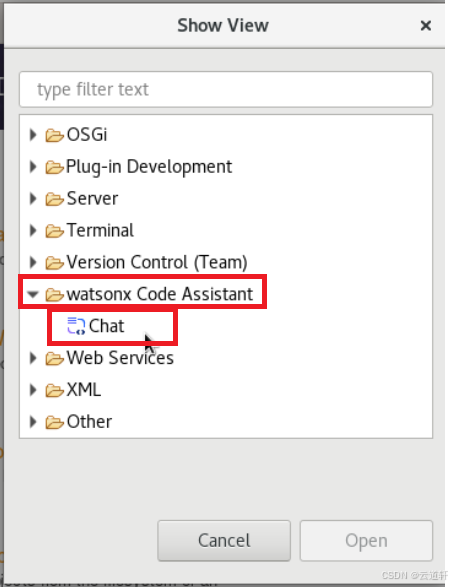
_1、Eclipse重新启动后,单击窗口,选择显示视图,然后单击其他。
_2、在 "显示视图 "对话框中,打开watsonx Code Assistant文件夹,选择 "聊天",然后单击 "打开"。
_3、单击登录 ,然后输入您的 IBM Software Hub 平台 API 密钥。