目录
步骤一:首先确认自己是否已经安装JDK
jdk各版本通用安装配置及检验:https://blog.csdn.net/m0_48170265/article/details/129070240
步骤二:下载安装Tomcat
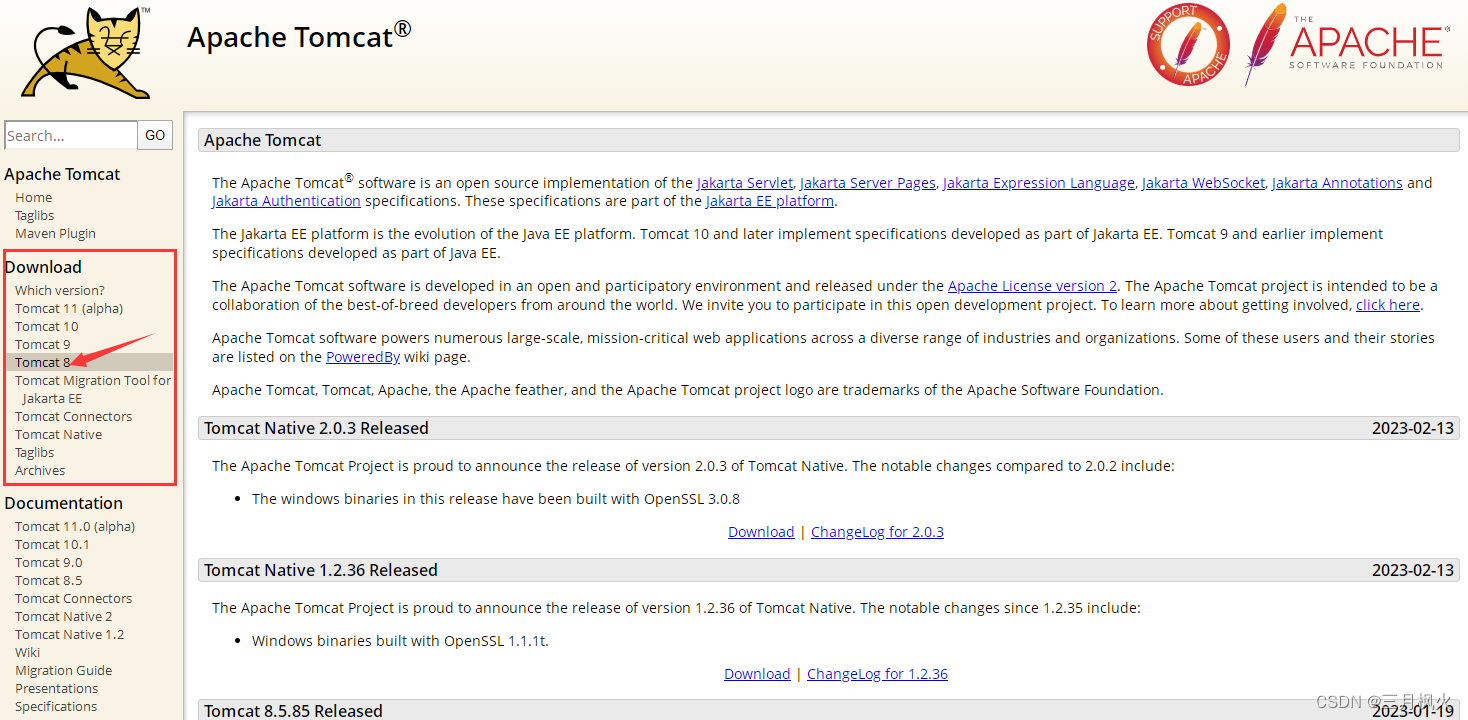
Tomcat下载官网:https://tomcat.apache.org/
在左侧Download处选择对应Tomcat版本:
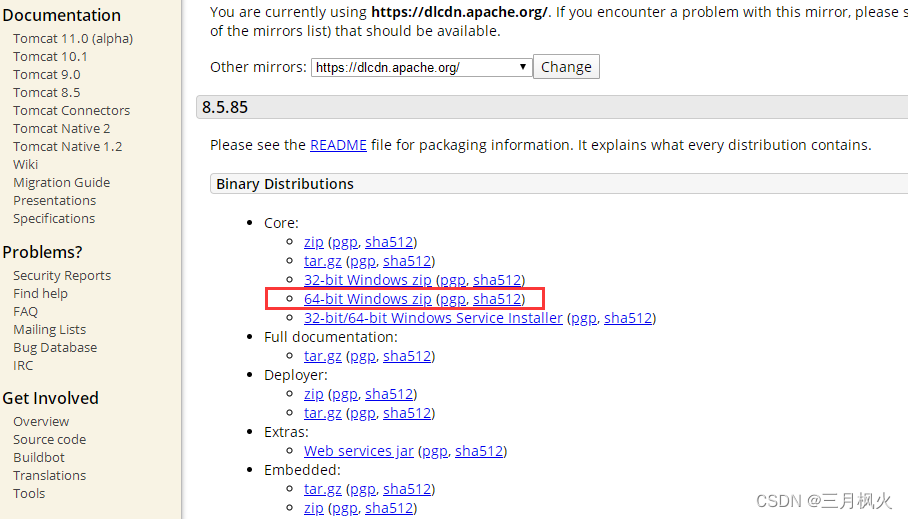
一般选择64位:
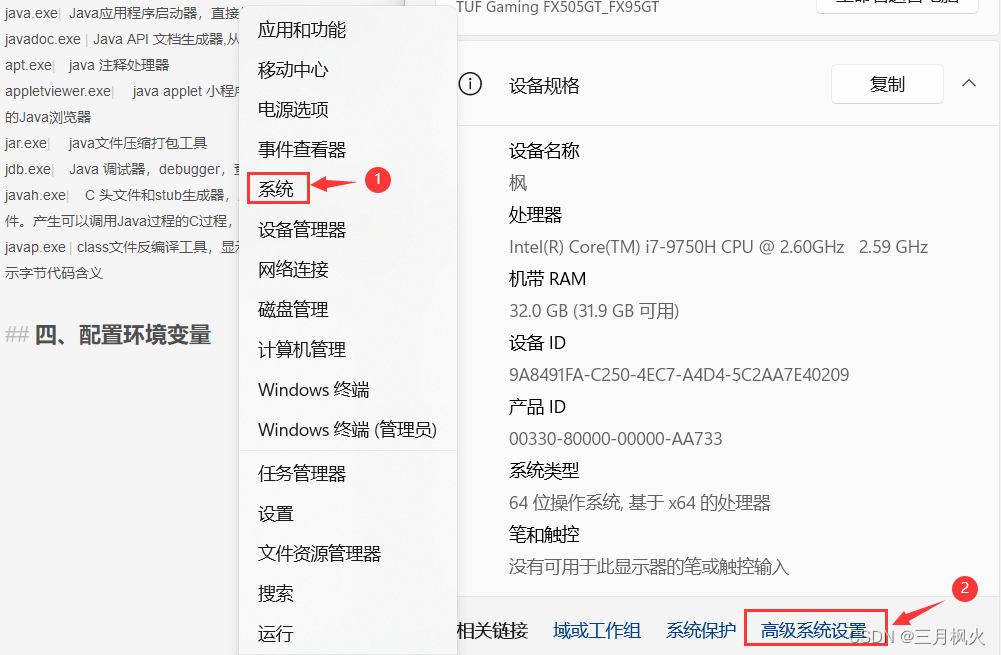
步骤三:Tomcat配置环境变量
右键点击任务栏Windows(开始)处,依次选择系统和高级系统设置
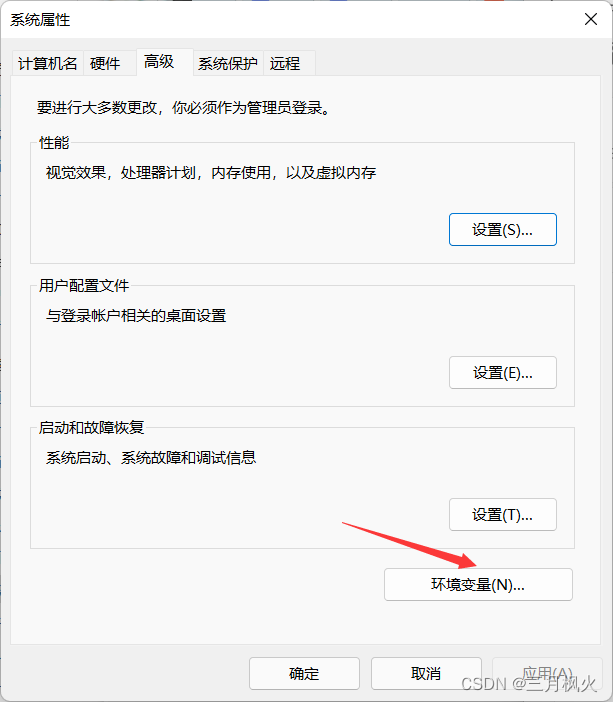
选择环境变量
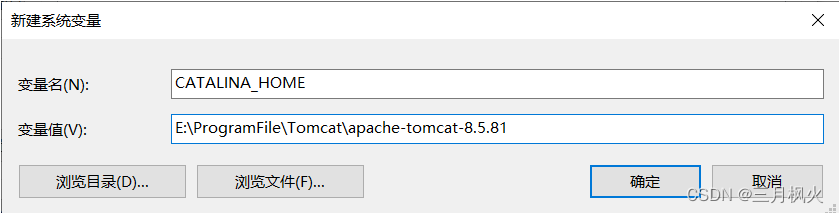
在系统变量这一栏里选择新建:
变量名:
CATALINA_HOME
变量值:
E:ProgramFileTomcatlapache-tomcat-8.5.81(解压后的路径)
再找系统变量中的Path ,添加:
%CATALINA_HOME%in
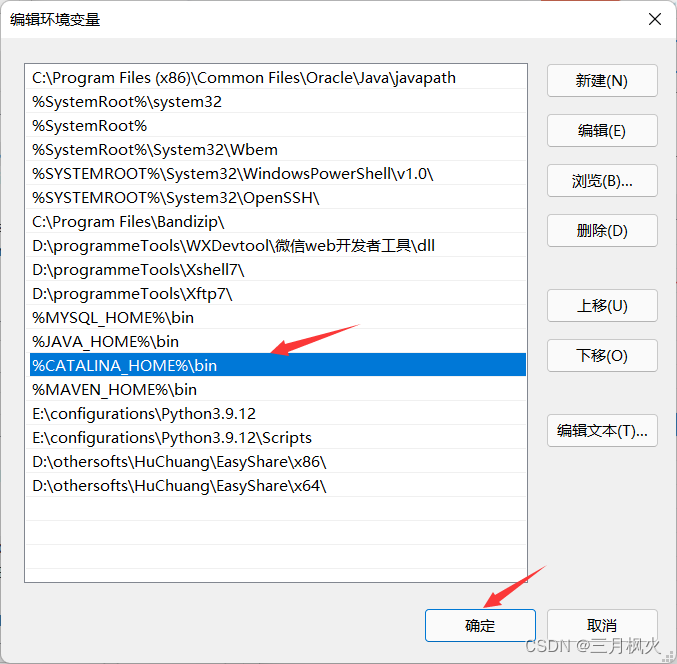
之后一直点击确定
步骤四:验证Tomcat配置是否成功
首先win+R输入cmd回车,然后再DOS窗口输入startup.bat回车。
之后会出现Tomcat启动窗口。
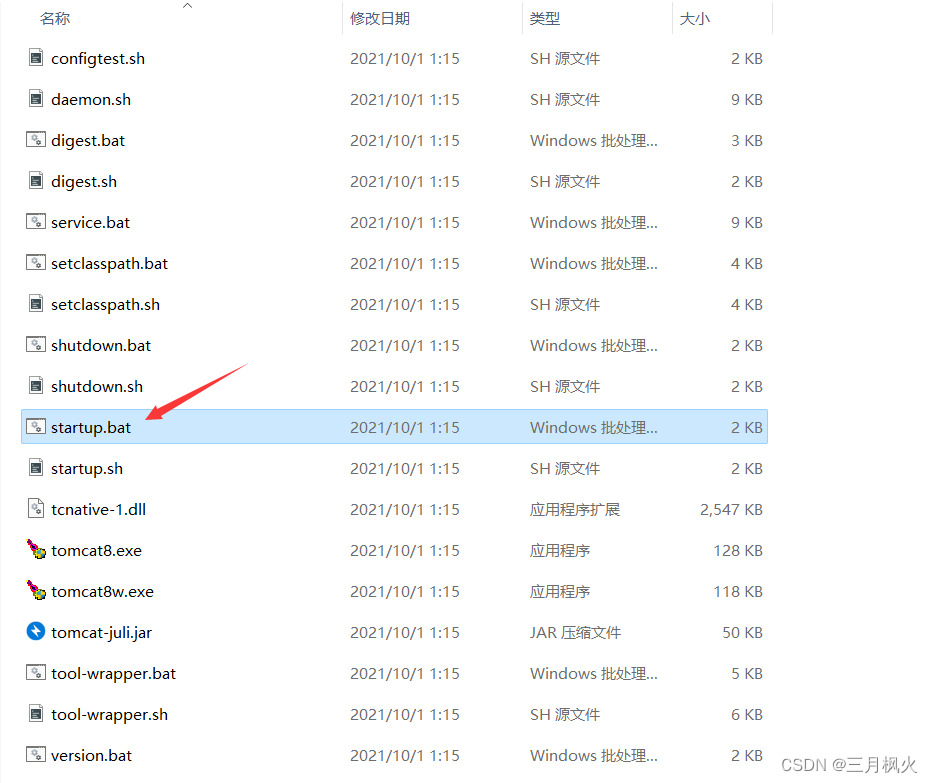
或者在Tomcat安装目录下点击 startup.bat ,效果是一样的
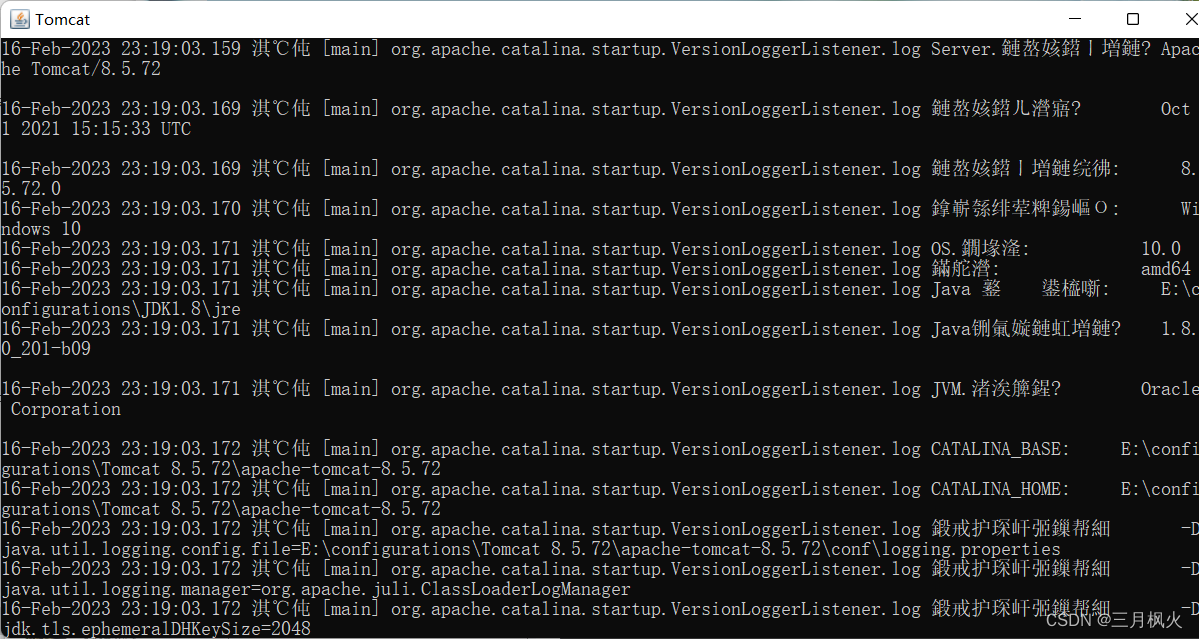
若出现乱码,可用Notepad++或记事本查看 conf 目录下的 logging.properties
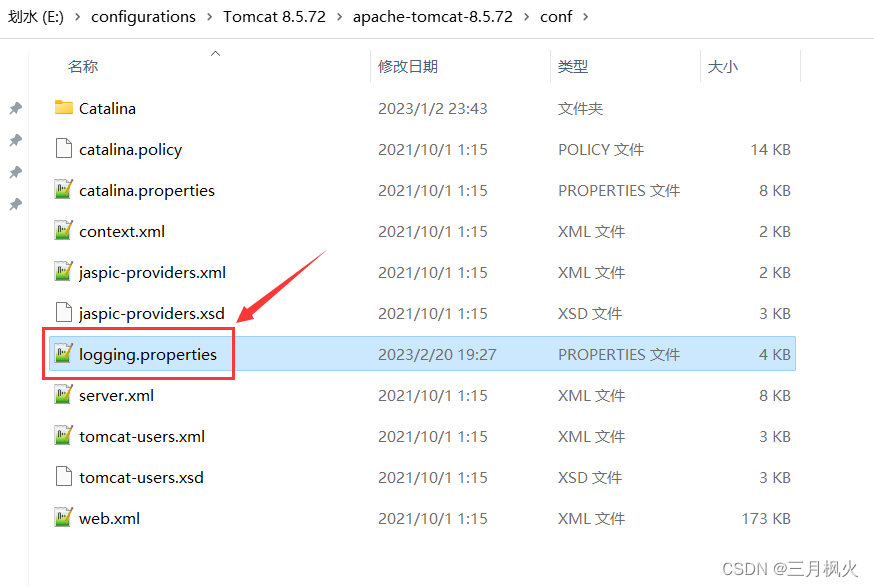
将此处的 UTF-8 改为 GBK :

再次打开startup.bat:
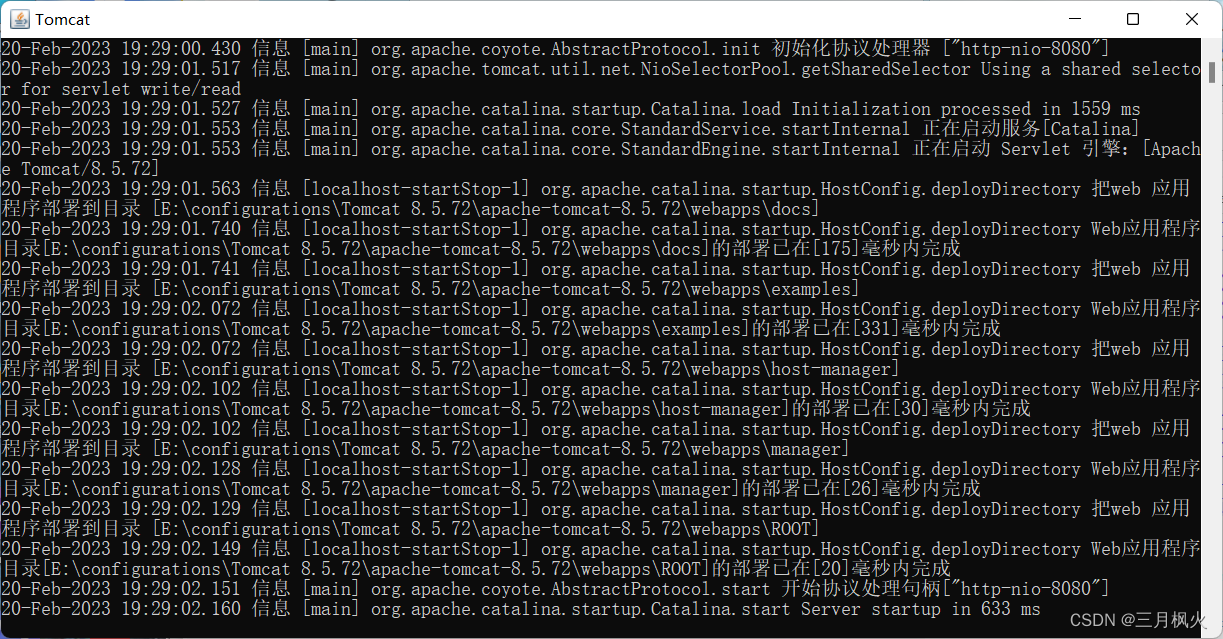
出现上图所示的黑窗口代表配置成功。
如果出现报错或者一闪而过,可能是端口号被占用。Tomcat默认窗口时8080。
可以尝试重启电脑,再启动Tomcat试试。不行的话,就修改Tomcat端口号。
如果配置成功,打开浏览器,输入http://localhost:8080/
若如下图所示,则表示成功。

注意:之前那个黑窗口一定不能关闭,否则打不开这个页面;另外编程需要启用Tomcat服务器时,黑窗口也不能关,否者无法使用Tomcat服务器。
步骤五:为IDEA配置Tomcat
创建web项目后我们需要配置tomcat才能运行,配置如下:
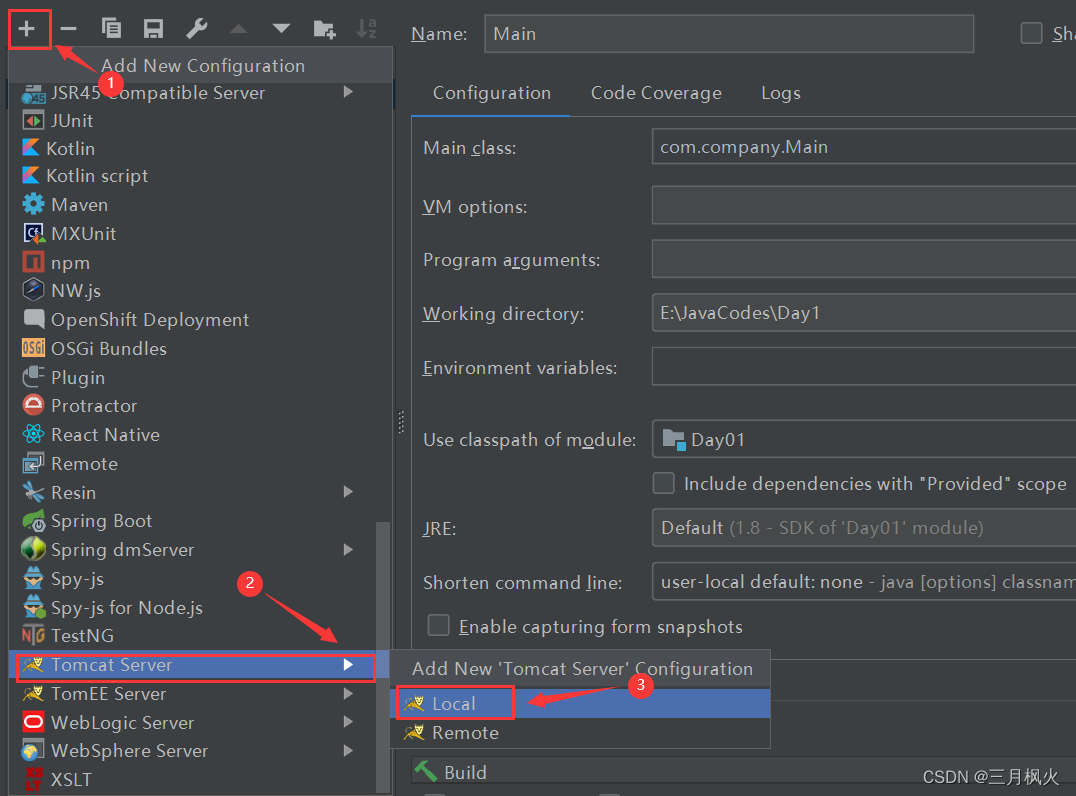
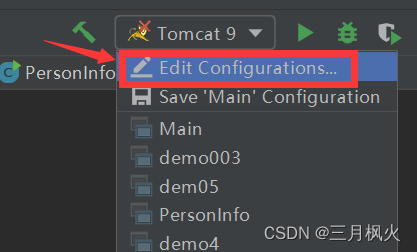
点击右上角的下三角,选择 Edit Configurations...

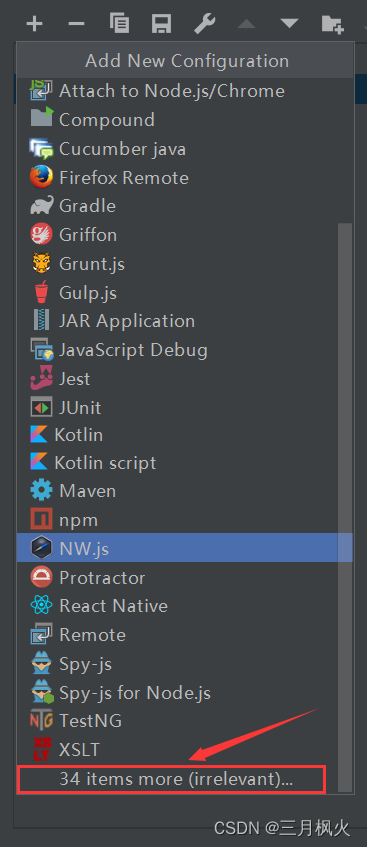
点击 + 号 → 下滑找到Tomcat Server → 选择Local
若下滑找不到Tomcat Server,可能需要点击下面的more展开
点击configuration,点击+号,在接下来的Tomcat Home: 中选择自己的tomcat目录

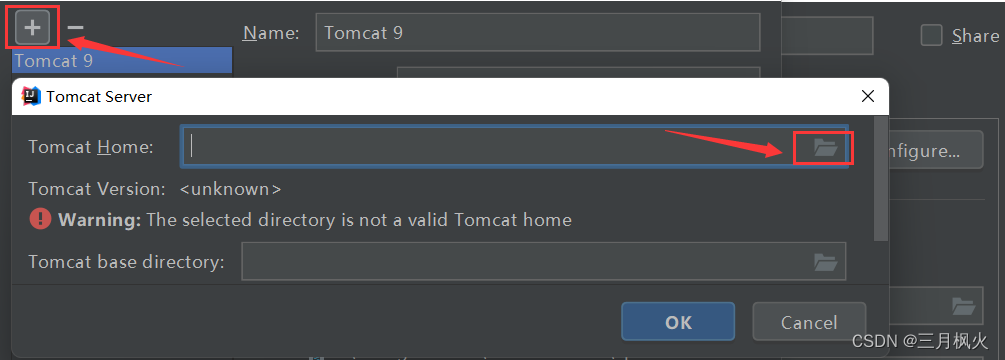
选择:
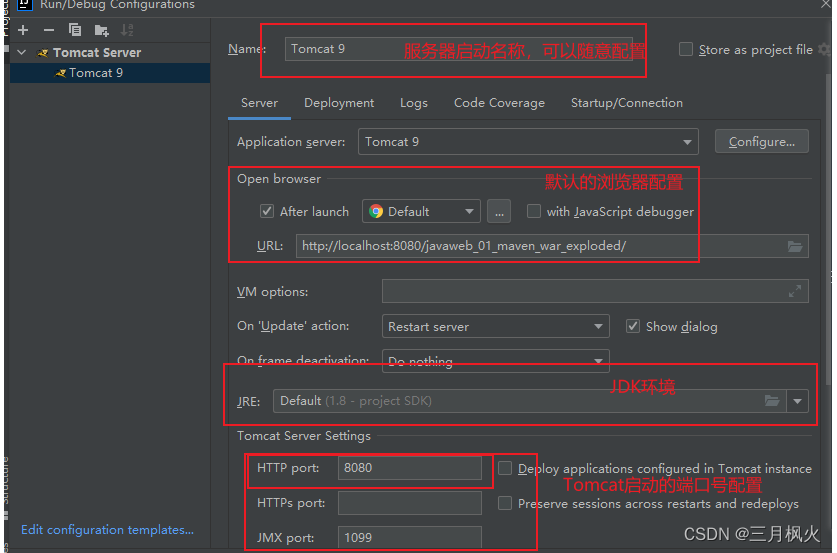
基本无须更改
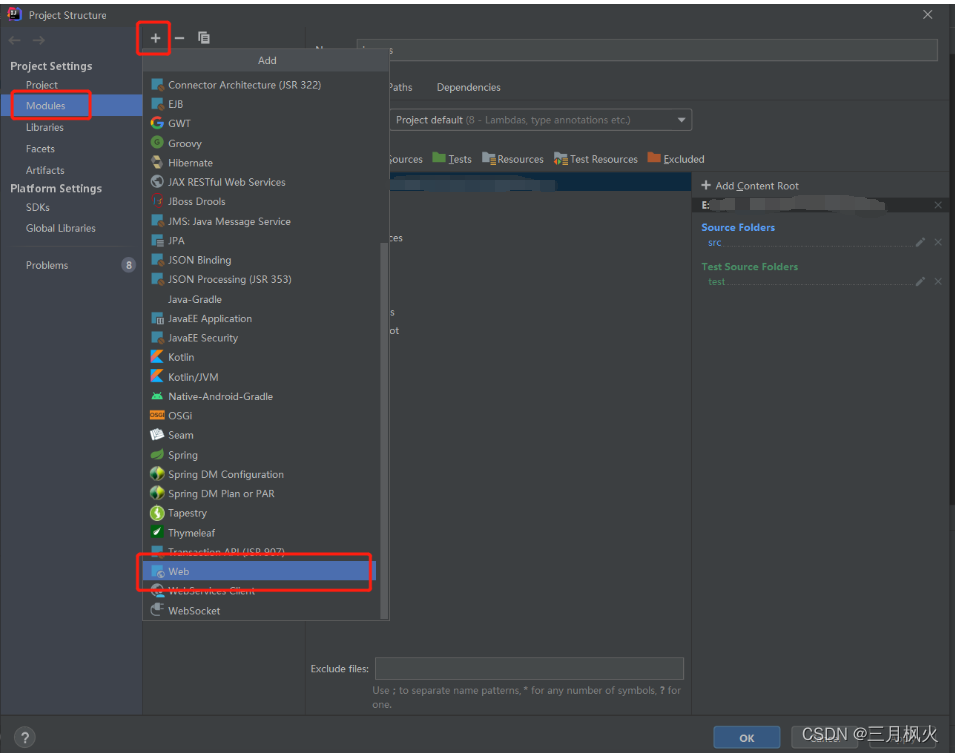
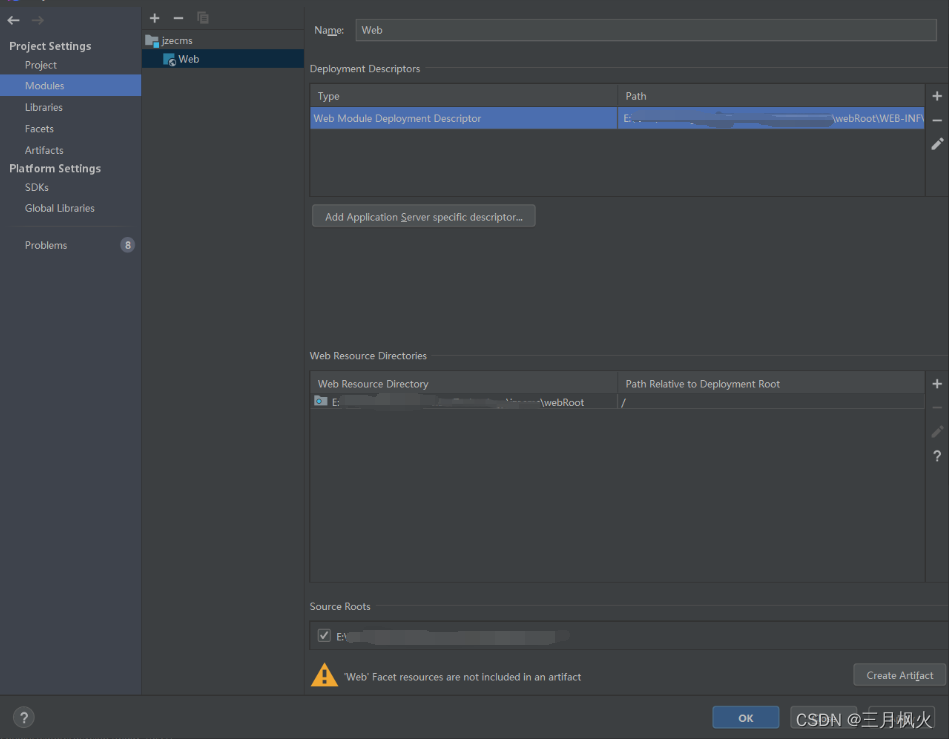
选择"+"→"web" ,选择web.xml和webRoot
Path: E:IdeaProject项目名称webRootWEB-INFweb.xml
Web resource Directories:E:IdeaProject项目名称webRoot
选择"+",点击 java,找到 webroot 下面的lib包

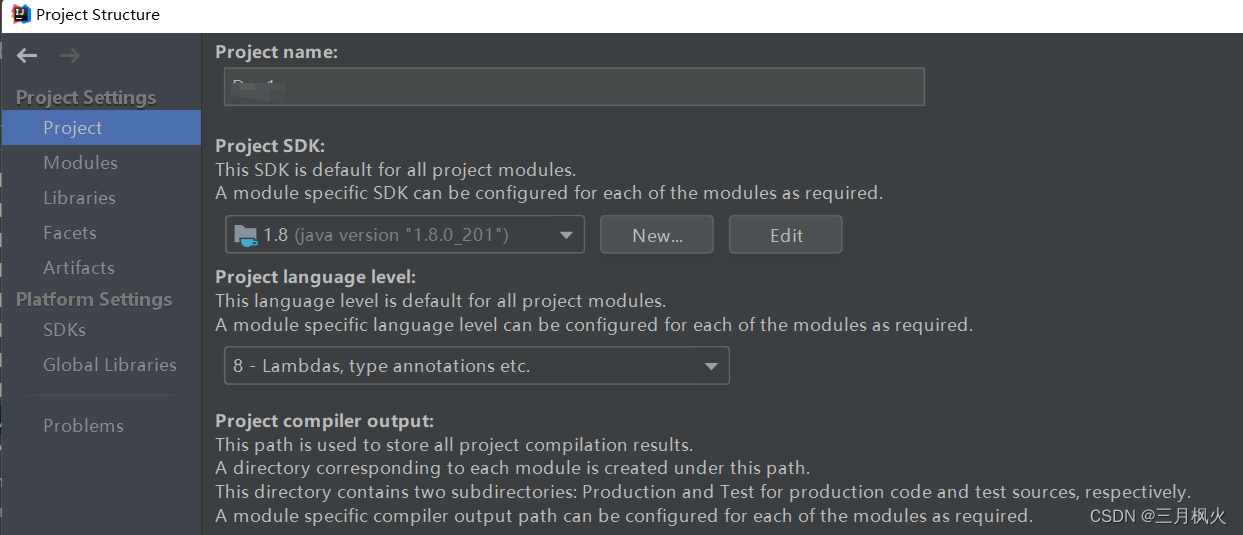
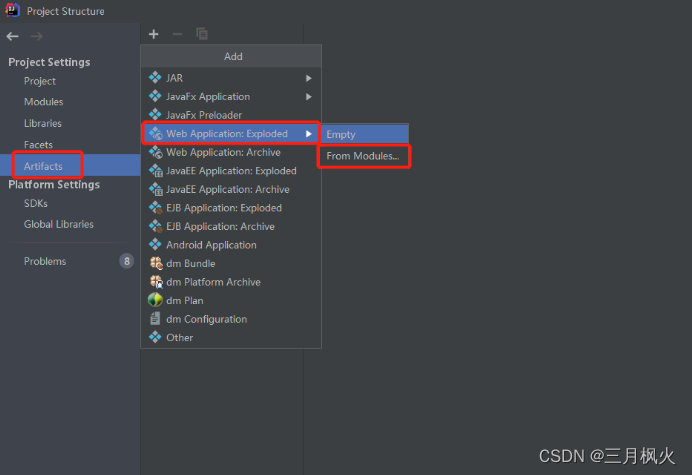
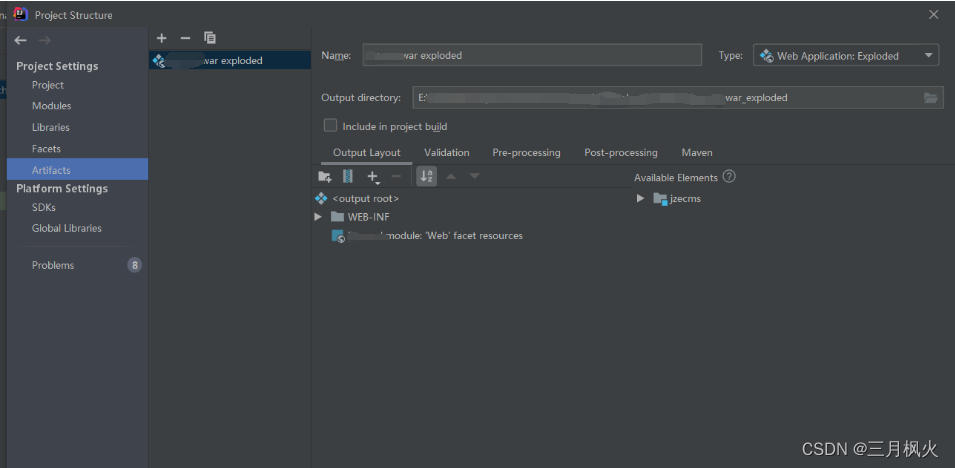
选择项目,设置


选择:
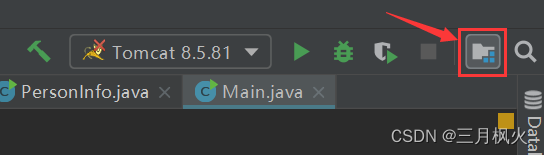
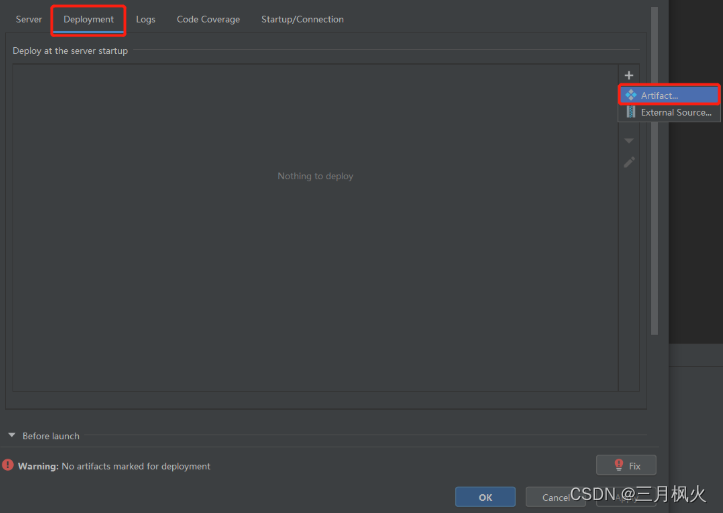
点击"Edit Configurations"进入tomcat服务编辑页面。
点击"Deployment",然后点击"+",就完成了。
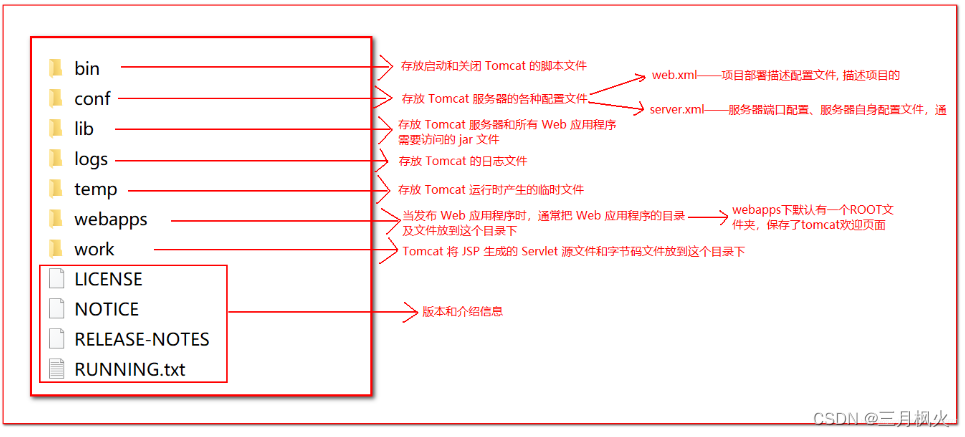
Tomcat的目录结构:
其他实用文章:
1、详解Maven下载安装及IDEA配置Maven :
https://blog.csdn.net/m0_48170265/article/details/129081544
2、详解JDK1.8等版本安装及配置 :
https://blog.csdn.net/m0_48170265/article/details/129070240