1.导航栏(navbar)
在components下面 创建NavBar.jsx
import { MessageSquare,Settings,User,LogOut} from "lucide-react"
import {Link} from "react-router-dom"
import { useAuthStore } from "../store/useAuthStore"
const NavBar = () => {
const {authUser,logout} = useAuthStore()
return (
<header className="bg-base-100 border-b border-base-300 fixed w-full top-0 z-40
backdrop-blur-lg bg-base-100/80">
<div className="container mx-auto px-4 h-16">
<div className="flex items-center justify-between h-full">
<div className="flex items-center gap-8">
<Link to="/" className="flex items-center gap-2.5 hover:opacity-80 transition-all duration-200">
<div className="size-9 rounded-lg bg-primary/10 flex items-center justify-center">
<MessageSquare className="w-5 h-5 text-primary"/>
</div>
<h1 className="text-lg font-bold">HamburgerChat</h1>
</Link>
</div>
<div className="flex items-center gap-2">
<Link to="/settings" className={`btn btn-sm gap-2 transition-colors`}>
<Settings className="size-5"></Settings>
<span className="hidden sm:inline">设置</span>
</Link>
// 只有登录了 才会显示 个人资料和退出按钮
{authUser && (
<>
<Link to="/profile" className={`btn btn-sm gap-2 transition-colors`}>
<User className="size-5"></User>
<span className="hidden sm:inline">个人资料</span>
</Link>
<button className="flex items-center gap-2" onClick={logout}>
<LogOut className="size-5"></LogOut>
<span className="hidden sm:inline">退出</span>
</button>
</>
)}
</div>
</div>
</div>
</header>
)
}
export default NavBar
然后再App.jsx引入 NavBar.jsx组件
import NavBar from '@/components/NavBar'
并使用组件 加在Routes配置上面
<NavBar />
<Routes>
<Route path="/" element={authUser?<HomePage />: <Navigate to="/login" />} />
<Route path="/signup" element={!authUser ? <SignUpPage />:<Navigate to="/" />} />
<Route path="/login" element={!authUser ?<LoginPage /> : <Navigate to="/" />} />
<Route path="/settings" element={<SettingsPage /> } />
<Route path="/profile" element={authUser ? <ProfilePage />:<Navigate to="/login" />} />
</Routes>
效果如图
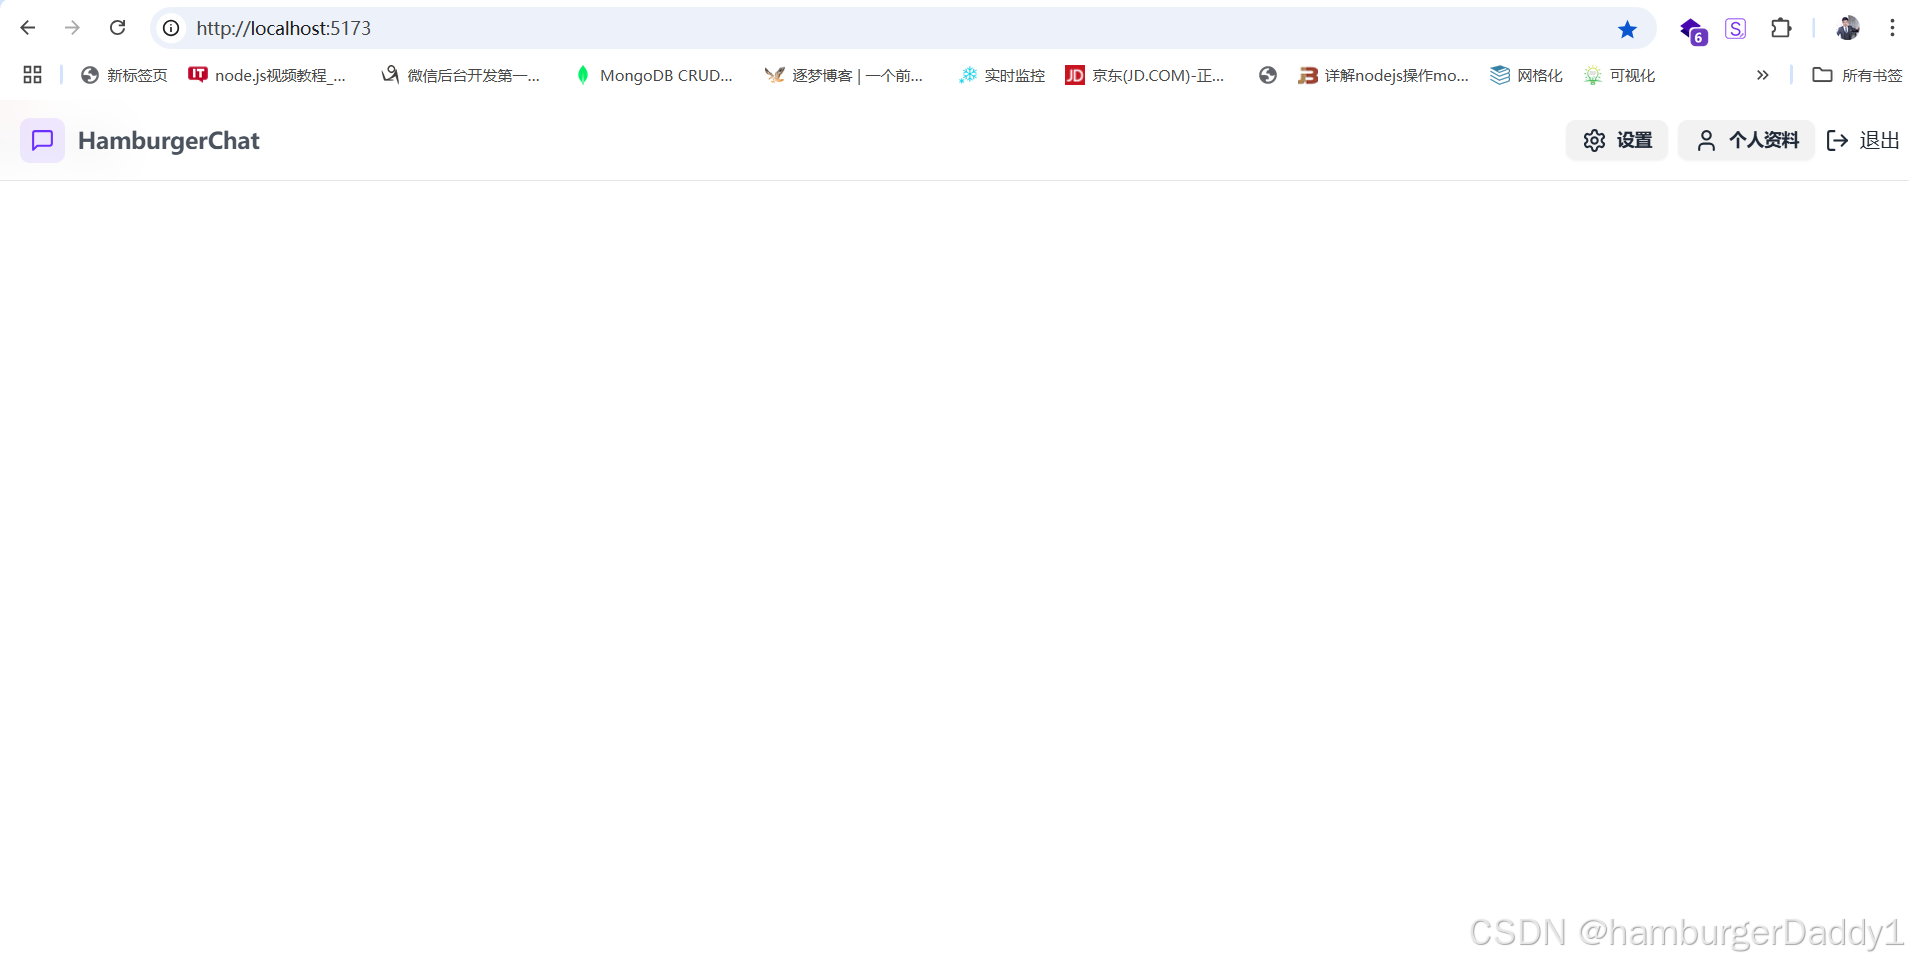
点击退出按钮 会跳转到 登录页面 导航栏这就完成了。
2.个人信息设置
修改ProfilePage内容 Profile最主要的内容就是 点击头像 上的小相机图标 我们可以上传更换头像。上传功能我们是使用cloudinary (类似七牛云 阿里oss)。网址:https://cloudinary.com/
我们在官方申请账号

1.后端接口
在server 下 .env配置

在lib下新建cloudinary.js 使用我们申请的key
javascript
import {v2 as cloudinary} from 'cloudinary'
import  {config} from "dotenv"

config()

cloudinary.config({
    cloud_name: process.env.CLOUDINARY_NAME,
    api_key: process.env.CLOUDINARY_API_KEY,
    api_secret: process.env.CLOUDINARY_API_SECRET
})


export default cloudinary
接下来在后端实现 保存个人信息接口
在server auth.route.js 增加保存信息路由
先引入updateProfile方法
import {signUp, login,logout,checkAuth,updateProfile} from "../controllers/auth.controller.js"
router.put('/update-profile', protectRoute, updateProfile)
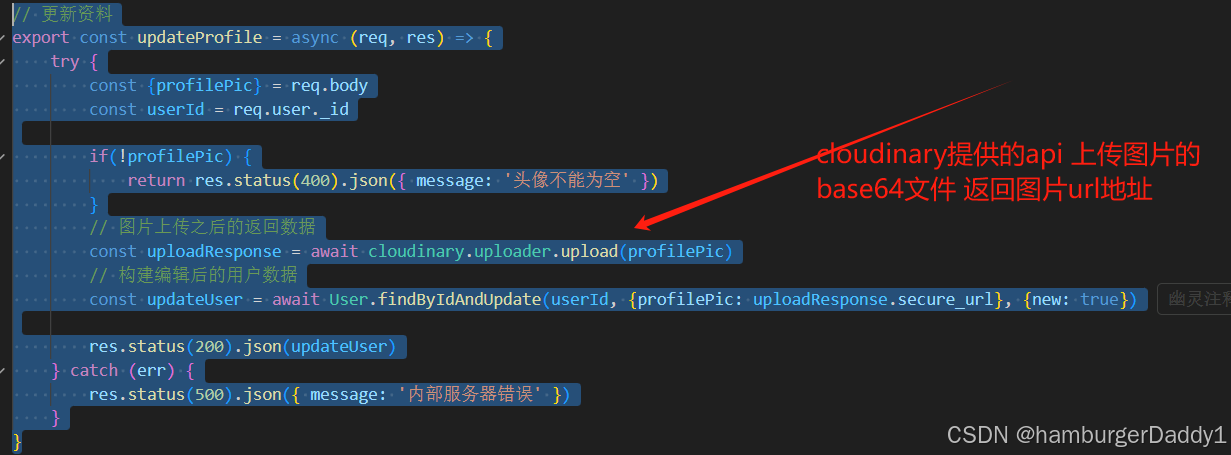
在auth.controller.js 增加UpdateProfile方法
2.前端页面
在useAuthStore中增加 保存信息loading状态 和请求方法
isUpdatingProfile: false, // 是否更新中
updateProfile: async(data) => {
set({isUpdatingProfile: true})
try {
const res = await axiosInstance.put('/auth/update-profile', data)
set({authUser: res.data}) // 请求成功后 更新当前user的信息
toast.success("资料更新成功")
} catch (error) {
console.log("useAuthStore updateProfile error",error.message)
toast.error(error.response.data.message)
} finally {
set({isUpdatingProfile: false})
}
},
修改ProfilePage.jsx
javascript
import { useState } from "react";
import { useAuthStore } from "../store/useAuthStore";
import {Camera,User,Mail} from "lucide-react";
const ProfilePage = () => {
const [selectedImage, setSelectedImage] = useState(null)
const { authUser, isUpdatingProfile,updateProfile } = useAuthStore();
const handlerImageUpload = async (e) => {
const file = e.target.files[0];
if (!file) return;
const reader = new FileReader();
reader.readAsDataURL(file);
reader.onload = async () => {
const base64Image = reader.result;
await updateProfile({ profilePic: base64Image });
}
}
return (
<div className="h-screen pt-20">
<div className="max-w-2xl mx-auto py-8">
<div className="bg-base-300 rounded-xl p-6 space-y-8">
<div className="text-center">
<h1 className="text-2xl font-semibold">个人资料</h1>
<p className="mt-2">你的个人信息</p>
</div>
{/* 头像 */}
<div className="flex flex-col items-center gap-4">
<div className="relative">
<img src={selectedImage || authUser.profilePic || "https://placehold.co/128x128"} alt="profile"
className="size-32 rounded-full object-cover border-4"
></img>
<label
htmlFor="avatar-upload"
className={`absolute bottom-0 right-0 bg-base-content hover:scale-105
p-2 rounded-full cursor-pointer transition-all duration-300
${isUpdatingProfile ? 'animate-pulse pointer-events-none' : ''}
`}
>
<Camera className="size-5 text-base-200" />
<input
type="file"
id="avatar-upload"
className="hidden"
accept="image/*"
onChange={handlerImageUpload}
disabled={isUpdatingProfile}
/>
</label>
</div>
<p className="text-sm text-zinc-400">
{isUpdatingProfile ? "上传中..." : "点击相机上传头像"}
</p>
</div>
{/* 用户信息 */}
<div className="space-y-6">
<div className="space-y-1.5">
<div className="text-sm text-zinc-400 flex items-center gap-2">
<User className="size-4"/>
用户名
</div>
<p className="px-4 py-2.5 bg-base-200 rounded-lg border">{authUser?.userName}</p>
</div>
<div className="space-y-1.5">
<div className="text-sm text-zinc-400 flex items-center gap-2">
<Mail className="size-4"/>
邮箱地址
</div>
<p className="px-4 py-2.5 bg-base-200 rounded-lg border">{authUser?.email}</p>
</div>
</div>
{/* 账号状态 */}
<div className="mt-6 bg-base-300 rounded-xl p-6">
<h2 className="text-lg font-medium mb-4">账号信息</h2>
<div className="spacy-y-3 text-sm">
<div className="flex items-center justify-between py-2
border-b border-zinc-700"
>
<span>账号注册时间</span>
<span>{authUser.createdAt?.split("T")[0]}</span>
</div>
<div className="flex items-center justify-between py-2
border-b border-zinc-700"
>
<span>账号状态</span>
<span className="text-green-500">正常</span>
</div>
</div>
</div>
</div>
</div>
</div>
)
}
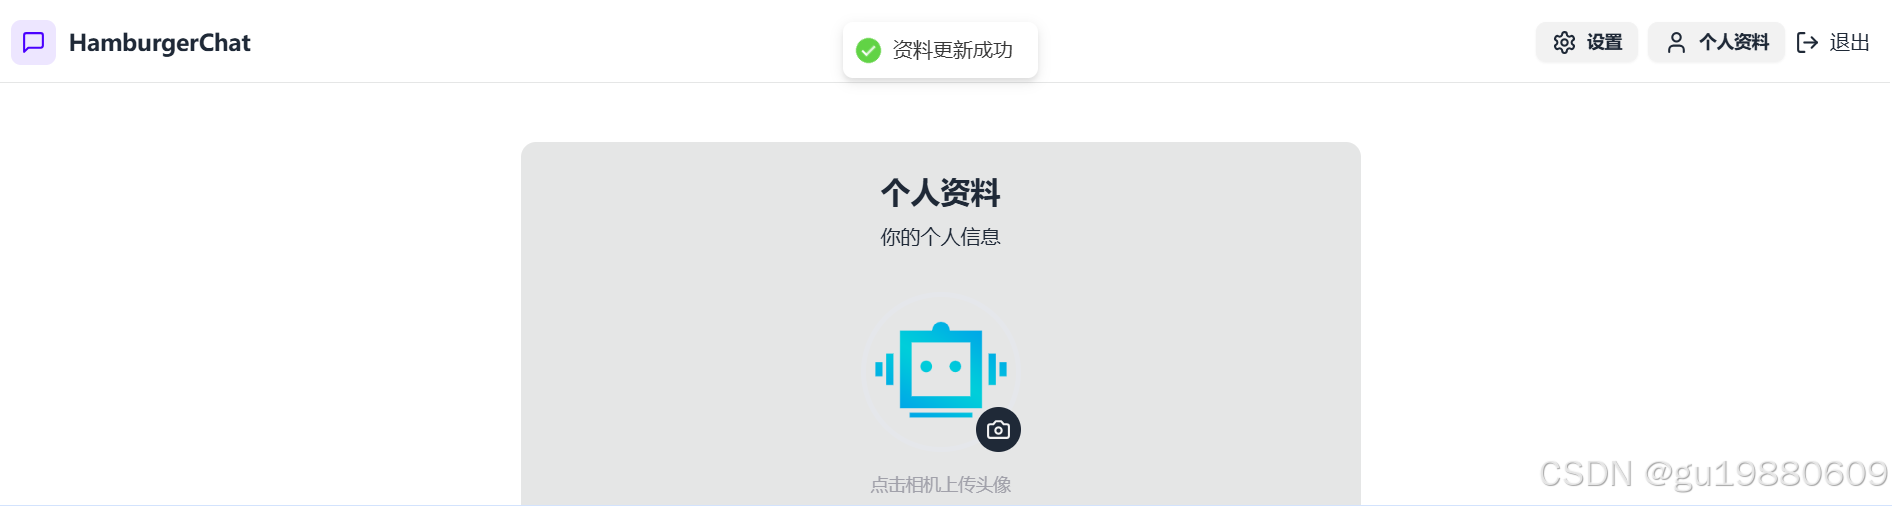
export default ProfilePage效果如图
 点击头像小相机 选择一张小于50kb的图片上传更新 头像
这就是今天内容 下篇实现主题设置 欢迎评论区留言