识别网站所用技术
-
安装模块
pip install builtwith
-
进行分析
python
>>> import builtwith
>>> builtwith.parse('http://www.baidu.com')
{'javascript-frameworks': ['Prototype', 'RequireJS', 'jQuery']}
寻找网站所有者
有些网站所有者会封禁网络爬虫 所以需要控制下载速度,可以使用WHOIS协议查询域名的注册者
通过命令行下载
python
pip install python-whois
执行
python
>>> import whois
>>> print whois.whois('baidu.com')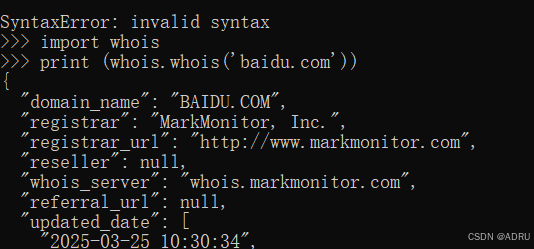
编写第一个网络爬虫
1. 下载网页
要想爬取一个网页,首先要将其下载下来
py2写法:
python
import urllib2

def download(url) :

    return urllib2.urlopen(url).read()
py3写法
python
import urllib.request

# 发起请求
response = urllib.request.urlopen("https://www.baidu.com")
data = response.read()

# 保存到文件
with open("output.html", "wb") as f:
    f.write(data)
2. 设置用户代理
在 Python 3 中,使用 urllib.request 模块发送 HTTP 请求时,默认的用户代理(User-Agent)是 Python-urllib/3.x(其中 x 是你使用的 Python 3 的具体版本号)。
例如,如果你使用 Python 3.8,默认的用户代理字符串可能是 Python-urllib/3.8。
这个默认用户代理在某些网站上可能会被识别为爬虫并被拒绝访问。如果你需要模拟浏览器行为,通常需要自定义用户代理,例如:
python
import urllib.request

url = "https://www.baidu.com"
headers = {
    'User-Agent': 'Mozilla/5.0 (Windows NT 10.0; Win64; x64) AppleWebKit/537.36 (KHTML, like Gecko) Chrome/91.0.4472.124 Safari/537.36'
}

req = urllib.request.Request(url, headers=headers)
response = urllib.request.urlopen(req)
content = response.read()
上面代码示例中设置的用户代理(User-Agent)是:
python
Mozilla/5.0 (Windows NT 10.0; Win64; x64) AppleWebKit/537.36 (KHTML, like Gecko) Chrome/91.0.4472.124 Safari/537.36这个用户代理字符串表示的是 Windows 10 操作系统上的 Chrome 91 浏览器。这种用户代理是非常典型的现代浏览器标识,通常用于模拟真实的浏览器访问,以避免被网站识别为爬虫或自动化程序而被拒绝访问。