跟大家分享一下我实现的一个小工具:@sketchjs
小程序使用的话占用包体积比较大,
taro主包体积优化插件已经在路上了哈可以等一等
给大家介绍一个我实现的一个小工具 ------@sketchjs。它能实现像写 React Native(RN)一样,相对轻松地完成绘图任务。接下来,就详细跟大家唠唠它。
一、安装轻松上手
- 要是你习惯
npm,在命令行输入下面这行就行:
shell
npm install @sketchjs/vue- 喜欢
yarn的话,就执行:
shell
yarn add @sketchjs/vue- 用
pnpm的朋友,输入:
shell
pnpm add @sketchjs/vue二、多平台支持
不管是 H5 页面,还是 Taro 小程序,都能稳稳地发挥作用。
(一)H5环境中
- 首先,得在
vue项目vite.config.ts中配置以下内容:
javascript
import { defineConfig } from 'vite'
// https://vite.dev/config/
export default defineConfig({
define:{
'process.env.SKETCH_PLATFORM': '"WEB"', // 使用小程序端 sketch 实现
'process.env.YOGA_USE_WASM': 'false' // 不使用 WASM 实现
},
optimizeDeps: {
include: ['@sketchjs/vue'],
},
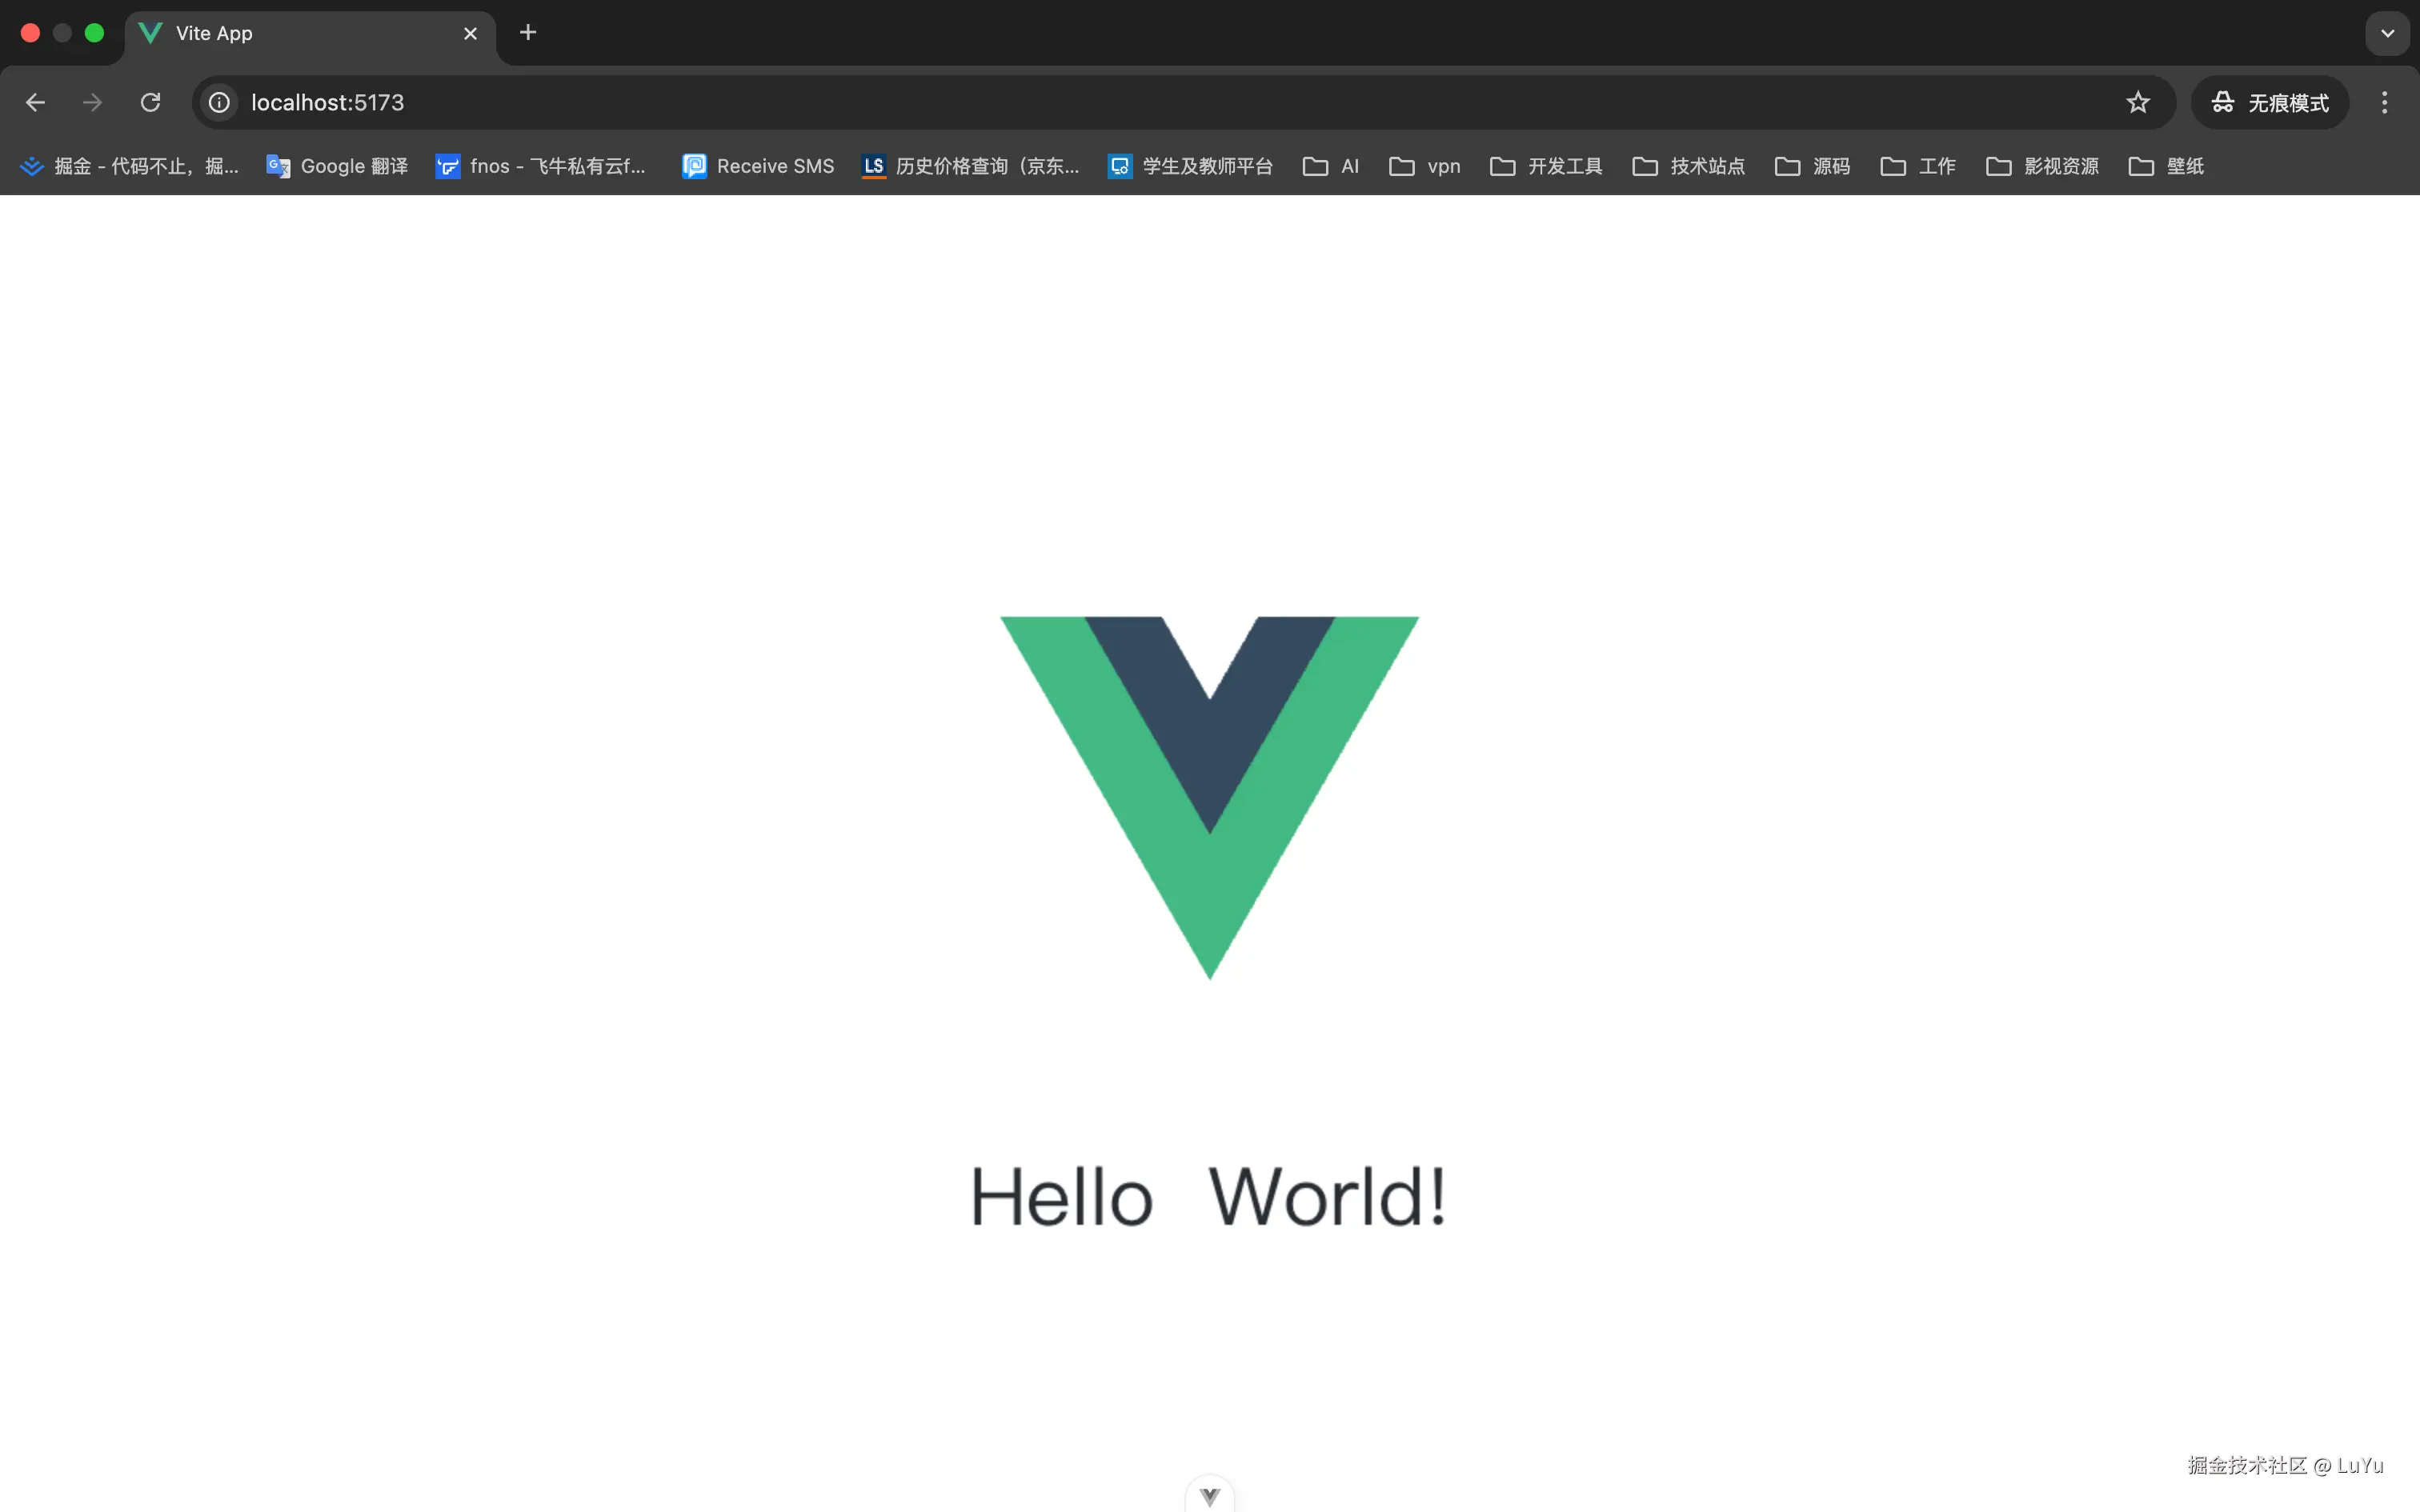
})在 H5 环境里,可以通过以下代码进行简单的Canvas绘制:
js
<template>
  <div class="App" @click="handleToDataURL">
    <canvas class="sketch-canvas" ref="canvasRef"/>
    <Sketch.Root :style="style.root" :sketch="sketch" @ready="handleSketchInitialized" @update="handleSketchUpdate">
      <Sketch.View :style="style.view">
        <Sketch.Image :src="logo" :style="style.logo"/>
        <Sketch.Text text="Hello  World!" :style="style.text"/>
      </Sketch.View>
    </Sketch.Root>
  </div>
</template>

<script setup lang="ts">
import logo from '@/assets/logo.svg'
import { onMounted, ref } from 'vue'
import { StyleSheet, Sketch } from '@sketchjs/vue'

Sketch.debug = true

const style = StyleSheet.create({
  root: {
    width: 500,
    height: 500,
    backgroundColor: '#ffffff'
  },
  view: {
    width: 500,
    height: 500,
    justifyContent: 'center',
    alignItems: 'center'
  },
  logo: {
    width: 262,
    height: 227
  },
  text: {
    width: 500,
    marginTop: 20,
    color: '#282c34',
    fontSize: 50,
    fontWeight: 400,
    lineHeight: 50,
    textAlign: 'center'
  }
})

const sketch = Sketch.useSketch()

const canvasRef = ref<HTMLCanvasElement | null>(null)

const initCanvas = () => {
  const canvas = canvasRef.value
  const ctx = canvas?.getContext('2d')
  if (!canvas || !ctx) return
  return sketch.value.init({ canvas, ctx })
}

onMounted(() => initCanvas())

const handleToDataURL = () => {
  const dataUrl = sketch.value.toDataURL('image/png', 1)
  console.log({ dataUrl })
}

const handleSketchUpdate = () => {
  console.log('sketch update')
}

const handleSketchInitialized = () => {
  console.log('sketch initialized')
}
</script>

<style scoped>
.App {
  display: flex;
  justify-content: center;
  align-items: center;
  height: 100%;

  .sketch-canvas{
    width: 500px;
    height: 500px;
  }
}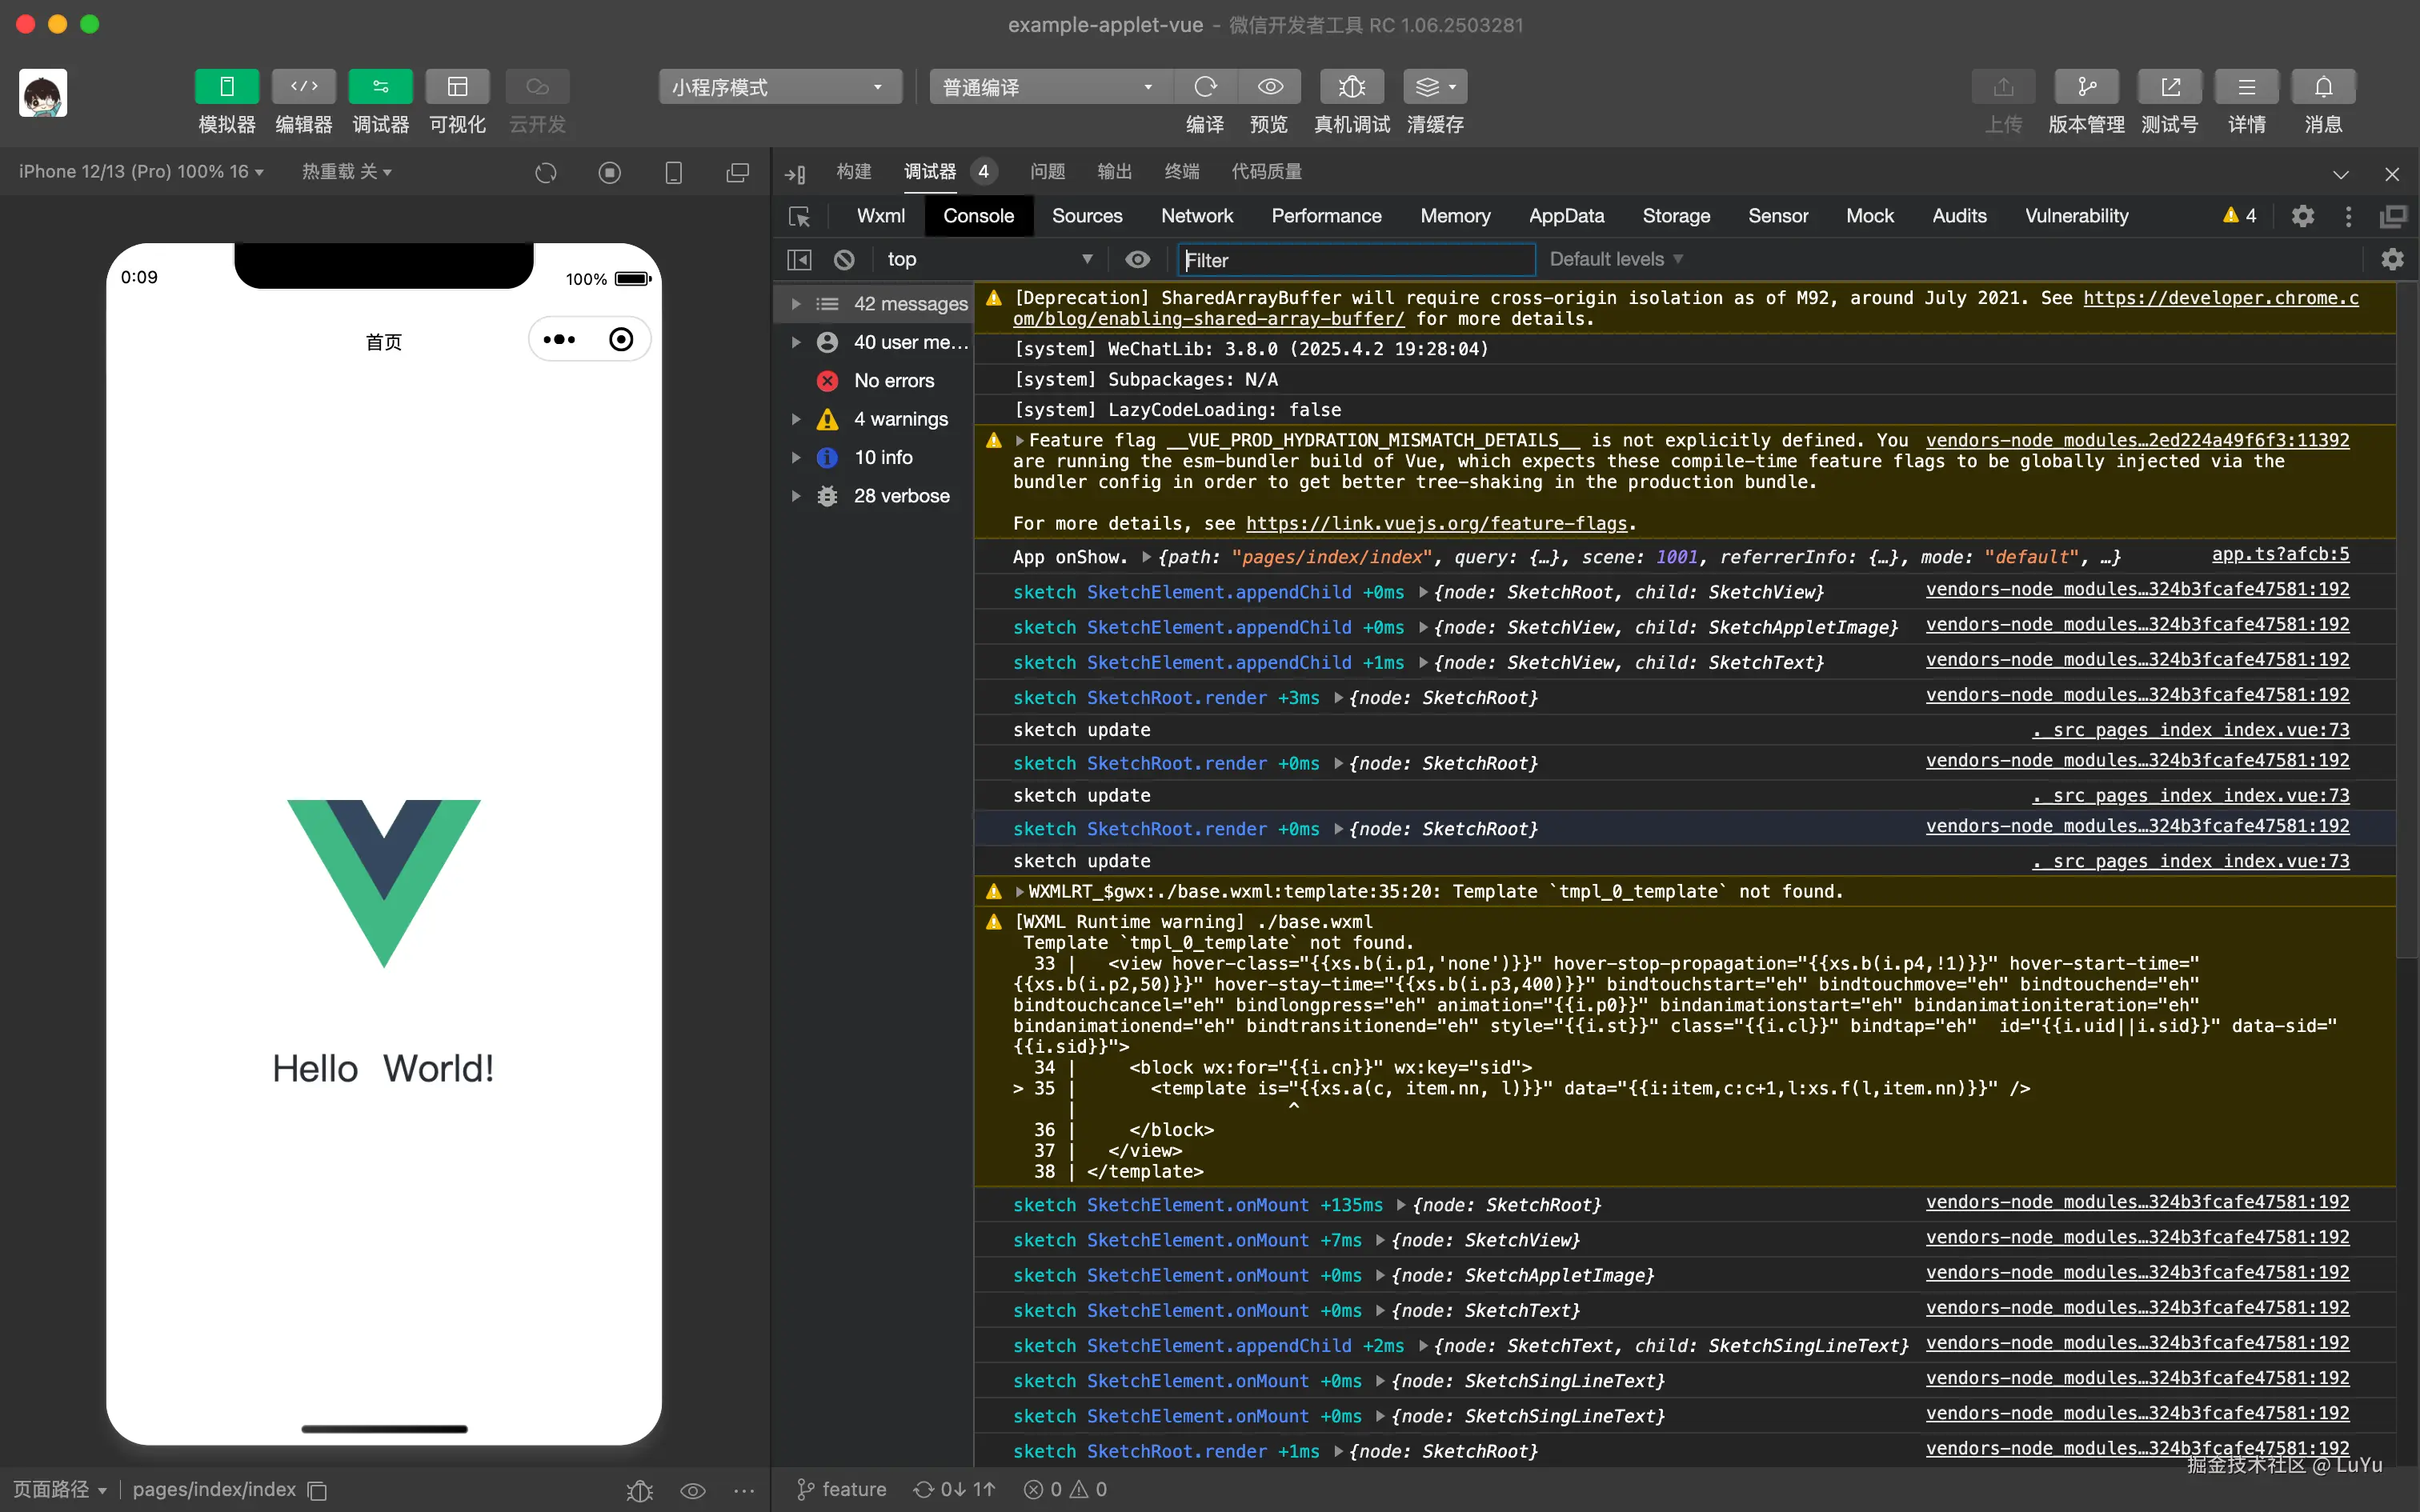
</style>(二)Taro 小程序中
在 Taro 小程序这边,@sketchjs 同样没让人失望。
- 首先,得在
taro项目config/index.ts中配置下环境变量:
ts
import { defineConfig } from '@tarojs/cli';

export default defineConfig({
    defineConstants: {
        'process.env.SKETCH_PLATFORM': '"APPLET"',  // 使用小程序端 sketch 实现
        'process.env.YOGA_USE_WASM': 'false',  // 不使用 WASM 实现
    },
});- 接着就是具体的示例代码,和 H5 那边有些类似:
js
<template>
  <View @tap="handleToDataURL" class='index-view'>
    <Canvas id='sketch-canvas' type='2d' class='sketch-canvas' />
    <Sketch.Root :style="style.root" :sketch="sketch" @ready="handleSketchInitialized" @update="handleSketchUpdate">
      <Sketch.View :style="style.view">
        <Sketch.Image :src="require('@/assets/logo.svg')" :style="style.logo"/>
        <Sketch.Text text="Hello  World!" :style="style.text"/>
      </Sketch.View>
    </Sketch.Root>
  </View>
</template>

<script setup lang="ts">
import { defineComponent, onMounted } from 'vue'
import { View, Canvas } from '@tarojs/components'
import { StyleSheet, Sketch } from '@sketchjs/vue'
import Taro from '@tarojs/taro'
import './index.less'

defineComponent({ name: 'IndexPage' })

Sketch.debug = true

const style = StyleSheet.create({
  root: {
    width: 500,
    height: 500,
    backgroundColor: '#fff'
  },
  view: {
    width: 500,
    height: 500,
    justifyContent: 'center',
    alignItems: 'center'
  },
  logo: {
    width: 262,
    height: 227
  },
  text: {
    width: 500,
    marginTop: 20,
    color: '#282c34',
    fontSize: 50,
    fontWeight: 400,
    lineHeight: 50,
    textAlign: 'center'
  }
})

const sketch = Sketch.useSketch()

const initCanvas = async () => {
  const canvasNode: HTMLCanvasElement = await new Promise((resolve) => {
    const selectorQuery = Taro.createSelectorQuery()
    const callback = (res:any) => resolve(res?.node)
    selectorQuery.select('#sketch-canvas').fields({ node: true }, callback).exec()
  })
  const canvasCtx = canvasNode.getContext('2d')
  if (!canvasNode || !canvasCtx) return
  return sketch.value.init({ canvas: canvasNode, ctx: canvasCtx }).then(() => sketch.value.render())
}

onMounted(() => initCanvas())

const handleToDataURL = () => {
  const dataUrl = sketch.value.toDataURL('image/png', 1)
  console.log({ dataUrl })
}

const handleSketchUpdate = () => {
  console.log('sketch update')
}

const handleSketchInitialized = () => {
  console.log('sketch initialized')
}

</script>
三、关键绘图组件
@sketchjs/react和 RN 开发模式相似,用起来比较容易上手。
(一)<Sketch.Root> 组件
在代码里,咱们用 StyleSheet.create 来定义样式赋予它宽高。比如说:
js
<template>
  <Sketch.Root :style="style.root" />
</template>
<script setup lang="ts">
import { StyleSheet, Sketch } from '@sketchjs/vue'

const style = StyleSheet.create({
    root: {
        width: 500,
        height: 500
    }
});
</script>(二)<Sketch.View> 组件
<Sketch.View> 在绘图区域内划分出一个个子区域,用于对绘图元素进行分组管理。通过 style 属性,我们能运用熟悉的 CSS 布局技巧对其进行调控。以常见的居中布局为例,在代码中:
js
<template>
    <Sketch.Root>
        <Sketch.View :style="style.rootView" >
        {/* 这里面放图片、文本等绘图子组件,它们就能按设定布局展示 */}
        </Sketch.View>
    </Sketch.Root>
</template>
<script setup lang="ts">
import { StyleSheet, Sketch } from '@sketchjs/vue'

const style = StyleSheet.create({
    rootView: {
        width: 500,
        height: 500
    }
});
</script>style.rootView样式对象定义了子区域的宽度与高度均为500,justifyContent: 'center'使得子组件在水平方向上居中对齐,alignItems: 'center'让子组件在垂直方向上也居中对齐。- 这样一来,不管是
<Sketch.Image>展示的图片,还是<Sketch.Text>呈现的文本,都能在这个子区域内找到合适的展示位置,布局整整齐齐的。
(三)<Sketch.Image> 组件
<Sketch.Image> 功能很明确,就是把图片展示在 Canvas 绘图区域里。咱们只要给 src 属性指定图片的路径就行,超级简单。
结合 StyleSheet.create 定义样式来看个例子:
js
<template>
    <Sketch.Root>
        <Sketch.View :style="style.rootView" >
            <Sketch.Image src={myImage} style={style.imageStyle} />
        </Sketch.View>
    </Sketch.Root>
</template>

<script setup lang="ts">
import { StyleSheet, Sketch } from '@sketchjs/vue'
import myImage from './myImage.png'; // 这里引入实际的图片资源

const style = StyleSheet.create({
    imageStyle: {
        width: 200,
        height: 200,
        marginLeft: 50, // 还可以设置图片的边距等样式,按需调整
    },
});
</script>- 通过
src属性把myImage(指向实际图片文件的路径)传给<Sketch.Image>组件, - 然后用
StyleSheet.create生成的style.imageStyle来设置图片尺寸,像这里设置宽度200像素,高度200像素, - 还可以通过其他属性调整图片位置,这样图片就能以咱们想要的样子出现在绘图区域,给画面添彩。
(四)<Sketch.Text> 组件
<Sketch.Text> 组件负责在绘图区域里显示文字内容。咱们用 text 属性写上要显示的文字,再用 style 属性设置字体、大小、颜色、对齐方式这些,文字就能自然融入绘图。
比如这个例子:
js
<template>
    <Sketch.Root>
        <Sketch.View :style="style.rootView" >
           <Sketch.Text text="Hello  World!" style={style.textStyle} />
        </Sketch.View>
    </Sketch.Root>
</template>

<script setup lang="ts">
import { StyleSheet, Sketch } from '@sketchjs/vue'
import myImage from './myImage.png'; // 这里引入实际的图片资源

const style = StyleSheet.create({
    textStyle: {
        width: 500,
        marginTop: 20,
        color: '#ffffff',
        fontSize: 50,
        fontWeight: 400,
        lineHeight: 50,
        textAlign: 'center'
    },
});
</script>- 在这个例子里,
text属性写上 "Hello World!" style.textStyle样式对象里设置了文字颜色为白色、字体大小50像素、居中对齐等- 这样文字就能在绘图区域里以合适的样子出现,和图片等其他元素搭配起来,共同完成绘图效果。
四、总结
总的来说,@sketchjs/vue 开发体验还不错,能让咱们像写 RN 代码一样相对轻松地搞定 Canvas 2D 绘图。要是你在绘图开发上也遇到难题,不妨试试它,说不定能帮你省不少事儿,让你的项目绘图功能实现得更顺利。希望对大家的Canvas绘图开发有点帮助。
目前@sketchjs/vue还是alpha版本。要是在使用的过程中有什么问题,欢迎提issues随时交流。
如果这个库在canvas开发中帮到了你,请给个赞或者github的star吧
本文由豆包AI生成如有错漏,辛苦指正。