1.简介
经过上一篇的学习和讲解想必小伙伴或者童鞋们已经意识到等待的重要性了吧。宏哥在上一篇中在start()后,加入适当的等待时间(如time.sleep()),让应用程序有足够的时间初始化窗口和UI元素。之前我们在做web和app的ui自动化过程中,常用到等待机制,那PC端自动化有这个方法吗?答案是肯定的,python这么强大,肯定是有方法的。今天就跟随宏哥来一起看一下PC端自动化是如何等待的。应用程序行为通常不稳定,您的脚本需要等待,直到出现新窗口或关闭/隐藏现有窗口。 pywinauto可以隐式地(默认超时)灵活地等待对话框初始化,或者明确地使用专用方法/函数来帮助您使代码更容易和更可靠。
2.等待机制
宏哥将其分为三个大类(仅是自己的观点):窗口/元素等待、应用程序等待和全局等待时间Timings。
2.1窗口/元素等待
Pywinauto是一个用于自动化Windows GUI应用程序的模块,提供了两种等待函数:wait()和wait_not()。
- wait() 等待窗口达到指定状态。
- wait_not() 等待窗口不处于某种状态。
2.1.1wait()
wait()函数用于等待指定窗口达到指定状态,例如"最大化"或"最小化"状态。你可以通过设置超时时间和重试间隔来控制等待的时间和频率。
1.跟随宏哥先来看一下wait()的源码,然后再进行下一步的学习。wait()的源码如下:
python
    def wait(self, wait_for, timeout=None, retry_interval=None):
        """
        Wait for the window to be in a particular state/states.

        :param wait_for: The state to wait for the window to be in. It can
            be any of the following states, also you may combine the states by space key.

             * 'exists' means that the window is a valid handle
             * 'visible' means that the window is not hidden
             * 'enabled' means that the window is not disabled
             * 'ready' means that the window is visible and enabled
             * 'active' means that the window is active

        :param timeout: Raise an :func:`pywinauto.timings.TimeoutError` if the window
            is not in the appropriate state after this number of seconds.
            Default: :py:attr:`pywinauto.timings.Timings.window_find_timeout`.

        :param retry_interval: How long to sleep between each retry.
            Default: :py:attr:`pywinauto.timings.Timings.window_find_retry`.

        An example to wait until the dialog
        exists, is ready, enabled and visible: ::

            self.Dlg.wait("exists enabled visible ready")

        .. seealso::
            :func:`WindowSpecification.wait_not()`

            :func:`pywinauto.timings.TimeoutError`
        """
        check_method_names, timeout, retry_interval = self.__parse_wait_args(wait_for, timeout, retry_interval)
        wait_until(timeout, retry_interval,
                   lambda: self.__check_all_conditions(check_method_names, retry_interval))

        # Return the wrapped control
        return self.wrapper_object()
2.参数说明:
wait_for 可选参数:
- 'exists' 表示窗口存在,是一个有效的句柄
- 'visible' 表示窗口可见(不隐藏)
- 'enabled' 表示窗口未被禁用
- 'ready' 表示窗口可见且已启用
- 'active' 表示窗口处于活动状态
timeout:表示超时时间
retry_interval:表示重试间隔
2.1.2wait_not()
其实和上面都是一样的,一种等待处于某种状态,一种等待不处于某种状态。wait_not()函数则用于等待指定窗口不处于某种状态,例如"关闭"状态。它的使用方式与wait()函数类似,但参数和返回值有所不同。
1.跟随宏哥先来看一下wait_not()的源码,然后再进行下一步的学习。wait_not()的源码如下:
python
 def wait_not(self, wait_for_not, timeout=None, retry_interval=None):
        """
        Wait for the window to not be in a particular state/states.

        :param wait_for_not: The state to wait for the window to not be in. It can be any
            of the following states, also you may combine the states by space key.

             * 'exists' means that the window is a valid handle
             * 'visible' means that the window is not hidden
             * 'enabled' means that the window is not disabled
             * 'ready' means that the window is visible and enabled
             * 'active' means that the window is active

        :param timeout: Raise an :func:`pywinauto.timings.TimeoutError` if the window is sill in the
            state after this number of seconds.
            Default: :py:attr:`pywinauto.timings.Timings.window_find_timeout`.

        :param retry_interval: How long to sleep between each retry.
            Default: :py:attr:`pywinauto.timings.Timings.window_find_retry`.

        An example to wait until the dialog is not ready, enabled or visible: ::

            self.Dlg.wait_not("enabled visible ready")

        .. seealso::
            :func:`WindowSpecification.wait()`

            :func:`pywinauto.timings.TimeoutError`
        """
        check_method_names, timeout, retry_interval = \
            self.__parse_wait_args(wait_for_not, timeout, retry_interval)
        wait_until(timeout, retry_interval,
                   lambda: not self.__check_all_conditions(check_method_names, retry_interval))
        # None return value, since we are waiting for a `negative` state of the control.
        # Expect that you will have nothing to do with the window closed, disabled, etc.
2.参数说明:
wait_not 可选参数:
- 'exists' 表示窗口存在,是一个有效的句柄
- 'visible' 表示窗口可见(不隐藏)
- 'enabled' 表示窗口未被禁用
- 'ready' 表示窗口可见且已启用
- 'active' 表示窗口处于活动状态
timeout:表示超时时间
retry_interval:表示重试间隔
3.应用程序等待
应用程序等待只是针对应用程序的。注意:此方法仅适用于整个应用程序进程,不适用于窗口/元素。
3.1CPU使用率
3.1.1wait_cpu_usage_lower()
wait_cpu_usage_lower(),等待该进程的cup的使用率低于某个阀值。
1.跟随宏哥先来看一下wait_cpu_usage_lower()的源码,然后再进行下一步的学习。wait_cpu_usage_lower()的源码如下:
python
    def wait_cpu_usage_lower(self, threshold=2.5, timeout=None, usage_interval=None):
        """Wait until process CPU usage percentage is less than the specified threshold"""
        if usage_interval is None:
            usage_interval = Timings.cpu_usage_interval
        if timeout is None:
            timeout = Timings.cpu_usage_wait_timeout

        start_time = timings.timestamp()

        while self.cpu_usage(usage_interval) > threshold:
            if timings.timestamp() - start_time > timeout:
                raise RuntimeError('Waiting CPU load <= {}% timed out!'.format(threshold))

        return self
2.参数说明:
threshold:表示该进程cup占用率
timeout:表示超时时间
retry_interval:表示重试间隔
3.2进程
3.2.1.wait_for_process_exit()
wait_for_process_exit(),等待进程退出,直到超时。
1.跟随宏哥先来看一下wait_for_process_exit()的源码,然后再进行下一步的学习。wait_for_process_exit()的源码如下:
python
    def wait_for_process_exit(self, timeout=None, retry_interval=None):
        """
        Waits for process to exit until timeout reaches

        Raises TimeoutError exception if timeout was reached
        """
        if timeout is None:
            timeout = Timings.app_exit_timeout
        if retry_interval is None:
            retry_interval = Timings.app_exit_retry

        wait_until(timeout, retry_interval, self.is_process_running, value=False)
2.参数说明:
timeout:表示超时时间
retry_interval:表示重试间隔
4.timings
pywinauto 查找窗口和控件时会有超时时间与轮询机制,可以通过timings 模块设置全局等待时间。
4.1timings模块
timings 模块有三个模式可以设置
- timings.Timings.fast() 快速模式
- timings.Timings.defaults() 默认模式
- timings.Timings.slow() 慢速模式
以下是可以调整的各个时序设置:
scss
window_find_timeout (default 5)
window_find_retry (default .09)
app_start_timeout (default 10)
app_start_retry (default .90)
app_connect_timeout (default 5.)
app_connect_retry (default .1)
cpu_usage_interval (default .5)
cpu_usage_wait_timeout (default 20)
exists_timeout (default .5)
exists_retry (default .3)
after_click_wait (default .09)
after_clickinput_wait (default .09)
after_menu_wait (default .1)
after_sendkeys_key_wait (default .01)
after_button_click_wait (default 0)
before_closeclick_wait (default .1)
closeclick_retry (default .05)
closeclick_dialog_close_wait (default 2)
after_closeclick_wait (default .2)
after_windowclose_timeout (default 2)
after_windowclose_retry (default .5)
after_setfocus_wait (default .06)
setfocus_timeout (default 2)
setfocus_retry (default .1)
after_setcursorpos_wait (default .01)
sendmessagetimeout_timeout (default .01)
after_tabselect_wait (default .05)
after_listviewselect_wait (default .01)
after_listviewcheck_wait default(.001)
listviewitemcontrol_timeout default(1.5)
after_treeviewselect_wait default(.1)
after_toobarpressbutton_wait default(.01)
after_updownchange_wait default(.1)
after_movewindow_wait default(0)
after_buttoncheck_wait default(0)
after_comboboxselect_wait default(.001)
after_listboxselect_wait default(0)
after_listboxfocuschange_wait default(0)
after_editsetedittext_wait default(0)
after_editselect_wait default(.02)
drag_n_drop_move_mouse_wait default(.1)
before_drag_wait default(.2)
before_drop_wait default(.1)
after_drag_n_drop_wait default(.1)
scroll_step_wait default(.1)
4.2设置模式
你想让操作更快一点,可以设置快速模式。你想让操作更慢一点,可以设置慢速模式。设置方法还是比较简单的,导入模块后,一行代码即可搞定。
4.2.1快速模式
快速模式的设置方式如下:
javascript
from pywinauto.application import Applicationfrom pywinauto.timings import Timings

Timings.fast()
4.2.2慢速模式
慢速模式的设置方式如下:
javascript
from pywinauto.application import Applicationfrom pywinauto.timings import Timings

Timings.slow()
5.趁热打铁
经过上边宏哥的理论知识的介绍,想必小伙伴或者童鞋们已经对pywinauto的等待有了大致地了解和认识。理论讲的再好、再漂亮,也不如实践,毕竟伟人都说过,实践是检验真理的唯一标准。下边理论结合实际,实践一下。
5.1测试场景
测试场景:大致的测试场景就是,启动电脑的notepadd++编辑器这款软件,然后输入内容:北京宏哥,最后点击notepadd++编辑器左上角的【文件(F) -> 另存为(A)...】,然后等待另存为的窗口出现即可!
5.2代码设计

5.3参考代码
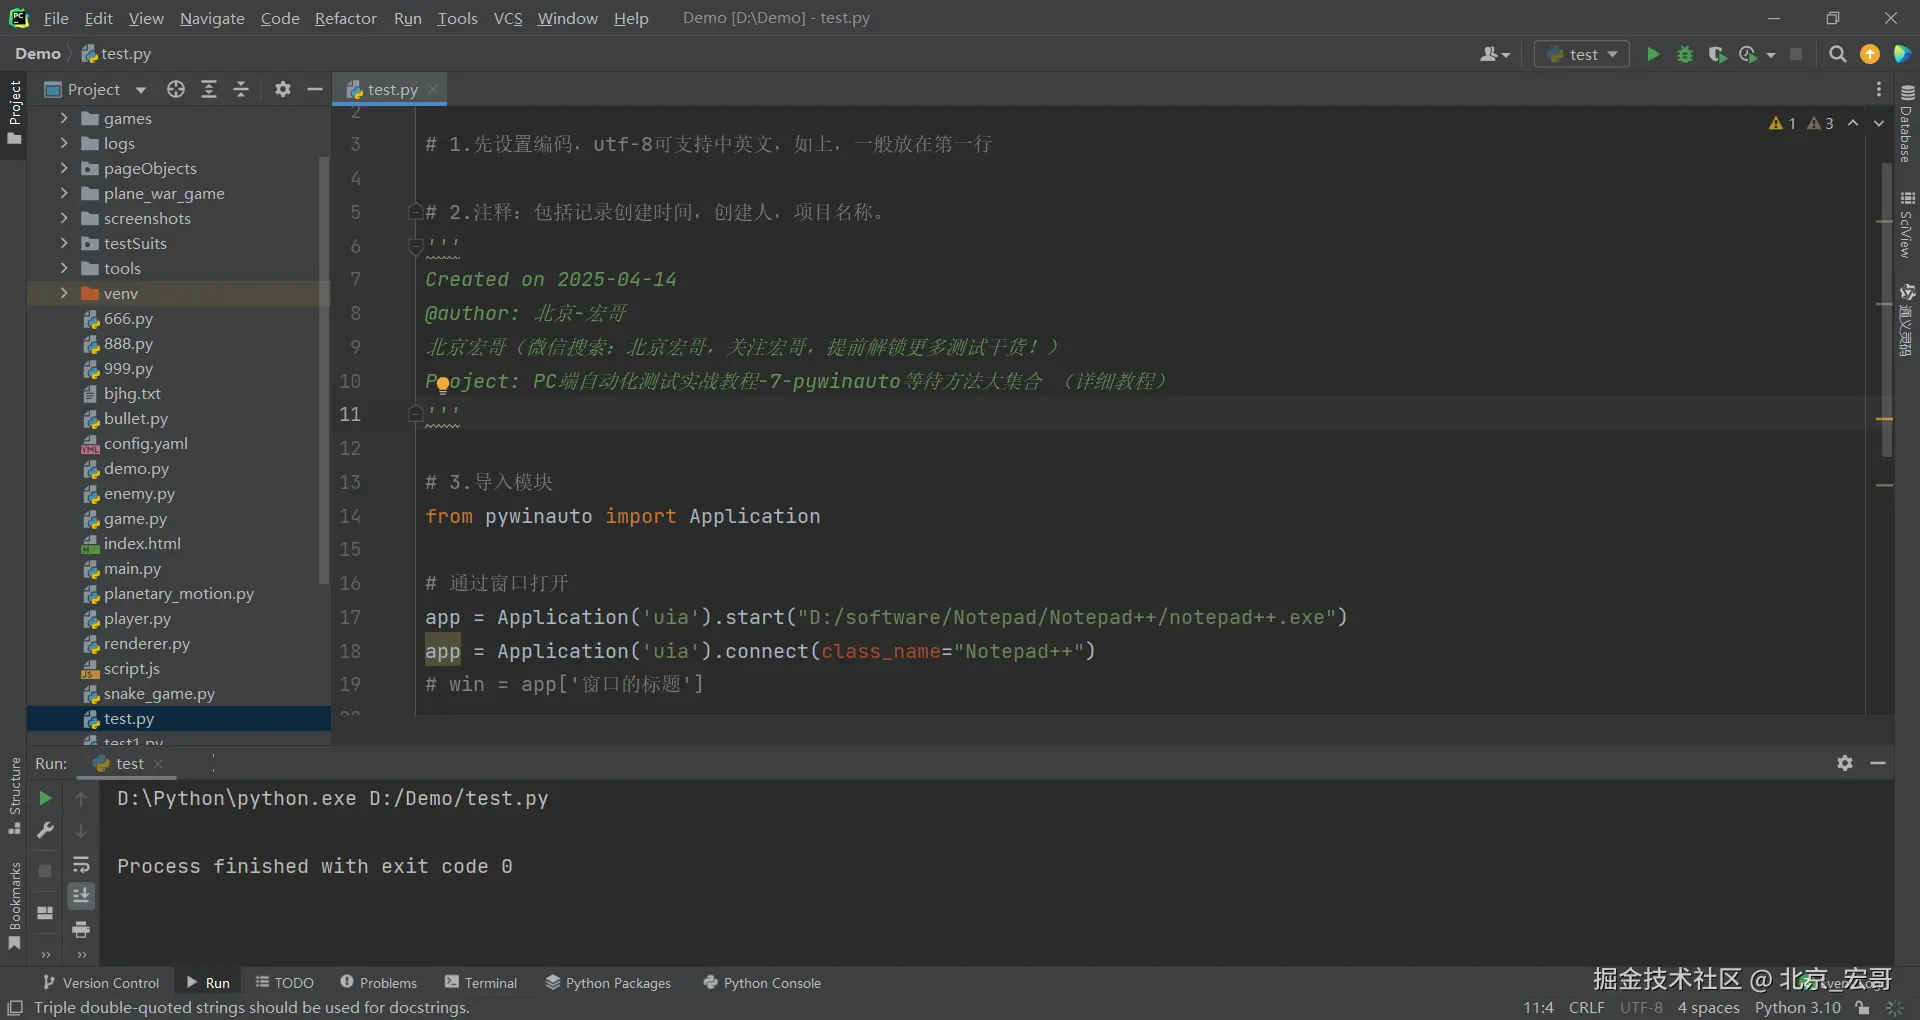
python
# -*- coding:utf-8 -*-
# 1.先设置编码,utf-8可支持中英文,如上,一般放在第一行
# 2.注释:包括记录创建时间,创建人,项目名称。
'''
Created on 2025-04-14
@author: 北京-宏哥
北京宏哥(微信搜索:北京宏哥,关注宏哥,提前解锁更多测试干货!)
Project: PC端自动化测试实战教程-7-pywinauto等待方法大集合 (详细教程)
'''
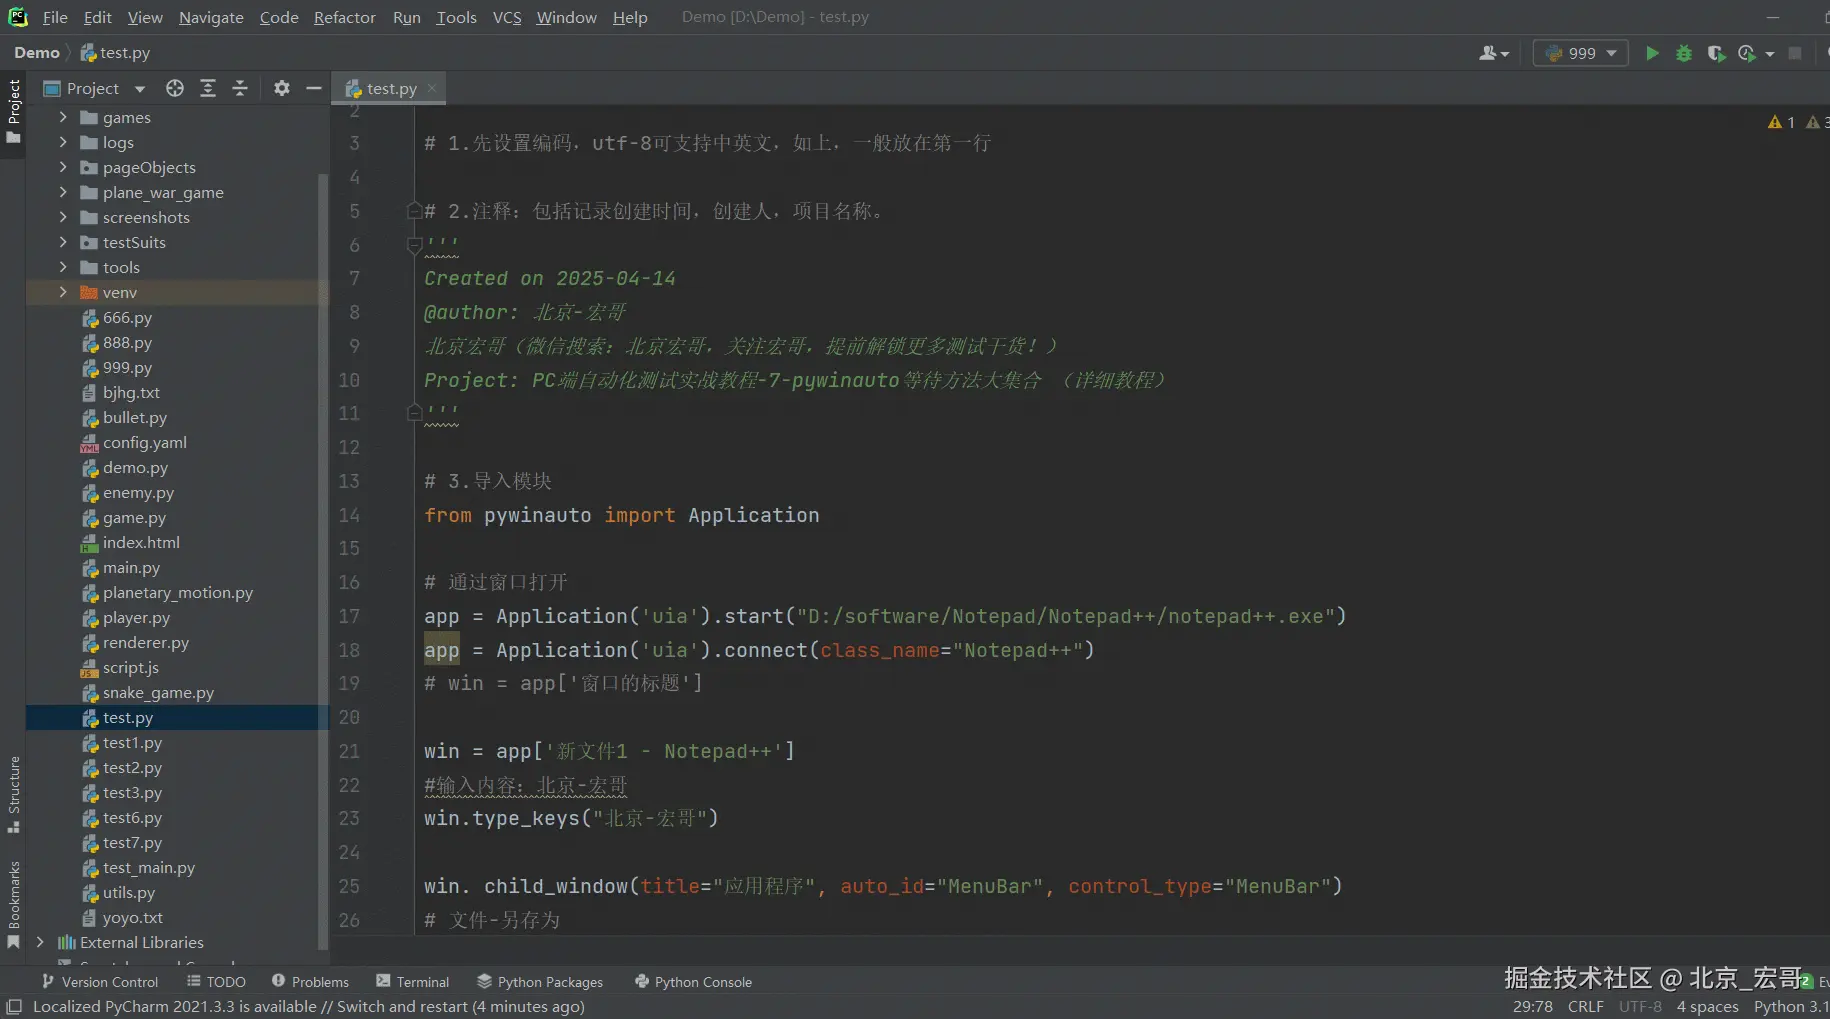
# 3.导入模块
from pywinauto import Application
# 通过窗口打开
app = Application('uia').start("D:/software/Notepad/Notepad++/notepad++.exe")
app = Application('uia').connect(class_name="Notepad++")
# win = app['窗口的标题']
win = app['新文件1 - Notepad++']
#输入内容:北京-宏哥
win.type_keys("北京-宏哥")
win. child_window(title="应用程序", auto_id="MenuBar", control_type="MenuBar")
# 文件-另存为
win.menu_select('文件(F) -> 另存为(A)...')
# 等待另存为窗口出现
win.child_window(title="另存为", control_type="Window").wait('ready', timeout=5)5.4运行代码
1.运行代码,右键Run'Test',就可以看到控制台输出,如下图所示:
2.运行代码后电脑端的动作(启动记事本)。如下图所示:
6.小结
6.1.基础窗口状态等待方法
wait() 方法
支持等待窗口达到特定状态,包括:
'exists':窗口句柄有效
'visible':窗口未隐藏
'enabled':窗口未被禁用
'ready':窗口可见且已启用
'active':窗口处于活动状态
参数说明:
timeout:超时时间(默认由全局配置决定)
retry_interval:重试间隔(默认由全局配置决定)
6.2.高级场景等待方法
wait_cpu_usage_lower()
适用于多线程应用中延迟初始化的场景,通过监控进程的CPU使用率判断任务是否完成(如后台计算未结束前保持等待)
wait_until_passes()
持续执行指定操作直至成功或超时,特别适用于动态加载的控件或异步操作后的状态检测
6.3 全局等待时间配置
通过 timings 模块设置默认超时和轮询间隔:
Timings.Defaults.timeout:全局超时时间(默认30秒)
Timings.Defaults.retry_interval:全局重试间隔(默认0.5秒)
6.4. 使用建议
优先使用内置等待机制(如 wait() 和 wait_until_passes()),避免依赖 time.sleep(),以提高代码稳定性和执行效率
对于复杂界面,结合 print_control_identifiers() 输出控件信息以辅助定位目标元素
注:以上方法需根据具体场景选择,合理设置超时参数可避免因界面响应延迟导致的自动化失败。
好了,关于pywinauto等待方法大集合常用的也就那几个非常简单,时间不早了今天就分享到这里,感谢你耐心地阅读!