不要害怕前方的黑暗,因为你每走一步,光明就会更靠近你一分。勇敢地迈出今天这一步,用努力点亮未来的路,你比想象中更强大!
欢迎来到「JavaScript 魔法学院」第 7 课!如果说网页是人体,那么事件就是 JS 的"感官"------它能感知用户的点击、输入、滑动等行为,让网页"活"过来!今天我们将解密事件机制,并开发「图片画廊」交互特效,代码可直接嵌入个人网站!
1. addEventListener 基础
html
  <button id="myBtn">点我</button>
  <script>
      const btn = document.getElementById("myBtn");
      // 标准写法:事件类型 + 处理函数
      btn.addEventListener("click", function () {
          console.log("click:按钮被点击了!");
      });
  </script>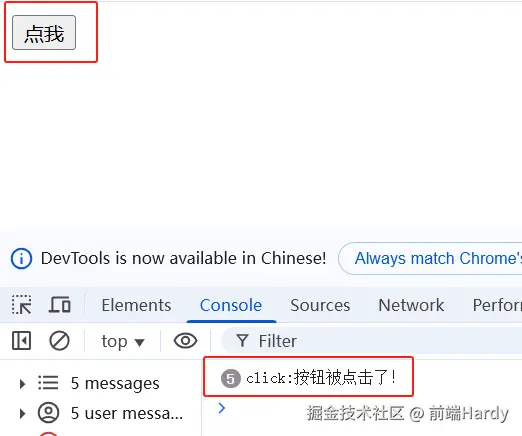
三要素:
-
监听谁:DOM 元素(按钮、输入框等)
-
听什么:事件类型(click、input 等)
-
做什么:回调函数(事件触发时执行的代码)
2. 移除监听
html
<button id="myBtn">点我</button>
<script>
    const btn = document.getElementById("myBtn");
    btn.addEventListener("click", handleClick);
    // 移出事件--需要具名函数才能移除
    function handleClick() {
        console.log("只会触发一次");
        btn.removeEventListener("click", handleClick);
    }
</script>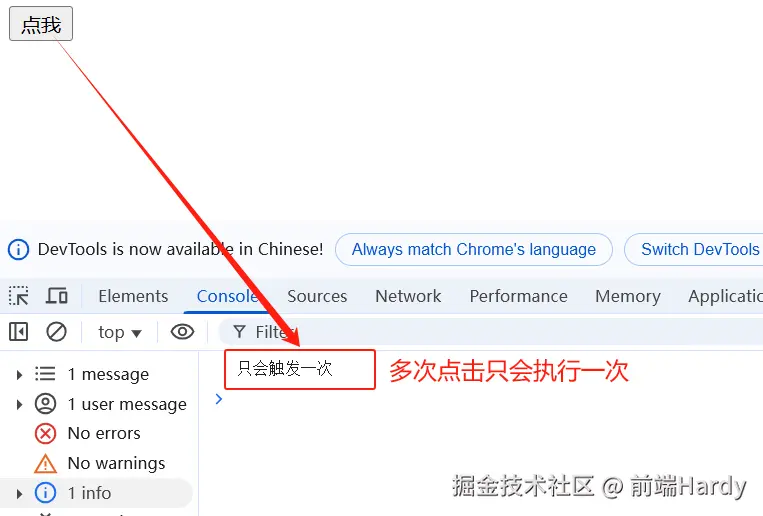
二、常见事件类型
1. 鼠标事件
| 事件类型 | 触发场景 |
|---|---|
| click | 点击(按下并释放) |
| dblclick | 双击 |
| mouseover | 鼠标悬停 |
| mousemove | 鼠标在元素上移动 |
2. 键盘事件
js
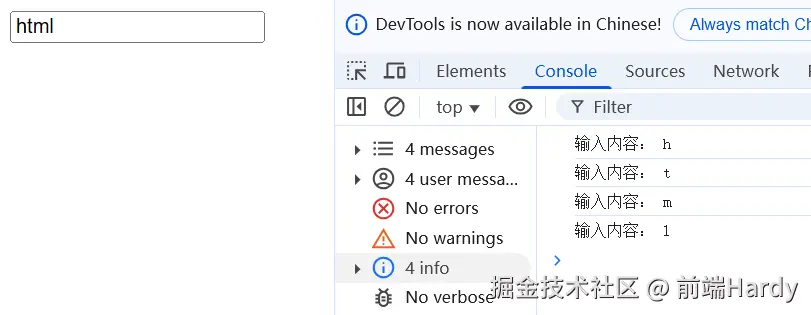
const input = document.getElementById("myInput");
input.addEventListener("keyup", (e) => {
    console.log('输入内容:',e.key);  // 获取按下的键
});
3. 表单事件
- input:输入框内容变化时触发(实时监听)
- submit:表单提交时触发
- focus/blur:获取/失去焦点
4. 页面生命周期事件
js
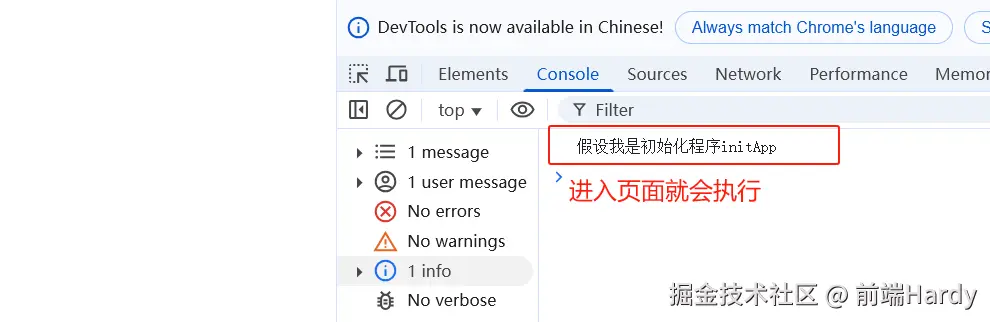
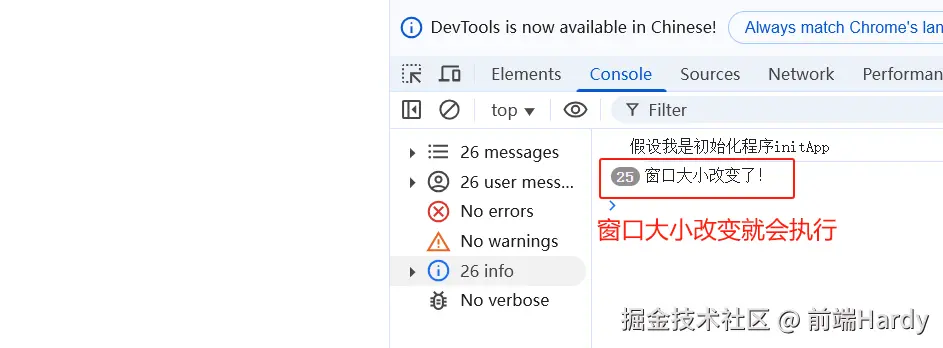
  function initApp() {
      return console.log("假设我是初始化程序initApp");
  }
  window.addEventListener("load", () => {
      // 页面完全加载后执行
      initApp();
  });

  window.addEventListener("resize", () => {
      console.log("窗口大小改变了!");
  });
三、事件对象与冒泡机制
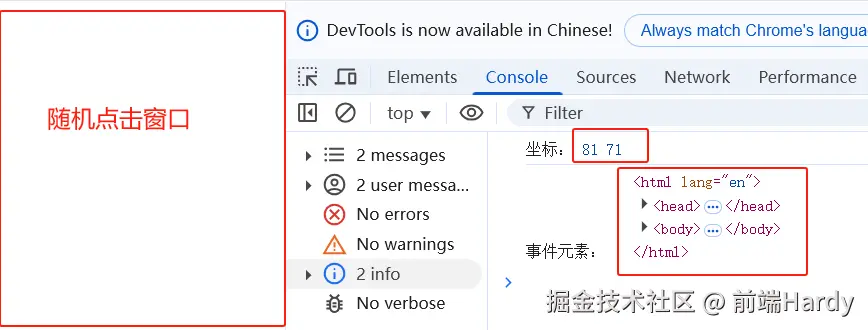
1. 事件对象:e 的秘密
每个事件处理函数都会接收 事件对象(Event),包含关键信息:
js
document.addEventListener("click", function (e) {
    console.log('坐标:', e.clientX, e.clientY);// 点击坐标
    console.log('事件元素:', e.target);// 触发事件的元素
});
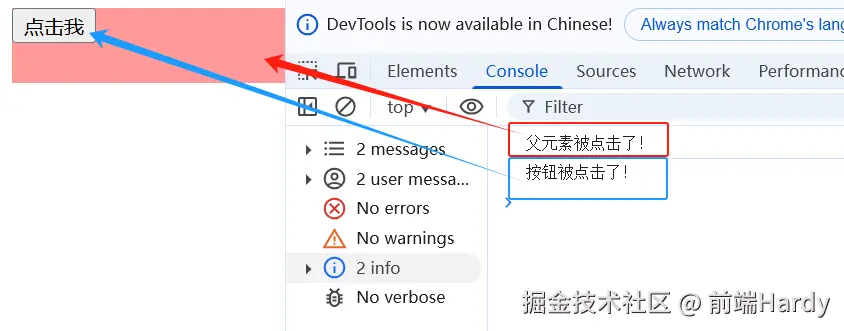
2. 事件冒泡与阻止
冒泡机制: 事件从子元素向父元素逐层传递
html
<div class="parent">
  <button class="child">点击我</button>
</div>
→ 点击按钮时,会依次触发 button → div → body 的点击事件
阻止冒泡:
javascript
const parent = document.querySelector('.parent');
const child = document.querySelector('.child');
child.addEventListener("click", function(e) {
  e.stopPropagation();  // 阻止事件向上传递
});
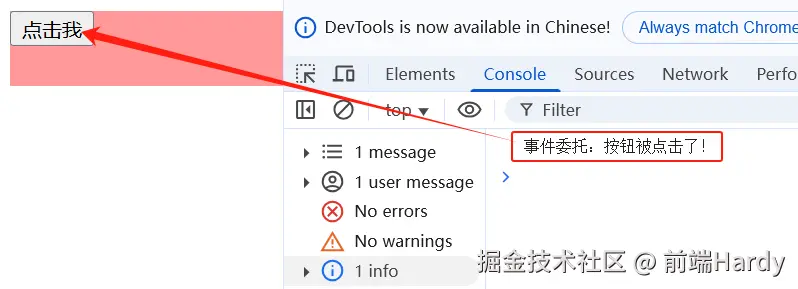
事件委托: 利用冒泡优化多元素监听
js
const child = document.querySelector('.child');
// 给父元素绑定一次,管理所有子元素点击
parent.addEventListener("click", function(e) {
  if (e.target.classList.contains("child")) {
    handleChildClick(e.target);
  }
});
四、实战:交互式图片画廊
1. 功能需求
- 点击缩略图显示大图
- 鼠标悬停显示图片标题
- 按 ESC 键关闭大图
2. 完整代码
html
<!DOCTYPE html>
<html lang="en">
<head>
<meta charset="UTF-8">
<meta name="viewport" content="width=device-width, initial-scale=1.0">
<title>交互式图片画廊</title>
<style>
body {
font-family: Arial, sans-serif;
background-color: #f4f4f9;
margin: 0;
padding: 0;
display: flex;
flex-direction: column;
align-items: center;
justify-content: center;
height: 100vh;
}
.gallery {
display: flex;
flex-wrap: wrap;
gap: 20px;
justify-content: center;
margin-bottom: 20px;
}
.thumb {
width: 150px;
height: auto;
border-radius: 8px;
box-shadow: 0 4px 8px rgba(0, 0, 0, 0.1);
transition: transform 0.3s ease, box-shadow 0.3s ease;
cursor: pointer;
}
.thumb:hover {
transform: scale(1.05);
box-shadow: 0 6px 12px rgba(0, 0, 0, 0.2);
}
.modal {
display: none;
position: fixed;
z-index: 1;
left: 0;
top: 0;
width: 100%;
height: 100%;
overflow: auto;
background-color: rgba(0, 0, 0, 0.8);
backdrop-filter: blur(5px);
}
.modal-content {
background-color: #fff;
margin: 15% auto;
padding: 20px;
border-radius: 12px;
width: 80%;
max-width: 800px;
text-align: center;
box-shadow: 0 8px 16px rgba(0, 0, 0, 0.2);
}
.close {
color: #aaa;
position: absolute;
top: 10px;
right: 10px;
font-size: 28px;
font-weight: bold;
cursor: pointer;
transition: color 0.3s ease;
}
.close:hover {
color: #fff;
}
.image-title {
margin-top: 10px;
font-size: 18px;
font-weight: bold;
color: #333;
}
.modal img {
width: 100%;
border-radius: 8px;
}
</style>
</head>
<body>
<div class="gallery">
<img src="http://img1.baidu.com/it/u=48167685,603517373&fm=253&app=138&f=JPEG?w=800&h=1066" class="thumb"
title="河流">
<img src="http://img1.baidu.com/it/u=2000570628,3369378537&fm=253&app=138&f=JPEG?w=800&h=1201" class="thumb"
title="小溪">
<img src="http://img0.baidu.com/it/u=1447699437,883024997&fm=253&app=138&f=JPEG?w=800&h=1200" class="thumb"
title="森林">
</div>
<div id="myModal" class="modal">
<div class="modal-content">
<span class="close">×</span>
<div class="image-title"></div>
<img id="img01" style="width:100%">
</div>
</div>
<script>
// 获取缩略图和模态框元素
const thumbnails = document.querySelectorAll('.thumb');
const modal = document.getElementById('myModal');
const modalImg = document.getElementById('img01');
const title = document.querySelector('.image-title');
const span = document.getElementsByClassName('close')[0];
// 点击缩略图显示大图
thumbnails.forEach(thumb => {
thumb.addEventListener('click', function () {
modal.style.display = 'block';
modalImg.src = this.src;
title.textContent = this.title;
});
});
// 点击关闭按钮关闭模态框
span.onclick = function () {
modal.style.display = 'none';
};
// 按 ESC 键关闭模态框
window.addEventListener('keydown', function (event) {
if (event.key === 'Escape') {
modal.style.display = 'none';
}
});
</script>
</body>
</html>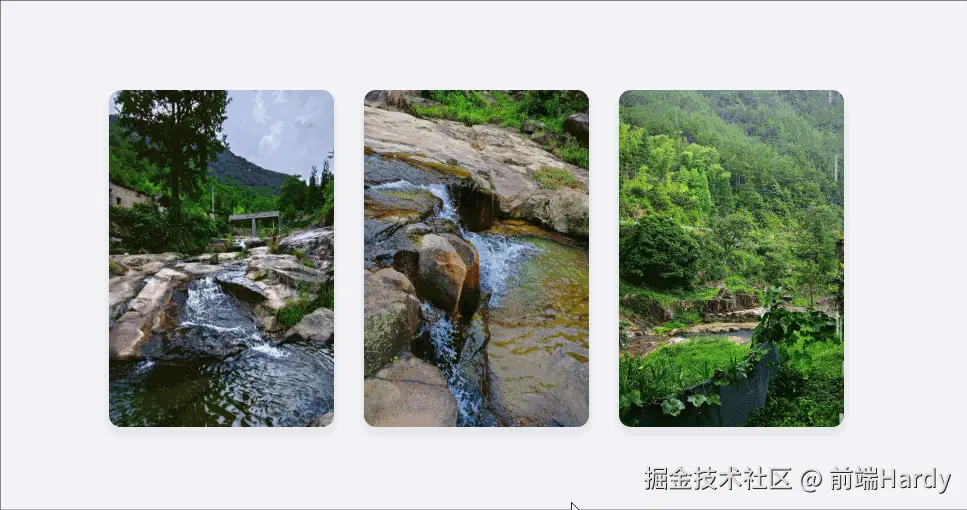
3. 代码亮点
- 事件组合:结合点击、键盘、冒泡事件实现复杂交互
- 性能优化:使用事件委托管理缩略图点击
- 数据属性:用 data-* 存储图片标题
下节预告
第 8 课:实战-简易计算器------JS 入门阶段成果验收
-
结合 DOM 与事件实现加减乘除
-
处理用户输入与异常
回复【JS】获取本课源码+工具包!