初学Vue之记事本案例
案例功能需求
基于Vue实现记事功能(不通过原生JS实现)
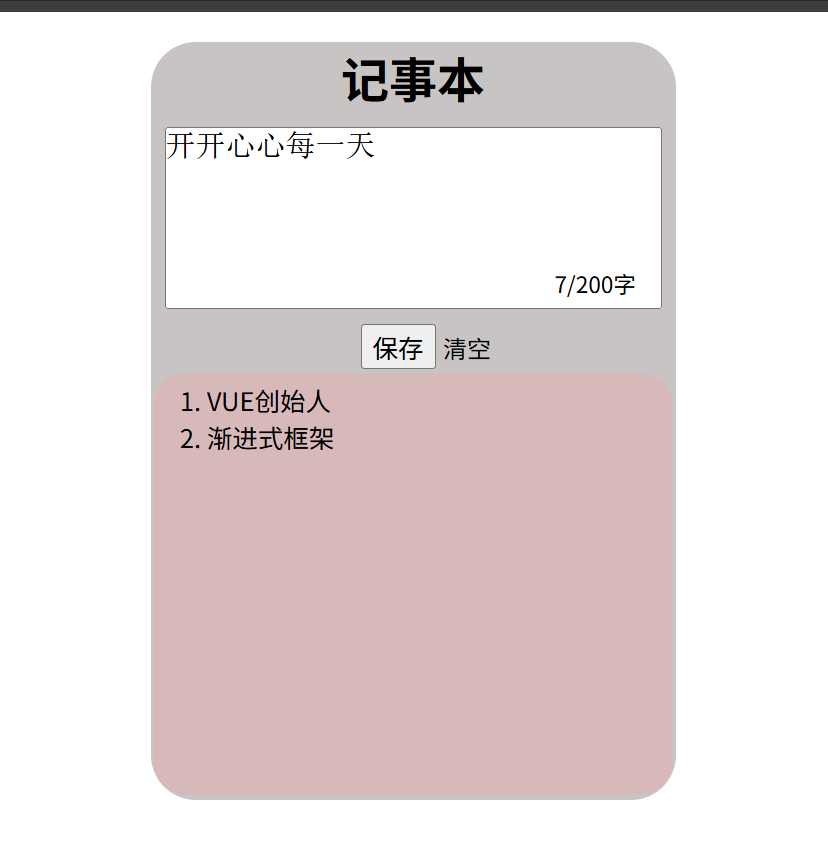
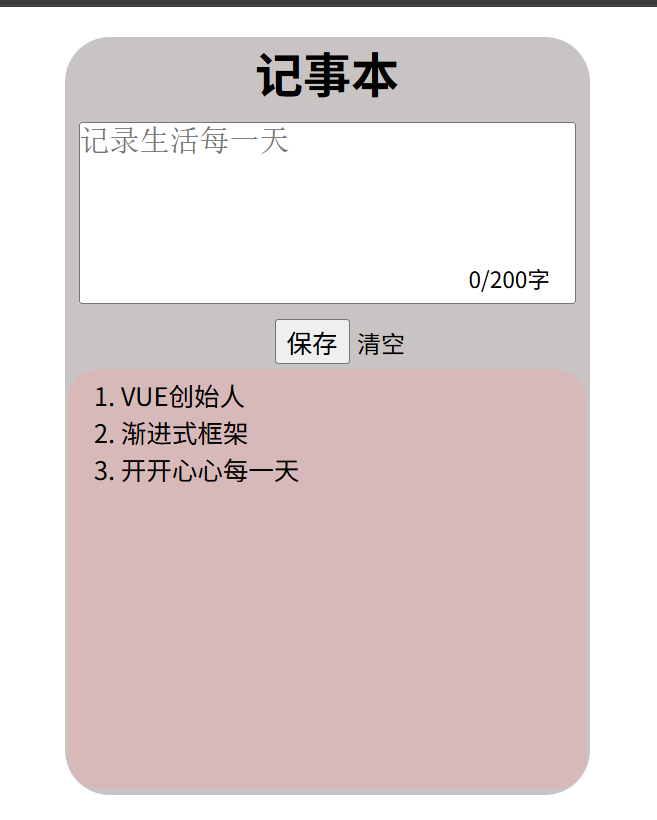
1.点击保存 按钮将文本框的内容显示在特定位置,且清空文本框内容
2.点击清空 按钮,将文本框内容清空,并把计数归0
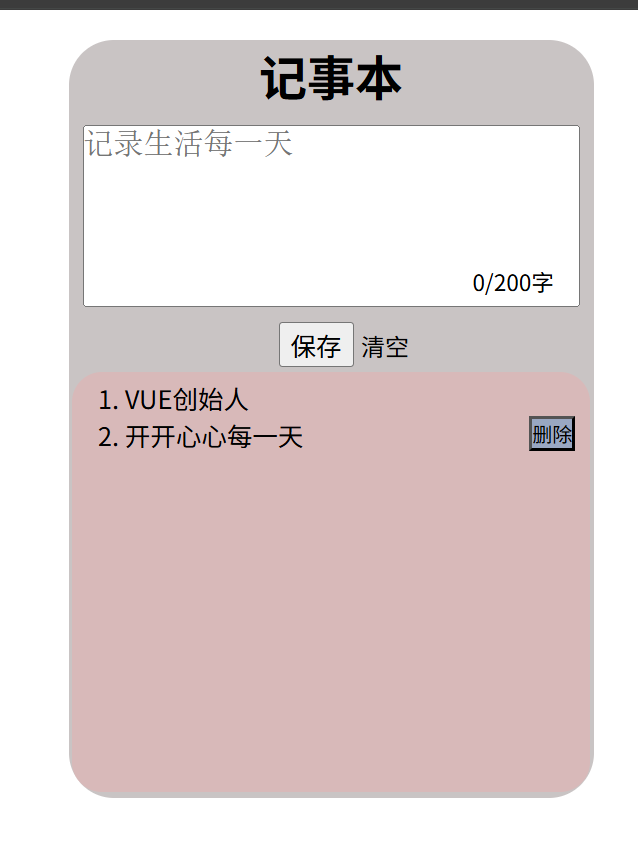
3.能够对增添的每条信息进行删除操作,并依次递增有序排列
相关Vue知识
(一)选项式API的核心选项
1.data():定义组件的状态即响应式数据
2.methods:定义组件内的方法
3.computed:计算属性,返回数据
(二)指令
1.v-for:渲染列表指令,可以基于数组、对象重复生成元素
2.v-on:绑定事件监听器指令,监听点击、键盘输入等事件
3.v-model:双向数据绑定
(三)文本插值
通过双大括号将数据插入Html页面中
案例实现
1.实现方法及代码
(一)通过给文本框添加v-model="msg"指令,进行数据的双向绑定,msg就成为了文本框中输入的内容。
保存功能 :添加v-on指令,指定实现方法save。对msg进行判断,若不为空则通过.push ()将其添加在已经创建的数组后,进行页面的渲染(基于v-for指令)
清空功能:依旧添加v-on指令,指定实现方法del。将msg的值设为空(由于msg空,因而计数值为0)
(二)删除功能 :通过findIndex ()遍历存储信息的数组,找到要删除信息的下标,通过splice()进行删除
(三)计数实现:通过computed属性,返回msg的长度
(四)信息的渲染:通过对li添加v-for指令,并将数组存储的id作为key
(五)细节处理:1.对文本框添加修饰符@keyup.enter,指定实现方法,实现回车进行保存。2.在保存的判断中,若为空,则弹出弹框显示输入为空
整合代码:(html、css、js全为一个文件)
html
<template>
    <div class="dd1">
        <h1>记事本</h1>
        <div>
            <div class="d2">
                <textarea name="" id="" v-model="msg" @keyup.enter="save" placeholder="记录生活每一天"></textarea>
                <label for="" class="lab_01">{{cou}}/200字</label>
            </div>

            <span>
                <button @click="save">保存</button>
                <label for="" @click="del">清空</label>
            </span>
        </div>
        <div class="dd2">
            <ol >
                <li v-for="item in list" :key="item.id" >{{item.contextid}}
                    <input type="submit" value="删除" @click="del1(item.contextid)">
                </li>
            </ol>
        </div>
    </div>
</template>

<script>
  console.log(new Date())
  export default {
    data() {
        return {
            msg:"",
          list:[{id:new Date() ,contextid:'VUE创始人'},{id:new Date(),contextid:'渐进式框架'}]
      }
    },
    methods:{
        del1(contextid){
            const l1=this.list.findIndex(item=>item.contextid === contextid)
            this.list.splice(l1,1)
        },
        save(){
                if(this.msg.trim()!==""){
                this.list.push({id:new Date(),contextid:this.msg})
                this.msg=""
                }else{
                    alert('输入为空')
                }
        },
        del(){
            this.msg=""
        }
    },
    computed:{
        cou(){
            return this.msg.length
        }
    }
  }
</script>

<style>
    *{
        margin: 0;
        padding: 0;
    }
    h1{
        text-align: center;
    }
    .dd1{
        border-radius: 30px;
        background-color: rgb(201, 196, 196);
        width: 350px;
        height: 505px;
        margin: 20px auto;

    }
    .dd2{
        border-radius: 20px;
        background-color: rgb(231, 173, 173,0.5);
        width: 90%;
        height: 275px;
        margin: 3px auto;
        overflow-x:hidden ;
        overflow-y: auto;
        padding-left: 30px;
        padding-top: 5px;
    }
    .d2{
        position: relative
    }
    textarea{
        resize: none;
        display: block;
        margin: 10px auto;
        width: 330px;
        height: 120px;
        font-size: 20px;
        outline: none;
    }
    button{
        margin: 0 40%;
        margin-right: 0;
        width: 50px;
        height: 30px;
        font-size: 17px;
    }
    label{
        margin-left: 5px;
        cursor: pointer;
    }
    label:hover{
        color: red;
    }
    ol{
        display: block;
        font-size: 17px;
        margin-left: 5px;
    }
    ol li{
        position: relative
    }
    input{
        opacity: 0;
        position: absolute;
        left: 87%;
        background-color: rgb(8, 126, 216,0.3);
    }
    ol li:hover input{
        opacity: 1;
    }
    .lab_01{
        font-size: 15px;
        position: absolute;
        left: 75.5%;
        top: 77%;
    }
    .lab_01:hover{
        color: black;
        cursor:auto
    }
</style>
2.演示
首页
保存
删除
案例收获与总结
1.当前的Vue3支持选项式API以及组合式API,二者具有显著区别。组合式是Vue3的新特性,二者具有各自的优缺点。(不展开)
2.v-on指令可以缩写成@ (@click="f1"或v-on:click="f1")
3.使用v-for指令,若写了index,就要在key中用到,否则页面会发生报错
4.使用修饰符@keyup.enter监听回车事件,能够提高开发速度,若通过普通方法实现,需要对e进行判断
5.若想直观的感受v-model的双向数据绑定,可以下载相应的插件、扩展进行调试