概述
官网地址:https://kubernetes.io/zh-cn/docs/concepts/workloads/controllers/replicationcontroller/
ReplicationController 是一个比较原始的Pod控制器,已经被废弃,由ReplicaSet控制器替代,想要了解ReplicaSet可查看这篇文章: K8s新手系列之ReplicaSet资源
ReplicationController简称rc,称为副本控制器,其主要作用就是控制Pod副本数量的控制器。
ReplicationController 确保在任何时候都有特定数量的 Pod 副本处于运行状态。只要 ReplicationController 不删除,则指定的Pod数量会使用存活。
ReplicationController的作用
-
副本管理:ReplicationController 的核心功能是保证在任何时候都有指定数量的 Pod 副本在运行。如果有 Pod 意外终止,ReplicationController 会自动创建新的 Pod 来替代它;如果 Pod 数量过多,它会删除多余的 Pod。
-
滚动更新:在早期版本中,虽然 ReplicationController 本身不支持滚动更新,但可以通过创建新的 ReplicationController 并逐步减少旧的 ReplicationController 中的 Pod 数量来实现类似滚动更新的效果。
-
集群扩容和缩容:用户可以通过修改 ReplicationController 中的副本数量来轻松地对应用进行扩容或缩容。
ReplicationController资源配置文件详解
可以通过kubectl explain rc查看创建ReplicationController需要的字段
示例:
[root@node01 ~]# kubectl explain rc
KIND:     ReplicationController
VERSION:  v1

DESCRIPTION:
     ReplicationController represents the configuration of a replication
     controller.

# fileds字段中的内容已进行截取
FIELDS:
   apiVersion   <string>

   kind <string>

   metadata     <Object>

   spec <Object>

   status       <Object>
通过上述可以发现定义ReplicationController的资源文件和定义Pod一样,也需要apiVersion、kind、metadata、spec等字段。
但是spec字段中有三个字段,需要注意,分别是replicas、selector、template。如下:
[root@node01 ~]# kubectl explain rc.spec
KIND:     ReplicationController
VERSION:  v1

RESOURCE: spec <Object>

DESCRIPTION:
     Spec defines the specification of the desired behavior of the replication
     controller. More info:
     https://git.k8s.io/community/contributors/devel/sig-architecture/api-conventions.md#spec-and-status

     ReplicationControllerSpec is the specification of a replication controller.

FIELDS:
   minReadySeconds      <integer>
   # minReadySeconds 规定了一个时间阈值,只有当 Pod 保持就绪状态的时间达到或者超过这个阈值,并且在此期间 Pod 内的任何容器都没有崩溃,这个 Pod 才会被视为可用。

   replicas     <integer>
   # 定义Pod的副本数量

   selector     <map[string]string>
   # 标签选择器,这里指定Pod定义的标签

   template     <Object>
   # 定义Pod的模板
创建ReplicationController
这里我们创建三个Pod副本
示例:
# 定义rc清单文件
[root@node01 ~/rc]# cat rc-nginx.yaml
apiVersion: v1
kind: ReplicationController
metadata:
  name: rc-nginx-1
  namespace: default
  labels:
    app: rc-nginx
spec:
  # 定义Pod的副本数量
  replicas: 3
  # 标签选择器,这里和Pod的Label保持一致
  selector:
    app: nginx
  # 定义Pod的模板,只需要定义metadata和spec两个字段即可
  template:
    metadata:
      name: pod-nginx
      labels:
        app: nginx
    spec:
      restartPolicy: Always
      containers:
      - name: nginx
        image: nginx:latest
      restartPolicy: Always

# 创建rc
[root@node01 ~/rc]# kubectl apply -f rc-nginx.yaml
replicationcontroller/rc-nginx-1 created
查看ReplicationController和对应的Pod
查看ReplicationController
[root@node01 ~/rc]# kubectl get rc -o wide
NAME         DESIRED   CURRENT   READY   AGE   CONTAINERS   IMAGES         SELECTOR
rc-nginx-1   3         3         3       45s   nginx        nginx:latest   app=nginx
查看对应Pod
[root@node01 ~/rc]# kubectl get po | grep rc-nginx
rc-nginx-1-8ptc7       1/1     Running            0                2m38s
rc-nginx-1-8xvbr       1/1     Running            0                2m38s
rc-nginx-1-lk45f       1/1     Running            0                2m38s
验证ReplicationController的副本管理
ReplicationController 的核心功能是保证在任何时候都有指定数量的 Pod 副本在运行。如果有 Pod 意外终止,ReplicationController 会自动创建新的 Pod 来替代它;如果 Pod 数量过多,它会删除多余的 Pod。
当我们删除创建好的Pod时,ReplicationController会发生什么呢?
# 删除上面创建Pod
[root@node01 ~/rc]# kubectl delete po rc-nginx-1-8ptc7 rc-nginx-1-8xvbr rc-nginx-1-lk45f
pod "rc-nginx-1-8ptc7" deleted
pod "rc-nginx-1-8xvbr" deleted
pod "rc-nginx-1-lk45f" deleted

# 查看rc,发现其副本数量还是三个
[root@node01 ~/rc]# kubectl get rc
NAME         DESIRED   CURRENT   READY   AGE
rc-nginx-1   3         3         3       6m11s

# 查看Pod,发现对应的Pod还是三个
[root@node01 ~/rc]# kubectl get po | grep rc-nginx
rc-nginx-1-g6qvg       1/1     Running            0                18s
rc-nginx-1-gwzd4       1/1     Running            0                18s
rc-nginx-1-x2rqm       1/1     Running            0                19s
通过上述验证,当Pod被意外终止时,ReplicationController会自动创建它
验证ReplicationController的扩缩容
验证扩容
我们将副本数量调整成5,看看会发生什么?
[root@node01 ~/rc]# cat rc-nginx.yaml
apiVersion: v1
kind: ReplicationController
metadata:
  name: rc-nginx-1
  namespace: default
  labels:
    app: rc-nginx
spec:
  # 将副本数量调整成5
  replicas: 5
  selector:
    app: nginx
  template:
    metadata:
      name: pod-nginx
      labels:
        app: nginx
    spec:
      restartPolicy: Always
      containers:
      - name: nginx
        image: nginx:latest
      restartPolicy: Always

# 重新应用它
[root@node01 ~/rc]# kubectl apply -f rc-nginx.yaml
replicationcontroller/rc-nginx-1 configured
查看一下:
# 查看rc
[root@node01 ~/rc]# kubectl get rc
NAME         DESIRED   CURRENT   READY   AGE
rc-nginx-1   5         5         5       11m
# 查看pod
[root@node01 ~/rc]# kubectl get po | grep rc-nginx
NAME                   READY   STATUS             RESTARTS         AGE
rc-nginx-1-7dnlv       1/1     Running            0                87s
rc-nginx-1-dsr6h       1/1     Running            0                87s
rc-nginx-1-g6qvg       1/1     Running            0                6m55s
rc-nginx-1-gwzd4       1/1     Running            0                6m55s
rc-nginx-1-x2rqm       1/1     Running            0                6m56s
通过上述发现Pod副本数量由3个变成了5个,查看AGE字段,发现有两个Pod是新建的状态。
验证缩容
同理,我们将副本数量调整成1,看看会发生什么?
[root@node01 ~/rc]# cat rc-nginx.yaml
apiVersion: v1
kind: ReplicationController
metadata:
  name: rc-nginx-1
  namespace: default
  labels:
    app: rc-nginx
spec:
  # 将副本数量调整成1
  replicas: 1
  selector:
    app: nginx
  template:
    metadata:
      name: pod-nginx
      labels:
        app: nginx
    spec:
      restartPolicy: Always
      containers:
      - name: nginx
        image: nginx:latest
      restartPolicy: Always

# 重新应用它
[root@node01 ~/rc]# kubectl apply -f rc-nginx.yaml
replicationcontroller/rc-nginx-1 configured
查看一下
# 查看rc
[root@node01 ~/rc]# kubectl get rc
NAME         DESIRED   CURRENT   READY   AGE
rc-nginx-1   1         1         1       15m
# 查看Pod
[root@node01 ~/rc]# kubectl get po | grep rc-nginx
rc-nginx-1-x2rqm       1/1     Running            0               9m32s
通过上述发现,Pod数量由5个缩减成了1个
验证ReplicationController的滚动更新
早期版本中,虽然 ReplicationController 本身不支持滚动更新,但可以通过创建新的 ReplicationController 并逐步减少旧的 ReplicationController 中的 Pod 数量来实现类似滚动更新的效果。
示例:将上述案例中的Pod的镜像替换成tomcat
[root@node01 ~/rc]# cat rc-nginx.yaml
apiVersion: v1
kind: ReplicationController
metadata:
  name: rc-nginx-1
  namespace: default
  labels:
    app: rc-nginx
spec:
  # 将副本数量调整成5
  replicas: 5
  selector:
    app: nginx
  template:
    metadata:
      name: pod-nginx
      labels:
        app: nginx
    spec:
      restartPolicy: Always
      containers:
      - name: nginx
        # 将镜像替换成tomcat
        image: tomcat:latest
      restartPolicy: Always

# 重新应用它
[root@node01 ~/rc]# kubectl apply -f rc-nginx.yaml
replicationcontroller/rc-nginx-1 configured
查看Pod变化
# 第一次查看
[root@node01 ~/rc]# kubectl get po
NAME                   READY   STATUS              RESTARTS         AGE
rc-nginx-1-gvdwl       0/1     ContainerCreating   0                2s
rc-nginx-1-rtdlw       0/1     ContainerCreating   0                2s
rc-nginx-1-vzfb2       0/1     ContainerCreating   0                2s
rc-nginx-1-x2rqm       1/1     Running             0                15m
rc-nginx-1-zwms9       0/1     ContainerCreating   0                2s

# 最后查看
[root@node01 ~/rc]# kubectl get po
NAME                   READY   STATUS             RESTARTS         AGE
pod-evc-secret-1       0/1     CrashLoopBackOff   68 (3m39s ago)   21h
rc-nginx-1-gvdwl       1/1     Running            0                71s
rc-nginx-1-rtdlw       1/1     Running            0                71s
rc-nginx-1-vzfb2       1/1     Running            0                71s
rc-nginx-1-wscvf       0/1     ContainerCreating  0                3s
rc-nginx-1-zwms9       1/1     Running            0                71s
发现Pod在逐步替换,可以访问一下对应Pod试一下,发现返回的内容是Tomcat的内容

滚动更新的原理
滚动更新的核心目标是在不中断服务的前提下,逐步将旧版本的应用替换为新版本。在使用 ReplicationController 时,这一过程主要通过以下几个步骤完成:
-
创建新版本的 ReplicationController
当需要对应用进行更新时,首先要创建一个新的 ReplicationController,其配置与旧的 ReplicationController 基本相同,但使用了新版本的应用镜像。新的 ReplicationController 初始的副本数量通常设置为 0。
-
逐步增加新版本的 Pod 副本数量
在创建好新的 ReplicationController 后,逐步增加其管理的 Pod 副本数量。每次增加少量副本(例如每次增加 1 个),这样可以确保新的 Pod 有足够的时间启动并稳定运行,避免一次性创建大量新 Pod 导致资源紧张或服务不稳定。
-
逐步减少旧版本的 Pod 副本数量
在增加新版本 Pod 副本数量的同时,逐步减少旧的 ReplicationController 管理的 Pod 副本数量。同样,每次减少少量副本,以保证服务的连续性。
-
重复步骤 2 和 3
不断重复增加新版本 Pod 副本数量和减少旧版本 Pod 副本数量的过程,直到旧版本的 ReplicationController 管理的 Pod 副本数量降为 0,而新版本的 ReplicationController 管理的 Pod 副本数量达到预期值。
管理ReplicationController
查看ReplicationController
语法:
kubectl get rc <rc-name> -n <namespace-name>示例:
[root@node01 ~/rc]# kubectl get rc
NAME         DESIRED   CURRENT   READY   AGE
rc-nginx-1   5         5         5       29m
修改ReplicationController
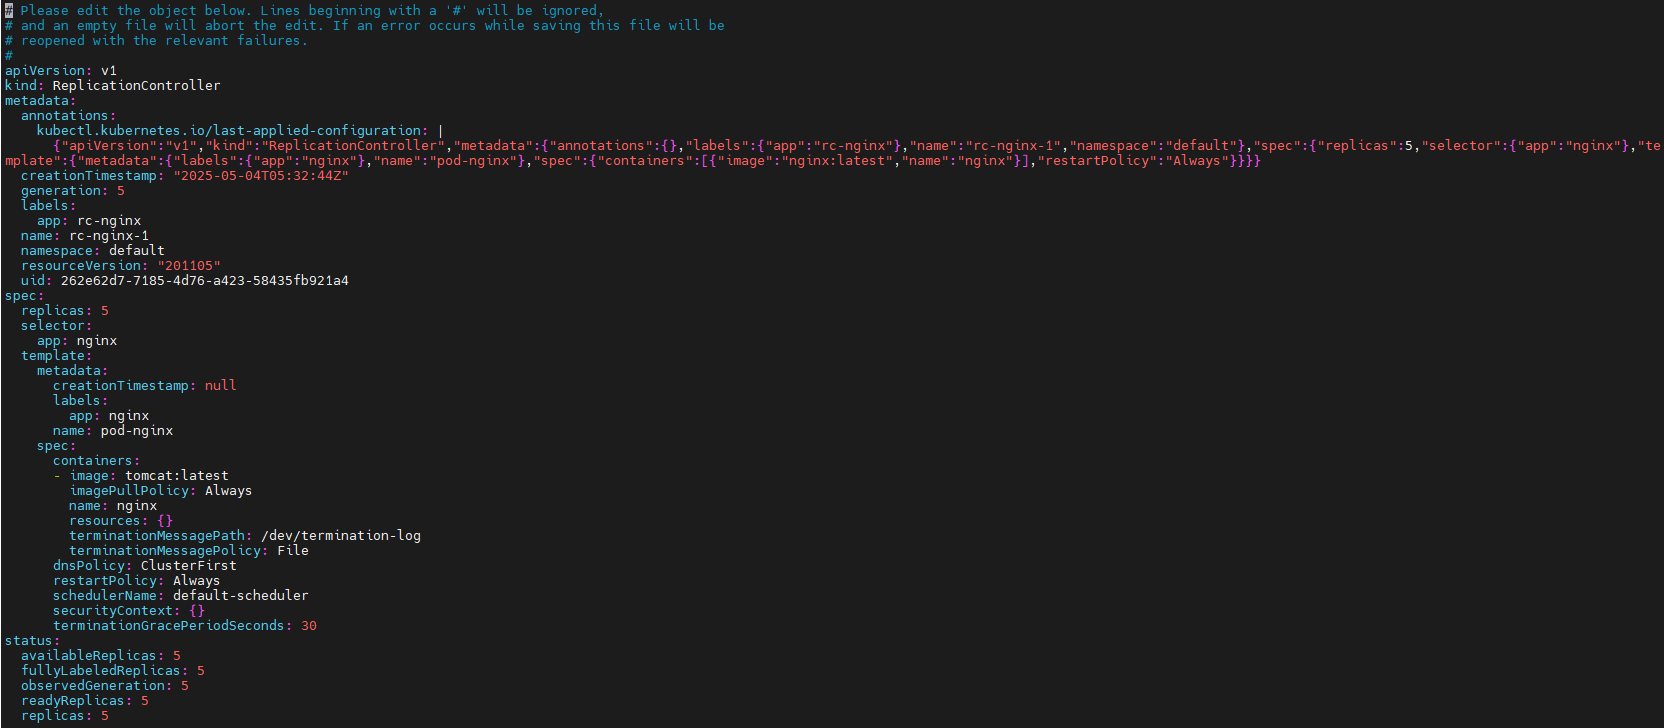
由两种方式,一种是通过kubectl edit rc <rc-name>来进行修改,会打开一个类似vim的界面,修改其对应的值即可,最后wq保存即可应用你的配置
第二种方式则是修改对应的资源文件,最后使用kubectl apply -f <file>即可
删除ReplicationController
删除ReplicationController时会删除所有对应的Pod!!!
语法:
kubectl delete rc <rc-name> -n <namespace-name>