在人工智能和计算机视觉领域,YOLO(You Only Look Once)是一种广泛使用的实时目标检测算法。为了直观地展示YOLO算法的检测效果,我们使用Pyqt框架进行检测结果的可视化,同时为了使其能够脱离Python环境,我们将模型文件转换为ONNX格式,并使用nuitka进行打包。
界面展示
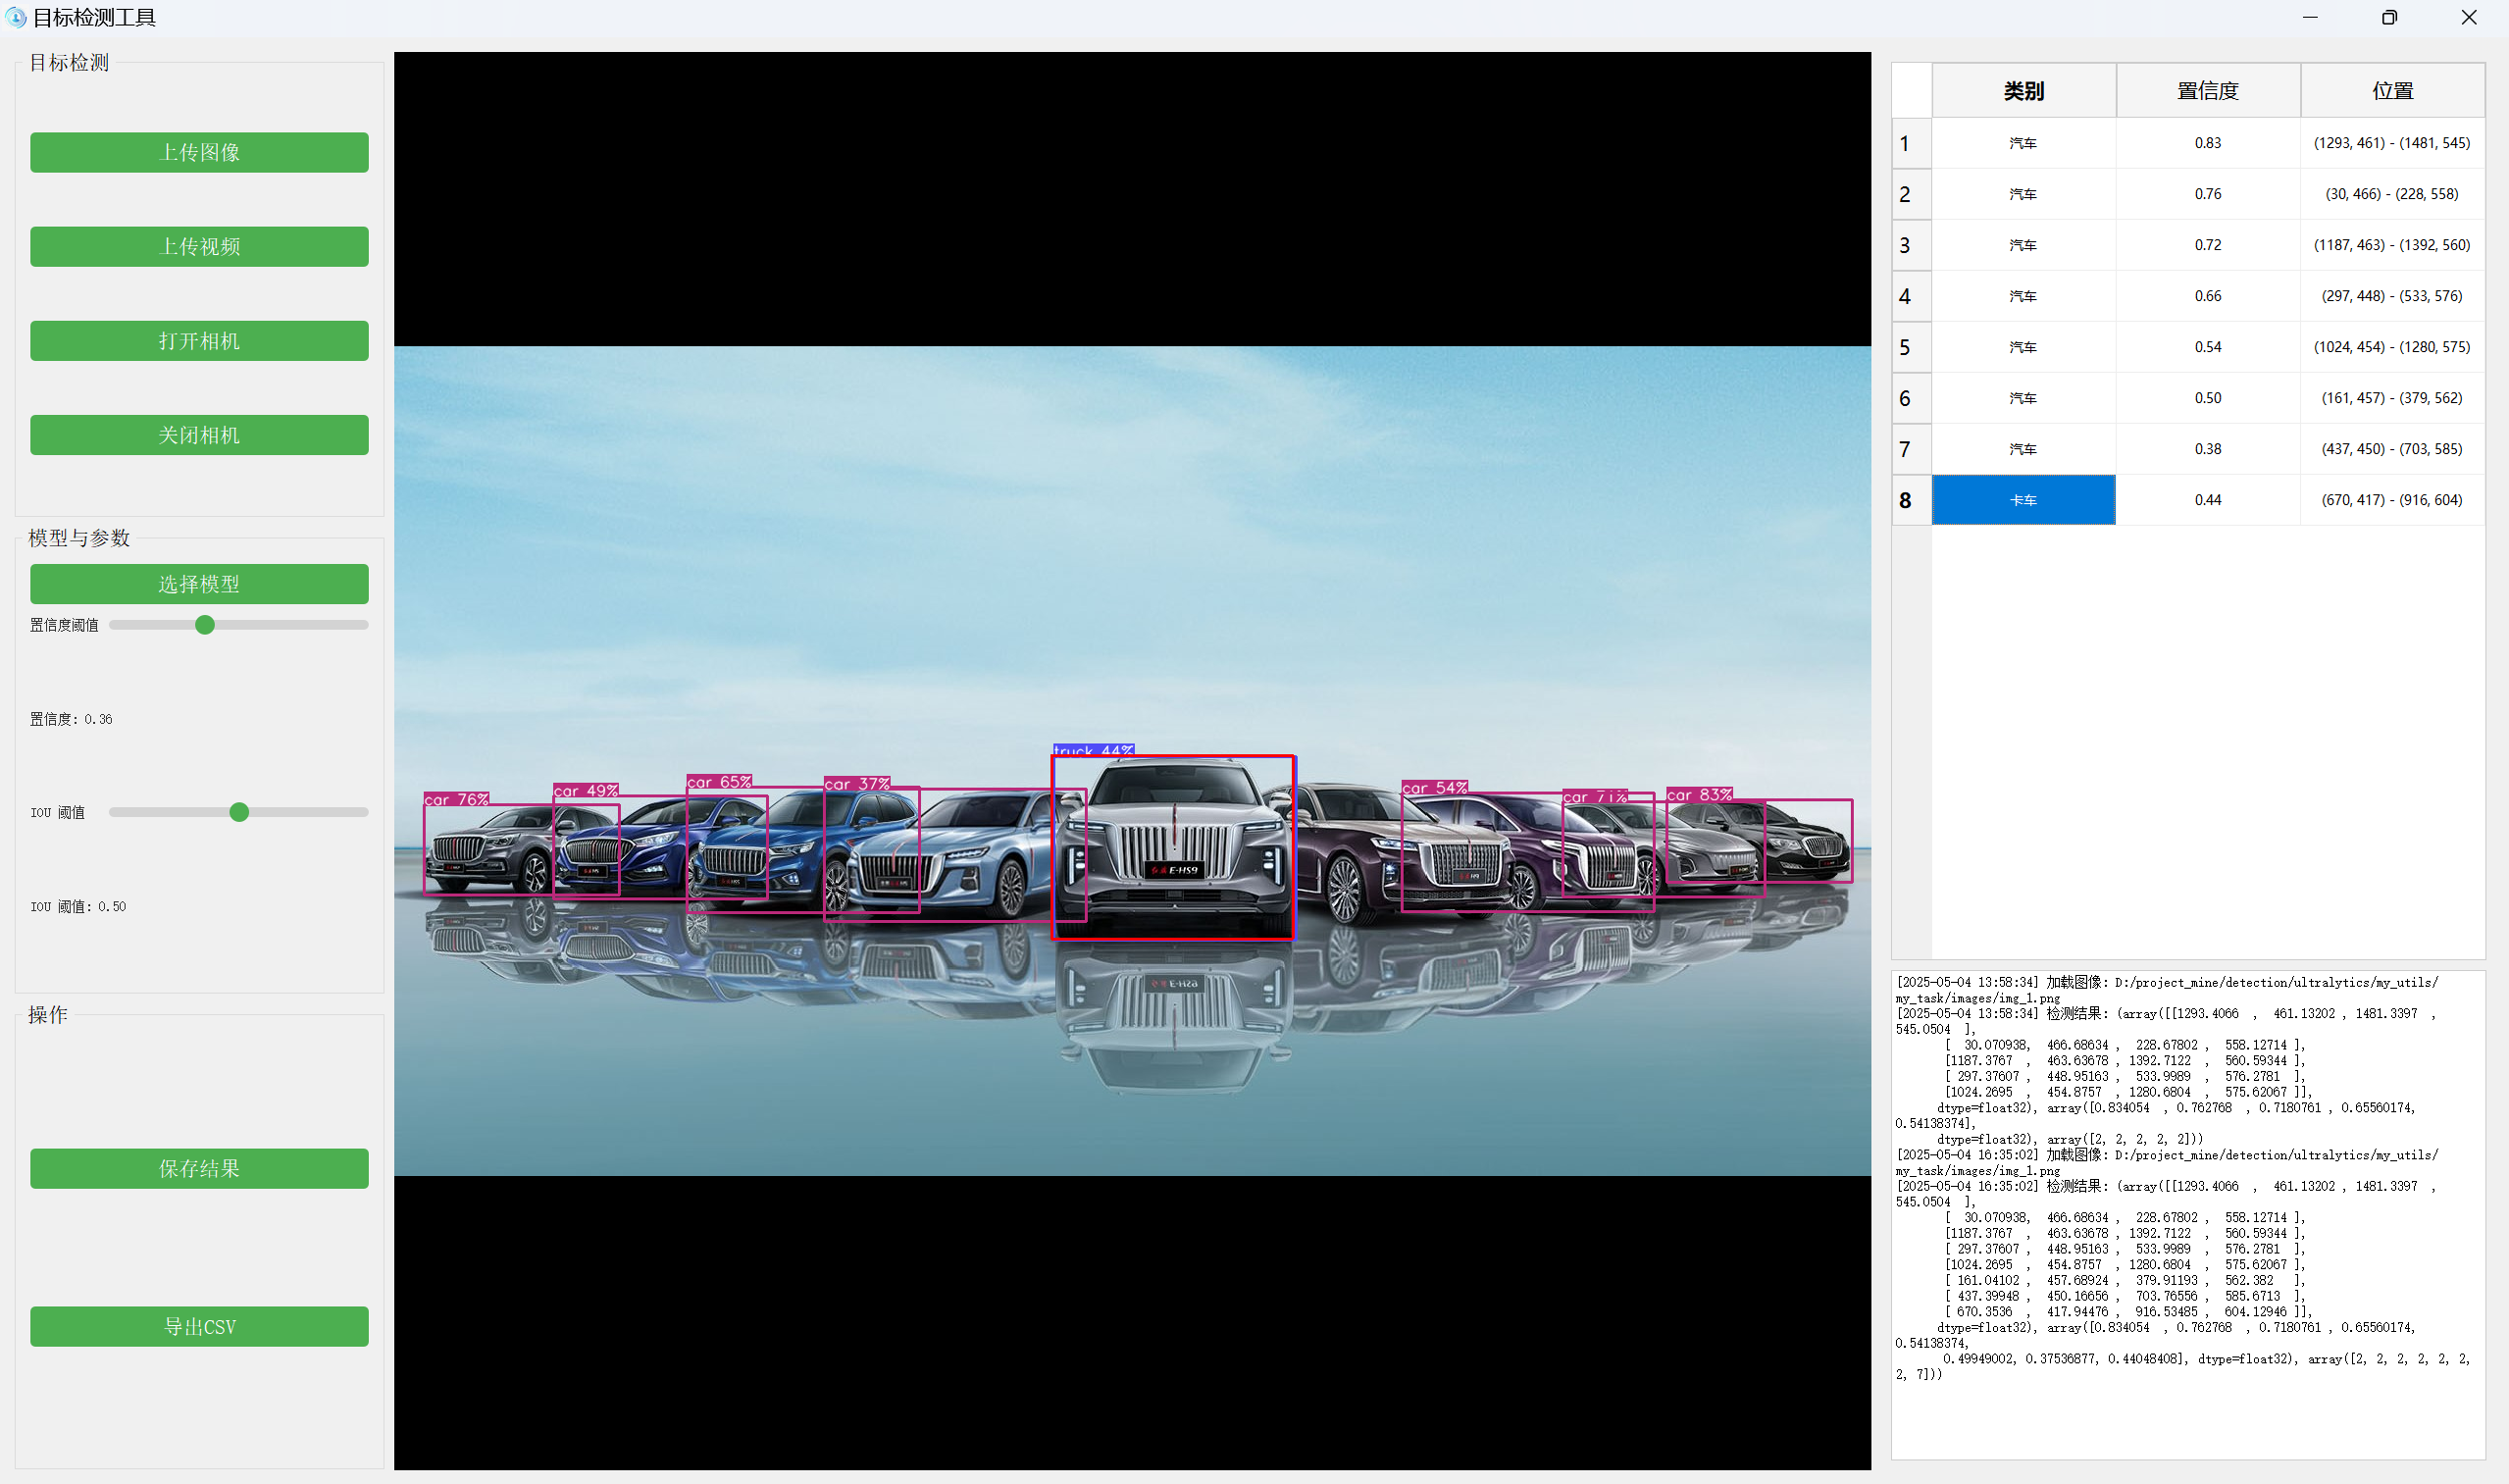
为了使系统更加完备,采用SQLite数据库,设计登录注册、图像检测、视频检测、相机实时检测、模型更换等功能,效果如下:

如下图所示:其左侧为功能区,中间为展示区,右侧上方展示检测结果,下方为日志记录。
nuitka打包
我们要使python项目脱离python环境,可以选择将其打包为exe文件,当前比较主流的打包方式是采用pyinstaller的方式,但这种打包方式的执行效率相对较低,而nuitka的打包方式将python代码转换为C代码,执行速度更快,且更安全。
python
nuitka --standalone --enable-plugin=qt-plugins --windows-disable-console --follow-imports --show-memory --show-progress --output-dir=dist login.py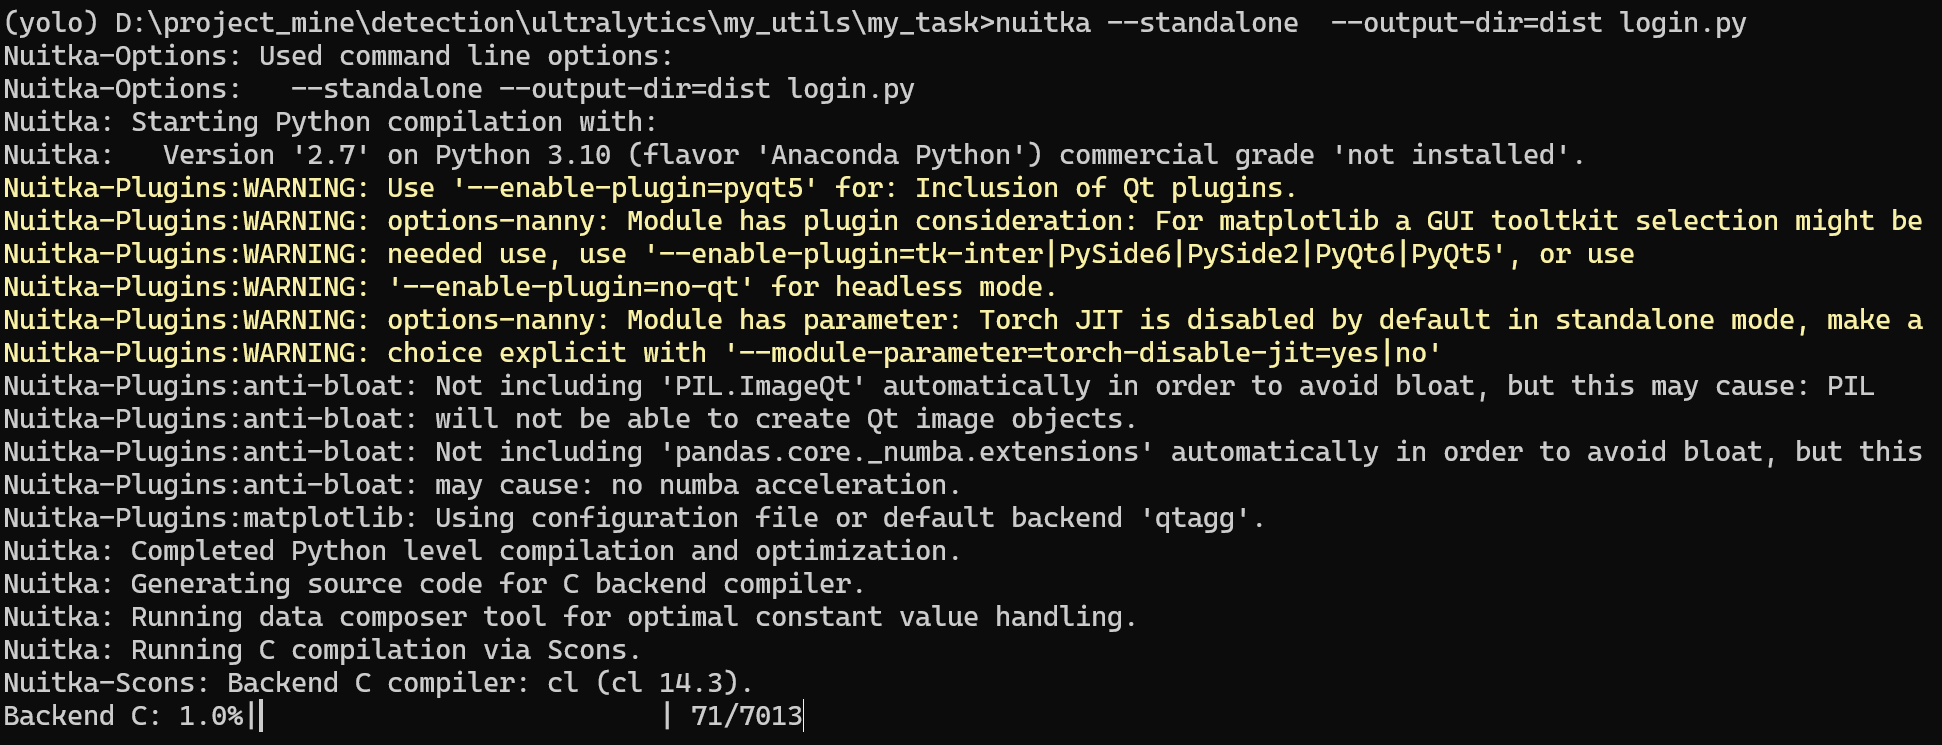
ONNX推理
下面是YOLODet目标检测的代码,涉及模型加载、前处理、模型推理、后处理、绘图。
python
import time
import cv2
import numpy as np
import onnxruntime
from utils import xywh2xyxy, multiclass_nms,detections_dog
class YOLODet:
    #初始化YOLO模型
    def __init__(self, path, conf_thres=0.7, iou_thres=0.5):
        self.conf_threshold = conf_thres
        self.iou_threshold = iou_thres
        self.initialize_model(path)
    #调用推理
    def __call__(self, image):
        return self.detect_objects(image)
    def initialize_model(self, path):
        self.session = onnxruntime.InferenceSession(path,providers=onnxruntime.get_available_providers())
        self.get_input_details()
        self.get_output_details()
    #执行模型推理过程
    def detect_objects(self, image):
        input_tensor = self.prepare_input(image)
        outputs = self.inference(input_tensor)
        self.boxes, self.scores, self.class_ids = self.process_output(outputs)
        return self.boxes, self.scores, self.class_ids
    #前处理操作
    def prepare_input(self, image):
        self.img_height, self.img_width = image.shape[:2]
        input_img = cv2.cvtColor(image, cv2.COLOR_BGR2RGB)
        input_img = cv2.resize(input_img, (self.input_width, self.input_height))
        input_img = input_img / 255.0
        input_img = input_img.transpose(2, 0, 1)
        input_tensor = input_img[np.newaxis, :, :, :].astype(np.float32)
        return input_tensor
    #具体使用onnx推理
    def inference(self, input_tensor):
        outputs = self.session.run(self.output_names, {self.input_names[0]: input_tensor})
        return outputs
    #后处理操作
    def process_output(self, output):
        predictions = np.squeeze(output[0]).T
        scores = np.max(predictions[:, 4:], axis=1)
        predictions = predictions[scores > self.conf_threshold, :]
        scores = scores[scores > self.conf_threshold]
        if len(scores) == 0:
            return [], [], []
        class_ids = np.argmax(predictions[:, 4:], axis=1)
        boxes = self.extract_boxes(predictions)
        indices = multiclass_nms(boxes, scores, class_ids, self.iou_threshold)
        return boxes[indices], scores[indices], class_ids[indices]
    #box转换,包含尺度变换与xywh转换
    def extract_boxes(self, predictions):
        boxes = predictions[:, :4]
        boxes = self.rescale_boxes(boxes)
        boxes = xywh2xyxy(boxes)
        return boxes
    #尺度变换
    def rescale_boxes(self, boxes):
        input_shape = np.array([self.input_width, self.input_height, self.input_width, self.input_height])
        boxes = np.divide(boxes, input_shape, dtype=np.float32)
        boxes *= np.array([self.img_width, self.img_height, self.img_width, self.img_height])
        return boxes
    #绘制图像
    def draw_detections(self, image, draw_scores=True, mask_alpha=0.4):
        return detections_dog(image, self.boxes, self.scores,
                              self.class_ids, mask_alpha)
    def get_input_details(self):
        model_inputs = self.session.get_inputs()
        self.input_names = [model_inputs[i].name for i in range(len(model_inputs))]
        self.input_shape = model_inputs[0].shape
        self.input_height = self.input_shape[2]
        self.input_width = self.input_shape[3]
    def get_output_details(self):
        model_outputs = self.session.get_outputs()
        self.output_names = [model_outputs[i].name for i in range(len(model_outputs))]